Search this blog

Showing posts with label 3D Printed Maintenance loco No 6. Show all posts

Monday, November 27, 2023

3D Printed Maintenance loco No 6 on the tracks and YouTube!

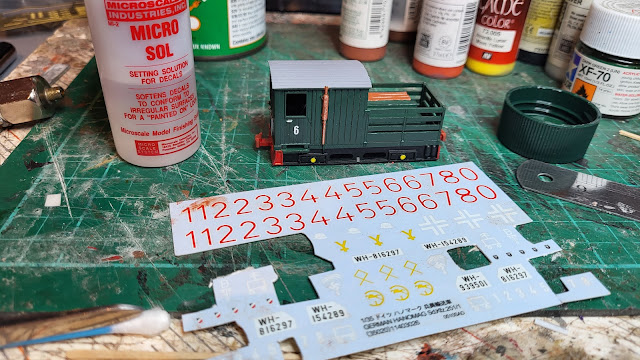
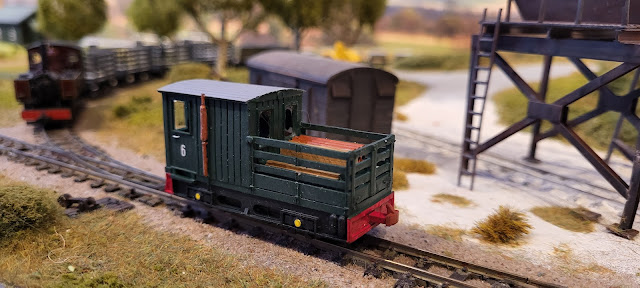
Shelly No 6 is just about finished. Painted in green with a black chassis and red buffer beams the loco looks the part in my mind. It even has a number 6 on each door that I plundered from some left over tank decals. 

3D Printed Maintenance loco No 6

3D Printed Maintenance loco No 6

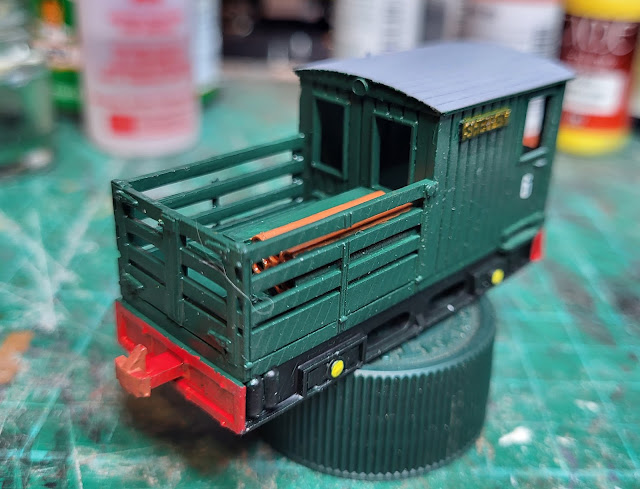
I painted the load as well - a clay colour for the pipes and a wood colour for the planks.

3D Printed Maintenance loco No 6


3D Printed Maintenance loco No 6

A coat of matt varnish and the windows glazed with Glue and Glaze sees Shelly read for action on the layout.

3D Printed Maintenance loco No 6

3D Printed Maintenance loco No 6

3D Printed Maintenance loco No 6

3D Printed Maintenance loco No 6

To see Shelly running watch this video!


Sunday, November 26, 2023

Sunday chip!

Having established that the 3D print fitted the Kato chassis the next stage was to try to fit a DCC chip to it. This is not something that appears to be common but there was a YouTube video of how to get into the internals of the chassis which was useful because looking at the chassis there was no apparent way of doing it.

3D Printed Maintenance loco No 6

With the chassis opened up the internals are rather simple. Two chassis halves isolated from each other and a coreless motor. This actually looked like it might be a lot simpler than I had thought.

3D Printed Maintenance loco No 6

The motor collects its power from the wheels through the brass pickups touching them and feeding into each chassis half with two wires taking the power to the motor. All I had to do was substitute the DCC chips power in wires for the motor wires and then solder the DCC out wires to the motor.

3D Printed Maintenance loco No 6

I did actually think about how the wires were going to be routed so that the top of the chassis could go back on The part of the chassis above the motor has some convenient cut outs so this is where I threaded the wires through.

3D Printed Maintenance loco No 6

The cover actually went back fairly easily leaving the DCC chip to be located in the cab space.

3D Printed Maintenance loco No 6

With the loco superstructure back on the Kato chassis it was time to see if it worked. It did, which of course I never doubted!!!!! I was actually pleased that I had managed to make it work as I had wondered if the chip would work on the chassis.

3D Printed Maintenance loco No 6

With that done its now time to think about painting it and getting it into service.

Saturday, November 25, 2023

3D Printed Maintenance loco No 6 - The build begins!

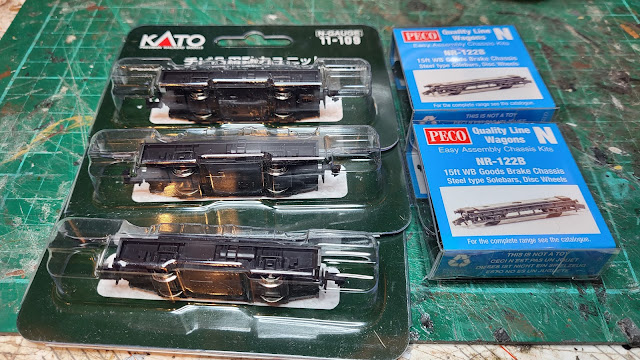
 I was keen to get on with the 3D printed locos that I described the other day. I now have the necessary parts - 3 Kato chassis and two Peco wagon chassis.

3D Printed Maintenance loco No 6

First thing was to fit the chassis to the body. The two n gauge couplings on the Kato chassis need to come off which is a simple job. Whilst I had the parts from this I took one of the springs to replace the one I had taken from an n gauge wagon that I had removed to put in my 009 gauge loco. There is some logic in all that! 
3D Printed Maintenance loco No 6

The spring was quickly replaced so that is one job out of the way!

3D Printed Maintenance loco No 6

3D Printed Maintenance loco No 6

To get the chassis to fit I needed to remove some of the inside of the body which was done with my scalpel.

3D Printed Maintenance loco No 6

With that done the chassis fitted and putting the loco on its wheels revealed that it stood nice and level - amazing for any thing that I have fitted!


3D Printed Maintenance loco No 6

3D Printed Maintenance loco No 6

That might be it but having proved that the chassis fits I now need to convert it to DCC which is going to be interesting!