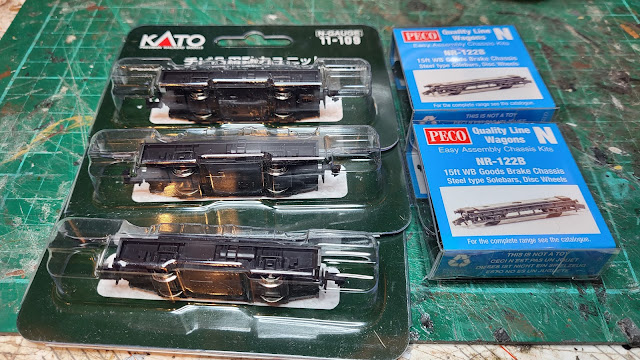
I was keen to get on with the 3D printed locos that I described the other day. I now have the necessary parts - 3 Kato chassis and two Peco wagon chassis.
First thing was to fit the chassis to the body. The two n gauge couplings on the Kato chassis need to come off which is a simple job. Whilst I had the parts from this I took one of the springs to replace the one I had taken from an n gauge wagon that I had removed to put in my 009 gauge loco. There is some logic in all that!
The spring was quickly replaced so that is one job out of the way!
To get the chassis to fit I needed to remove some of the inside of the body which was done with my scalpel.
With that done the chassis fitted and putting the loco on its wheels revealed that it stood nice and level - amazing for any thing that I have fitted!
That might be it but having proved that the chassis fits I now need to convert it to DCC which is going to be interesting!


No comments:
Post a Comment