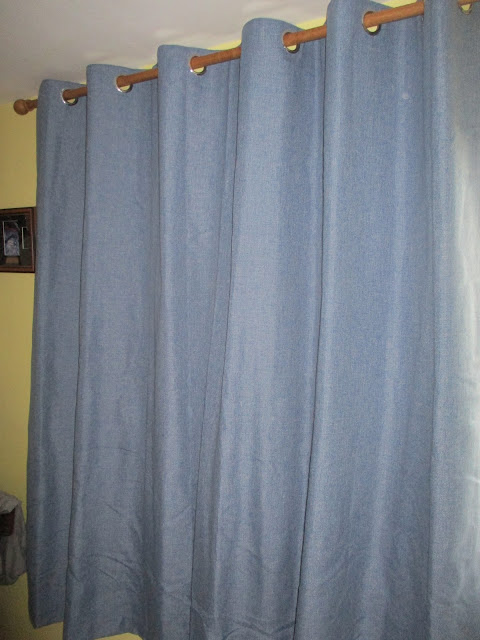
Today was a bit of a mirror of yesterday with the second curtain pole and curtains fitted. Bonus points for me from Mrs. Woody then!
Recording my progress, or usually the lack of it, in building kits, creating model railways and other related and sometimes unrelated matters!
Search this blog
Friday, March 18, 2022
Mirroring yesterday!
Thursday, March 17, 2022
Curtains for me!
Hopefully not curtains for me in a bad way but I have done a job on Mrs. Woody's 'To do list'! One new curtain pole and curtains are up! I might of got the other pole and curtains up if it had not been for a few problems! However problems always seem to go hand in hand with any project I do! Getting the old curtains down and the curtain rail were not a problem. Neither was marking out the position of the new fixings. However I should have taken note of my gut feeling that the supplied screws and raw plugs were not up to the job especially when I put a pair of heavy curtains on them. I therefore had to go back and undo what I had already done and then redo the fixings again with some heavier duty screws and raw plugs from the WMD HQ stores. However we got there so hopefully Mrs. W will be half impressed today and hopefully fully impressed tomorrow when the other pole and curtains go up. Hopefully the creases will fall out - I don't do ironing!
Hopefully now I know the weakness of the fixings, have my tools out and know what I am doing (really???) tomorrow should see the job complete in half the time!
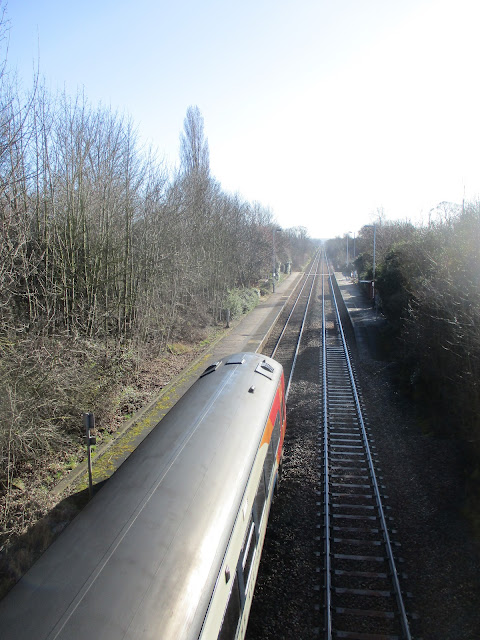
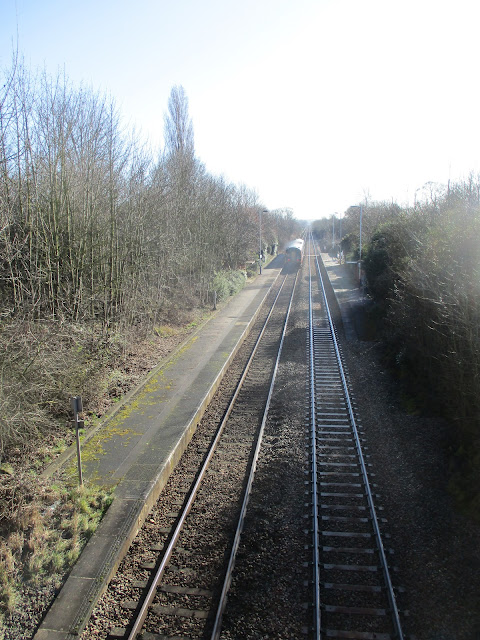
Prior to the curtain escapades I did do a 22 mile bike ride which saw me pass over the bridge above Elton and Orston railway station. You may wonder what the significance of this station is? Well it is actually the second least used station in the Country with an average of 1.3 exits/entries a week and it only has two scheduled trains that stop a day! More details of that by clicking here and some history of the station by clicking here. I obviously passed at a special moment as two trains passed each other and I just managed to get a few of pictures of this and one of the trains disappearing towards Grantham. It would certainly make an interesting and simple model to build with no buildings and lots of trees. Do I have a glimmer of an idea for another project???? However it could well be curtains for me if Mrs. W suspects another of my projects in the making!
Friday, February 25, 2022
Decal Day!
Mrs. Woody had a day off and so we went curtain browsing which actually means buying. My argument that our present curtains were a mere 15 years old and had plenty of life left in them went unheeded. I surrendered! We went, we looked and we bought! The only thing is that we have moved from pleated to eyelet curtains, so my task will, at some point yet to be determined by the level of nagging I can endure, be to put new curtain rods up.
Having got over the shock of that escapade I did manage to find solace for an hour with the Scania 143H as I started the process of applying the decals. There are a lot of them as this extract from the instruction sheet shows.


