Search this blog

Showing posts with label Italeri Scania Streamline 143H. Show all posts

Friday, April 22, 2022

Something Finished!


Italeri Scania Streamline 143H

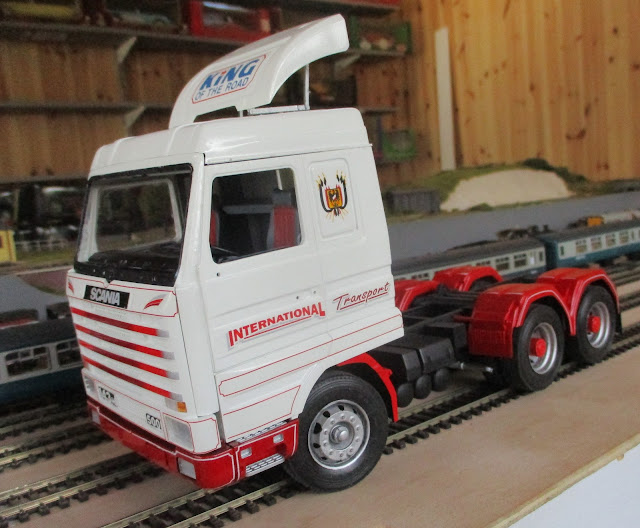
Well after what seems like a long time - three months actually - the Italeri Scania 143 Streamline is complete! Not my best build but not my worse. Its been one of those kits where the early stages were good but getting into building the cab and problems started. Some my doing but others inherent problems in the kit. As with any kit build it adds to the experience library and there are things I would do differently if I built the kit again. However, for now it will be gently put on the shelf where it will no doubt drop parts and gather dust! Time now to finish the Scania 141LB! I better get back to the workshop and get that built but in the meantime a few pictures as I bask in having finished something....

Italeri Scania Streamline 143H

Italeri Scania Streamline 143H

Italeri Scania Streamline 143H

Italeri Scania Streamline 143H

Italeri Scania Streamline 143H

Italeri Scania Streamline 143H


Friday, April 1, 2022

Doing it again!

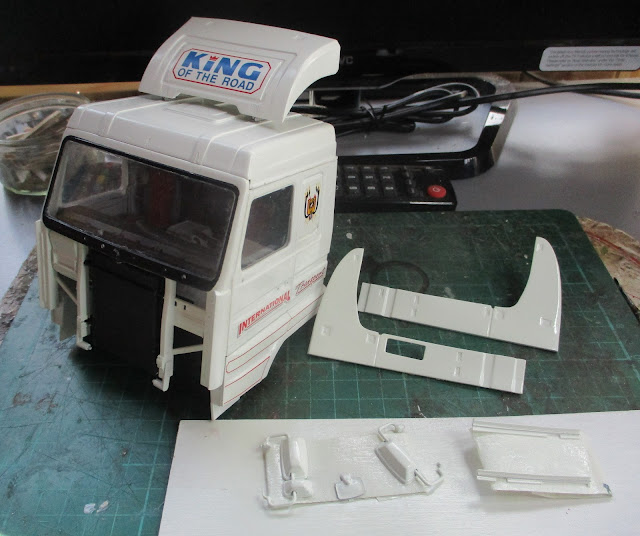
Today, being April Fools' Day, was a day to repeat some modelling that I had already done as I had foolishly got things wrong previously. On the model Scania 143H, despite successfully rescuing the main cab without the need to respray it following the decal issue, I had to respray the side spoilers and make some new brackets for them which also got painted. Whilst the spray can was out, the mirrors also got a final coat of paint. It could all have been worse! In addition I had to put the windscreen and door windows back in as they had come out. Again matters could have been worse but it is a bit frustrating having to do it all again - almost making me feel foolish - April Foolish maybe? No matter, lessons learnt, do it differently next time and the next model will be better are all thoughts that go through my mind at a time like this. It is always best to look positively when something goes wrong as I keep telling Mrs. Woody following me failing on one of her jobs on her ever expanding list of jobs for me to do! 

Italeri Scania Streamline 143H


Thursday, March 31, 2022

Anyone order snow?

I was supposed to have a day at the Rocks by Rail Museum today but waking up this morning it was obvious that even if I went there was not a lot I could do outside apart from get wet and cold as this photo from WMD HQ illustrates.

Snow

I used the opportunity to catch up with some home jobs and I even managed to get out on my bike this afternoon for a few miles before being caught in a snow storm and headed for home. This months mileage is 539 bringing the years total up to 1315 miles. I did loose two days this month when it rained but apart from that I have ben out every day this year so I ma pleased.

Model wise I have managed to work on the cab of the Scania 143H and I was lucky enough to get the decals off which I wanted to and save the ones I wised to keep as well as get the cab front panel securely glued in place and hopefully without the need to respray the cab. Result! I will need to respray the side deflectors and reattach them but that is a small job compared to respraying the cab. As I said in a previous post, sometimes you just have to put a project that is going wrong away for some time and come back to it with a fresh mind. I still need to reattach the roof panel but with the wonders of BluTac I will able to mock the cab up on the chassis to see how it all looked without the original decals.

Italeri Scania Streamline 143H

Italeri Scania Streamline 143H

I think it works!


Wednesday, March 23, 2022

We are where we are 2!


We are where we are is what the people in the balloon that I spot whilst out on my bike ride this morning might have been saying. Completely at the mercy of the wind, their eventual destination somewhat of a mystery!  

Ballon

For the model Scania 143H the final destination is a bit of a mystery. I had a plan to repair the damage to the decals and this was to use par of the Belgium number plates included in the kit which have a red boarder around them similar to the pinstriping on the truck. By cutting the red strip I could repair the missing parts.

Italeri Scania Streamline 143H

This is what it looked like.

Italeri Scania Streamline 143H

I am not sure! I am in a mind to strip the cab and repaint it and then perhaps find some alternate decals. I will put it to one side and see how I feel in a day or so. Sometimes you have to accept that what you have already done has to be sacrificed in order to get something that you are really satisfied with rather than keep something that you are never really going to be happy with. Stay tuned!

On the T80 tank model, a few more parts added so after many months of being left in the box because of the issue with the tracks it is at least making progress just like the balloon I saw this morning!

MiniArt 35243 T-80 SOVIET LIGHT TANK

Tuesday, March 22, 2022

We are where we are!

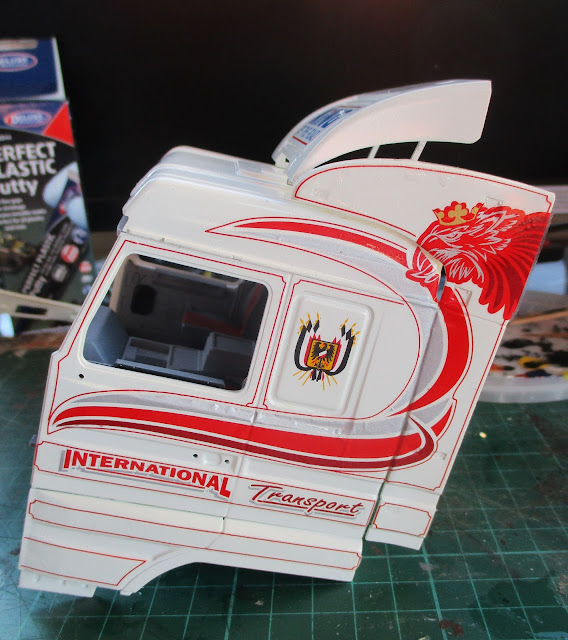
We are where we are is a phrase that a great boss of mine used to sum up a situation. Pointless in moaning about the past and the best way forward was to take on todays problem not yesterdays! That is what I had to do with the Scania 143H model which yesterday had a few setbacks whilst I was trying to fit the front panel to the main cab. In brief the part did not quite fit so I tried to use masking tape to pull it into position. The tape did not do the job and pulled off part of the decals. Ouch!

Italeri Scania Streamline 143H

In addition whilst trying to pull things around I managed to push the side windows in on both sides as well as break one of the side spoilers off. All the windows also got stained by a super glue accelerator that I sprayed on to get the glue to set. The decals will be hard to solve but I have a plan which will be reveled if it works or even if it doesn't!!!! Here at WMD HQ you get it warts and all! The windows have been polished and most of the staining is removed but they will never be super clear but hey ho! One of the windows is now back in and having shaved part of the interior parts down to enable the front panel to properly fit it is now in place. I need to wait until glue properly sets so this will be a repair in stages but hopefully the end result will pass muster from a distance! 

Italeri Scania Streamline 143H

Italeri Scania Streamline 143H

On the T80 tank the wheels have been painted green and now need the tyres painted in a rubber coloured paint . The exhaust and engine vent grill have also been fitted which is all positive progress. If that continues when I come to fit the tracks, which I had so many problems with as described last year, I will be grateful! So this is where I am today!

MiniArt 35243 T-80 SOVIET LIGHT TANK


Monday, March 21, 2022

Sometimes things do not go according to plan!

I attempted to fit the front panel of the Scania 143H to the main cab today. Not all went well! I will go into details of the failure once I figure out how to rescue the issue but lets say the swear jar is bit fuller! These things happen and I have stepped away and will leave it for the moment and come back to it with a clearer mindset!

One thing did go according to plan though and that is the priming of some parts on the T80 tank which moves that previously well stalled project on a bit more.

MiniArt 35243 T-80 SOVIET LIGHT TANK,


Tuesday, March 15, 2022

Has Spring Sprung?

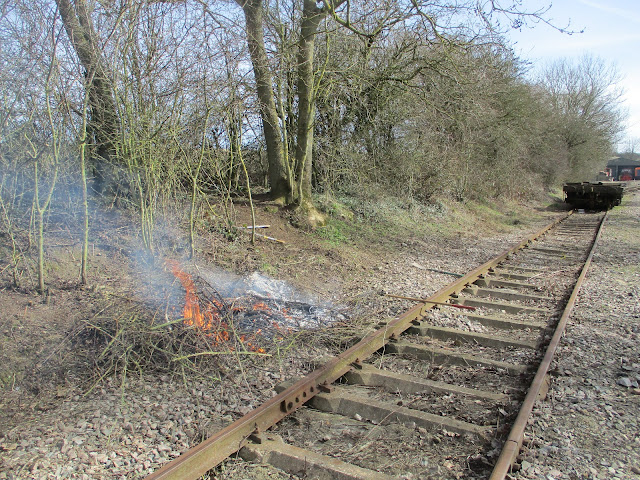
A great day! Clocked just over 1,000 miles cycling this year after my ride today and had a fantastic time at the Rocks by Rail Museum. Today I was clearing lineside vegetation which I enjoy as there is a quick visual impact. It also needed a bonfire which I was put in charge of - maybe this is preparation for me to be allowed loose on a steam train? Probably not! This is all part of the preparations for the start of this years season and the Museum opens this Easter so not long now. Given the weather it really does feel as though spring is here so here is hoping for a great summer although if Mrs. W finds out about my start on horticultural matters there will no doubt be a list of gardening activities to be undertaken back at WMD HQ coming my way!

Rocks by Rail Museum

Rocks by Rail Museum

Back at WMD HQ the other side of the Scania 143H has now received its complment of decals and I am hoping that it all dries OK. Just have to wait and see.

Italeri Scania Streamline 143H


Monday, March 14, 2022

Decal delight!

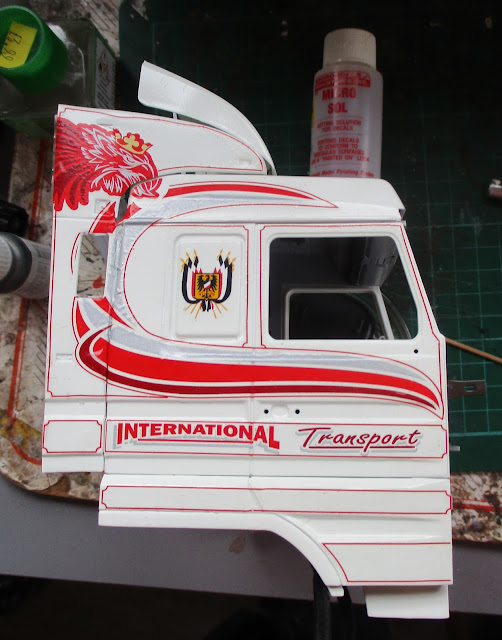
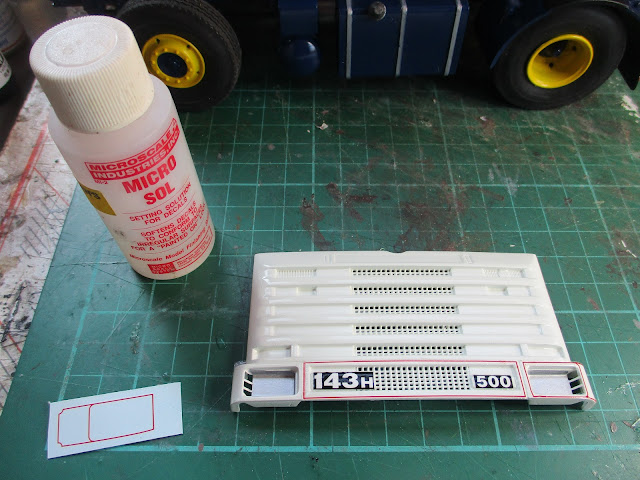
A wonderful 23 mile bike ride helped me forget about the current World situation but did make me appreciate even more the local environment and doing things others no longer have a chance of doing for the foreseeable future. An hour in the Man Cave AKA whisked me away into the delightful world of applying decals to the Italeri Scania 143 model. I have applied the decals to one side today. A complicated job with 12 separate decals, many of which had to line up with others to look right. There was also a need to trim some and try to get them to conform to the various contours of the cab shell. That latter issue is taken care of a decal softening solution which in this case is Micro Sol. This is supposed to soften the decal material so that gravity lets it drop into the dips of the model. When you first apply it the decals wrinkle up as in the photo below and it looks like a disaster which is typical of my work anyway! However leave it a few hours and hopefully all dries to a wrinkle free and contour hugging finish. That is the theory anyway! I will take a look later complete with a ' just in case' contribution for the swear jar! Hope I will be delighted though!

Italeri Scania Streamline 143H,


Sunday, March 13, 2022

Spoiler alert!

This is not a spoiler alert for Mrs Woody that her car has been washed, waxed and the tyres polished up as she knows it has as she instructed it to be done! In my model World however the spoiler alert is all about the side spoilers on the cab of the Scania 143H. Yesterday I glued some angle plastic strip to the two spoilers and today I mounted them to the cab. Not a massive job but I needed to be alert to get them in the right position and securely glued. I am letting the glue harden over night as I want to make sure they are really secure before adding decals. 

Italeri Scania Streamline 143H,

Italeri Scania Streamline 143H,

I also had a bit of watching the trains go round my 009 narrow gauge layout where my little model World is at peace with itself and fuel prices are somewhat more affordable - the delights of the escapism of making models!

,009 gauge layout

,009 gauge layout


Saturday, March 12, 2022

From a different angle.

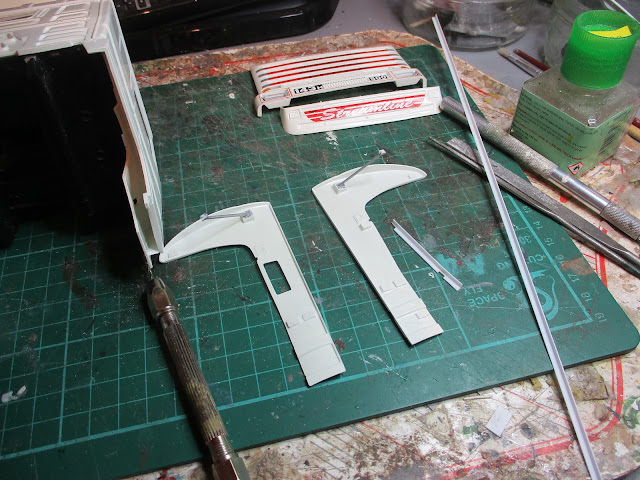
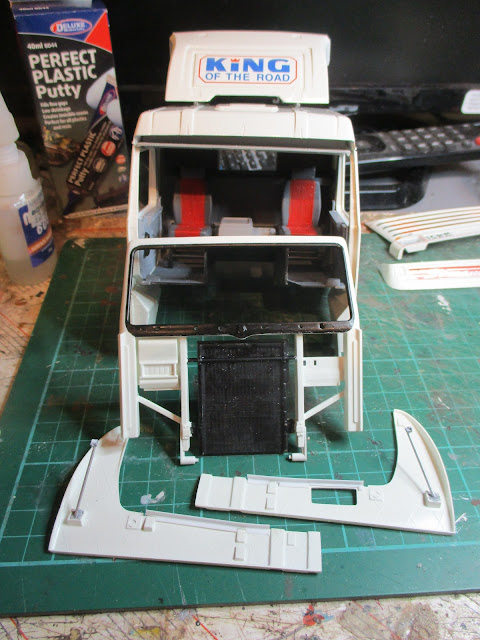
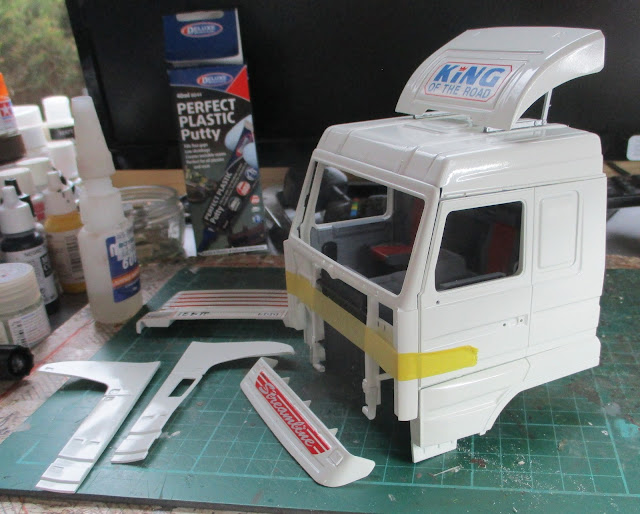
Slowly the cab of the Italeri Scania 143H model truck kit is coming together. Most of the construction of the cab has involved ensuring good parts fit and fettling where there is a need for adjustment. Doing that gives a good strong join between parts. One area however that has concerned me is the mounting of the two aerodynamic side spoilers at the end of each side of the cab. The instructions just show a mounting bracket attaching to the cab top spoiler and the rest of the spoiler somehow magically attached to the cab side with thin air. I real life there would be brackets but non are included in the kit. I had to get creative and think of a different angle to solve this problem. Angle! Yes the very thing! I have therefore used some plastic angle from my stock of useful junk parts to create some brackets. I needed to create a few cut outs to avoid parts of the spoilers but the angle has been glued to both spoilers and I am leaving them over night to dry off before doing anything else. How successful this will be I don't know but sometimes you just need to take that different angle on a problem.

Italeri Scania Streamline 143H

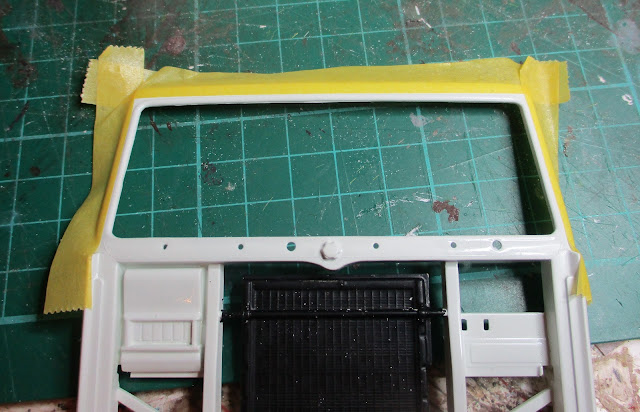
I have also painted the rubber surround to the windscreen on the front panel. I used some masking tape as most of the sections were straight and free handed the curved parts. Not my favorite job though but had to be done.

Italeri Scania Streamline 143H

From a different angle, windscreen surround painted and plastic angle glued to the side spoilers.

Italeri Scania Streamline 143H


Friday, March 11, 2022

Fettling the cab!

Sounds odd to be fettling but before I go any further with the decals on the Italeri Scania 143H I need to start putting the cab together. The fit of the parts overall is reasonable but to get a model that looks reasonable there is sometimes a need to trial fit parts and adjust and alter as necessary. In other words time for some fettling. Sounds relatively easy but if you are dealing with painted parts it can get a bit tricky. I already managed to get some finger marks in the paint due to some glue on my fingers but luckily having the sense ( most unusual for me as Mrs. W would confirm) to let the glue dry, I was able to use some model polish to remove them. In visual form not a lot of progress but sometimes the time taken to do the fettling pays dividends later.

Italeri Scania Streamline 143H

Italeri Scania Streamline 143H


Wednesday, March 9, 2022

Getting a face!

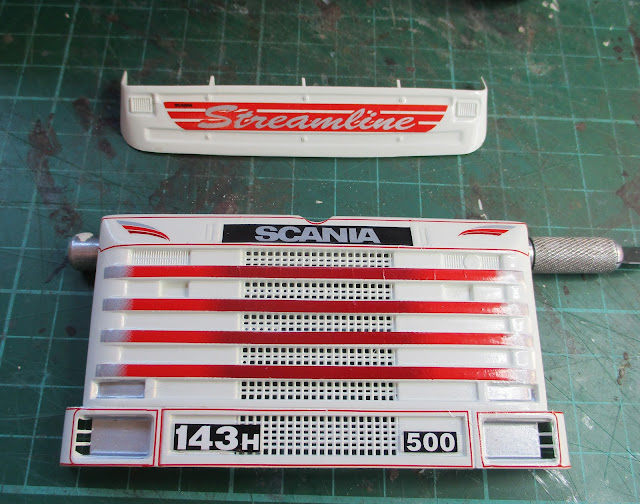
A couple of hours to put on a few decals on a model may seem a bit over the top. However the decals on the front cab panel of the Scania 143H have been difficult. Partly this is because they don't fit particularly well and I have had in some cases to trim and cut parts out and secondly they need to line up properly or they will look terrible. I cant claim that they are perfect but its the best I can do under the circumstances so here is where I have got up to getting the Scania its face.

Italeri Scania Streamline 143H


Tuesday, March 8, 2022

The reason for washing!

Nothing to do with my personal bathing habits but todays work at the Rocks by Rail Museum was more ballast washing. I actually enjoy doing this. Big machines, lots of water and noise, what more could you want! People do ask why you wash ballast? Well ballast has two functions. Firstly it forms the foundation to hold the sleepers and track and secondly to allow drainage as especially with wooden sleepers water can both damage the track as well as undermine the structural integrity of the railway as a whole. Large stones that form the ballast have spaces between them through which the water can drain into the ground below. Fill those spaces up with muck and that drainage slows or stops and the ballast becomes a large sponge or swamp. The ballast washing gets rid of that muck and restores the ballast and its drainage abilities once back in place.

Just how much muck gets into the ballast is best illustrated by this photo.

Rocks by Rail Museum

These two barrows of muck came out of about half a ton of ballast washed through the oversized washing machine that the Museum has. Its a mix of sand, grit and pebbles and you can see how it just flows into an almost concrete like material that will flow into and fill any available void. Over the past five months we have probably washed well over 100 tons of ballast. We do put the muck to one side or use it to build up the adjacent road and you can see from the photo below just how much muck has been accumulated. That road is about 9 inches higher than when we started!

Rocks by Rail Museum

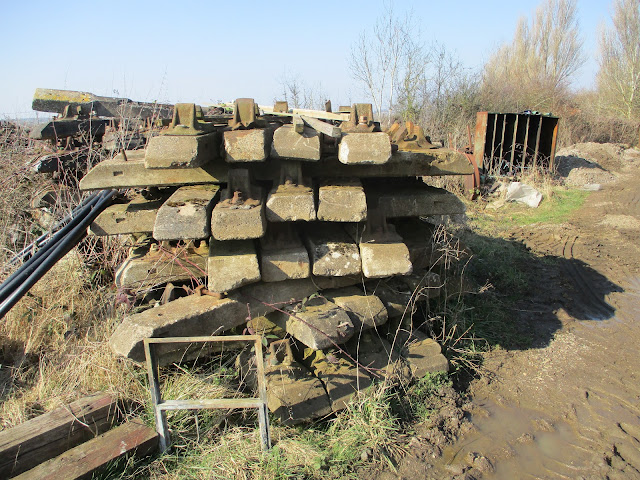
The area around the washing plant is a store for all sorts of railway related stuff and being out of the public gaze it does have that abandoned look to it but that is all part of the character of the place.

Rocks by Rail Museum

Rocks by Rail Museum

Rocks by Rail Museum

Rocks by Rail Museum

Back at WMD HQ the Scania 141LB has progressed with the prop-shaft, exhaust, wheel hubs and air intake having been added.

Heller Scania 141 LB

Heller Scania 141 LB

On the Scania 143 the front valance has been completed and a start made on the cab decals which are a pain to fit!

Italeri Scania Streamline 143H

Italeri Scania Streamline 143H


Monday, March 7, 2022

Second Look!

Out on my bike ride this morning I happened to go round a roundabout and spotted the price totem at a local petrol station near a major trunk road. I thought I was mistaken in what I saw so went round the roundabout a second time no doubt to the amusement or otherwise of other road users. However despite the prospect of getting dizzy as I went round and round I was actually right in what I saw the first time! 

Highest petrol price in the UK?

Somewhat unbelievable and frightening! Luckily neither me or my bike required the services provided by this service station! 

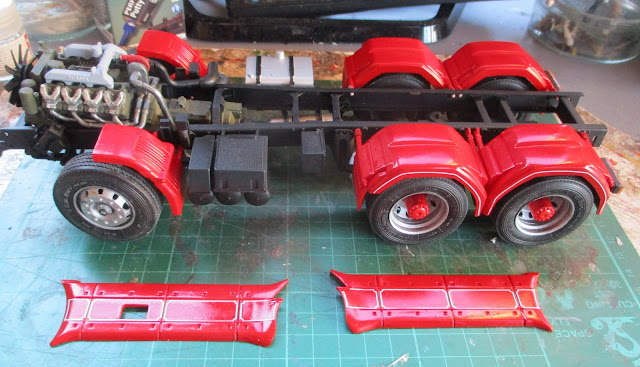
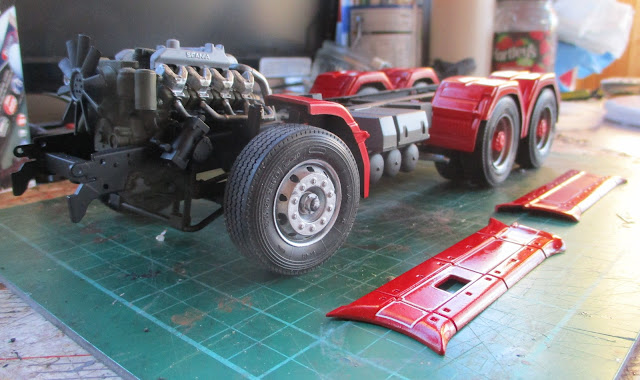
Having returned home without getting any more dizzy and having done some mundane jobs I did have a chance for a bit of time with the Scania 143H truck model. Mud guards are now on the chassis together with the rear lights and battery box cover. Now beginning to get to the stage where you would have a second look at it!
Italeri Scania Streamline 143H

Italeri Scania Streamline 143H

Italeri Scania Streamline 143H

Italeri Scania Streamline 143H


Sunday, March 6, 2022

Moving on!

The Scania 143H caught up on some of what I failed to do to it yesterday so it is moving on. 

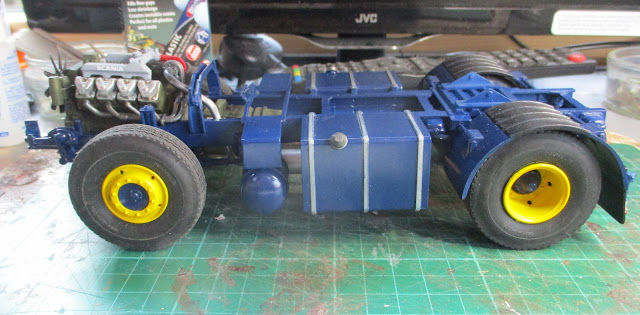
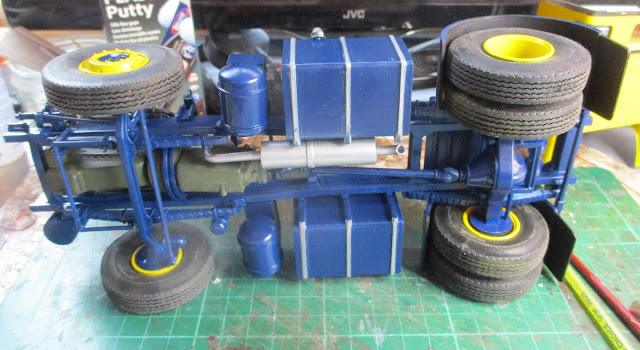
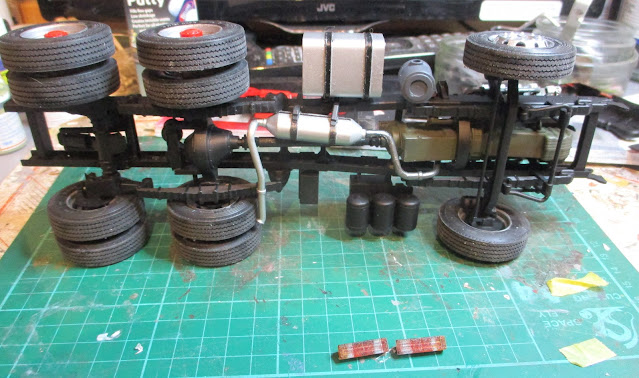
The exhaust and air intake are connected to the engine. The exhaust is never going to satisfy me but that is one of those things I will have to live with and probably will never be seen again once the kit is finished! The wheels are on as well and the fuel tank has also be glued in place - good job it is not real and needing filling with diesel with current prices! The mud guards are next and I have painted the rear light lenses and put them in the light case that then need to be fastened to the rear mudguards. I still have concerns about the fit of the cab on the chassis as I had to raise the engine slightly in the chassis to get it to fit and this may cause problems but I will have to wait to see if that is an issue! In the meantime the chassis looks like this. 

Italeri Scania Streamline 143H

Italeri Scania Streamline 143H