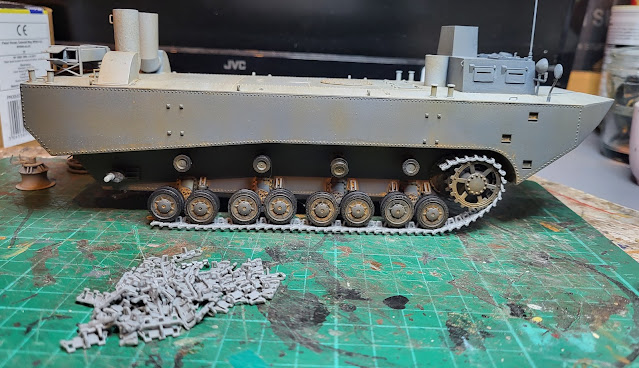
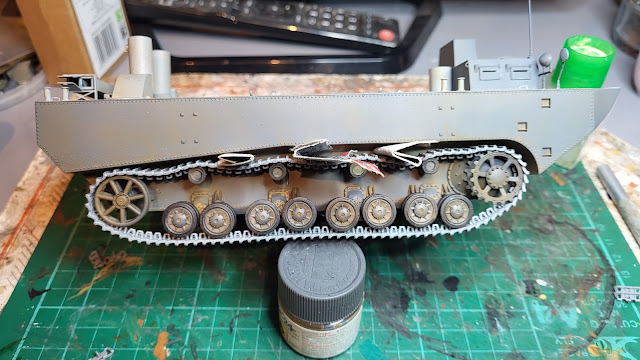
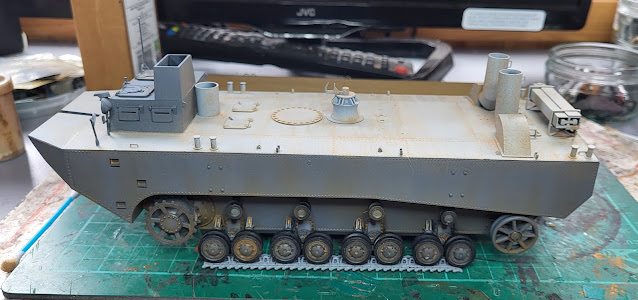
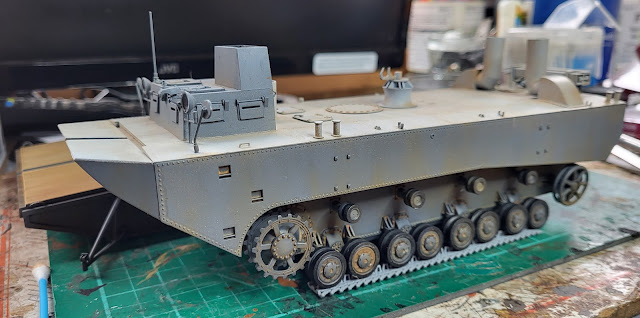
Been a busy few days so lets start off with something that has been done during the less busy times - the Panzer Ferry. Yesterdays post showed one side of the tracks in place with pieces of card in place to make sure the sags between the idlers were in the right place. Having removed the card I am pleased to report it looks good!
Recording my progress, or usually the lack of it, in building kits, creating model railways and other related and sometimes unrelated matters!
Search this blog
Saturday, September 2, 2023
The ideal number is 'X plus one'!
Friday, September 1, 2023
Lets track it!
Much as Mrs. Woody enjoys tracking the progress to delivery of her latest purchase the tracking I am talking about relates to Panzer Ferry. As the build of this kit progresses it has got to the time to build the tracks. I had already started a small section some time ago but now I needed to add to it to get the right hand side finished. The links are individual parts and altogether there are 105 to make each track. I also had to build them around the wheels to get the right bends and sags.
Thursday, August 31, 2023
The Panzer Ferry gets dirty!
As a young lad I can remember going on a Saturday morning to the local newsagent, who like most at that time. carried a selection of the 'pocket money' Airfix kits, paint and glue. Great sellers and many of my friends did as I did and deposited their weekly pocket money in the newsagents till in exchange for a kit. Getting home, the plans were glanced at, the parts twisted off the sprue and tube glue liberally applied to parts. A few hours later the kit was built. Sunday saw an assortment of Humbrol paints and less then clean or flexible brushes come out and by the end of the day the model was painted and decals applied. To me these were great models built by me and before school on a Monday! The reality was that they were glue and paint bombs! However we all had to start somewhere.
Move forward more years then I care to recall and my experience and learning over the years means even those pocket money Airfix kits can take me many days or even weeks to complete now. No more twisting parts off the sprue or applying paint with a near tar brush applicator! That young desire to create something quickly has been replaced by a more measured and matured approach of wanting to produce something that is the best I can - within reason and sanity! That takes time and as I work on the Dragon Kit of the Panzer Ferry I realise that as I am now at the weathering stage. I have probably spent about seven or eight hours on that aspect alone. However despite the time I do enjoy it and each time I do it I gain more experience. It is a therapeutic activity in todays sometimes rushed World. It is probably a good job I enjoy it as I will need to repeat the process when I build the other amphibious tank!
Any way back to the kit and having already started to weathered the sides of the pontoon and tank that process has continued all over both models and includes the wheels.
Tuesday, August 29, 2023
Real plastic imitation wood?
Sunday, August 27, 2023
Topiary? What is that then?
It is a Bank Holiday and as I am working at the Rocks By Rail Museum tomorrow Mrs. Woody and me had a day out at a place called Elton Hall near Peterborough. Although the last holiday weekend of the Summer it was busy at the Hall but not crowded, if that makes sense?
The Hall itself is a real mix of various ages of building with parts dating back to 1066 through to 1860 when the last major building work took place. Fascinating inside but being a house still used as a residency no photography was allowed inside which I can understand. We ended up taking about two hours to go through several rooms and had a good chat with the very friendly stewards. That did not leave a great deal of time for the gardens but what we did see was really nice - certainly much better then the WMD HQ gardens!
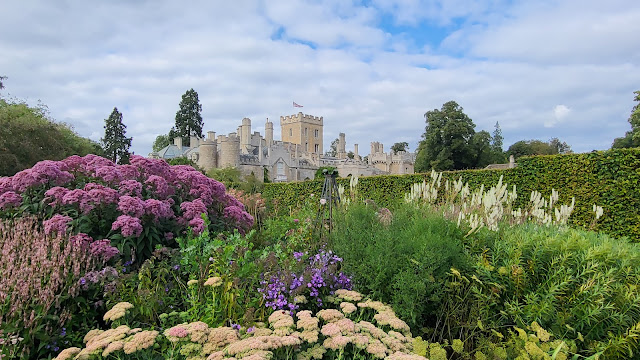
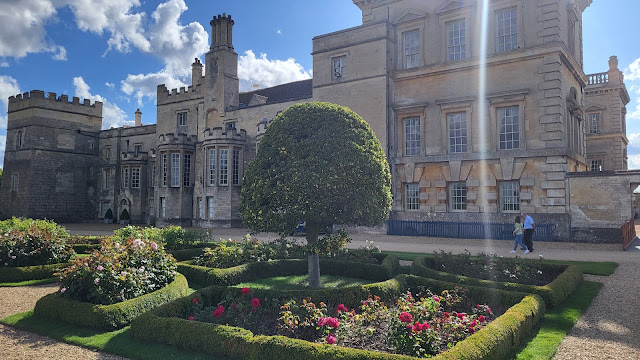
Looking back on the Hall you can clearly see the various different stages of its development over the centuries. Despite the mish mash of styles it still looks impressive.
The gardens are well known for their topiary which I had no idea about. However I soon learnt that is the art of shaping shrubs and trees into shapes and there were certainly some wonderful examples to illustrate the art of topiary like this dog that Mrs. W found to her taste.
These peacocks also looked very impressive.
I have talked about cutting hedges in this blog before but I certainly would not want to have to do this one!
Pyramid shapes are a theme throughout the garden and make an impressive statement.
Carrying on the pyramid theme, this water feature was my favorite part of the garden.
There are also those classic English country garden scenes to enjoy.
Back at the somewhat less glamorous WMD HQ I ignored the garden and the various possible locations for the establishment of topiary shrubs and retired to the safety of my Man Cave to do a bit more on the Panzer Ferry kit.
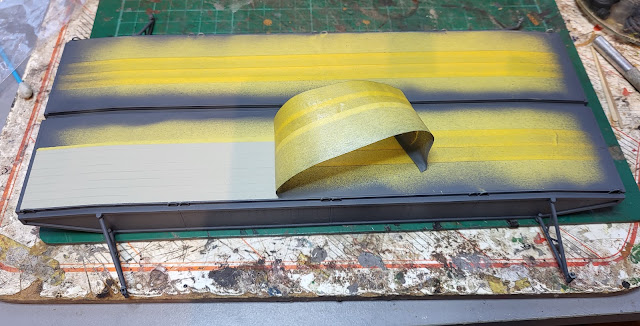
Having sprayed the wooden deck I applied a coat of matt varnish to protect it and once dry the deck was masked up.
Saturday, August 26, 2023
What is that???
Out on a bike ride I came across this and my immediate thought was, what is that?
Not a car shape that you see every day and things like the underbody sealant spray job on the body pointed to the fact that this was very much a custom job. But what car was it based on? A quick look round the back revealed that it had started life as a Nissan Micra!
It looks to be well engineered with some substantial struts in place to add strength following the removal of the rear upper body. Not sure if it really needs the rear spoiler and the wide wheels but who knows what may have been squeezed engine wise under the bonnet to replace the original 1lt. block!
Although not something I would wish to own or indeed drive, I never the less admire the work that has gone into making something that is a one off and certainly catches the eye as well as no doubt raising that question as to what is that in the minds of many who see it!.
Back at WMD HQ I have returned to the build of the Panzer Ferry kit which when finished may also raise that question as to, what is that, with those that see it.
The deck of the pontoon has now been sprayed in Tamiya Deck Tan which is a good shade to use.
Next up is to give it a coat of matt varnish to allow for the next stage of painting - more of that in a later post!
Monday, August 21, 2023
Very lucky!
I have to say that although I some times doubt it, I am actually very lucky. Out on a bike ride this morning I stopped to take this photo as a reminder of the countryside I am so lucky to have around WMD HQ in which to cycle. Perhaps I was not so lucky in having to cycle uphill into a head wind to get to this view point but it was worth it!
Talking of cycling it is not going well! Last year at this point I had over 4000 miles done but this year with the bad weather I have only reached 2880 which means this years target of 5200 is looking doubtful. Never mind, at least I am lucky enough to be able to get out sometimes!
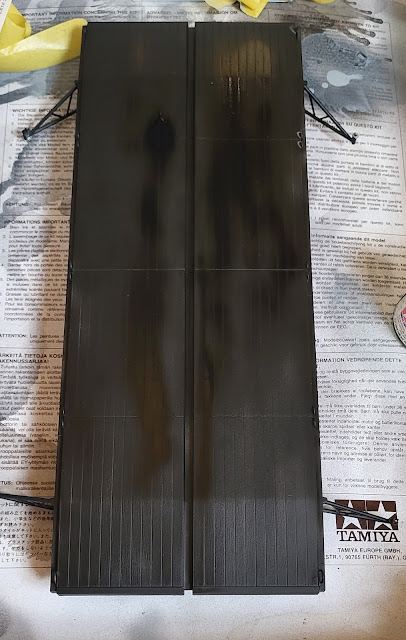
Back at WMD HQ the top side of the Panzer Ferry pontoon has been primed in black.
The deck of the pontoon is supposed to be grey painted wood planks. However the paint would in real life wear away where it was trafficked so it will be sprayed with some Tamiya deck paint and then hairspray will be applied before applying the same grey as the amphibious tank has been painted in. Once painted the hairspray should allow parts of the grey paint to be abraded off leaving the deck colour showing.
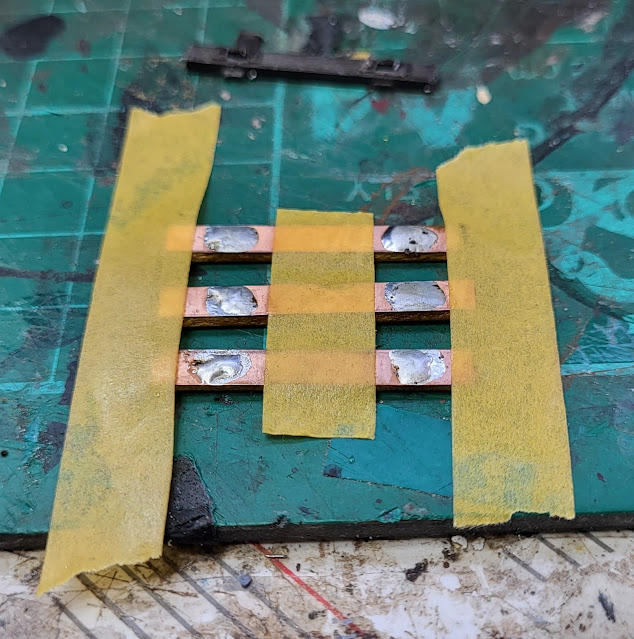
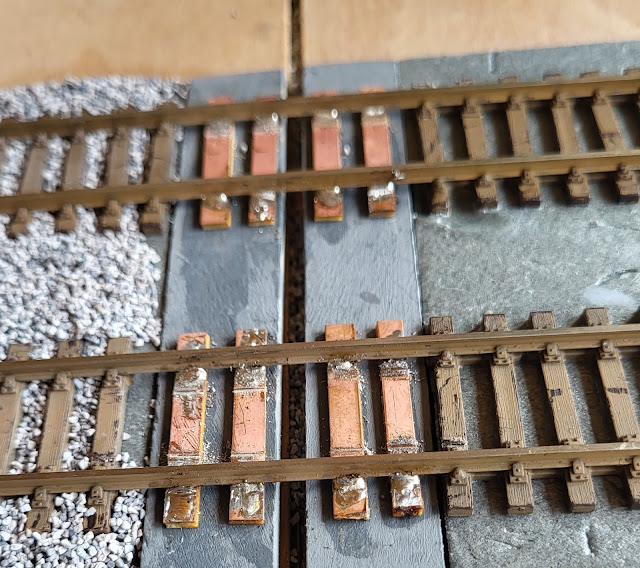
On my 00 gauge Last Great Project layout progress amazingly continues. My job at the moment is to prepare the track at the baseboard joints so that it can be cut through to allow the removable board to be, well, removed!
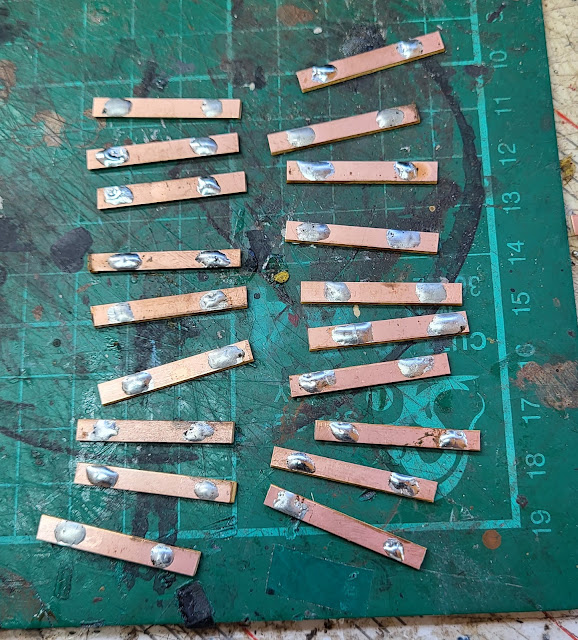
First job was to retrieve from WMD HQ Stores my stock of copper clad strip. Bough many years ago it is sold as a sleeper strip for modeller who build their own track. It is roughly sleeper width and just needs cutting to lenght.
I had to file through the copper cladding to prevent a short circuit between the rails. It may look a bit messy at the moment but once cleaned up, painted and ballasted the track should look OK. I will cut through the rails once I have soldered all the tracks so that may be later this week. Once cut, that saw width gap between the baseboards should disappear - if I am lucky!!!!
Sunday, August 20, 2023
Mrs. Woody gets a day out!
Somewhere that Mrs. Woody has wanted to go for some time now is Grimsthorpe Castle near Bourne in Lincolnshire. After a few abortive attempts today was the day we actually finally got there and it was open too! From that you can probably deduce that we have tried to go on a closed day before now!
Whilst not a castle in the traditional sense with a moat and battlements it still is impressive.
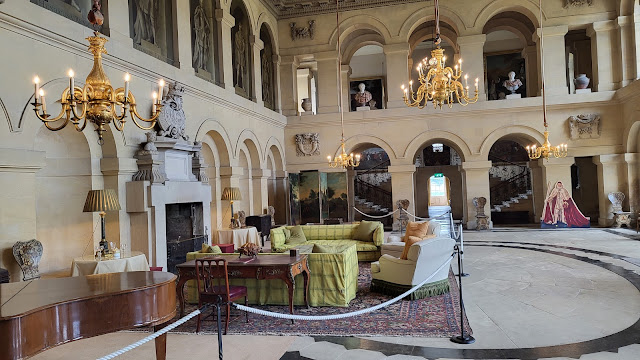
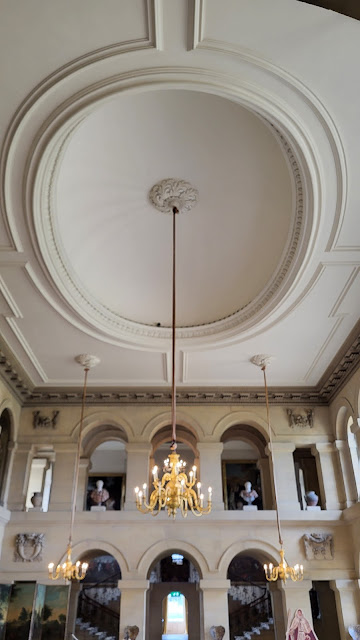
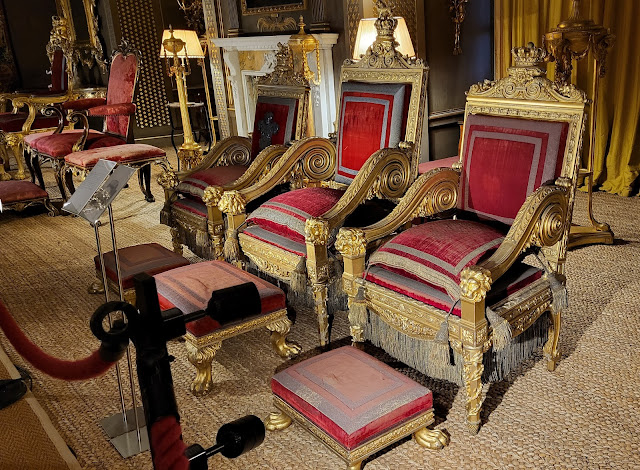
Inside this is the entrance hall.
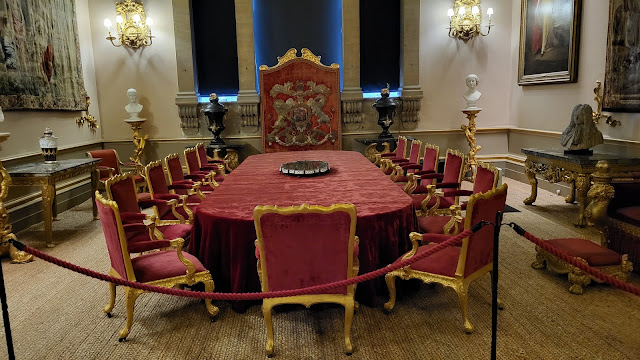
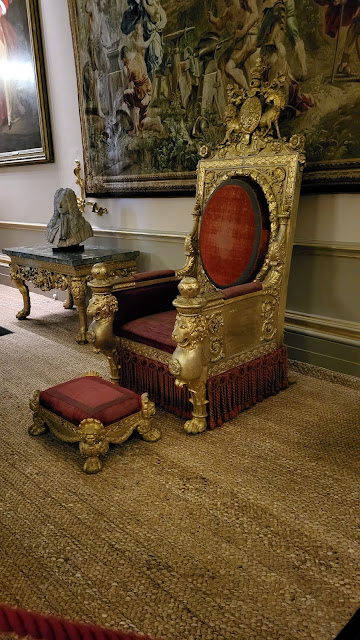
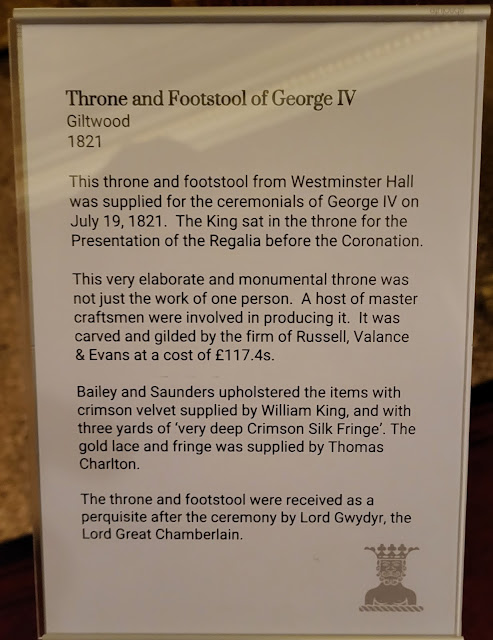
We spent about two and a half hours wandering round and chatting with the knowledgeable and very friendly guides. Getting outside we did not really have time to fully explore all the gardens and grounds - there are about 10 miles of walks to do! - but we saw enough to decide on a return trip in the not too distant future.
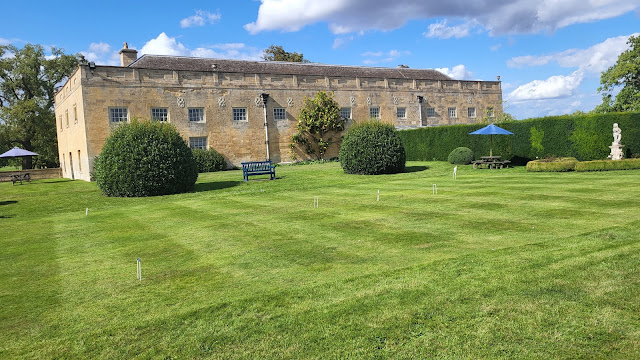
Mrs. W and me sat outside overlooking the croquet lawn and ate our packed lunch which I had carried about in a plastic carrier bag! We then headed for the gift shop where this ultimate picnic hamper made my plastic bag look somewhat inadequate but at £149 for the hamper, the plastic bag won't be thrown out just yet!
Back at WMD HQ the Panzer Ferry pontoon is being primed. It takes alot of paint with all those large flat surfaces!
I have also started to assemble the tracks which come as individual links and handily they are already off the sprue which saves some time.

