Search this blog

Friday, February 23, 2024

When parts don't look right.

Despite everything else that has been going on, my job of finishing the Italeri DAF 95 Canvas truck has progressed - just not as quickly as I had planned!

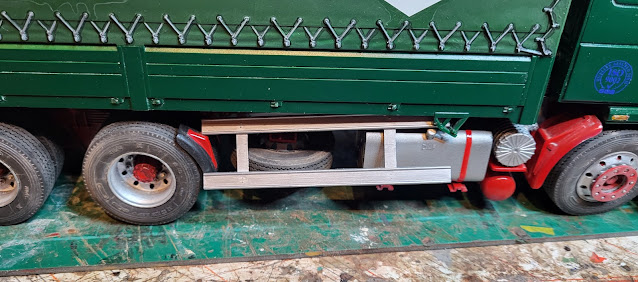
I have started with fitting the side underrun guards which has inherent problems. When Italeri produce a kit like the DAF Canvas truck, the basically modify one of their tractor unit kits and add the body from one of their trailer kits. The result is that not everything fits as it should and the guards are an example.

On the one side the kit part fits nicely once I added some extra bracing from plastic strip and angle so that it mounted to the bottom of the cargo body securely. It just needs painting black now that it is mounted.

Italeri DAF 95 Canvas Truck,

Italeri DAF 95 Canvas Truck,

Italeri DAF 95 Canvas Truck,

But on the other side there is no way that it looks right as it covers half the fuel tank and shrouds the filler cap.

Italeri DAF 95 Canvas Truck,

To cure this, Mr. Saw came out and sectioned the part.

Italeri DAF 95 Canvas Truck,

Out of the remains a shorter guard was fabricated which once smoothed and painted should do the job nicely!

Italeri DAF 95 Canvas Truck,


Thursday, February 22, 2024

For spares or repair and it all got very wet!

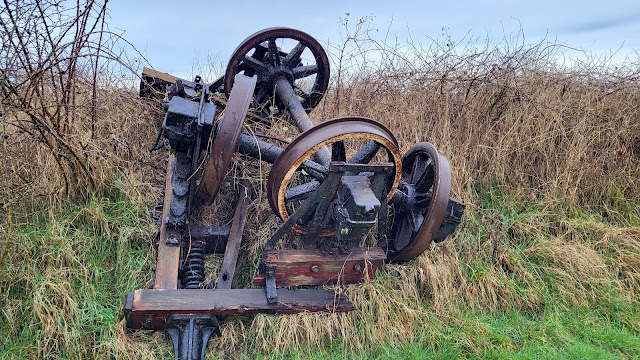
For spares or repairs is the advert I would put on this lot, which if you read last weeks post (available here) are the remains of the wagon that broke up as it was being moved! Off the track the remains are now being stored awaiting their fate!

Rocks by Rail Museum

Rocks by Rail Museum

Rocks by Rail Museum

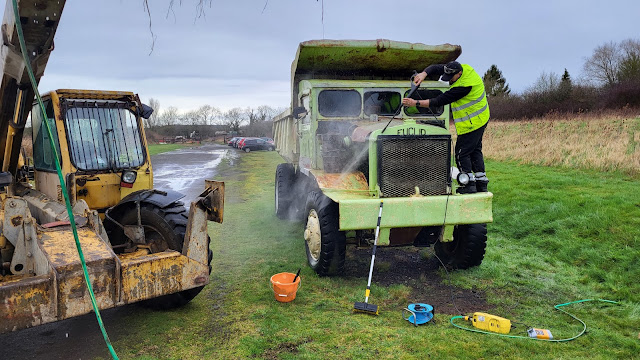
A day at the Rocks by Rail Museum today where the plan was to give the Euclid dump truck a wash down. Rob had got the pressure washer out, filled a large water container and rigged up a power supply. Now at the best of times water and washing generally have some wetting probability for those engaged in the task. Add a pressure washer to the mix and the probability of wetness goes up and then add rain, heavy rain at that, and it is just inevitable that those engaged are going to get wet! However there is a point at which you get so wet you just carry on as you have already got wet and cannot get any wetter! So it was hat Rob, John, Pete and myself got soaked but the Euclid looked a lot better.

John surveys the cleaning products - I don't think my suggestion for polishing and waxing the paintwork after washing went down too well!

Rocks by Rail Museum

Rob arrives with the water and pressure washer. We got water pressure by raising the water container up in the air - clever!
Rocks by Rail Museum

Rob's enthusiasm sees him clambering all over to get the dirt off.

Rocks by Rail Museum

even to the point of getting inside the dump body - I did suggest we take the ladder away and leave him in there!
Rocks by Rail Museum

It may not have been muddy dirty but the amount of dirt that had just gathered on the truck from the weather shows in this picture where the pressure washer has cut through to reveal clean paintwork and rust!
Rocks by Rail Museum

What does the inside of the tipper body look like - well here is a photo but without Rob in it!

Rocks by Rail Museum

Finished and cleaner looking. Rob mentioned painting but that is definitely a job for a dry day!

Rocks by Rail Museum

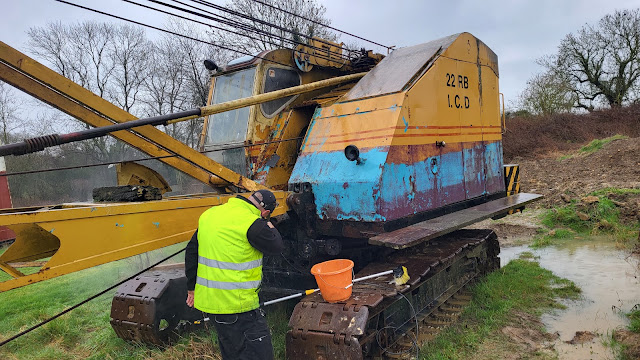
Flushed or should that be soaked, with the success of cleaning the Euclid, Rob suggested doing the same with the drag line. We started but as the rain got heavier the enthusiasm wained and we called it a day!
Rocks by Rail Museum

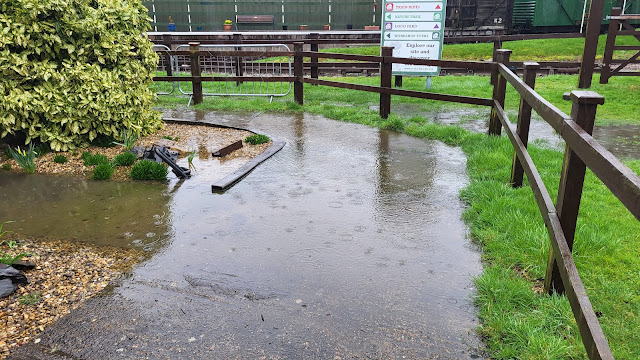
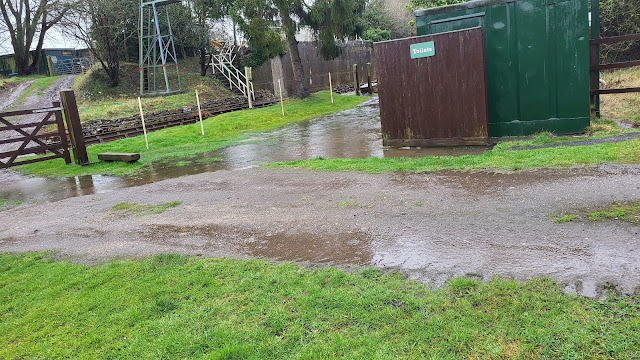
This is how wet it was getting with flood water everywhere.

Rocks by Rail Museum

Rocks by Rail Museum

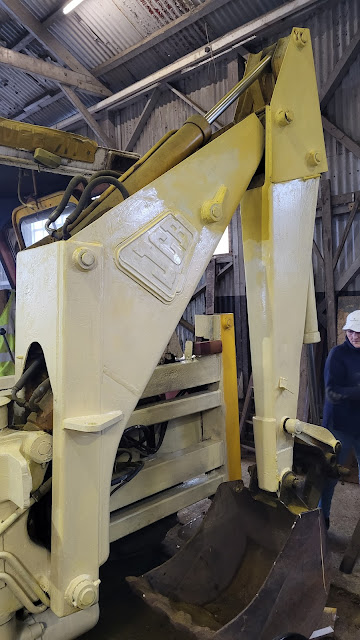
And to think I could have been inside in the dry helping Pam paint Harriot the JCB

Rocks by Rail Museum

Or Alex paint the ceiling of the cab of Ketton No1.

Rocks by Rail Museum

Or David and John fitting a makers plate to DE5.

Rocks by Rail Museum

Or Pete cleaning up a bench drill. Even Riley the dog is sensible enough to be inside - but not me!

Rocks by Rail Museum


Wednesday, February 21, 2024

Is Mrs. Woody about to take up model making????

A visit with Mrs. Woody today to the garden centre to buy 2 bags of compost turned into 5 bags, some plants and this......

Model Greenhouse

Mrs. W showed an interest in this and I thought that's good and bought it for her. It will either be made soon or Mrs. W has the beginnings of a stash of kits waiting to be built just like mine! I will report on progress - so dont hold your breaths!

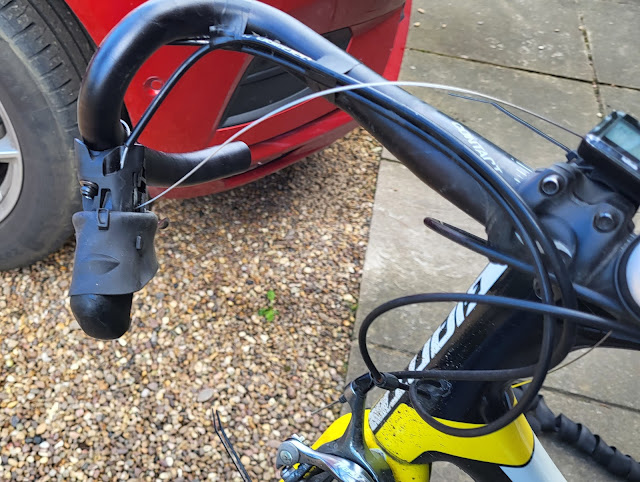
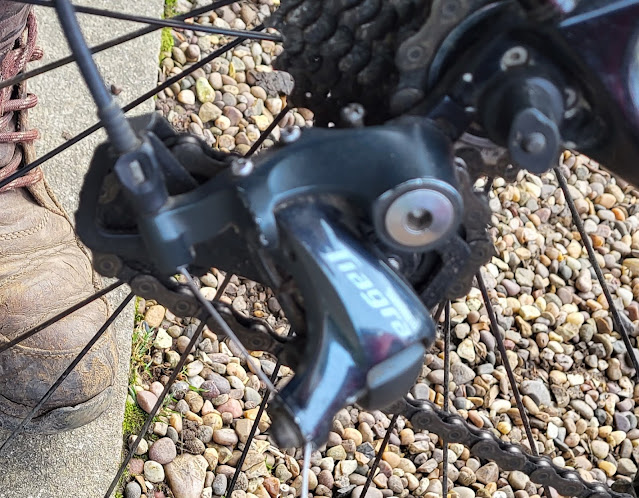
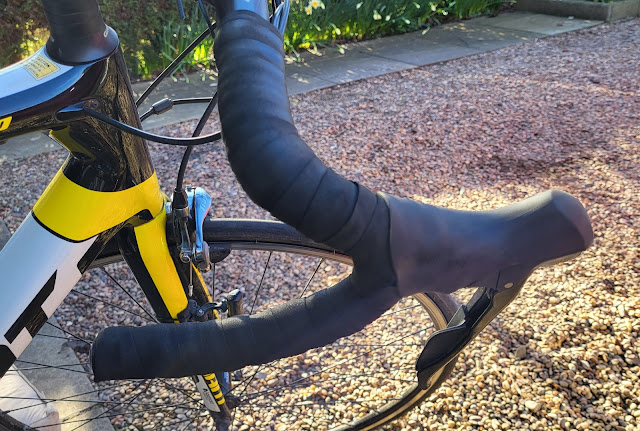
Yesterday I spoke about a day of frustration and this related to the gear cable on one of my bikes which broke a couple of weeks ago. Luckily I was only half a mile from home so being condemned to top gear was not too much of a strain to my worn out legs! What should have been about a 15 minute job turned into something a bit more major as I found that the lever itself had broken. Thirty years or so ago derailleur gears were hanged by levers usually mounted on the downtube of the frame or on the handlebars. Changing a cable was relatively simple. However with new technology comes added complications. The new technology was that the gear lever was incorporated into the brake lever making life so much simpler as you can brake and change down gear without taking your hands off the handlebars. I have been using this type of lever for 25 years now and like them and never had a problem with them until now! The added complication is that the brake/gear lever becomes a lot more complex and if you read the forums trying to repair them, even if they are repairable, requires levels of calmness and perseverance that I just don't have! To that end I had to order a pair of new levers - you can't buy one on its own very easily. List price £240! That nearly made me reconsider my levels of calmness and perseverance but luckily I am still using old technology! With the advent of hydraulically operated disc brakes, cable operated levers have become outdated and so I was lucky to find a brand new pair of levers for £70! Now whilst still a lot of money it is a lot less, even by my calculation, than £240!

With new levers delivered I decided to just change the broken one.

Cycling

The handlebar tape had to come off, the brake and gear cables taken out.

Cycling

The clamp holding the lever released and the lever slid off. It all sounds easy but takes time especially when you have not done this for a long time!
Cycling

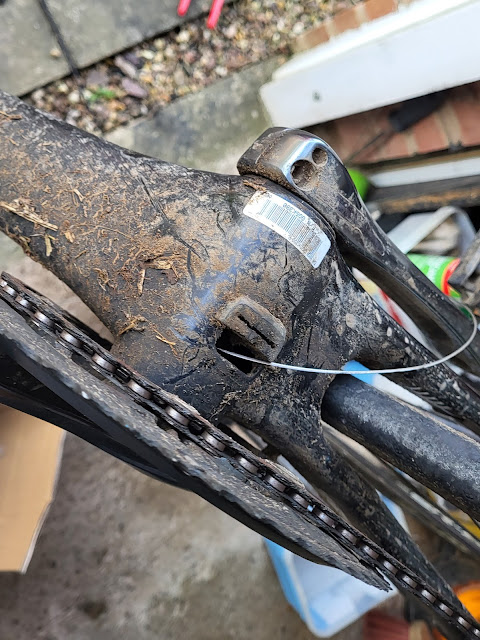
With the new lever in place and cables refitted the gear cable had to be fed through the frame itself which involved taking this bracket out of the bottom bracket. 

Cycling

Eventually, after several deposits in the swear jar, the cable was through to rear mechanism. Then I had to index the gears which involves adjusting the cable so that as the lever ratchets up and down the movement of the cable moves the rear mechanism enough to move the chain to each of the cogs.

Cycling

With that done and as the old handlebar tape was in good condition that was reapplied and job done!
Cycling

It was going to be tested today but the rain prevented that! Later this week though I will find out if I have been successful or whether I should take up building model greenhouses!
Tuesday, February 20, 2024

Mr Beechams Man Cave visit.

It was one of those frustrating days when a half hour job took four hours but more of that tomorroe! In the meantime I look back to yesterday when I visited Mr. Beecham, he of model making skills and cycling prowess that surpass mine, and was shown round his man cave. A great place with a wide selection of models both built and waiting to be built as well as the beginnings of a model railway.

I could have taken hundreds of pictures but I cannot do the justice that the models require so here are a few pictures of some great models.

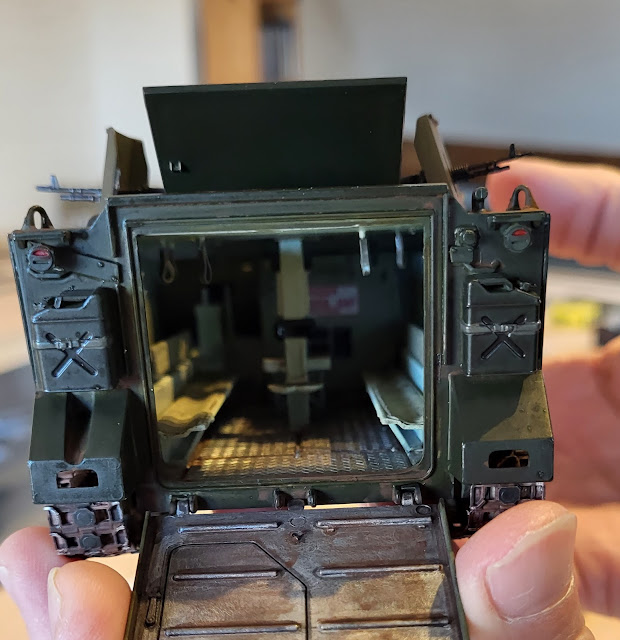
This APC - Armoured Personnel Carrier took my eye with its internal detail.


Beecham Models

It is based on a real vehicle too as shown in the photo.

Beecham Models


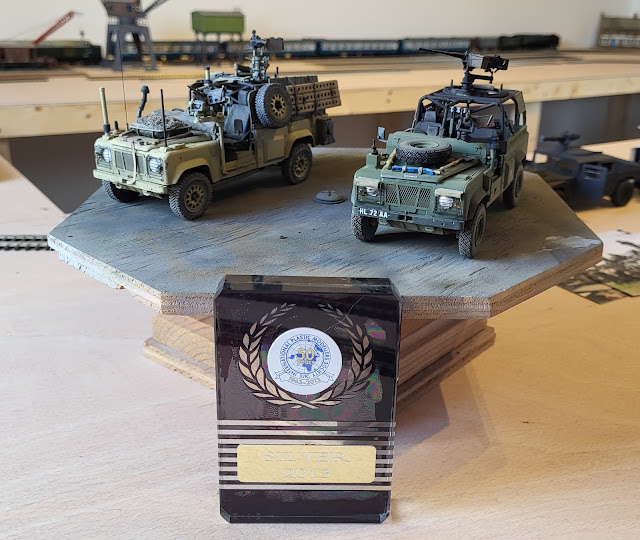
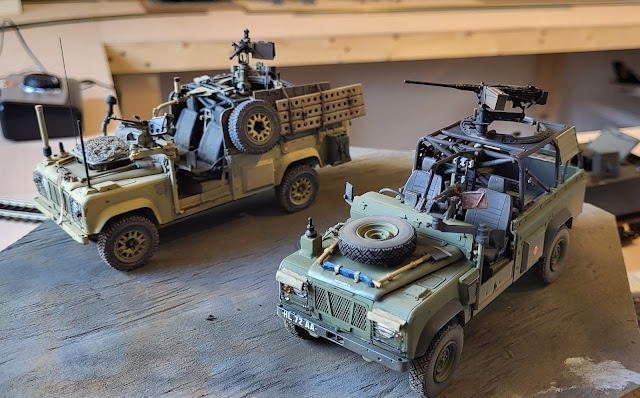
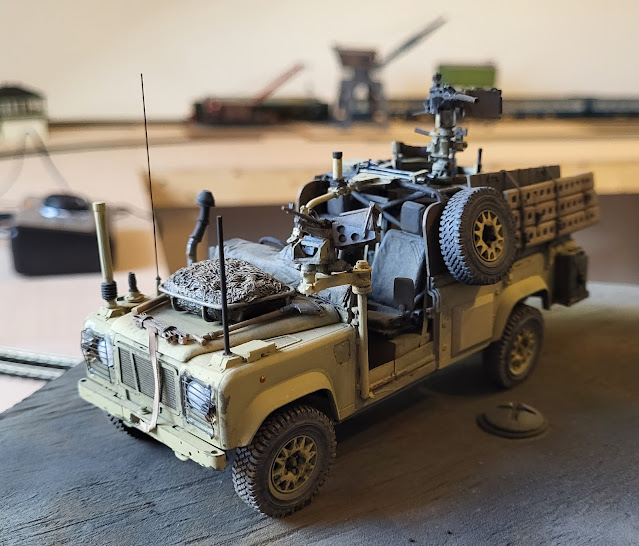
These two Land Rovers were also some really nice models - so nice that the beige one gained a Silver award at Telford  - nice!

Beecham Models

Beecham Models
Beecham Models

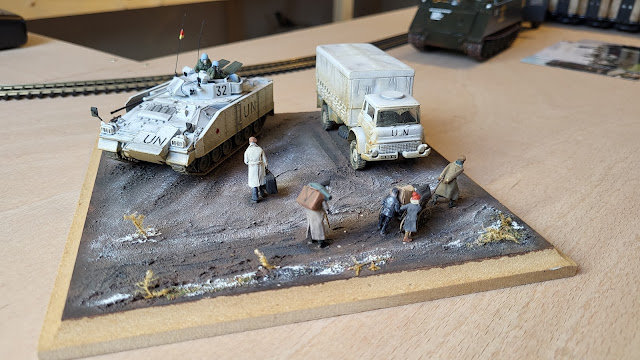
Lastly this diorama based on a scene in Bosnia brings back memories of seeing such things on the TV news.

Beecham Models

 Always good to see someone else's models and Man Cave and inspiring it can be - I really need to get mine more organised like Mr. B's! 

Monday, February 19, 2024

Something finished!

 Yes I know I was working on finishing the DAF 95 Canvas truck but this sort of took over but I have finished it!!!!

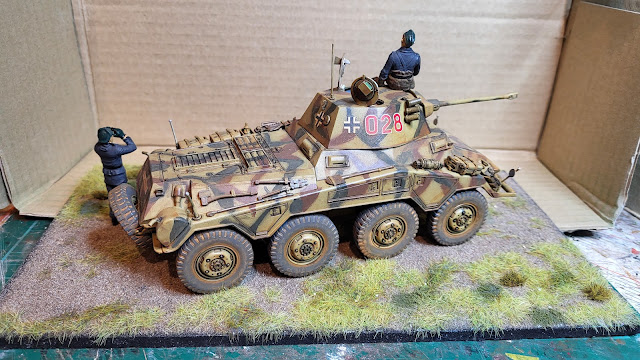
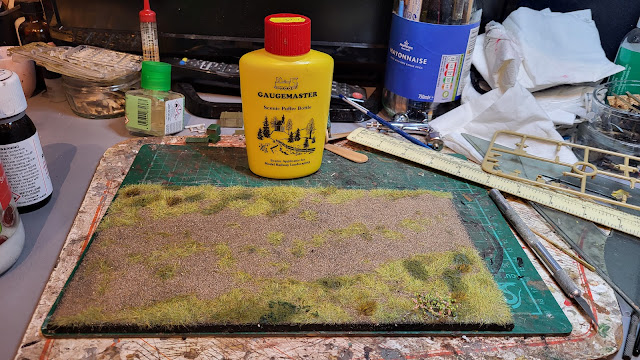
Having yesterday created a sheet of in effect sandpaper for the Tamiya Sd.Kfz 234/2 Puma to stand on I brought some life to it with some static grass and foliage to create a track with sparse greenery either side of it.

Tamiya Sd.Kfz 234/2 Puma

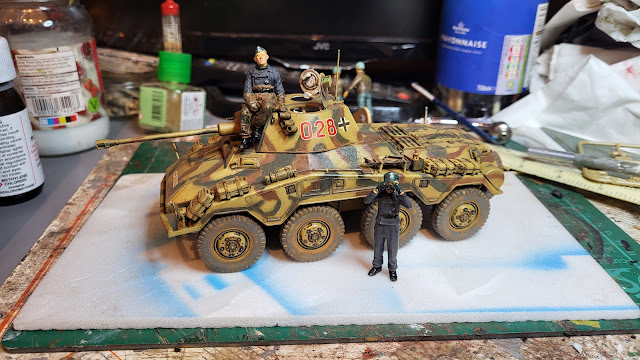
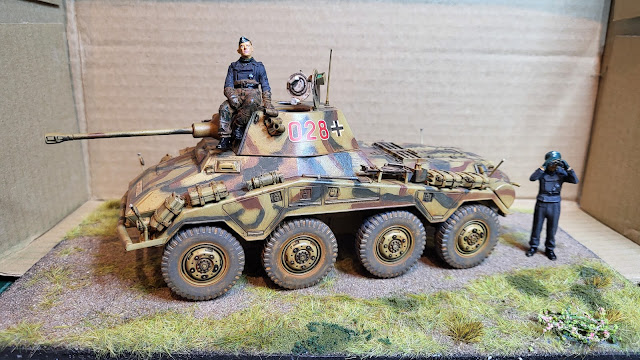
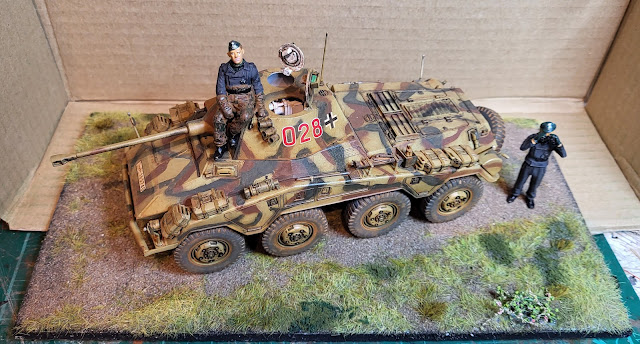
With that enjoyable experience out of the way it was time to add the model which I think looks good on this base but I am bias!

Tamiya Sd.Kfz 234/2 Puma

Tamiya Sd.Kfz 234/2 Puma

Tamiya Sd.Kfz 234/2 Puma

Tamiya Sd.Kfz 234/2 Puma

Nice to have something finished!


Sunday, February 18, 2024

The sands of time mean a spare box is handy!

Following on from yesterday, when I probably unwisely announced I was going to finish off some of my outstanding projects in order to get rid of the boxes that contained the last few parts that these projects needed to be finished, I have actually ironically found a reason to have a spare box handy! Let me explain!

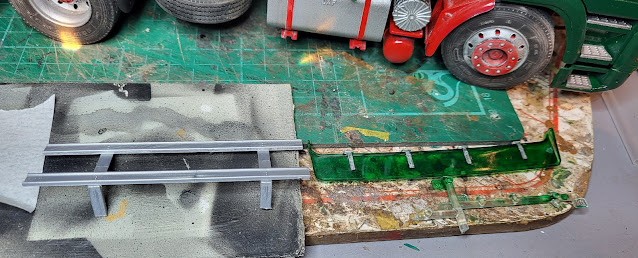
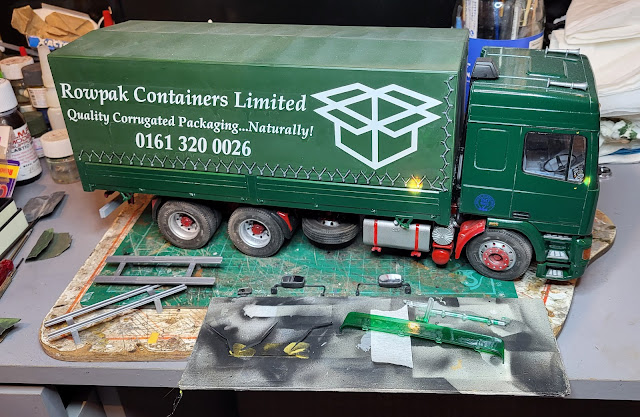
I was going to get the DAF 95 Canvas Truck completed but there were some parts to paint including the side under-run bars and the mounting parts for the windscreen visor. I painted these and left them to dry.

Italeri DAF 95 Canvas Truck

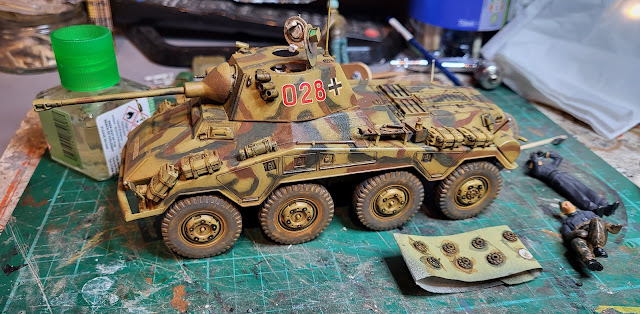
Finding something to do whilst the paint dry drew me to the Tamiya Sd.Kfz 234/2 Puma model that just needed the wheel hubs fitting. I had left them off as I was going to do more weathering on it but I now think it looks fine. Most of my weathering is quite heavy so it makes a change to have a model that looks as though it may not have been through a mud bath! The hubs were fitted without major incident which was somewhat unusual as I did not even drop one of the hubs on the floor!

Tamiya Sd.Kfz 234/2 Puma

I then thought that it would be nice to mount it on a diorama base so as I had one of my saved styrene pizza bases to hand from another job it got cut to a rectangular shape.
Tamiya Sd.Kfz 234/2 Puma

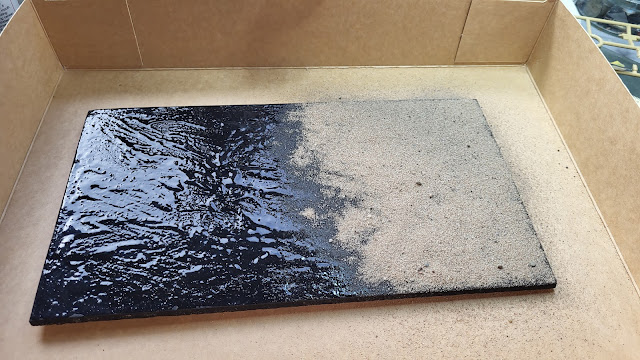
A coat of black acrylic paint was applied which dried fairly quickly.

Tamiya Sd.Kfz 234/2 Puma

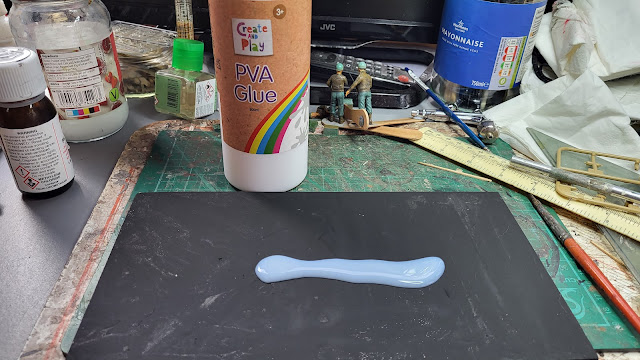
Then the play PVA glue was applied.

Tamiya Sd.Kfz 234/2 Puma

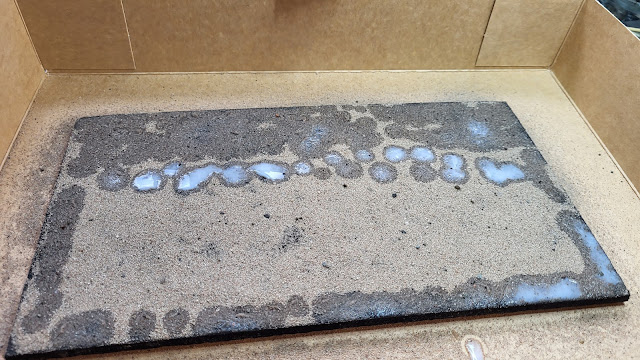
Onto which my favoured kiln dried sand  or the sands of time as I now call it because it's the same type as found in hour glasses, was scattered and this is where the spare box comes in handy! All the mess is contained in it and the surplus sand, once the glue dries, can be put back in its container for reuse!

Tamiya Sd.Kfz 234/2 Puma

Which, once all the base was covered I soaked the sand in dilute PVA using a syringe.

Tamiya Sd.Kfz 234/2 Puma

Then another layer of sand!

Tamiya Sd.Kfz 234/2 Puma

It just needs to dry fully now and should do as I sneaked it passed Mrs. Woody into the airing cupboard where hopefully she will not find it. If she does, she may well find having a spare box around is also handy for her, as she can use it to hit me with it! Aren't boxes great!

Saturday, February 17, 2024

Time to finish off some things as Spring has indeed sprung!

Anyone who has read this blog will know I have a habit of not finishing projects. The reasons are numerous and probably completely unjustifiable but every so often something coerces me to go back and do the finishing touches. This time it is the number of kit boxes scattered about the Man Cave with the last few pieces of kits that need finishing that is the coercing factor. If I get rid of the box before finishing the kit I will end up mislaying the parts so the box stays until the parts are used up! 

These ar just a few of the boxes!

With the recent clear out of magazines I now have that desire to get rid of the boxes so I am starting with the Italeri DAF 95 Canvas Truck which is just about finished apart from mirrors, windscreen wipers, windscreen sun shield and side under-run guards. 

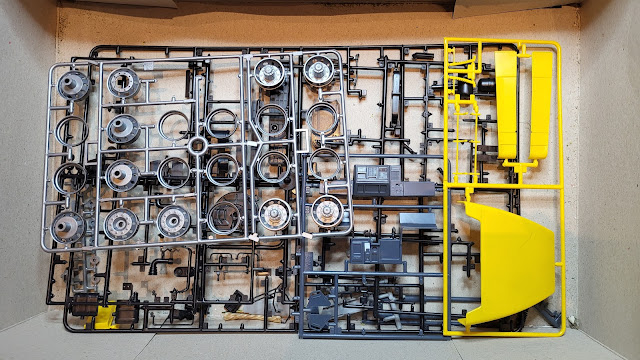
The box still has a lot of parts in it and I had to remind myself that I had replaced the wheels and dash board with resin items and did not use the air deflectors. Those parts can go in the spares box - oh dear yet another box!

Italeri DAF 95 Canvas Truck

This is what I am left with to fit. Hopefully should not take too long - in my inevitable famous last words!

Italeri DAF 95 Canvas Truck,

On non-model making matters I did take Mrs. Woody to see the snowdrops at Easton Walled Gardens and if snowdrops are the indication that Spring has sprung then it certaily has with the number out. It did look impressive with carpets of white all over the large garden.

Easton walled gardens


Easton walled gardens

Apart from the delight of seeing so many snowdrops I also learnt that there are nine varieties in the Gardens thanks to this very informative display unit. Who says that learning has to be boring!

Easton walled gardens