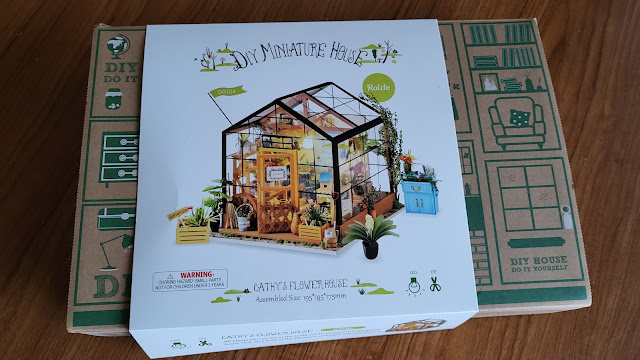
A visit with Mrs. Woody today to the garden centre to buy 2 bags of compost turned into 5 bags, some plants and this......
Mrs. W showed an interest in this and I thought that's good and bought it for her. It will either be made soon or Mrs. W has the beginnings of a stash of kits waiting to be built just like mine! I will report on progress - so dont hold your breaths!
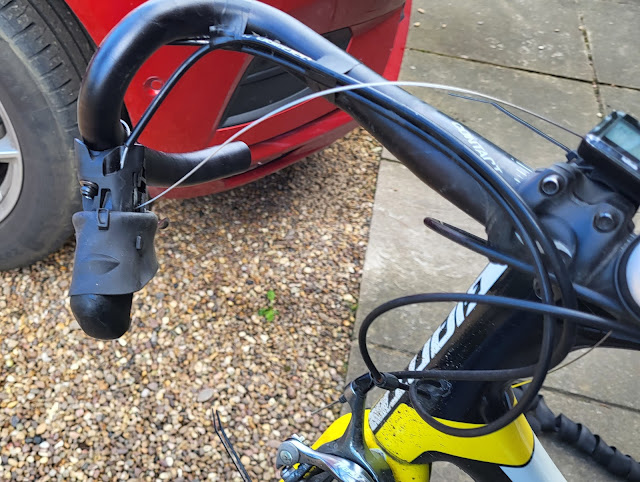
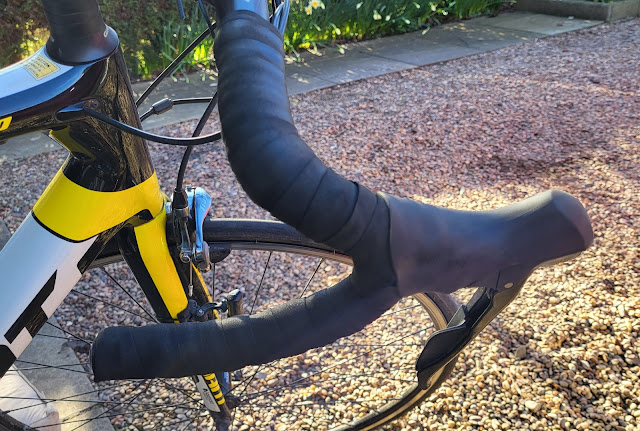
Yesterday I spoke about a day of frustration and this related to the gear cable on one of my bikes which broke a couple of weeks ago. Luckily I was only half a mile from home so being condemned to top gear was not too much of a strain to my worn out legs! What should have been about a 15 minute job turned into something a bit more major as I found that the lever itself had broken. Thirty years or so ago derailleur gears were hanged by levers usually mounted on the downtube of the frame or on the handlebars. Changing a cable was relatively simple. However with new technology comes added complications. The new technology was that the gear lever was incorporated into the brake lever making life so much simpler as you can brake and change down gear without taking your hands off the handlebars. I have been using this type of lever for 25 years now and like them and never had a problem with them until now! The added complication is that the brake/gear lever becomes a lot more complex and if you read the forums trying to repair them, even if they are repairable, requires levels of calmness and perseverance that I just don't have! To that end I had to order a pair of new levers - you can't buy one on its own very easily. List price £240! That nearly made me reconsider my levels of calmness and perseverance but luckily I am still using old technology! With the advent of hydraulically operated disc brakes, cable operated levers have become outdated and so I was lucky to find a brand new pair of levers for £70! Now whilst still a lot of money it is a lot less, even by my calculation, than £240!
With new levers delivered I decided to just change the broken one.
The handlebar tape had to come off, the brake and gear cables taken out.
The clamp holding the lever released and the lever slid off. It all sounds easy but takes time especially when you have not done this for a long time!
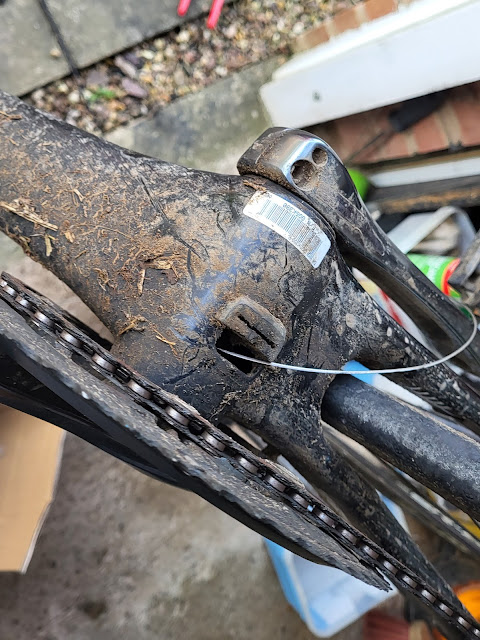
With the new lever in place and cables refitted the gear cable had to be fed through the frame itself which involved taking this bracket out of the bottom bracket.
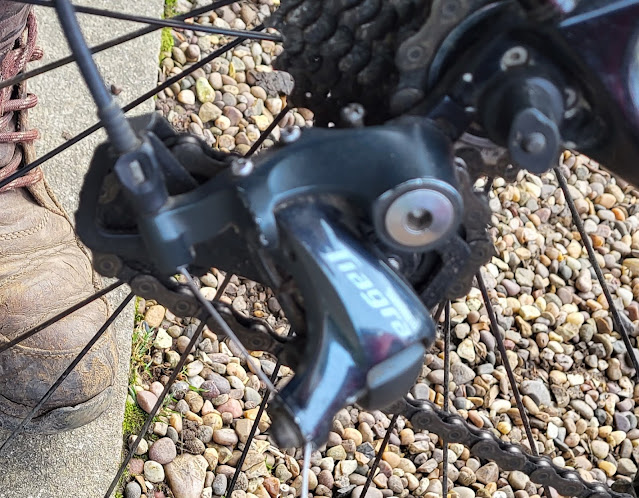
Eventually, after several deposits in the swear jar, the cable was through to rear mechanism. Then I had to index the gears which involves adjusting the cable so that as the lever ratchets up and down the movement of the cable moves the rear mechanism enough to move the chain to each of the cogs.
With that done and as the old handlebar tape was in good condition that was reapplied and job done!
It was going to be tested today but the rain prevented that! Later this week though I will find out if I have been successful or whether I should take up building model greenhouses!
