Search this blog

Showing posts with label Heller Scania 141 LB. Show all posts

Monday, March 11, 2024

Finished!

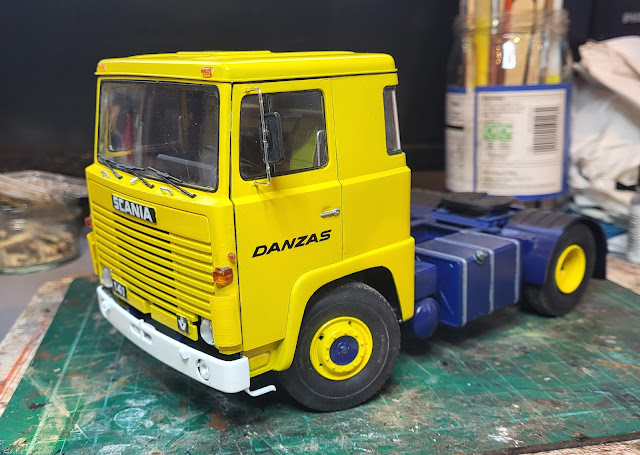
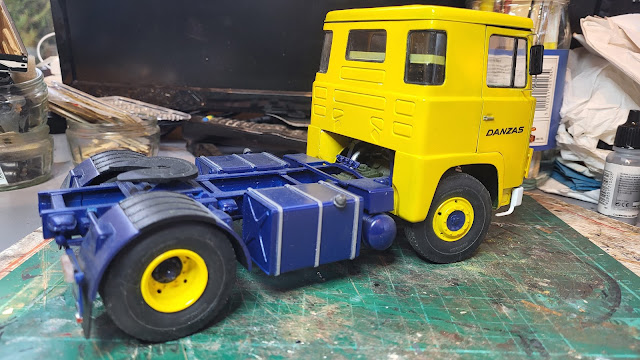
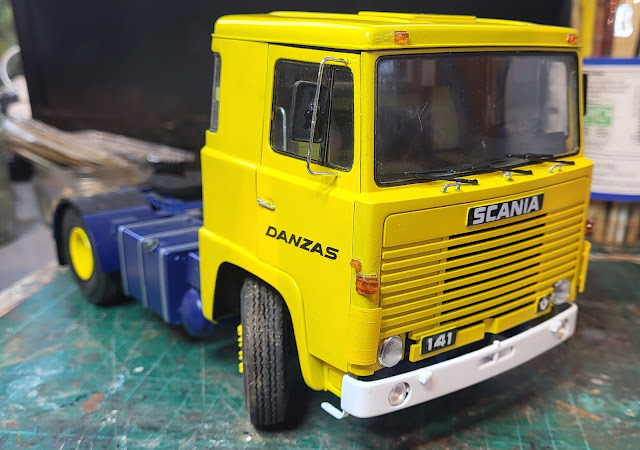
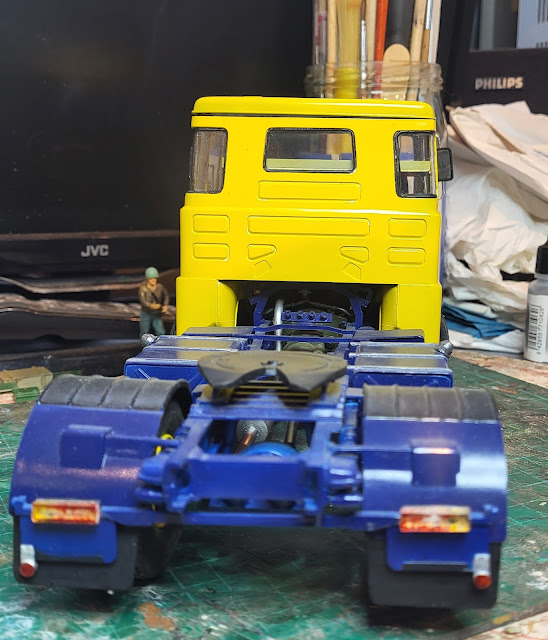
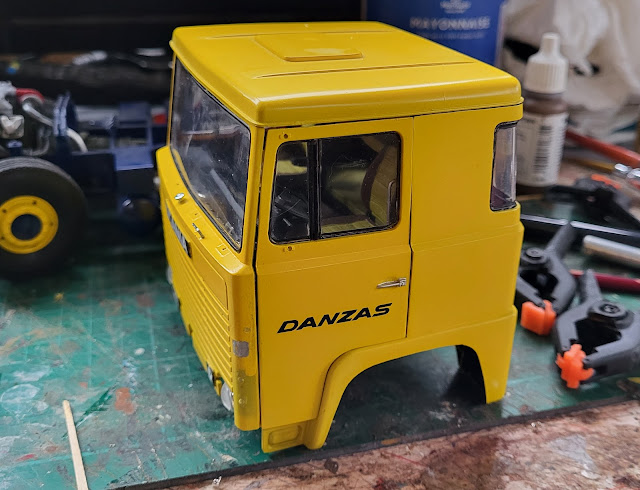
At last its finished! Not my best build and one that fought me especially towards the end but look at from a distance and it looks reasonable! So its off to the shelf for the Heller Scania 141 LB where it will be seen as a reminder of my perseverance and my frustration!

Heller Scania 141 LB

Heller Scania 141 LB

Heller Scania 141 LB

Heller Scania 141 LB

Heller Scania 141 LB

Heller Scania 141 LB

So now I can move onto something else with out any guilty feelings that I should finish this kit!


Friday, March 8, 2024

Perseverance 2 and a broken wallet!

The broken wallet is down to Mrs. Woody winning the discussion about replacing the kitchen. My view was that it was a great kitchen when I put it in back 30 years ago and is still good today - just with a few scratches, dents and worn parts - just like me! Anyway a trip down to a well known kitchen specialist resulted in a kitchen being ordered and my wallet broken as it was emptied! Never mind - the plan does look good and hopefully will last 30 years too!!!!

Perseverance is due to continuing with the Heller Scania 141 LB. Having got the doors fitted I have now managed to refit the parts I knocked off whilst fitting the doors and also fitting the windscreen wipers.

Heller Scania 141 LB

Heller Scania 141 LB

Just the mirrors, gear lever and number plates to fit although I must admit my heart is no longer in this build which has become hard work and a test of perseverance! At least the kit is cheaper than a new kitchen!

Tuesday, March 5, 2024

Peraverance!

Well instead of putting it back on the shelf I have persevered with getting the doors onto the Heller Scania 141 LB. They do not fit very well and would probably make a proper body shop cry with the gaps and alignment that I have managed. I have to say in my defence that all the other body panels are, as previously explained in this blog, warped and twisted meaning even the best modeller is going to be hard pressed to get a decent fit. Anyway they are on!  


Heller Scania 141 LB

Heller Scania 141 LB

I just need perseverance now to finish it which I am getting low on!!!


Sunday, March 3, 2024

'I will think about it!'

Sometimes you get to the stage where you think this model is actually fighting me! That is the case with the Heller Scania 141 LB, where, for what ever reasons I really haven't made that much progress with it. It seems like one step forward and several back. Take the recent incident of gluing the front cab panel to the rest of the cab body. I managed to knock off one of the grab handles glued below the windscreen and three of the indicator lenses also came off. All are safely stored awaiting reattachment but that will need to await getting the doors in place. 

Heller Scania 141 LB

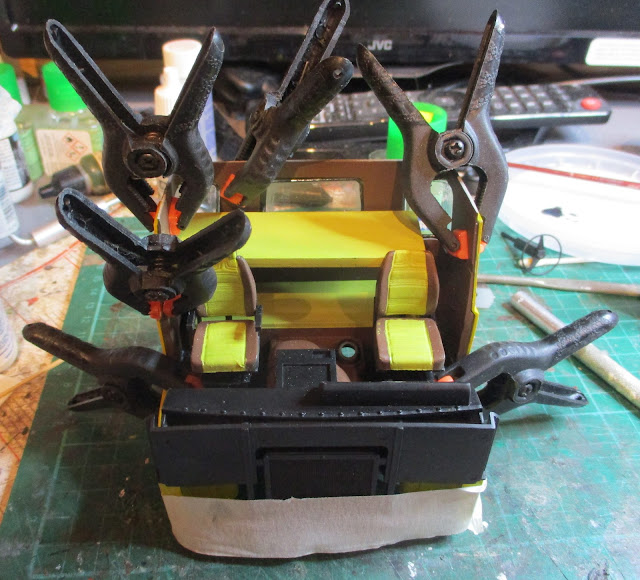
Tee model has not been the best and looking back over its build I did highlight the warped nature of some of the cab parts such as this.....

Heller Scania 141 LB

which required some hefty clamping when glued in place to get it to sit something like it should.

Heller Scania 141 LB

I'm sure this has something to do with the ill fitting doors! One side fits reasonably whilst the other refuses to line up with anything or fit the aperture until I started filing bits off! It does eat up time and dampens my model making spirit so I will consider if I now just put it to one side again and do something else to reinvigorate myself before coming back to it or do I just plod on! I will think about it, which is normally what I tell Mrs. Woody when she has presented an idea!

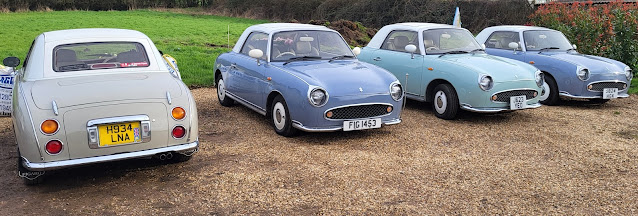
Something which did lift my spirits was whilst out on a bike ride today I came across all these Nissan Figaro's parked up in a village hall car park. Not a soul around but obviously an owners club get together and I have never seen so many of these cars in one group before now.

Nissan Figaro

Nissan Figaro

Nissan Figaro

These cars were never marketed in the UK and what is here is through so called 'grey imports'. They are based on the Nissan Micra and I think they look 'cute' and a lot more interesting then the Micra! If you want to know more about them there is info on the Wiki website located here. Maybe I should get one of these cars - I will think about it!


Friday, March 1, 2024

One of those days!

It has been one of those days when things have not gone quite as expected. We all have days like that and you just have to get through them. First off Mrs. Woody's car needed a new battery. Now the last time I bought a battery it cost me just over £20! I was expecting some inflation but the £200 cost took me aback but I was rebounded by the fact that it could have been £300! Then the 'small shop ' for just a few bits turned into £130! My wallet has taken a dramatic slimming today! My planned bike ride was abandoned due to the rain which probably rounded off the days unexpected events!

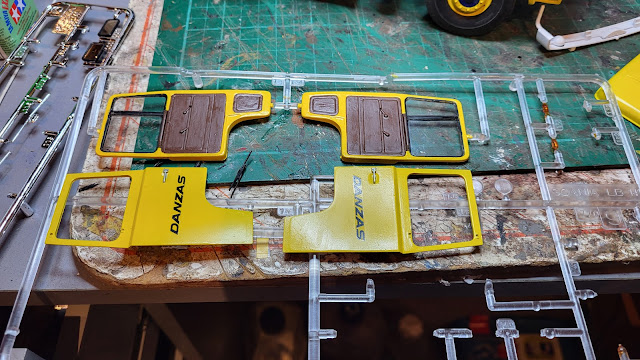
There has been some progress with the Heller Scania 141 LB with the two parts of each door glued together. 

Heller Scania 141 LB


Heller Scania 141 LB

It may not be much progress but it is at least another step forward to completion!

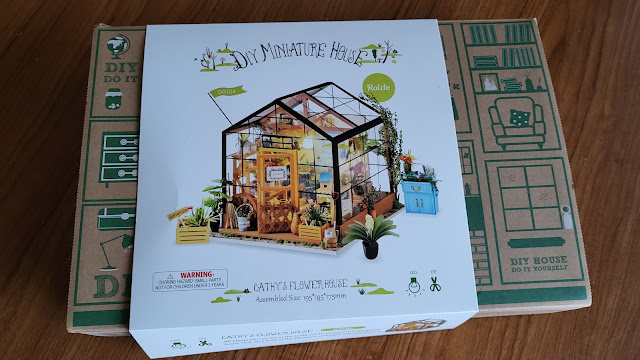
Looking at something that will surely be subject to slow progress is the model greenhouse that I bought Mrs. W. 

Model Greenhouse

Having opened up the kit I was really impressed by it. 

Model Greenhouse

A box full of parts bagged together with a really well presented set of instructions.

Model Greenhouse

Model Greenhouse

The actual contents of the bags look really high quality.

Model Greenhouse

The instructions give a hint of the depth of detail which means progress will be slow! I look forward to seeing Mrs. W's progress! Maybe she will embarrass me by finishing it in a day!

Tuesday, February 27, 2024

Scania coming together - but needs more glue!!

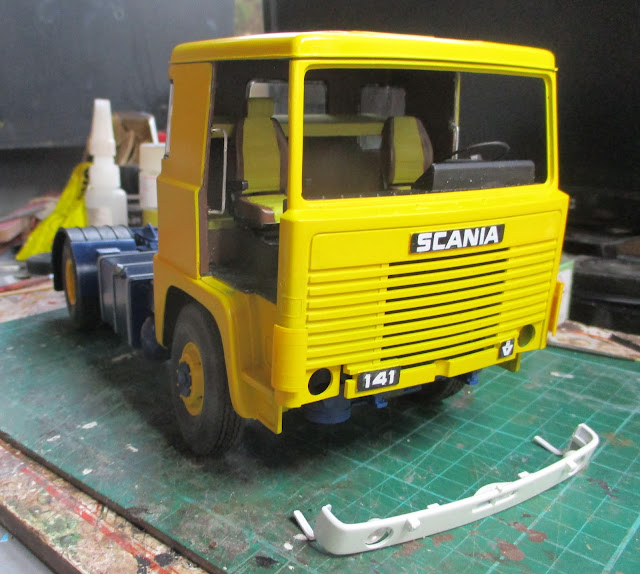
Yes it is coming together after 2 years on the shelf. The windscreen is in, well nearly as I noticed when I uploaded the photos that it has sprung out on one corner so more glue required! The indicator lenses are fitted and putting the front panel on the main cab together with the roof gives a good idea of the finished product. Just have to paint the chrome windscreen wipers black and fit the doors and the door mirrors and that should be it - hopefully! Now where is the glue.....

Heller Scania 141 LB

Heller Scania 141 LB


Monday, February 26, 2024

The Scania 141LB comes back on the bench and a surprising discovery!

 In my quest to finish off projects the Heller Scania 141 LB has come off the shelf after being placed on 2 years ago and onto the workbench. The biggest problem with getting back into a stalled project is finding out just where you got to so some time was taken to establish that. 

Heller Scania 141 LB

So far I have painted the windscreen surround black to represent the rubber holding it to the cab and painted silver the backing to the light lenses that need to be fitted.

Heller Scania 141 LB

I had a clear out of some rubbish and finished kit boxes one of them being the box for the Trumpeter Grille30 30.5cm(Grw) L/15 Mörser "Bär",

Trumpeter Grille30 30.5cm(Grw) L/15 Mörser "Bär",

I always take a picture of the box cover for reasons I never really know! However in opening the box lid out to be flat I discovered these two odd pictures hidden by the folds in the box.

Trumpeter Grille30 30.5cm(Grw) L/15 Mörser "Bär",

Trumpeter Grille30 30.5cm(Grw) L/15 Mörser "Bär",

Quite what soft toys and fruit and veg have to do with printing the box art for a military vehicle I just cannot work out but it was a surprising discovery!

Sunday, June 4, 2023

Slow down for the details but will I get distracted?

I am at the stage with the Italeri DAF 95 Canvas Truck where it is time to do all the small details. Such things as steps, air horns, pipes, wheel trims and the list goes on! It is also a point in the build where if I am not careful I loose interest and in my easily distracted way disappear off with another project! I have so many to be distracted by! Anyone who has read this blog before may recall the Heller Scania 141LB that I started and progressed with initial speed at the beginning of 2022. 

Heller Scania 141 LB

It is so close to being finished but it is not! I got distracted onto something else! Anyway it is on the list of my (not Mrs. Woody's) jobs to do. 

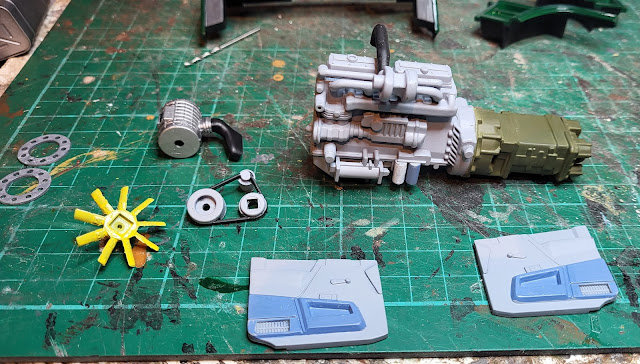
Back to the Italeri DAF 95 Canvas Truck and I am holding firm in progressing it! The engine has had the two filters painted white and blue and the fan is now yellow ready to be attached to the pulleys and fan belt which will then allow the radiator to be added once the hoses are prepared! You can see how things slow down. The interior door trims have also been painted to match the rest of the interior..

Italeri DAF 95 Canvas Truck

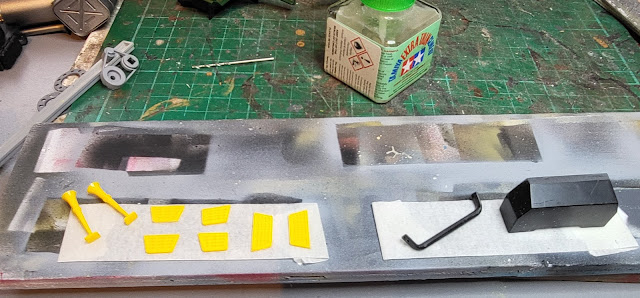
The yellow parts in the picture below are the cab steps and airhorns. The other parts are related to the various covers over the rear of the engine on the chassis. What I need to do with them all is to paint them black and then for the yellow parts paint them aluminum. If I don't paint them black first the aluminum paint will never cover the yellow. As the only real way to paint these small detailed parts is by airbrushing them I am also trying to identify all the other parts that need to be painted black so I only need to clean out the airbrush once! Identifying the parts can also take time and then they all need to be prepared for paint with the sprue attachment points and mould marks removed. Can you blame me for getting distracted?

Italeri DAF 95 Canvas Truck


Monday, October 24, 2022

Butterfly activity!

I messaged Metcalfe Models yesterday (Sunday) and this morning at just after 9am I got a response saying they were sending the missing sheet of parts. Now that is service! So whilst I wait for this to arrive I have, in my usual butterfly manner of projects, moved to another couple of things that have been hanging about for a while.

Firstly the Heller Scania 144 LB needs the cab finishing. So today the decals for the doors were applied. 

Heller Scania 141 LB

I did have in the back of my mind a few months ago making the doors openable but whilst it is more than possible and I did start making hinges, I am not sure I have the patience to do it. So Plan B is that the doors will be closed! In the meantime once the decals harden the door will be given a coat of gloss varnish to seal and protect them. How far the cab gets after that is anyone's guess and I have no idea!

Heller Scania 141 LB

The other project is the Foden tipper which needed a second coat of paint on the tipper body and cab as well as the interior painting. 

Knightwing Foden Haulmaster,

The second coat has been applied and the interior painted in that 1970.s brown that was so popular in its day but from what I understand is now referred to as nappy brown! The seats and steering wheel will be painted black once the brown has dried.

Knightwing Foden Haulmaster,

I have no idea where my butterfly activity wil take me next but at least these projects have seen the light of day again and moved on even if only by a bit!

Thursday, July 7, 2022

Taking stock.

A busy day at the Rocks by Rail Museum where my culinary skills were put to use again in providing snacks and beverages to our visitors. The day continued busy with other things so no model making time at all. However I did have time to take stock of what is on the WMD workbench so to speak.

Anyone having read this blog will have no doubt deduced that I jump from project to project with several on the go at any one time and glacial progress in their completion. Those with any sense of organisation will no doubt shake their head at my unorganised World. However I do on occasions take stock of where I am and make plans to actually move projects on and finish them. This is usually initiated by me realising my working area is becoming a tip! In this case though my whole Man Cave AKA The Room of Gloom is also becoming a tip. Now whilst Mrs. W rarely visits the WMD HQ nerve center to make comment on the state of my domain I do have some pride - honest!

At the moment I am getting close to finishing my build of the MiniArt Egyptian T34 tank. However on the side lines still awaiting finishing is the Heller Scania 144 LB It is so near to being finished and yet I have left it sitting there awaiting the final work on the cab.

Heller Scania 141 LB

Then there is the 009 narrow gauge layout which again is so close to being finished. The various sub assemblies that I have worked on for the last six months need a little bit more work and then mounting to the baseboard and the track needs ballasting. A few other details added would see that substantially finished.

Then there is the 00 gauge layout - My Last Great Project - which whilst I can run trains round it is a long way off being finished and yet it is the central part of much of my modelling interest in railways.  

So my main aim over the next few weeks is to get the two kits and the 009 narrow gauge layout complete and then have a good sort out and tidy up. Once done I should feel rejuvenated to get on with My Last Great Project.  That is my plan in the calm of my mind away from WMD HQ but you never know where that plan will be at when I have time to take stock again!


Tuesday, March 8, 2022

The reason for washing!

Nothing to do with my personal bathing habits but todays work at the Rocks by Rail Museum was more ballast washing. I actually enjoy doing this. Big machines, lots of water and noise, what more could you want! People do ask why you wash ballast? Well ballast has two functions. Firstly it forms the foundation to hold the sleepers and track and secondly to allow drainage as especially with wooden sleepers water can both damage the track as well as undermine the structural integrity of the railway as a whole. Large stones that form the ballast have spaces between them through which the water can drain into the ground below. Fill those spaces up with muck and that drainage slows or stops and the ballast becomes a large sponge or swamp. The ballast washing gets rid of that muck and restores the ballast and its drainage abilities once back in place.

Just how much muck gets into the ballast is best illustrated by this photo.

Rocks by Rail Museum

These two barrows of muck came out of about half a ton of ballast washed through the oversized washing machine that the Museum has. Its a mix of sand, grit and pebbles and you can see how it just flows into an almost concrete like material that will flow into and fill any available void. Over the past five months we have probably washed well over 100 tons of ballast. We do put the muck to one side or use it to build up the adjacent road and you can see from the photo below just how much muck has been accumulated. That road is about 9 inches higher than when we started!

Rocks by Rail Museum

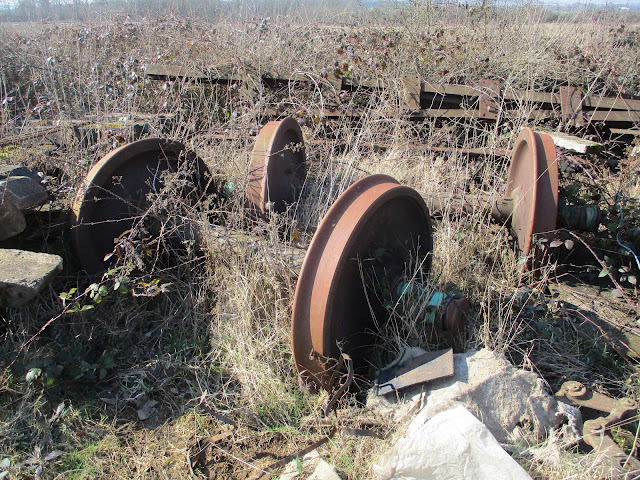
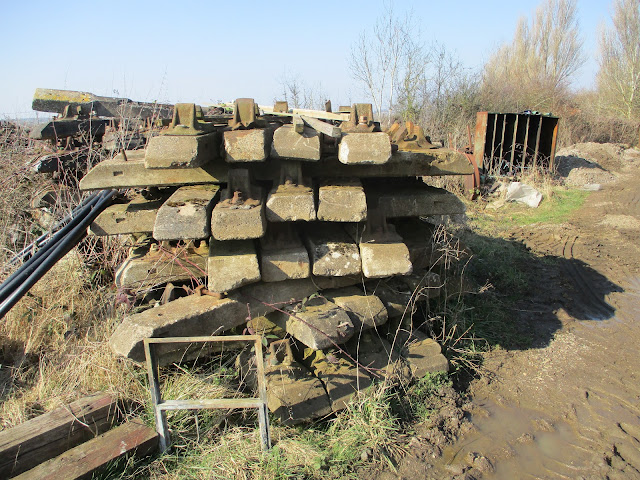
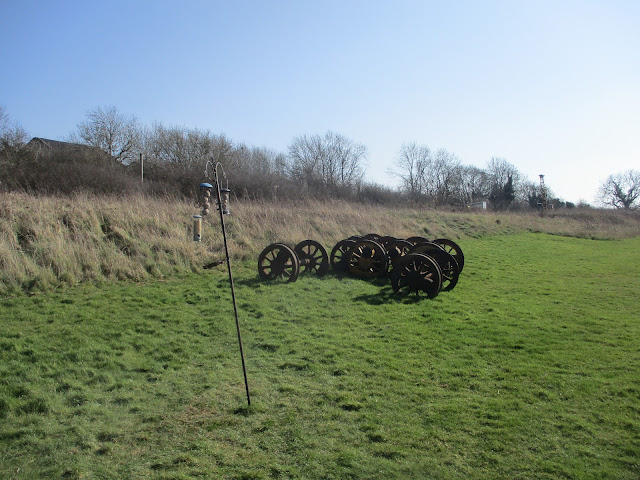
The area around the washing plant is a store for all sorts of railway related stuff and being out of the public gaze it does have that abandoned look to it but that is all part of the character of the place.

Rocks by Rail Museum

Rocks by Rail Museum

Rocks by Rail Museum

Rocks by Rail Museum

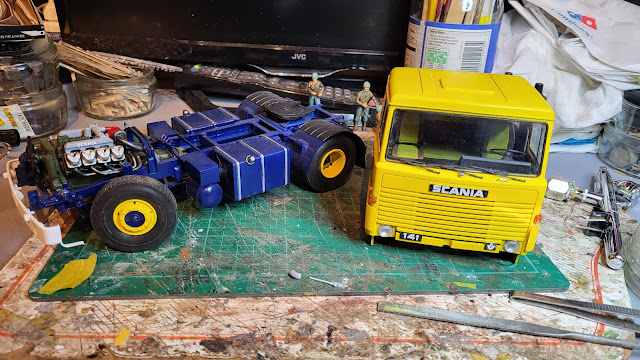
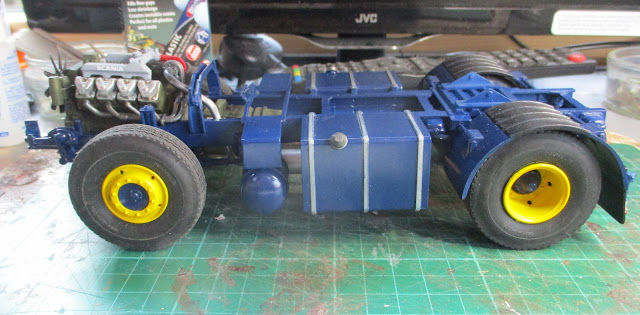
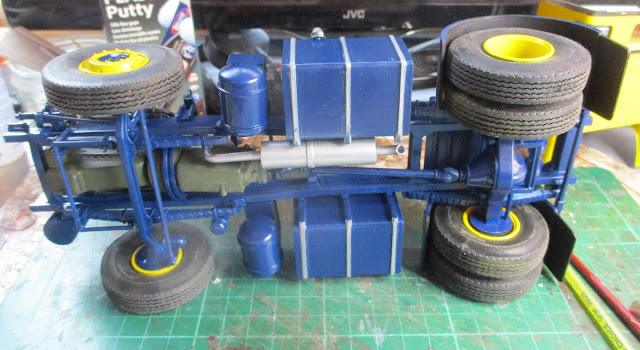
Back at WMD HQ the Scania 141LB has progressed with the prop-shaft, exhaust, wheel hubs and air intake having been added.

Heller Scania 141 LB

Heller Scania 141 LB

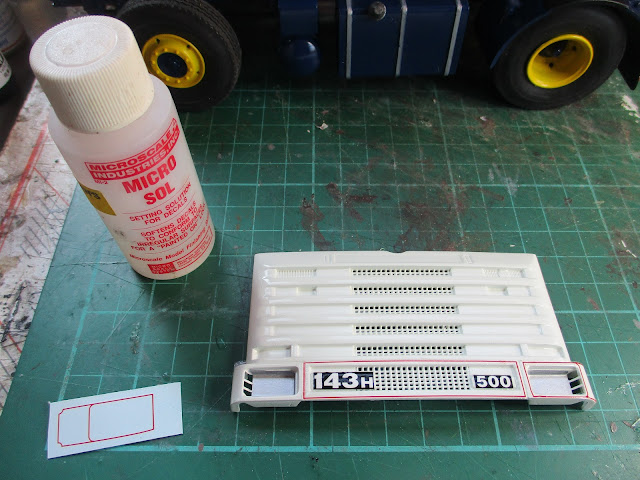
On the Scania 143 the front valance has been completed and a start made on the cab decals which are a pain to fit!

Italeri Scania Streamline 143H

Italeri Scania Streamline 143H


Sunday, February 20, 2022

Making it green!

As we batten down the hatches here in the UK for Storm Franklin, which will be the third storm in five days, I decided it was time to brighten my life having got soaked on this mornings bike ride, by making things a bit green. Although I try my best to be environmentally friendly, this making it green refers to grassing some of my 009narrow gauge layout. I thought that this would be a visual boost in the work on that layout and as Mrs. Woody had decided (I know my place) we were having a quiet day in then the opportunity was too good to miss. 

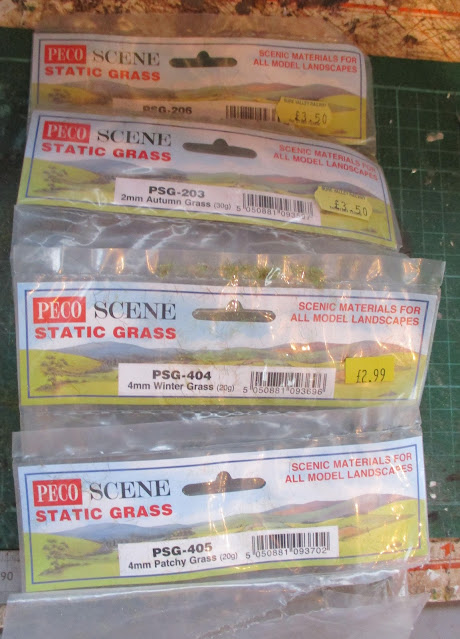
Whereas back in the 70's and 80's model grass was mainly created using dyed saw dust or for the more adventurous dyed lint which had an art all of itself to look realistic todays modeller has a vast array of more realistic products. Static grass has been around for a few years now and it has revolutionised modelling green areas. The grass is made up of nylon fibers which come in an assortment of lengths and colours. It is all to easy to fall into the trap of modelling grass as though it were some Alpine grass meadow in the full flight of summer growth with lots of sun and rain producing a vivid bright green. Here in the UK most grass in the countryside is a mix of grasses of a much more subdued pallet of greens. My chosen shades of green were four varieties, Winter Green, Autumn Green, Patchy Grass and Dead Grass! All by Peco and a mix of 2mm and 4mm in length so about a scale 6 to 12 inches long. This was not going to be a manicured lawn!
 

009 gauge layout

The rea to be grassed is by the river and I also wanted some trees there as well. Luckily WMD Stores had three Woodland Scenics trees of a suitable size in stock. These were brought out, tested for position and then the bases glued to the base board.

009 gauge layout

009 gauge layout

Now it was time to apply the static grass using a Peco applicator. This has a 9volt battery which is used to produce a charge to the sieve at the bottom of the hopper where the static grass is stored and shaken out of. The electrical circuit is completed by an earth wire which is placed into the glue which is applied to the surface to be grassed. As it leaves the hopper the static grass fibers become electrically charged and in effect land in the glue standing up therefore looking like individual blades of grass. Just don't touch the sieve of the applicator whilst the power is on as it gives a big jolt to you just like one of those electrical fly swats - don't ask how I know!

When I first bought the applicator I was persuaded to part with £9 for a bottle of 'special' Peco glue which was supposed to be conductive of electricity. Somewhat unconvinced about this supposed characteristic I used it and it worked well. I was also soon to be taught just how conductive it was. Having got some glue on my fingers I though no more about it until I used my tablet just after finishing the grassing. The touch screen of the tablet went crazy and it was the glue and its electrical conductivity that was doing it. Lesson learnt - wash hands straight after work!

Moving back to the layout the grass application is reasonably quick and soon shows results which is nice.

009 gauge layout

Once the glue dries, which is not very long, a small handheld vacuum cleaner is used to suck up the fibers which went wide of the glue. These are then used again where there is a need for reapplication.

009 gauge layout

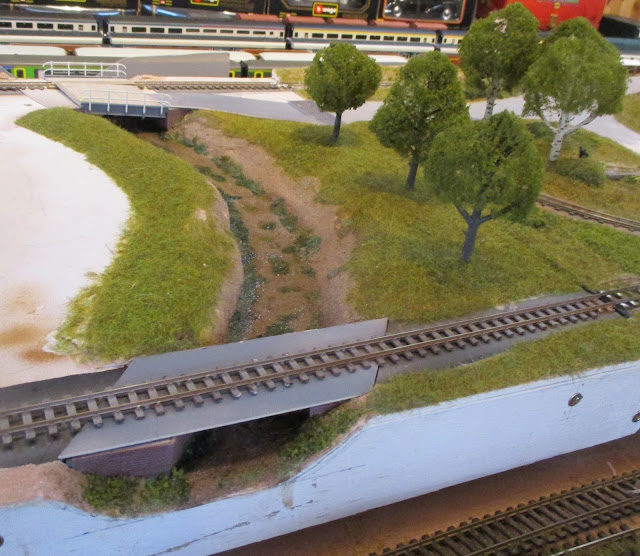
After an hour or so of doing by the river and behind the two huts on rthe canal wharf it looks like this.

009 gauge layout

009 gauge layout

009 gauge layout

There is still further work to do adding some more foliage but it does look a lot better than bare baseboard.

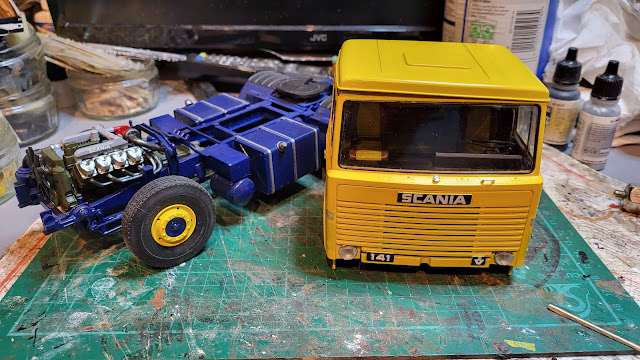
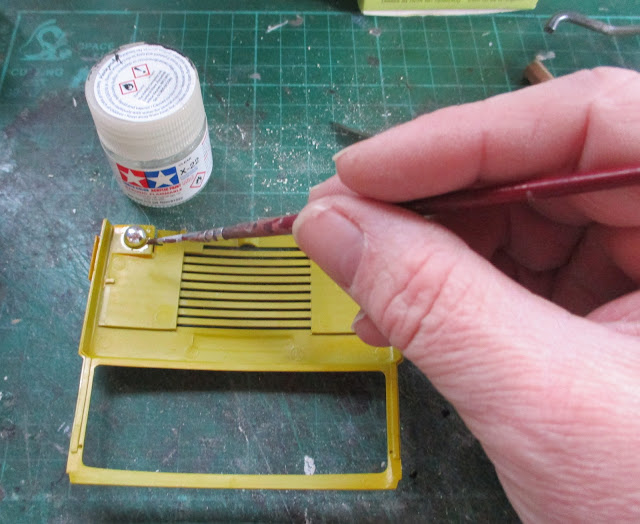
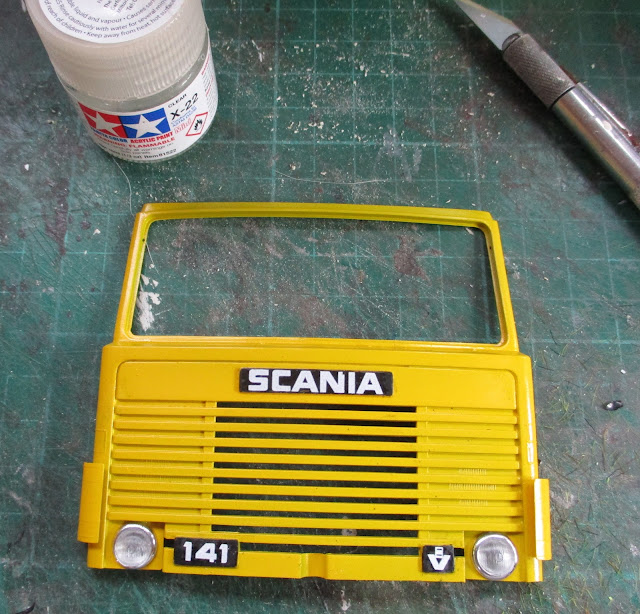
I even found time to add the headlight units to the front cab panel of the Scania 141LB. I used varnish to 'glue' these in which made the job nice and easy - working smarter not harder as I get older!

Heller Scania 141 LB

Heller Scania 141 LB

Hopefully Storm Franklin will leave as quickly as it came and we can get into some warmer weather when the grass gets green and grows!