Bullseye as in the darts score of 50. Yes it is the 50th post on this blog, Drum roll please. Probably the only accolade this blog will get is that it provides the ultimate cure for insomnia! Can't sleep, just read this blog for a few minutes and you are off to the land of nod quicker than Mrs. Woody can order the latest 'must have' product that has appeared in her email inbox!
Back in the land of awake, here at WMD HQ it has been a busy few days. The Room of Gloom AKA my man cave now has shelves along the backwall where I can display my finished models or more likely my half finished models that will become Shelf Queens! I did sort out a few of those earlier this year and they featured in a few posts starting here so hopefully not too many new ones will find a restring place on these shelves.

I used some adjustable shelf supports and fixing those to the backwall was generally a trouble and swear jar free event once I had established where the hidden up rights were and the power cables. The shelves themselves are a furniture board which comes in 8 foot or for those metric buffs out there 2.4m. The backwall is 13 foot long. I decided that a bit of a gap at each end would be useful and to make best use of the boards I would make the shelves 12 foot long. This would mean no waste as one and a half boards would give me that length. For those thinking there are three shelves in the picture therefore there is half a board wasted, I will be adding a further shelf which will mean no waste! The next question was how to join them as the joint at 8 foot did not conveniently fall where there was a shelf support. As the shelves will not have to support any major weight I decided to use wooden dowels. The photos below show the process.
In my new found older age wisdom of working smarter not harder I did make a drilling jig to avoid having to measure each board. I also used iron-on edging strip to seal the ends of the shelves and provide a sealed joint which came in useful later in this process.
The drill I used was one designed for drilling wood with a good point to it and a collar that acts as a depth gauge.
Once the holes were drilled a dowel locating peg was inserted into each hole. These have a point that when the other surface to be jointed is pressed against the peg it leaves a small hole that both marks the spot to be drilled and then provides a physical 'hole' into which the point of the drill can be precisely located into.
Once the holes in the other part of the shelf were drilled the dowels could be inserted and once the two parts were in place on the shelf supports - far easier taking an 8 foot and 4 foot shelf into a room then a one long 12 foot one - the two were pushed together.
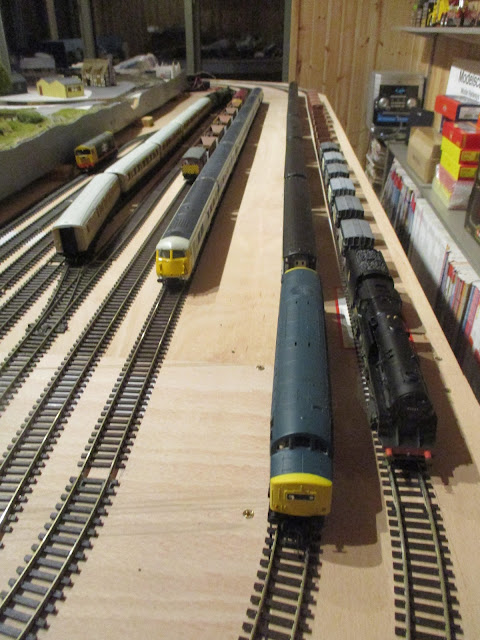
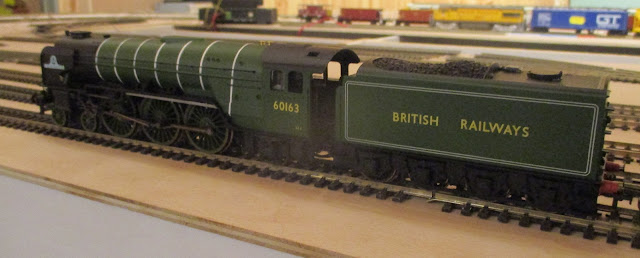
On other fronts, the WMD HQ Deep Store where wonderous treasures bought long ago are stored out of sight of Mrs Woody, was searched to uncover a Hornby 9F Crosti. I also unearthed the TTS DCC Sound decoder that I bought at the same time. More details on the fitting of that another time but it was not a s simple as I though it was going to be! However it was successfully fitted and the 9F hauled an 18 wagon train which mesmerised me as it gracefully and with soothing sounds of steam, went around the loosely laid track on my layout. Wonderful!
Work on the Zvezda K5350 Mustang truck has also been done with progress now up to Section 33 of the plans. This means I almost have a completed bed to the load body. Luckily no mishaps after the various swear jar contributing moments that I had on the closing stages of the chassis build. Still impressed with this kit. The detail and fit of parts is superb.
Music was from two compilation cassettes, Soft Rock Classics and Sixties Summer Mix - Groovy!


