Search this blog

Showing posts with label model ralway layout. Show all posts

Saturday, June 19, 2021

Rain starts play!

That is right in my case - rain did start play for me. Let me explain. 

The last few weeks has been somewhat busy with other non modelling activities. At the beginning of June I had a Cataract operation which was a consequence of the treatment for my my detached retina which happened last April. My admiration and gratitude to the NHS here in the UK is overwhelming. Their care and treatment, especially at a time when covid has made things much more complex for the NHS, was superb and they saved mine as well as countless other peoples sight.

The good weather and light evenings of the last few weeks has also meant that I have spent a great deal of time continuing to landscape the garden and sort out the accumulated junk that I have horded over the past decades. Two trips to the scrap yard this week saw me take 450 kg of scrap metal to weigh in and a bewilderment as to why I had kept such junk for so long! Anyway the landscaping is done (mostly) and I now have an easier to maintain garden and hopefully something that looks better!


Hmmm! You could build a garden railway along that wall! 


Smudge the cat seems to be surveying the possibility!


One of those things that I had to do with landscaping the garden was to level off the lawn to the same level as the edging blocks that I laid. Mostly this involved lowering the lawn. If like me trying to cut a turf to a consistent depth turns out to be impossible with what emerges on the end of the spade being more cheese wedge shaped then flat bread, you will understand the problems of having to relay turfs which all have different depths to them. years ago I would have re-laid the turf and belted hell out of it with the back of the spade to get it to some resemblance of  level and then wonder why it died! As I get older such energetic activities are now beyond sensibility so with a bit of thought I created a turf cutting plank. I had an off cut of laminate flooring to which I nailed three pieces of inch and a half batten. The picture below shows it as well as the general idea of how to get consistent level turfs using an old and expendable saw riding along the top of the battens to cut off the surplus soil. You won't be using the saw for any form of woodworking again but it certainly made relaying the turfs much easier! The laminate floor is about the same width as my small spade which made cutting the turfs to the right width easy as well. Working smarter not harder as I get older! 


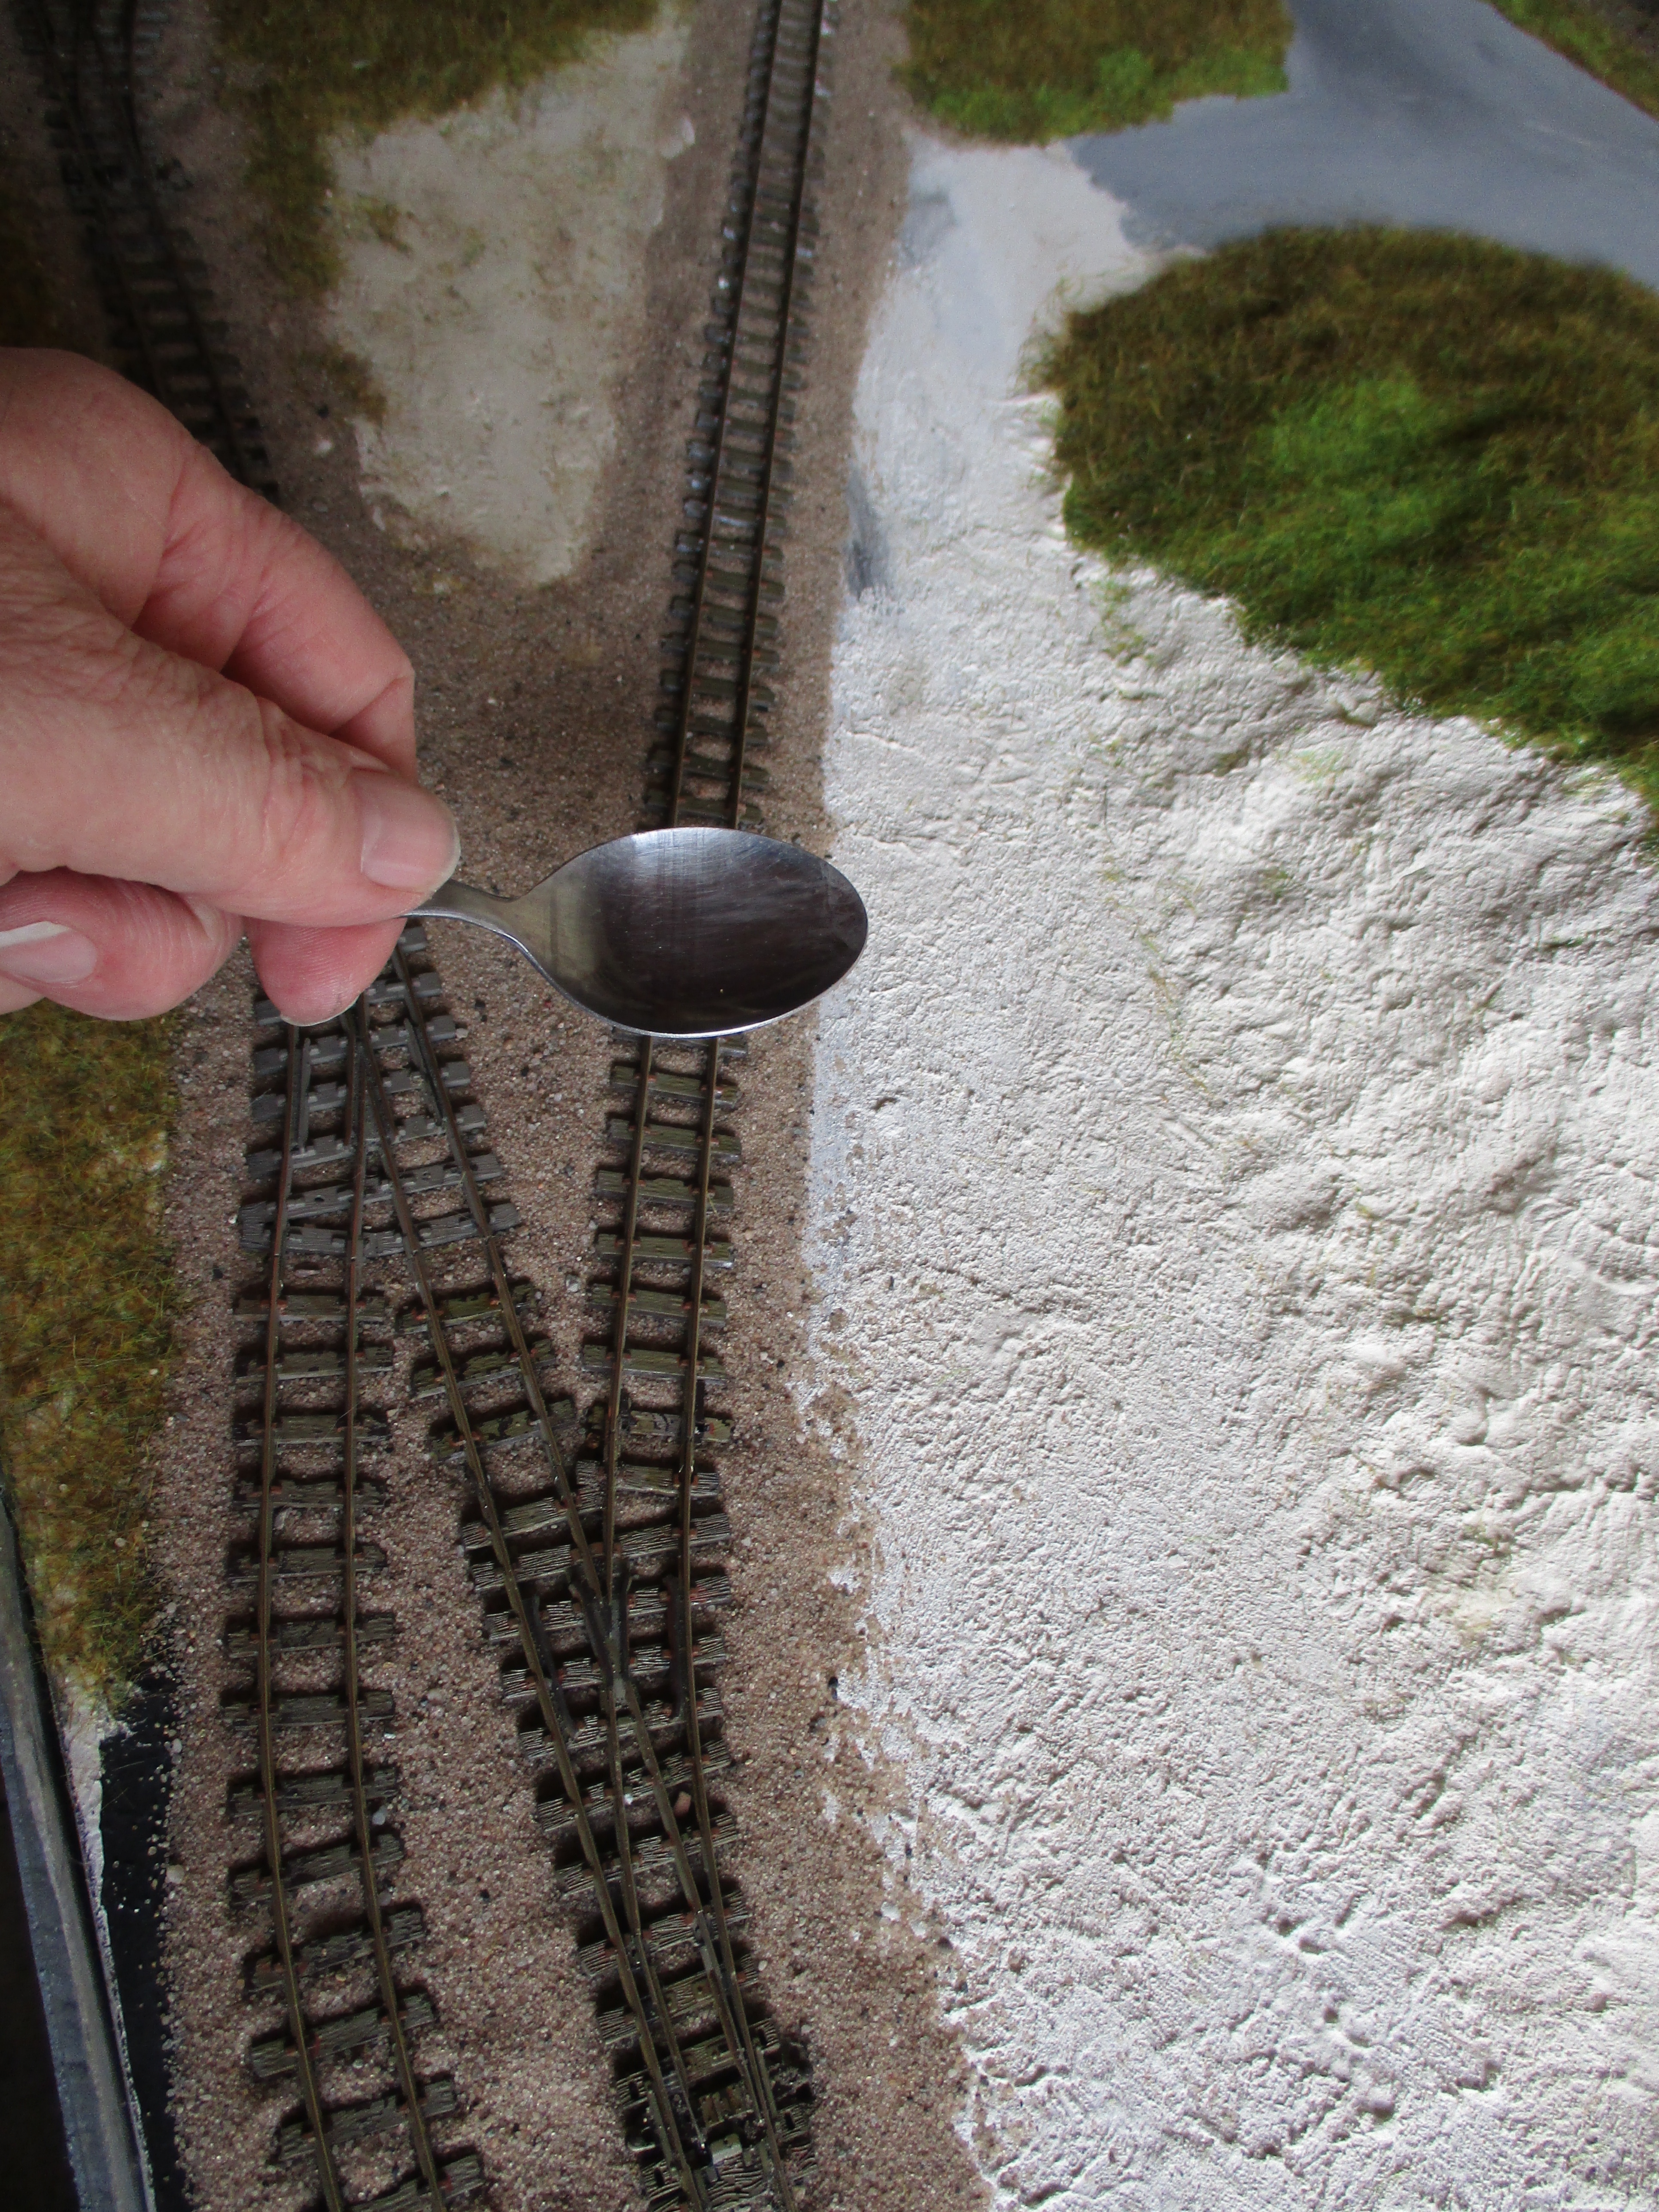
The good weather has now however broken and as with all UK summers the rain has arrived! This however has given me the chance to move myself into the dry of The Room of Gloom and make some progress on the Last Great Project which is my 00 gauge model railway and in effect start to play! The four segments of the baseboard are now bolted together with some M12 bolts and large penny washers to spread the load.


If I were organised or had some common sense I would have a hard copy track plan of what I was going to do. However I don't have hard copy but I do have in my mind the basic concept. As with most of my projects I know the basic concept I then work out the details as I go along. It may not be the best way but it works for me! So at the moment I have pieces of track laid out in roughly the layout I want it and it is now a case moving pieces about until the optimal layout appears. 


Apparently its going to be raining for a few days yet so rather than stop my play more progress may actually be made!

Sunday, March 14, 2021

Time to load up!

Progress is being made on this layout at a pace not normally associated with my modelling. Usually progress is measured in some form of astrological event schedule such as the return of an asteroid from its journey in deep space. However I have to see this speeding up as a positive step. The layout has a quarry face and therefore some means of loading whatever the quarry produces (yet to be finally decided upon) has to be in place. In the last post I did state that what I had constructed bore some resemblance to what Tony Beets from the Gold Rush programme might have made. I constructed this on the basis of an auger that is loaded by machine from the quarry face  feeding some overhead hoppers that would then discharge into wagons waiting underneath. From an engineering view this whole contraption would have probably never worked and condemned for safety reasons before it had even seen any material pass through it. However, this is the World of model railways so imagination, available materials and skills all trump what engineering and health and safety might do in the real World!

The hopper and auger were made from sheet plasticard, some H-beam strips and some lengths of strip and rod ending up after a few evenings work looking like this.


It took a three evenings to build this with no real plan to it other than knowing how wide and how high it had to be to allow the rolling stock under. Guess how I knew to take account of that at an early stage? Lessons learnt from previous failures!

Once built it was sprayed in Tamiya Earth and this formed the undercoat for a light coat of blue Vallejo. The idea was that the overall structure would show age and negelect. Some weathering powders followed this and again highlight the rust and aging that such a structure would show after some years. Some weathering powders were put in the hoppers as the sort of residues you would find on a working loader and hopper and fixed in place by dripping acrylic thinner over them It all ended up looking like this. 


The hopper still needs to be fixed in place on some concrete blocks and a lot more blending of the quarry floor and siding need to take place but its getting there!


Thursday, March 11, 2021

'Jab Done' and a good few days!

 A welcome trip away from WMD HQ on Monday as being of a certain age I got my Covid jab. A very slick operation by all concerned at the jab centre and my heartfelt thanks to them all.

Monday also saw the arrival of some post in the form of two MiniArt kits. I broke my New Years Resolution of no more kits but couldn't resist when an email popped up from Jadlem Models with the US bulldozer and a perusal of their site for some 1/35 Russian tankers to go with my recently finished T34 found me looking at paying about £13 or buying the T-80 light tank kit with a crew kit for £22. It was a no brainer! In effect the 1/35 MiniArt tank kit for £12! As a satisfied customer only, I will say it was good service from Jadlem - well packed and arrived in three days and no postage charge. Upon arrival at WND HQ unpacking was soon undertaken with the help of Sammy the cat who probably thought his food was in there somewhere!


Never built a MiniArt kit before but it has been started and I will update on progress and thoughts another time.

I have made progress with the narrow gauge 009 model railway. Most of the posts so far about this have been about various aspects such as baseboards, ballasting, landscaping and other such things. Today has seen a lot of progress on the scenics. Although some work has already been done a lot came together over the past few days. So here are some pictures that give a bit more of an insight into the layout. You can get a larger picture by clicking on them if you want to see more detail.

First off from the drone an aerial view showing the whole thing.


View looking down the road with a scratch built field gate, hedge and post and wire fence now installed.

Coming under the bridge the Baldwin hauling a goods train.


A bit further round the curve the crewless Baldwin (must sort that out as it looks most odd!) heads towards the quarry.


Passing the quarry the start of the loading facilities can be seen - again scratch built.


A closer look at the loading facilities and the grounded van store. All need a lot more work but gives a sense of what it will be like. I was aiming for something that if you watch Gold Rush you would think Tony Beets had constructed!


The train crosses the level crossing to head back up the cutting to continue its round and round journey!


I'll give a little more detail about some of the scenics and the structures in a later post but in the meantime I better feed that cat who looks as though he is about to open the boxes thinking his dinner is inside!


Wednesday, February 24, 2021

Ballasting Time!

Any railway needs firm foundations for their track and the ballast provides a lot of that. The stones that usually form the ballast are angular and when compacted lock together holding the sleepers and rail allowing the trains to pass over without deflection that could derail them. Ballast also provides drainage preventing water ponding and soaking into wooden sleepers and rotting them. Modern concrete and steel sleepers still need drainage even though they are less susceptible to deterioration from water than wood is. 

In model form ballast can take many forms. Usually crushed granite ballast is used or one of the other custom products from manufactures such as Woodland Scenics. You can even get underlay sheets such as those made by Hornby and Peco. Here at WMD and being tight fisted sand is the choice of ballast for this 009 gauge railway. Not ordinary sand but kiln dried sand. It is about the right scale for ballast in 4mm scale and it is cheap! What's more WMD HQ stores has a large bag in stock bought many years ago for about £3. 

So the material for the ballast is chosen. What happens next? Well before ballasting I should say that before laying the track I did weather it with a spray brush and picked out the spikes holding the rail to the sleepers with a rust colour so that was one job already done! Talk to many people about ballasting and they talk of problems with points. You do have to be careful but my dodge to try to minimise issues is to apply petroleum jelly to the moving parts. That way any glue used to fasten the ballast is unlikely to glue the point up and any stray ballast is therefore also unlikely to end up glued solid to the moving parts. Have a look at the phots below.


Applying the sand was done with a tea spoon (note to self; do not admit to Mrs. Woody use of kitchen utensils!) and a small soft flat brush was used to brush the sand into place. A handy tip is that when you have the ballast roughly as you want it use the spoon to tap the track or baseboard to in effect 'vibrate' the sand off the sleeper tops and into where it should be.


Once happy with the placing of the ballast it was time to fasten it down. The long used mix of diluted PVA glue with a few drops of washing up liquid was mixed ala James Bond style (shaken but not stirred) by putting the ingredients in a jam jar, remembering to securely put the lid on and shaking for a few minutes. The drops of washing up liquid will cause a froth but the main liquid is what is needed. Using an old syringe, (having cats means that you do end up with syringes from the vets to administer various lotions and potions) the glue mix was syringed onto the ballast. It looked a right mess as the pictures show, but as with any process where you have to let things dry, it takes on a whole different look once the glue sets.


Without admitting to Mrs Woody, the glue was given an encouragement to dry from her hairdrier!


Once the glue was set the track looked like this.


I think it looks good but then I would! With a bit of cleaning trains were soon testing their newly ballasted track. 


Tuesday, February 23, 2021

More Bridges and Roads

 With the road in place and painted it was time to start some detailing. I find I work best by doing a small amount and coming back on several occasions to add to the overall effect. For the road I first misted a very fine earth brown along the edges where the road surface meets the verge usually referred to as the gutter. If you look at any road the gutter will be full of dust, litter, nuts, bolts and many other things that commonly get called detritus and have either washes into the gutter or been dumped. For a country road like the one modelled I have assumed the locals are proud of their area and don't drop litter so the dust and other natural materials is the only things that accumulate in the gutter. On bends you tend to see an additional accumulation of detritus. My rendition of all of this so far and still more to do, looks like this -


With the road in place the bridge structure could also be added. This is the Wills SS28 Occupation Bridge and in an earlier posting I detailed how I had to make new abutments. I have painted the railings white and then have given both the bridge griders and the railings some rust weathering which I ma pleased with.


You'll notice that track ballasting and scenic work has also taken place but more of that another time. In the meantime I will await the first 00 gauge vehicle to cross the bridge and test its strength!  

Monday, February 22, 2021

We're on a Road to Nowhere!

Roads are a strange thing. They take you to places and most of us use them everyday. Lots of songs have been written about them including that classic by Talking Heads - We're on a Road to Nowhere - Youtube video. However in model form they usually go nowhere apart from in our minds and despite using real roads every day our modelling interpretations of them can be far off the mark. The main thing is that tarmac roads are not black apart from a few days after they have been laid. They weather and organically dry out so that the oils in the binder that holds the stones together become less effective. That is in essence how potholes start with the small stones becoming loose in the surface as the binder dries out forming a depression and allowing moisture into the structure. Anyway this is a modelling blog and not a highway maintenance tutorial! 

As we use roads so much it is interesting to still see the number of model railways where the road is modelled black. Have a look at some of the roads around where you live and you will see all sorts of shades of grey tarmac and chippings. On my 009 layout I do have a road which goes to nowhere and is of shades of grey. From one of my earlier posts you'll see in the picture below that the road just went along two thirds of the layout. 


Thinking of my plans to extend in the future I decided to run the road off the end of the board across the track. Some mounting card and some filler saw the road installed and then it was time to paint it all. The original part of the road had been given a random spray of Halfords (other brands are available but it was what was in the WMD HQ stores at the time ) grey primer just to seal the surface and I never saw this as the finished road surface. The grey for the road was mixed by putting some acrylic white paint into an old ice-cream tub (raspberry ripple if you are interested and no doubt there is a website somewhere that tells you what sort of person you are by the type of ice-cream you eat but I'm not going to look....yet!) and then putting blobs of black acrylic into it. Mixing the two colours in different parts of the tub gave slightly different hues of grey as you can see from the picture. 


You will also notice from the picture above a stranger to modelling materials - Talcum Powder! Strange as it may seem talcum powder mixed into paint gives it some texture. Roads are not smooth otherwise it would be like driving on a skating rink so they have some texture to allow tires and shoes to grip. Very difficult to achieve in 4mm scale but the talcum powder gives a good impression of it. In case you are wondering I have purloined this tin from Mrs Woody who informs that talcum powder is now out of fashion these days for various reasons so I have given it a good home and the road smells fragrantly lovely! Or is it my aftershave???!!!

Anyway the painting of the road continues and this road to no where will get finished!


Tuesday, February 9, 2021

And now for something completely different! - Small 009 Narrow Gauge Layout

Well since various tank and truck related projects have been completed the time has come to move onto something different although this does go back in time - almost another Shelf Queen. As you may have noted I have varied model making  interests - possibly too many both for my sanity and wallet! However in the spirit of 'you only live once', here is my excursion into 009 narrow gauge modelling. Not my first but I wouldn't say I am an expert so follow this and learn from my mistakes!

The basis of this layout is a piece of hardboard that came as part of the packing on some furniture. In true 'that will come in handy' style it went into the garage but unlike many of its friends in there, it re-emerged to become the baseboard to this layout in a matter of months. Whilst hardboard is not seen as the best material for a layout it was what I had, fitted size wise to what I was going to do and with some bracing it would be stable enough and given the Lock Down getting any new materials was next to impossible. The pictures below show the construction. The measurements of the board are, and as I am old these are in inches, 22 by 44. Bracing is some soft wood 2 x 1inch cross braces and 2 x 1/2 inch longitudinal braces all held together with screws. All components were painted in acrylic white undercoat to give a bright clean background on which to start working on. The pictures show better than my words!


You will note from the date stamp on the photo the baseboard was constructed in April of last year and as I was still working despite the pandemic this was a weekend job - it was from memory a nice warm weekend when I should have perhaps cut the grass but it will only grow again!.

The track plan is fairly simple as the picture below shows, with an oval and some sidings. My plan was always to add another board so there are two sidings leading off the oval to facilitate that when the time comes! As you can see profile boards for the landscape are in place and painted a satin grey. At this point the trackwork is yet to be finally laid and more of that next time.