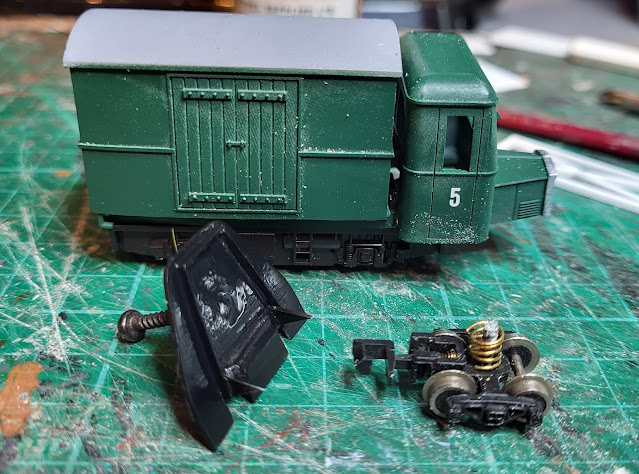
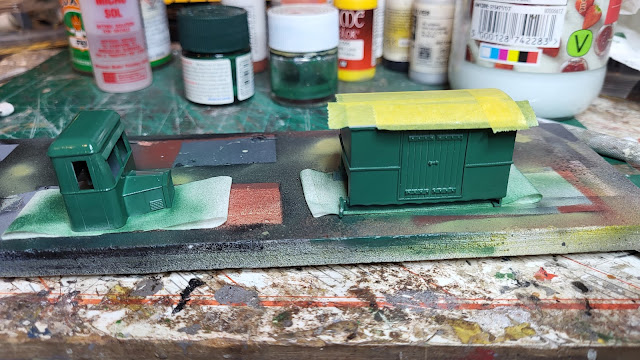
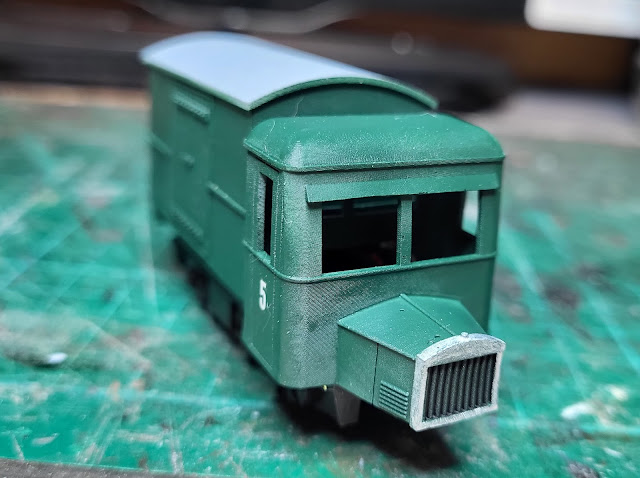
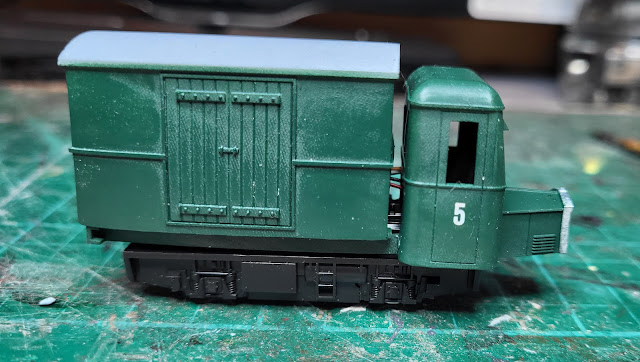
Overnight the snow came! The mere mention of snow even as a joke sends Mrs. Woody into a panic! However I have been brave and gone out through the thin layer that covers the garden into the Man Cave where I managed to do a few things. One was try to keep warm! Secondly was to glue the now painted extension to the Kato chassis for Maintenance Loco No 5. I have used some UHU which offers the ability to take it off again without too much problem should the need arise. Its down side is that it does need some time to fully dry - however I have patience although Mrs. W might disagree with that statement!
Recording my progress, or usually the lack of it, in building kits, creating model railways and other related and sometimes unrelated matters!
Search this blog
Sunday, December 3, 2023
Its Snow Joke!
Saturday, December 2, 2023
Gates!
It is cold and damp here in the UK. May not be as cold as some parts of the World but but it is a shock to the system especially in a cold Man Cave. I have turned on the heater but the cold comes up through the floor. However I did actually manage to brave a couple of hours which moved forwards the 3D Printed Maintenance Loco No 5 forward with the additional chassis part I have made now painted black.
Once dry, I can glue it to the chassis and move that project on towards being finished - well as finished as my projects ever are!
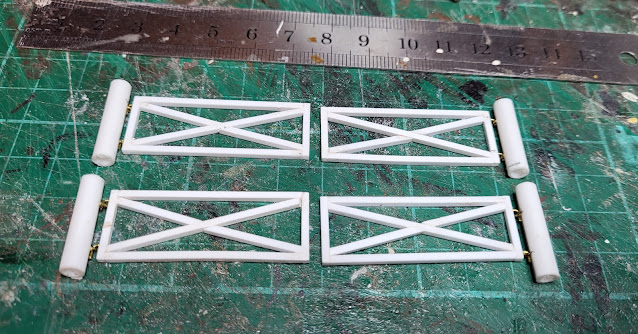
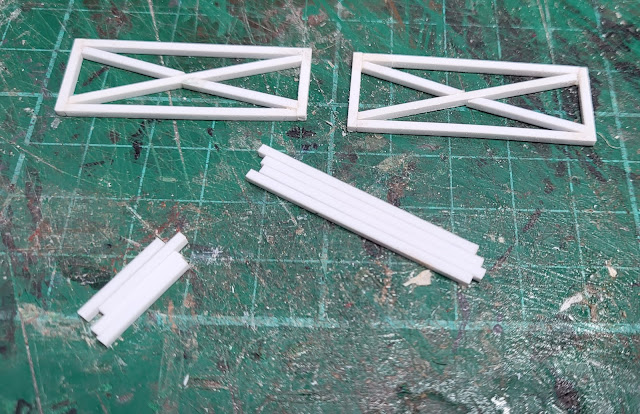
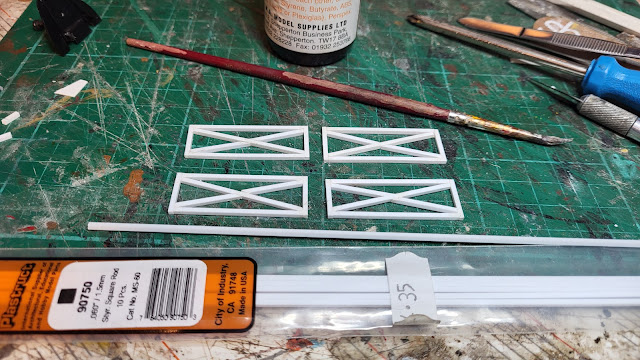
This renewed involvement with my 009 layout Chalkdon has highlighted I still have much to do on the layout. One of the things needed is a level crossing and so I have commenced construction with the four gates that will be required.
Thursday, November 30, 2023
3D Printed Maintenance Loco No 5 gets more wheels!
Having thought about a way of attaching a bogie to the Kato chassis last night I really did not come up with a plan so it was a case of sitting at the bench and trying a few things and this is what I came up with!
With the concept proved it is time for me to move on to finishing this which should result in a wheely great model!
Wednesday, November 29, 2023
3D Printed Maintenance Loco No 5 gets a chip!
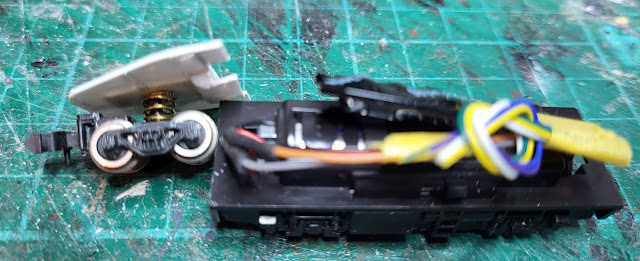
Today is cold here in the UK with a heavy frost and really a day to spend inside in the warmth with some chips! However the only chips I am getting today are DCC chips of which one is now installed in the Kato chassis that fits under the second 3D print loco that I am building. Having already done this a few days ago there was nothing that was unknown to me and it went, for me, remarkably well!
Having mentioned yesterday about putting a pony truck under the front I dug out a few spare N gauge bogies that look as though they may be suitable. Just need to figure a way to make it work! That is something to think about over dinner which unfortunately won't be chips!
Tuesday, November 28, 2023
3D Printed Maintenance Loco No 5 - The build begins!
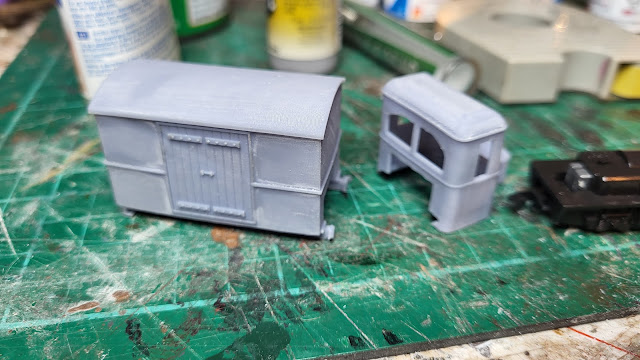
Well work has started on the 3D Printed Maintenance Loco which I am numbering No 5. The first thing was to cure a slight bend in the chassis which saw the cab separate from the body.

