Search this blog

Showing posts with label Italeri SU-100 assault gun.. Show all posts

Thursday, January 19, 2023

Electric cookers and model making!

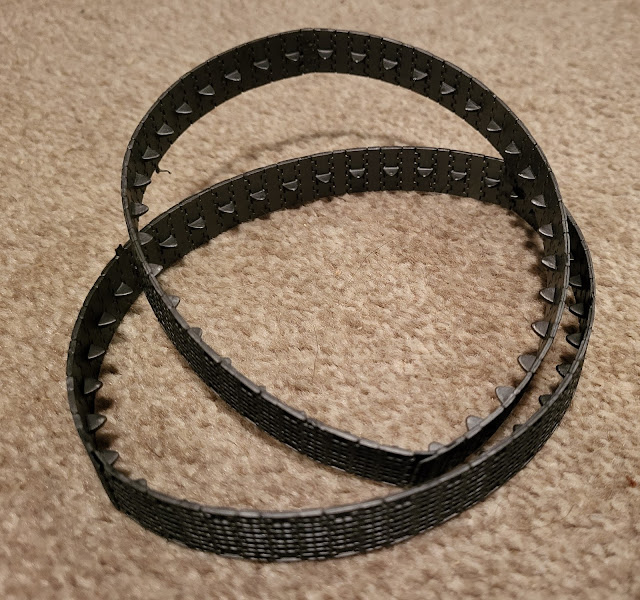
In my inevitable butterfly manner of working today saw the four pieces of track for the Italeri SU-100 assault gun joined together. No glue required! The method of joining entails two pins at one end of the track and two corresponding holes at the other end. in each. The pins at one end go through the holes in the other track piece and then using a suitably heated instrument of some sort, the pin is melted to form a sort of rivet to keep the two parts together.

With the inevitability of getting into trouble with Mrs. Woody, a ring on the electric cooker was used to heat the tip of a screw driver. This was then used to melt the pins.

Italeri SU-100 assault gun

This rather poor photo just about shows one pin melted and the other awaiting melting.

Italeri SU-100 assault gun

Having melted 8 pins I ended up with two finished tracks. I am not sure how strong the joints will be but I will find out when I eventually put them on the tank.

Italeri SU-100 assault gun

In the meantime I better make sure that screw driver is put away and then there will be no evidence of the use of the cooker - apart from this blog!

Wednesday, January 11, 2023

Getting bogged down!

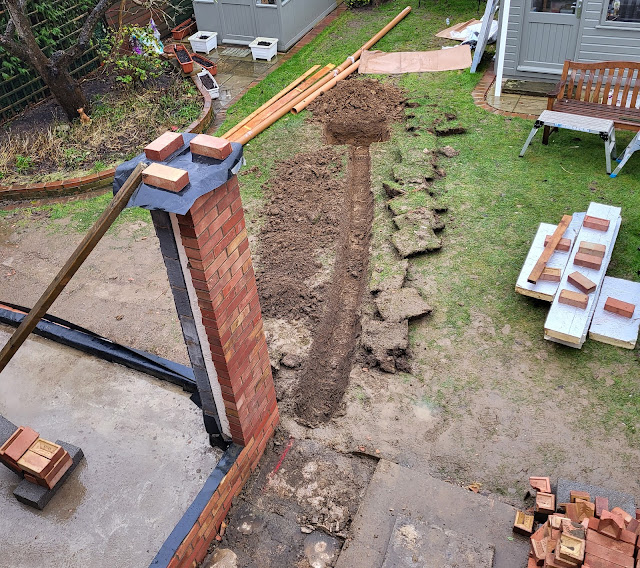
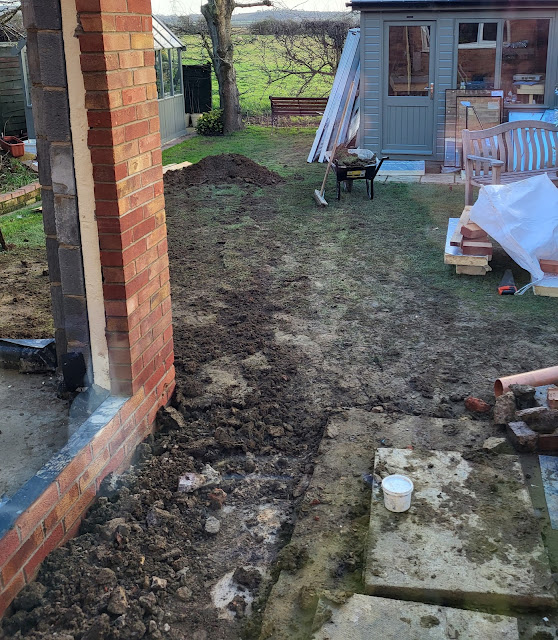
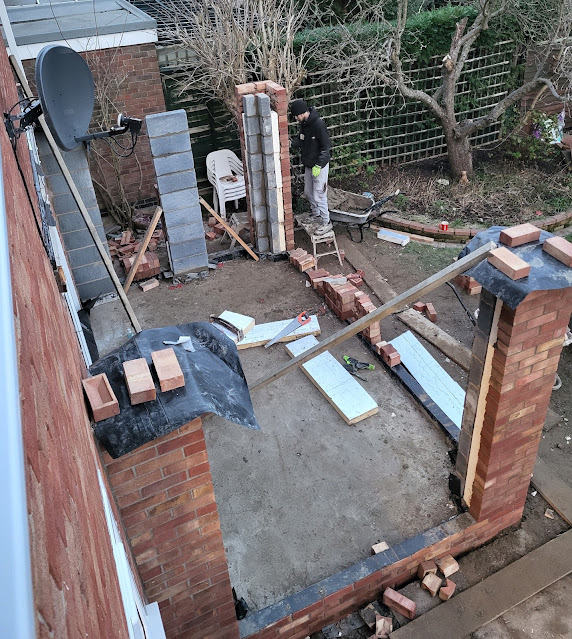
Whilst the rebuild of the conservatory is now making progress the bad weather and the scale of the work means that Woody HQ is looking a bit like a recreation of the Somme back in WW1! There is mud everywhere and being in a clay area it clings and gets everywhere so literally I am bogged down as I move around especially getting to my Man Cave. Over the last two days the drainage for the roof of the conservatory has been put in which meant digging a trench down my so called lawn and digging a large soak away. This has added even more to the recreation of the battlefields of WW1!

Conservatory rebuild


Conservatory rebuild

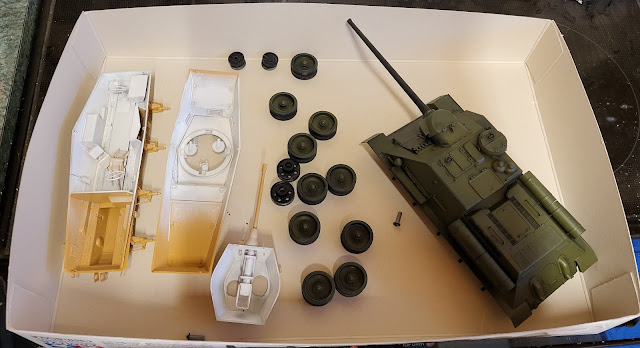
Being so bogged down means model making activities have taken a hit so I was pleased to be able to negotiate the mud and trenches to grab an hour in the Man Cave. This allowed me to give the interior of the Tamiya Sd.Kfz 234/2 Puma got another coat of white as the first coat was a bit patchy and the Italeri SU-100 assault gun got its first coat of Russian Green. 

Italeri SU-100 assault gun.

Trudging back inside I now have the job of cleaning up the mud that I managed to bring into the house or Mrs. Woody will not be pleased! Bogged down in more cleaning - great!

Monday, January 9, 2023

Light and dark.

I went out to the man cave with the intention of doing some airbrushing. The Tamiya Sd.Kfz 234/2 Puma needs its interior painting so I can glue the upper and lower hulls together before I can really move much further with this kit. The Italeri SU-100 assault gun needs to be painted as does the Airfix Dodge 1 1/2 Ton Personnel Carrier. 

The bad news first in that I did not have time to even show the Airfix Dodge 1 1/2 Ton Personnel Carrier the airbrush so that awaits attention on another day. However Mr. Airbrush did get some white paint on the interior parts of the Sd.Kfz 234/2 Puma. Most armoured vehicles were and as far as I know still are painted white inside to try to bring some light to the interior darkness. With that done I can paint the seats and other parts and perhaps just add a quick bit of weathering. It is not as though the interior will be on full display - just what you will be able to see through the open turret hatches.

Tamiya Sd.Kfz 234/2 Puma

With that done I moved to the dark of the black primer for the eventual top coat on the SU-100 assault gun. I have done a post or two before on the advantages of a dark primer in painting armoured vehicles but basically it means that you can get a shadow effect and any parts that are missed with top coat do not stand out. The picture was taken with the vehicle looking a bit like a beached whale in the 'spray box'! However it should look OK for the next stage once it has dried over night.

Italeri SU-100 assault gun.

Talking of light and dark brings me onto the conservatory rebuild. There has been further progress as this picture in the light illustrates.

Conservatory rebuild,

And being desperate to get away from my catering skills (i think they are joking!) they are working into the dark to try to finish the brickwork so they do not have to come back tomorrow! Amazing how versatile a mobile phone is with its torch facility!

Conservatory rebuild,


Thursday, December 29, 2022

The small but important things always take the time!

The builders turned up today complete with the continuing aftermath of flu. They moved the bricks and blocks for the conservatory rebuild from round the front of the house to the back and piled them in several strategic pillars. Not sure if these pillars have a greater meaning or act as some form of  intergalactic pathway but this is a small but important step in this project. 

Conservatory rebuild,

After achieving this they went home with coughs that could be heard above the ill maintained diesel engine of their van!  

Meanwhile the Italeri SU-100 assault gun is all but built. There are a couple of small but important things that still need to be added which are almost the signature of the base vehicle but these are taking time. Firstly there are the tracks on the front panel of the hull. I have never seen a T34 or variant without these in place. The kit parts should be easy enough to build. 7 track links just need to be joined. Easy to say but when the parts just do not fit together not easy to achieve. Being so prominent they do need to look right so there is going to be a great deal of fettling needed which will take time.

The saw that is mounted to the hull side is also one of those items that you see on most of these types of chassis and not having it just does not look right - unless of course you are modelling an Egyptian version of the tank where the need to cut wood in the desert is perhaps not likely to happen. The kit part did break into several parts when I removed it from the sprue so I have had to spend time piecing that back together. However these are the only parts I have had problems with so that is not bad!

Italeri SU-100 assault gun

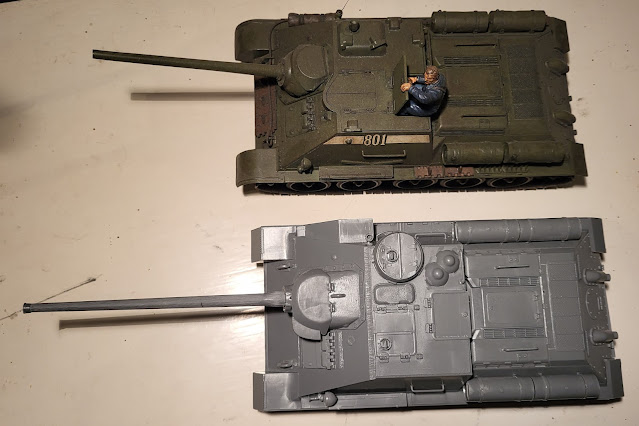
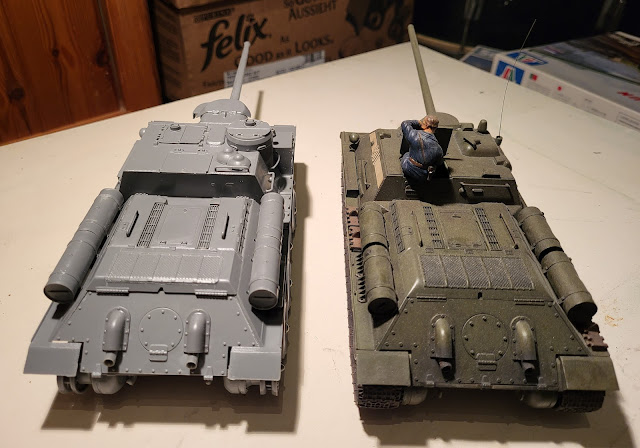
As I had a few minutes to spare (just don't tell Mrs. Woody that I had spare time) I put my already built Tamiya Su-85 next to it for comparison and apart from the main gun barrel and the mounting mantlet there is not a lot of difference between the two. What there are relate to hand rail positions and similar. Never the less an interesting set of photos.

Italeri SU-100 assault gun

Italeri SU-100 assault gun

Italeri SU-100 assault gun

Now will the builders return tomorrow..........

Wednesday, December 28, 2022

That's big!

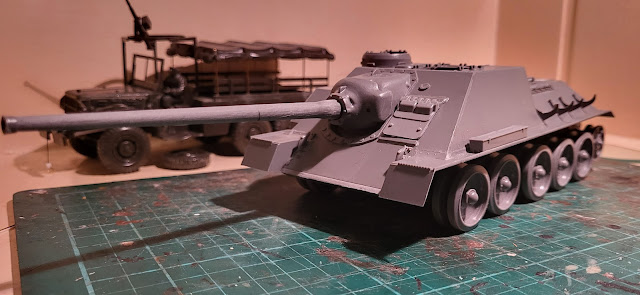
That's big! The barrel of the Italeri SU-100 assault gun that is! I would not have wanted to be at the wrong end of that back in WW2.

Italeri SU-100 assault gun

As you can no doubt tell from the photo above there has been some rapid progress on this kit which is most unlike me! I think there are about 30 parts left to fit. Mainly hatch covers, grab handles and similar as well as the tracks which are the rubber band type.

What I did find surprising is the amount of flash on some parts such as these auxiliary fuel tanks.

Italeri SU-100 assault gun

However despite the flash the way the kit designers have moulded these parts is brilliant. The two main parts fit together and then the ends are like a cap including the strap which means the whole issue of getting rid of the seam line is so simple. Nice!

Italeri SU-100 assault gun

The gun barrel is also a surprise in this kit. I would normally have expected two halves to be glued together with an end cap. Although the kit had an end cap the barrel itself is a one piece moulding. It had a very slight mould line that was quickly smoothed off . I also drilled out the end of the barrel as far as I thought safe just to make it look as though it was a tube. The photo is not great but it just about shows what I did. The end cap went at the end of this so it does look better in real life - honest!

Italeri SU-100 assault gun

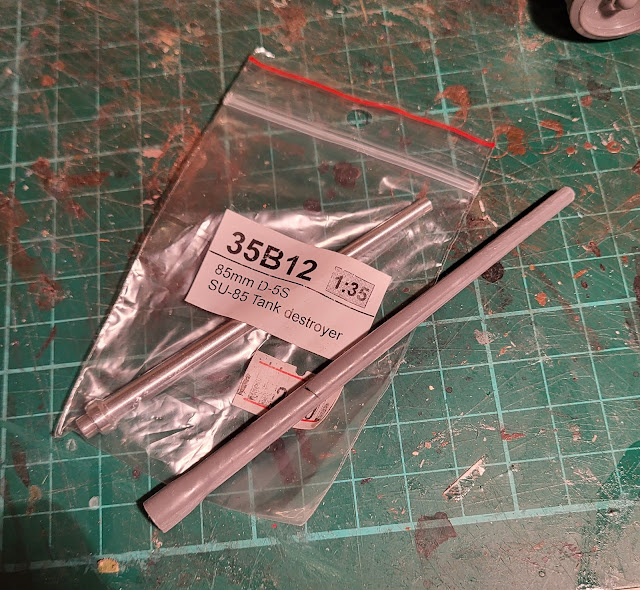
I did mention that the kit came with a metal barrel but this unfortunately is for a SU-85 which was the next generation of this vehicle. The metal barrel is significantly shorter and smaller than the plastic one so I have put the metal one aside for another time!

Italeri SU-100 assault gun

 Strangely enough I did build the Tamiya SU-85 kit some ten years or so ago and There are some photos at the end of this post. In the meantime the SU-100 kit is looking like this.

Italeri SU-100 assault gun

Italeri SU-100 assault gun

Italeri SU-100 assault gun

Now for that Tamiya SU85. You can see that basically the gun is the only difference but it is a big difference. I have also found out that there are two more SU type vehicles - the ISU-122 and the SU-122 which may be two kits I need to build to complete the collection! However that is something for the future and if Mrs. Woody asks I blame it on Mr. Beecham for giving me this kit for Christmas!

Tamiya SU-85 assault gun

Tamiya SU-85 assault gun

Tamiya SU-85 assault gun


Tuesday, December 27, 2022

A productive day!

A productive day model making wise. The Airfix Dodge 1 1/2 Ton Personnel Carrier has gone as far as it can without paint. The last of the body parts have been added and the figures included have been assembled apart from adding the helmets - makes painting the faces easier after which the helmets will be added.

Airfix Dodge 1 1/2 Ton Personnel Carrier

Airfix Dodge 1 1/2 Ton Personnel Carrier

Next up the Bachmann EWS Class 08 shunter has had a DCC chip added. 

Bachman Class 08 Shunter EWS

This was not the easiest of jobs as it took a while to get the body off to access the insides. All I can say is that the screws were well hidden not just under the couplings but one under the coupling mount at the front and lets not talk about the hidden plastic clip! Anyway I got in without anything breaking or contributions to the swear jar.

Bachman Class 08 Shunter EWS

What I was after was the blanking plug which is that small green part at the side of the copper coil on the main circuit board. The blanking plug allows the loco to operate on DC rather than DCC.

Bachman Class 08 Shunter EWS

Pull that blanking plug off and plug in the DCC chip interface and that is it - plug and play! 

Bachman Class 08 Shunter EWS

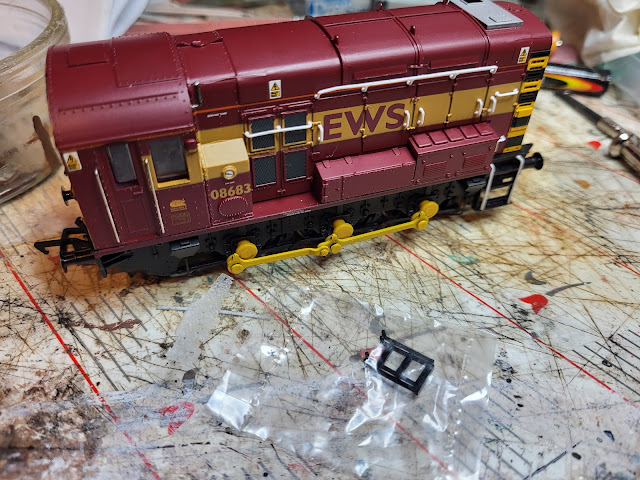
Well almost . You still need to get in the loco and put it back together! I also took the opportunity to add the separately supplied cab steps. Not sure why they are separate but it was simple enough even for me!

Bachman Class 08 Shunter EWS

Bachman Class 08 Shunter EWS

After all that a quick test on the layout.

Bachman Class 08 Shunter EWS

I must have been inspired with progress as I have even started the Italeri SU-100 assault gun that Mr Beecham gave me. It is actually a Zvezda kit, the second they ever produced some time ago, boxed as an Italeri kit. Having already built a more recent release of theirs I can say they were certainly basic in their early kits which is actually nice! A few hours have seen the hull and wheels put together which is quick progress especially for me.

Italeri SU-100 assault gun

The wheels had a prominant mould line around them which required removal. Actually thinking about it I glued the two wheels together before sanding the mould lines smooth. Doing tow at once fits in with my working smarter not harder as I get older!
Italeri SU-100 assault gun

No idea if tomorrow will be as productive oir whether Mrs. Woody has othe plans for my time!