Recording my progress, or usually the lack of it, in building kits, creating model railways and other related and sometimes unrelated matters!
Search this blog
Friday, April 14, 2023
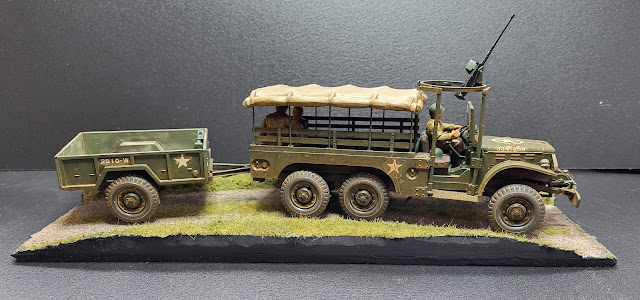
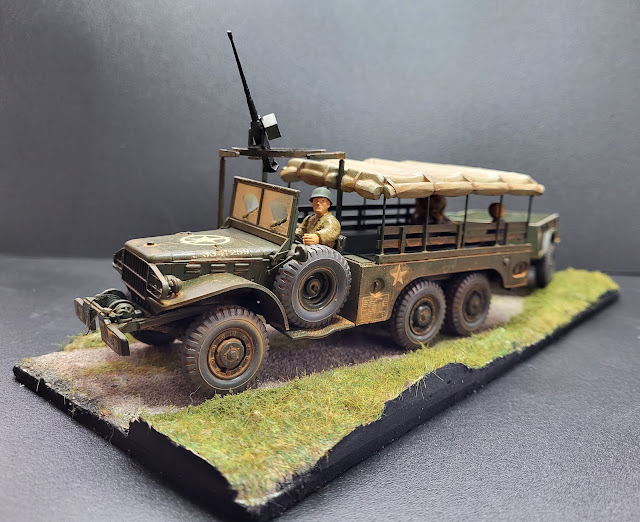
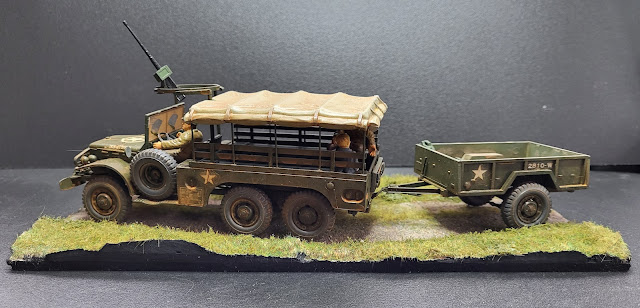
Finished!
Thursday, April 13, 2023
One small step but one giant leap for Woody
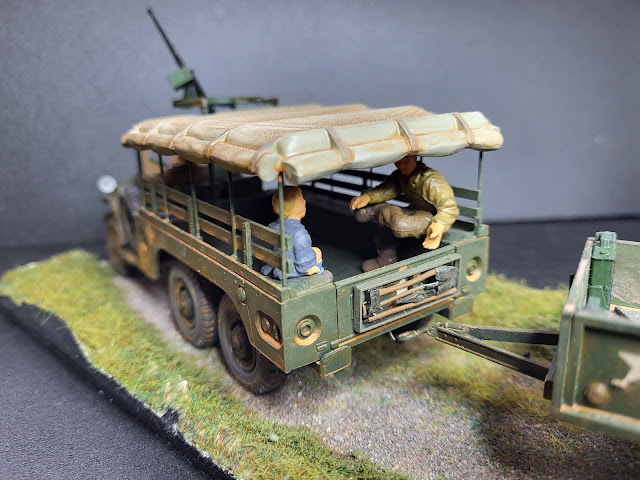
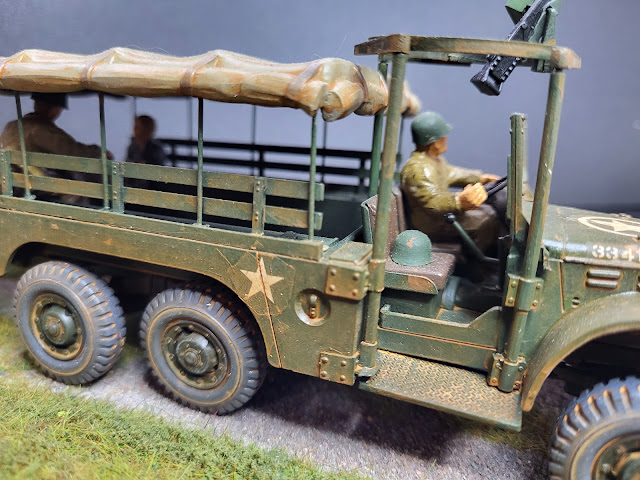
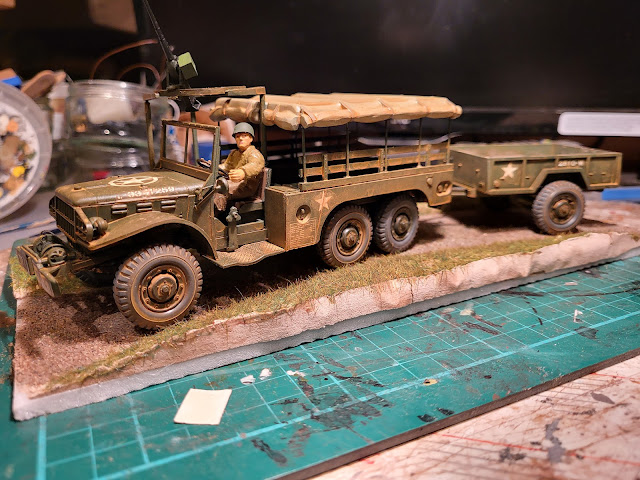
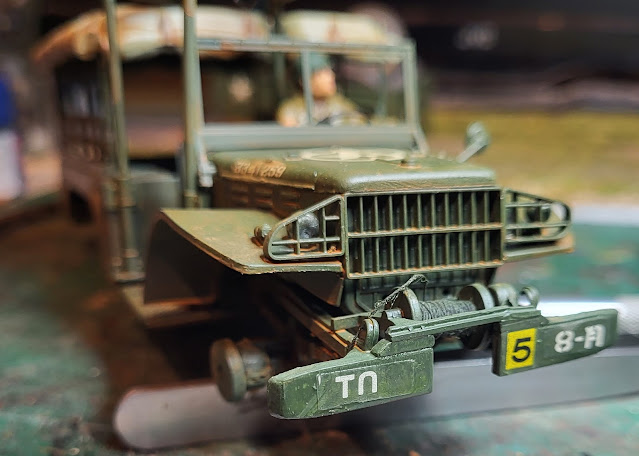
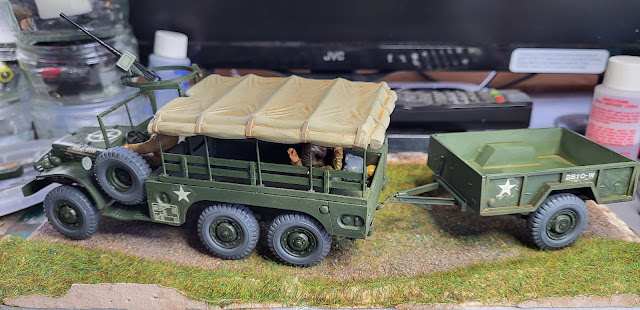
The Airfix Dodge 1 1/2 Ton Personnel Carrier is almost finished! The masked up windscreen was unmasked having had a coat of dirt airbrushed on it yesterday.
It was fitted with some PVA glue to avoid any damage or smears on the clear parts. In addition the tool rack for the rear tailgate of the truck was painted and fitted. The two remaining figures were also glued into the back of the truck and a few items of cargo were placed in the trailer. Small steps but leaping forward!
A few jobs to do on the base and then it will be fully finished!
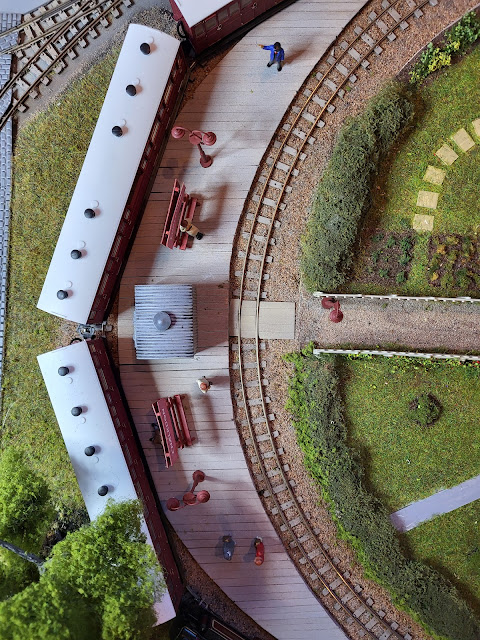
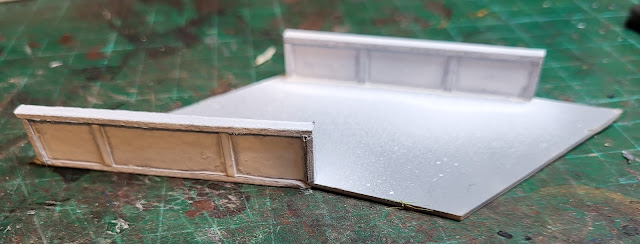
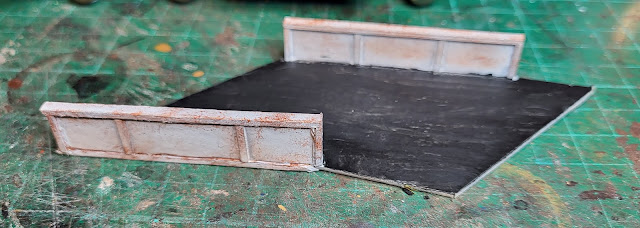
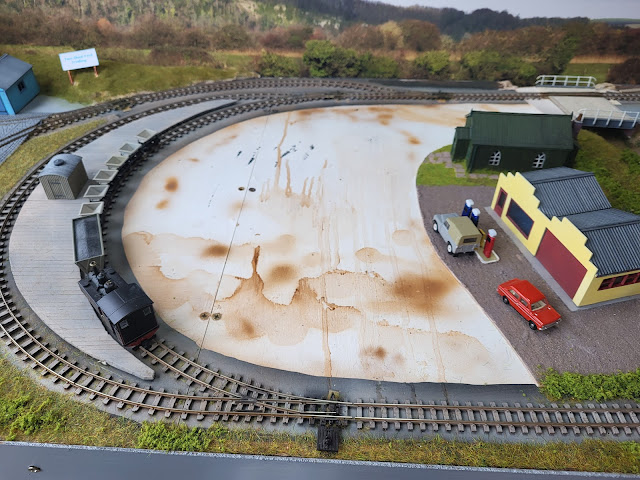
On Chalkdon my 009 narrow gauge layout, the walkway onto the platform I made and painted yesterday have been fitted making it safer for the 4mm passengers to get to the platform with their small steps rather than leaping!
Wednesday, April 12, 2023
A mixed bag!
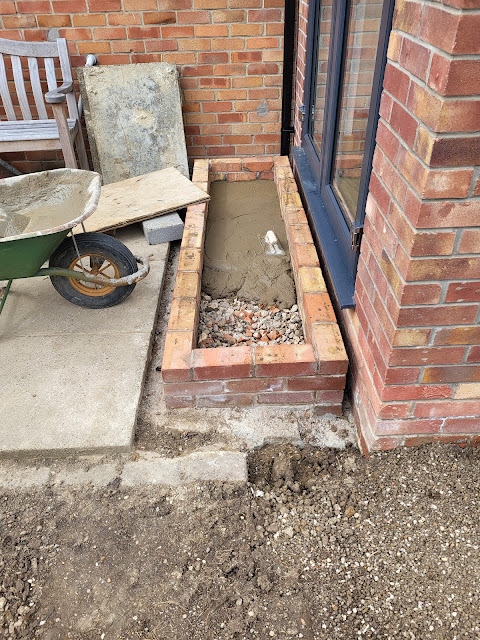
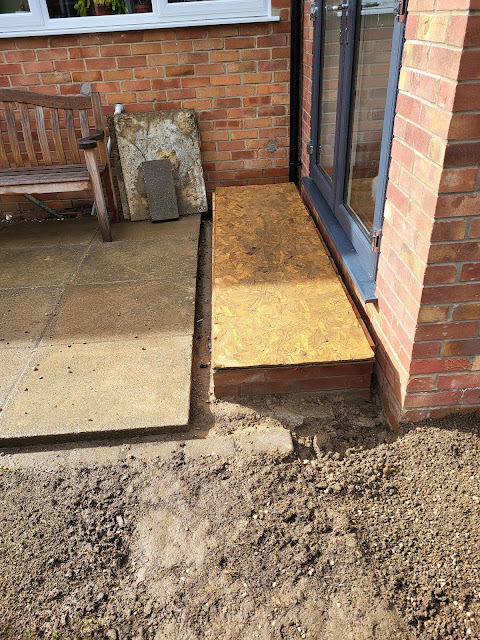
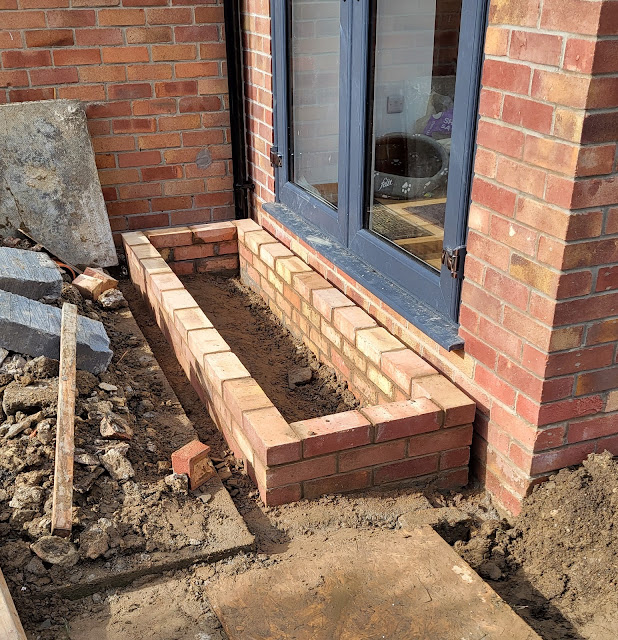
A mixed bag of things done today including an incredible bike ride of two halves. Firstly heading into the brick wall of a wind and then, secondly, on the way home feeling as though I am about to take off! The weather appears to be so unpredictable that even the weather forecast seems to be a best guess at what might happen! Today started sunny but cold. At least it was dry and that was enough for me to mix up some concrete for inside the brickwork of my step into the rebuilt conservatory. I had already put a base of hardcore inside the brick base.
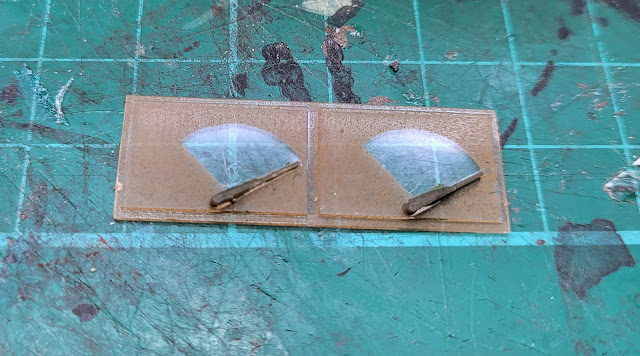
In the dry of the Man Cave I had a mixed bag of small but important things to get on with. First off I need to finish the Airfix Dodge 1 1/2 Ton Personnel Carrier. One of the few parts to fit is the windscreen which is a one piece moulding including the windscreen wipers. As the truck is fairly heavily weathered a clean windscreen was not going to look right. Therefore I used my compass cutting on some masking tape to cut out a mask for the sweep of the two windscreen wipers. I will spray some 'dirt' coloured paint to simulate the grime thrown up on the glass and then remove the masks which will reveal clear glass where the wipers wipe. That's the theory!
For my 009 narrow gauge layout Chalkdon, I need to have a walkway across the tracks to the platform. I also need some packing cases, sacks, cable drums and oil drums to place around the canal wharf. These have been made up and have been sprayed with an initial coat of paint so should be in place soon.
Thursday, March 23, 2023
Getting dirty!
Tuesday, March 21, 2023
Welding the toilets!
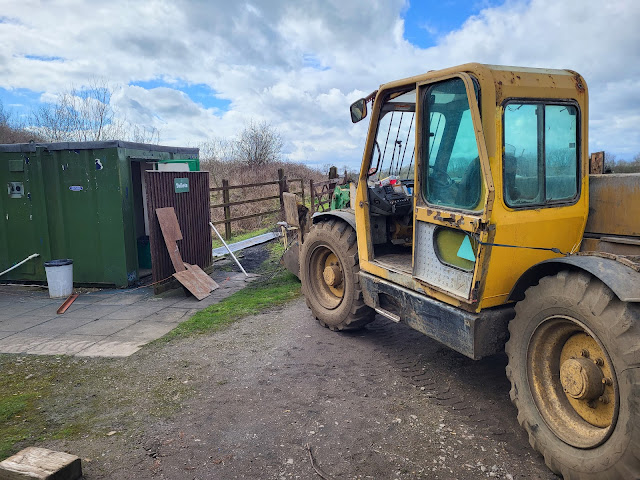
An unusual statement but never the less interesting and it has happened as these photos show.
The toilet block is a metal container which has suffered over the years from the dreaded tin worm. Although it is the desire to replace it with a proper purpose built structure when the funding is available we have to make do and mend at the moment. King of the welders, Rob, has his skills stretched in trying to weld repair panels to more rust and fresh air. However as an expert welder he is succeeding!
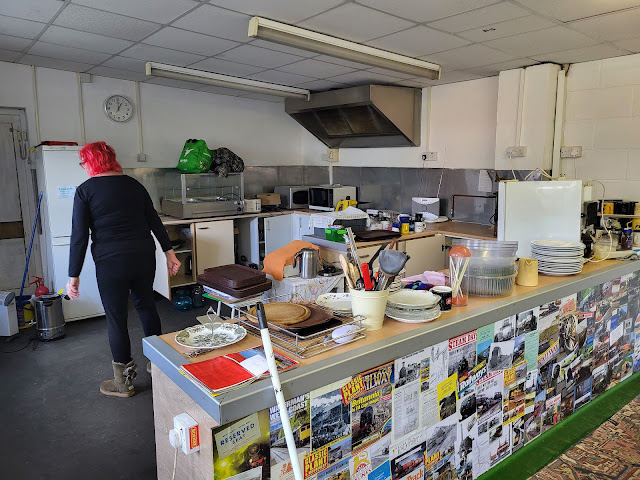
Meanwhile in the cafe the artistic flair of Jane has seen the front of the counter brightened up with her collage which is now finished. We open two weeks on Sunday so she is also having a clear out of cafe clutter to make the place even more welcoming. Probably means I won't be allowed in!
Monday, March 20, 2023
Finishing!
Saturday, March 18, 2023
Am I actually getting anywhere?
Monday, March 13, 2023
A mixed bag!
A bit of a mixed bag of model making activities today - just like the weather at the moment! I thought it might be a nice day for a bike ride but as I was getting ready this morning the wind suddenly increased as indicated by the bird table going across the garden at a rapid rate of knots and then the rain started! Every now and again it would go sunny for a few minutes then the next influx of rain. Oh well, a good excuse that I can't do anything in the garden Mrs. Woody (although I am sure she would point out I have a perfectly good weatherproof jacket), so I had a couple of hours in my Man Cave!
On my 009 narrow gauge layout I have commenced gluing down the card sub-assemblies of the road through the village and the then the thatched cottage and shop base will be glue onto that once the glue is dry.
The bare baseboard - looks strange!
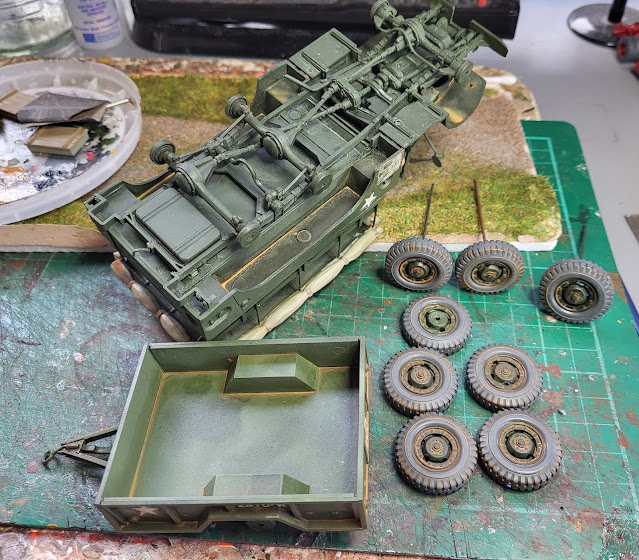
Whilst I wait for the glue to dry I did some weathering of Airfix Dodge 1 1/2 Ton Personnel Carrier. Using a dilute brown wash I have started the wheels and a bit more on the trailer and the main carrier itself. It is a slow job as I need to wait for the paint to dry before doing more but an ideal one to fit in around other jobs.
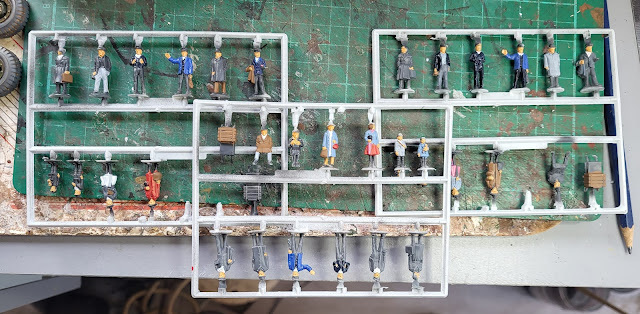
Another slow job is the painting of the Dapol Platform Figures. However it is a job that if you take your time and accept that it is going to take a while can be quite therapeutic. I am not sure if my sense of fashion is right (Mrs. W would say categorically no!) but these figures are supposed to represent the 50's/60's so I am sure they will be OK - I hope! At least my OO gauge figures don't have to face the wind and rain in their small World on my layout!
Friday, March 10, 2023
Woody gets it right - for once!
I posted a few days ago about my decal disaster which you can read about by clicking here. Given that the decals were nearly 50 years old I knew they would be fragile and probably break up when soaked to release them from their backing paper. Much as Mrs. Woody would hate to admit I was right. I had sprayed the decal sheet with some acrylic varnish. The theory being that the varnish would hold the decal together. It didn't, proving Mrs. W is right that I usually get things wrong! However, having thought about it a bit, I wondered if soaking the decal to release it from its backing paper was also dissolving the water based acrylic varnish? Hmmm! Having only taken a couple of the decals off the main sheet I still had the main sheet. So out came a can of enamel varnish and the sheet given a coat of it.
My revised theory that the water proof enamel would not be affected by soaking the decal to release it from the backing sheet was right! Mrs. W would just roll her eyes at that but I was pleased! It is not all plain sailing. You have to cut the decals out of the sheet close to the actual printed detail other wise you end up with a large film of clear varnish surrounding the printed detail. Not easy when it is white print on on white backing paper! In addition, despite soaking the decals in water as I need them, I am having to use a scalpel blade to slide between the decal and paper to get the decal fully off the backing paper but in general the decals are coming off more or less complete. Once applied a coat of decal softener is applied to help them set in place.
It is taking some time to apply all these decals but it does make the model look better. I will need to apply a coat of varnish once all the decals are in place to seal them ready for further weathering.
Whether I will actually get anything else right is open to debate although I know Mrs. W's view but at the moment I am basking in the supposed glory of getting this right!
Thursday, March 9, 2023
Woody and the Great Bake Off????
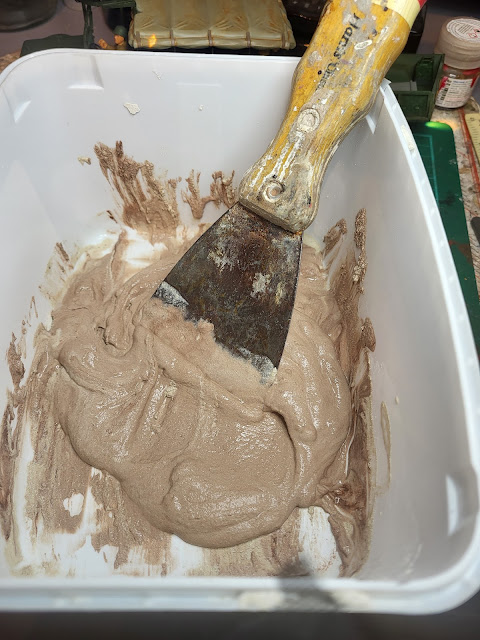
Not sure if I would actually make it to the Great Bake Off with my recipe but my ingredients certainly produced the right mix for my diorama base. Starting with a mixing bowl I added filler, brown paint, PVA and water - Mmmmm!
After a thorough mixing with this less than hygienic looking spreader it looked like this. Double mmmmmm!
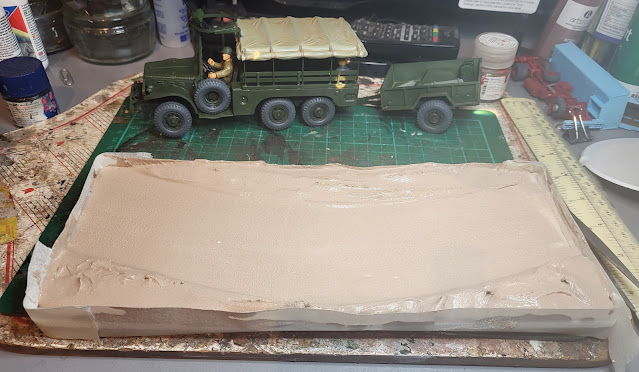
Having placed masking tape around the edges of my base to keep spillages to a minimum the mix was spread to create my desired landscape which was a lane on a slight curve.
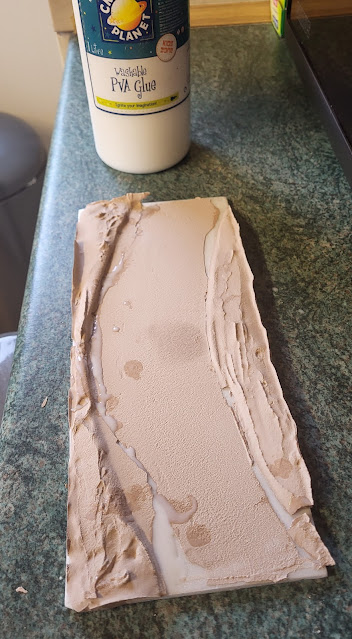
Left to dry in the kitchen (don't tell Mrs. W) things did not quite go to plan! It dried but despite the PVA glue to provide grip to the base there had been a slight warp during the night which loosened parts of the mix. Never mind! The art of the modeller is to recover from mistakes and as you know I make a lot of mistakes so I am used to making recovery strategies! In this case I glued the pieces back with PVA. It did not need to be perfect as it would be covered in scenic materials later.
Once that gluing session had dried it was time for yet more glue! This time for the lane surface.
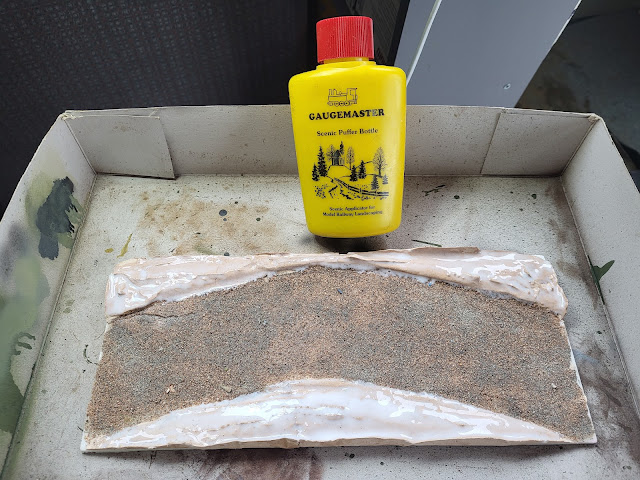
I brushed the PVA glue on and left it for 10 minutes to spread naturally. Then I spread my favoured road making material, kiln dried sand. It is perfect for this type of effect where I am trying to recreate a gravel lane. I bought a 10kilo bag years ago for about £1.50 and still have most of it so value wise it is great.
That Gaugemaster Scenic Puffer Bottle gives a hint of the next stage which was to spread yet more PVA and then apply static grass using the Puffer Bottle. Although I still need to tidy up the edges it certainly has made a big difference.
You may notice some decals appearing despite the issues I posted on a few days ago. More on that hopefully tomorrow. In the meantime I feel like baking a cake for some reason !
