Search this blog

Showing posts with label Italeri SU-100 assault gun.. Show all posts

Wednesday, February 22, 2023

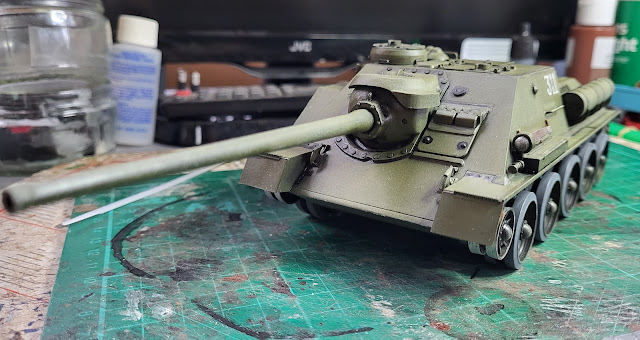
Well that's the tracks done!

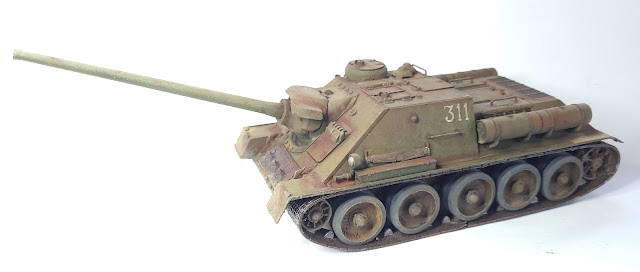
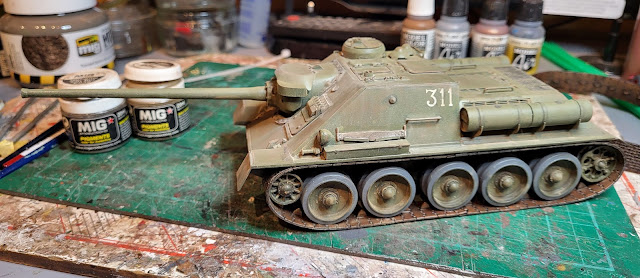
Today saw the Italeri SU-100 assault gun just about finished with the tracks fixed in place. As I highlighted before the tracks are not the best as they are the 'rubber band' type which in effect do not allow the sag on the upper part that you see in real tracks. However you cannot have everything as Mrs. Woody tells me when I venture with her my need for a new bike/locomotive/kit! 

Just about finished? Well I might add a few additions that the crew might have put on the tank. There is still a wooden box and some tools on the sprues of the kit. However for the moment here is the finished tank. I like it and I am really pleased with the way that it has turned out and I guess that is what counts! One final thing - thanks Mr. Beecham who gave me the kit as a Christmas gift. It doesn't match his skills at producing models but I am sure he is happy that I built it and it is not a glue bomb!

Italeri SU-100 assault gun

Italeri SU-100 assault gun

Italeri SU-100 assault gun

Italeri SU-100 assault gun

Italeri SU-100 assault gun

Italeri SU-100 assault gun


Monday, February 20, 2023

Time to get to the bottom!

Time to get to the bottom of the Italeri SU-100 assault gun! Yesterday the upper surfaces of the tank were dirtied with dust and rust so today attention went to the bottom. I used some acrylic mud mix which comes in a large tub and applied it with a broad brush to the under surfaces and wheels. It is like a think filler with granular material in it to give that representation of thick accumulated mud - just like my garden after the builders finished! Maybe I should just have used the real stuff!

Italeri SU-100 assault gun

Once dry after a few hours I dusted it with some of the European Dust weathering powder.

Italeri SU-100 assault gun

Then a a further coat of matt varnish to fix it to the mud surface.

Italeri SU-100 assault gun

Italeri SU-100 assault gun

Now it  is beginning to look really like a battle field veteran. 


Italeri SU-100 assault gun

Italeri SU-100 assault gun

Think I may be getting to the bottom of finishing this kit!

Sunday, February 19, 2023

Getting dirty!

The Italeri SU-100 assault gun moves on although without its tracks it won't be going far! First job today was to dust the tracks with some Track Brown weathering powder. You can see the difference this powder makes in this photo.

Italeri SU-100 assault gun

The tracks together with the tank, which had been dusted with European Dust yesterday, then received an airbrushed coat of matt varnish. This toned down the overall effect of the powders which was what I had hoped for as the two photos below show.

Italeri SU-100 assault gun

Italeri SU-100 assault gun

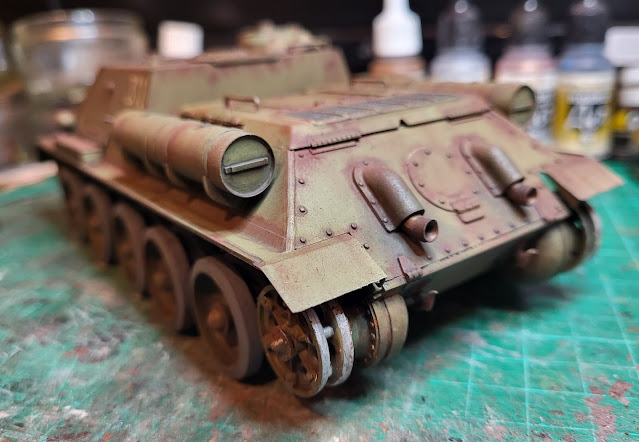
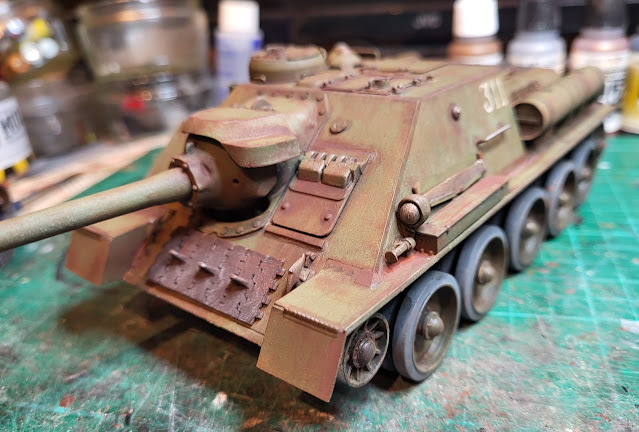
Leaving the varnish to harden for a few hours during which Mrs. Woody's desire for her car to be fully valeted was satisfied by me doing it, I returned to add some rust effect weathering powder. Adding rust is one of those forms of model making that is difficult to break down into an easy step approach. The application of the powder is simple enough, the difficult part is knowing where to add it to the model to achieve that realistic look. I don't profess to be an expert but I guess having lived in an era when cars rusted quicker then Mrs. W can place an Amazon order and having to try to repair them as well as an interest in machines of all types, usually rusty wreaks, gives me an awareness of where rust rears its head. Joints, edges and bolts in steel are the usual places but anywhere were paint is worn away will in damp conditions start rusting. You just have to look at the model and find those places. For a battle field tank there was no tank wash to clean it down after action or body shop to give a respray if it got scratched - they just got more worn and dirty by the day.

Anyway enough of all that! The photos below show my ideas as to where rust would be on this well worn tank.

Italeri SU-100 assault gun

Italeri SU-100 assault gun

 Having done my artistic bit it was time for some more varnish to seal the powders in and tone them down.

Italeri SU-100 assault gun


Italeri SU-100 assault gun


Italeri SU-100 assault gun

Italeri SU-100 assault gun

Italeri SU-100 assault gun

Italeri SU-100 assault gun

Tracks are steel so rust. However where steel rubs against something on a regular basis it can actually be polished and rust free. This is the case with the outer surface of tracks which run on gravel or tarmac and end up polished on the surface areas making direct contact. A dry brushing of metal paint saw this replicated. On the inside surfaces of the tracks the same effect happens where the tracks and drive/road wheels meet. Again I replicated this using the dry brush technique.

Italeri SU-100 assault gun

The tracks are ready to be put on the tank but I still need to dirty up the undersides of the tank so that is a job for another day! Its going to get even more dirty!

Saturday, February 18, 2023

A bit of dusting!

Not the type of dusting on Mrs. Woody's chore list but a bit of weathering on the Italeri SU-100 assault gun with a dusting of powders. Firstly though one of the things that has worried me about this kit is the fit of the tracks. They are rubber but seem to have little flexibility. Luckily my trial fit showed that they did fit. Just need to finish weathering them before they are fitted permanently. 

Italeri SU-100 assault gun

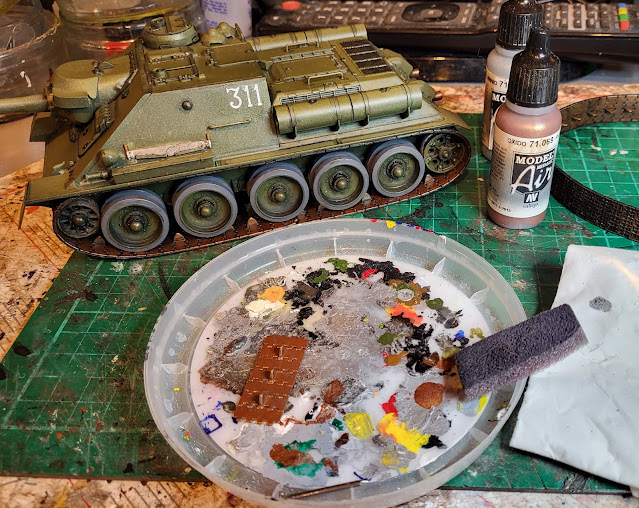
With that question answered I went on to do some rusting with a sponge. That may sound odd but some rust coloured paint, some paper towel and a pieced of sponge are all that are needed. Lightly dip the edge of the sponge into the paint and then dab it onto the paper towel. Once there is hardly any paint left on the sponge use it to dab on the tank where you want some random rusting. You can see my paint pallet is an old plastic top from a yogurt tub. Every so often I pour some boiling water over it which releases most of the paint and a gentle rub with a nylon scourer gets what remains off. 

Italeri SU-100 assault gun

I also painted the seven track piece that I made yesterday. Then it was onto dusting some weathering powders. A mixture of European Earth and Industrial Grime were applied with a stiff flat brush. The exhausts got a blast of Soot powder as well.

Italeri SU-100 assault gun

Italeri SU-100 assault gun


Italeri SU-100 assault gun

Next stage will be to varnish the tank which will actually soften the present dusting of powders. Once that is done then it is down to some more detailed weathering on specific areas. As I said yesterday even the simplest of jobs takes time!


Friday, February 17, 2023

Even the simplest jobs take time!

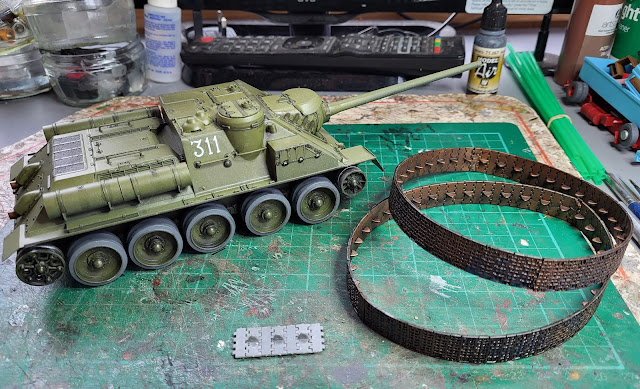
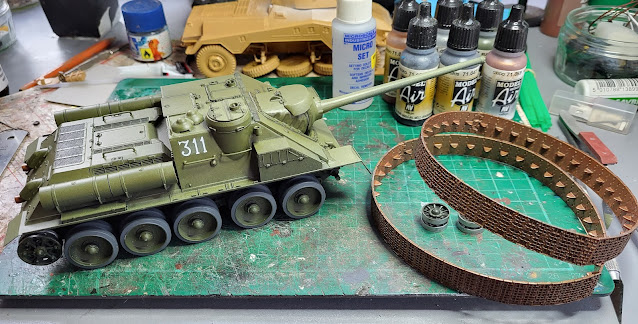
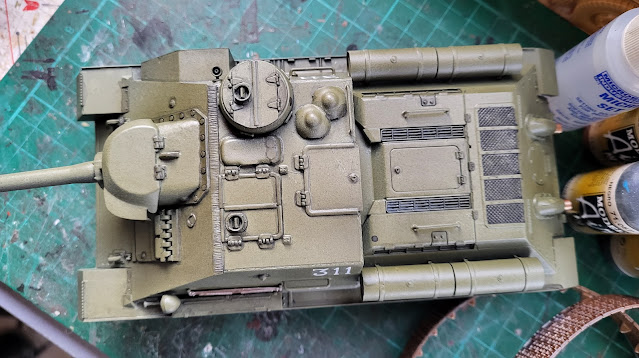
Sometimes even the simplest jobs take time as I tell Mrs. Woody on a regular basis. One of those jobs is weathering a model tank. Using my favorite method of an initial pin wash of diluted black paint which I started yesterday and continued today at intervals between a hard labour job, but more on that later, the Italeri SU-100 assault gun is progressing well. The seven track links in grey in the photo fit to the front of the tank. I was sure I had built this when I built the main model but I just cannot find it! No doubt it will turn up as I finish the model. Luckily there were enough spare parts in the kit to make another one which I will now have to paint.

Italeri SU-100 assault gun.

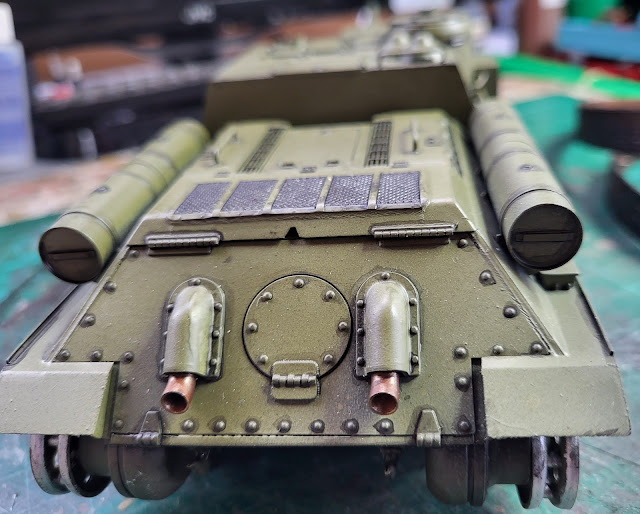
It is amazing how such a simple technique can really make a difference to how a model looks. The details begin to 'pop' as they say. Those exhausts will be getting a coating of soot - the engines were not that clean in burning diesel and certainly would not meet todays emission standards!

Italeri SU-100 assault gun.

Italeri SU-100 assault gun.

The tracks take several washes of the diluted black paint to add some relief to the links. They will be treated to some weathering powders as well when I do the same to the tank. As I said even the simplest jobs take time.

Italeri SU-100 assault gun.

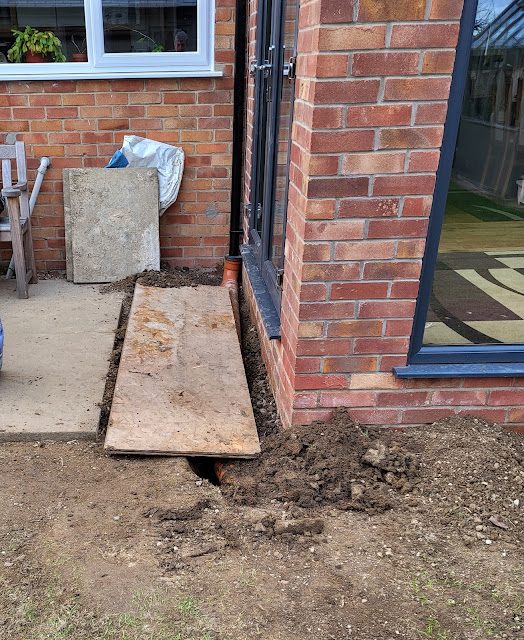
My hard labour today was a session of gardening cutting back trees. I then moved onto the issue of access into the rebuilt conservatory. At the moment this is it!

,Conservatory rebuild

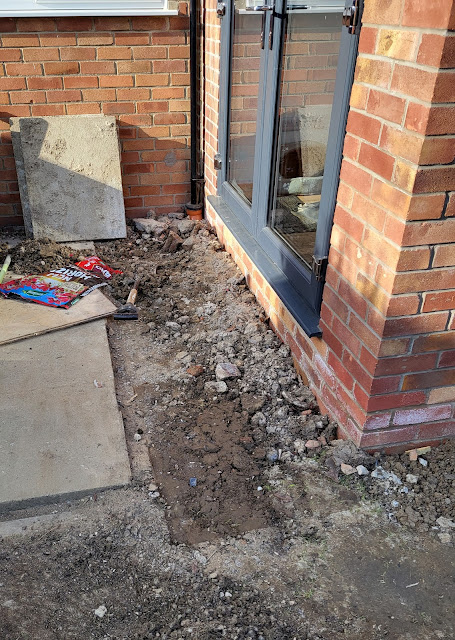
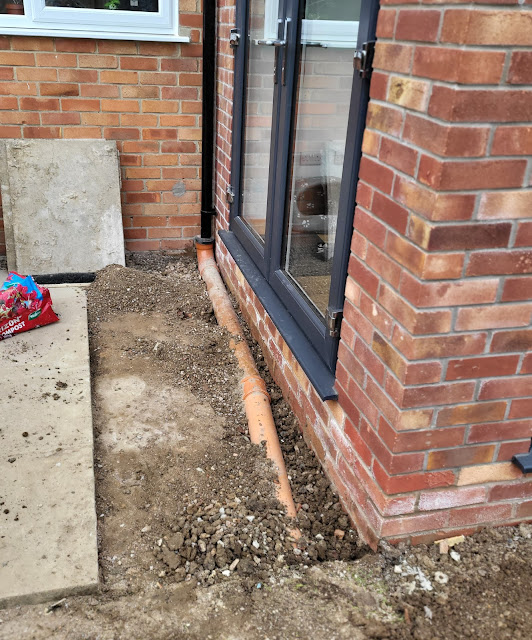
Not exactly a long term solution! So a step is required which I will build in bricks with slabs on top. Should be a simple job - so I thought! Under the wooden board was the usual builders rubble.

,Conservatory rebuild

Cleared that and found the drain pipe slightly higher than I thought it would be!

,Conservatory rebuild

Basically it is too high to build a foundation to lay bricks on. It needs lowering! Hmmm this simple job is becoming a major project! Something to work up to whilst I think about alternatives! It all takes time Mrs. W!

Thursday, February 16, 2023

Castellated Hedge!

Some more work on the Italeri SU-100 assault gun. The decals, all two of them, were added without breaking up which was either luck or my coat of varnish yesterday did its job. The tracks received a base coat of  Vallejo rust and now await weathering. Those track guides almost look like castellations on a wall. I also painted the exhausts rust and the saw was given a shine with some metal paint and then some rust added. As I had a little time I also started to add a black wash to highlight the edges of the various surfaces on the tank which brings about some relief to the green overall paint job.

Italeri SU-100 assault gun

Italeri SU-100 assault gun

Italeri SU-100 assault gun

Italeri SU-100 assault gun

On a separate matter but related to castellations, I was out on a bike ride today. There is a lot of hedge cutting in the farmer's fields at the moment in order to complete the work n=before bird nesting season. Usually my eyes are on the road to avoid the thorns that cause punctures. However my eyes were caught by this section of freshly cut hedge. I thought that the hedge cutter had missed a bit. 

Castellated Hedge

However looking down the rest of the hedge it was obvious that this was an artistic hedge cutter! A castellated hedge. I have seen hedges cut into the shape of an animal before but nothing like this on such a big scale. It will be interesting to see what it looks like once in full leaf. Just hope this doesn't give Mrs. Woody any ideas for our hedge!

Castellated Hedge


Wednesday, February 15, 2023

Tires or just tired?

Starting off with an update on the Italeri SU-100 assault gun. The tyres on the wheels are now painted in grey. They are rubber in real life but unless you have a brand new tyre or you have treated the tyre with some of those tyre dressing products that seem so popular and make them look as though they are a gloss black, tyres once worn begin to turn grey. I also gloss varnished the areas where the decals are to be applied. If you do not do this there is a danger that the decals with 'silver' once applied. This is where air trapped under the decal on a matt surface looks as though it is frosted. The gloss varnish should provide a smooth surface that does bot trap air - that is the theory! It usually works for me but not always. The kit itself is some years old and decals over a couple of years old tend to degenerate. The outcome is that when you soak them in water to release them from the backing paper the decal can literally break up into many small buts. To try to combat that I also sprayed some varnish on the decal sheet which will hopefully keep the decals together. Again another 'that's the theory' but I will soon find out!

Italeri SU-100 assault gun

Having got into the swing of clearing up yesterday at the Rocks By Rail Museum I continued closer to home in the WMD HQ garden. The rebuilt conservatory needs a step to be built which means that I have to clear the area of the rubble left and then probably lower the drainage pipe before putting a foundation in for the step.

Conservatory rebuild

Conservatory rebuild

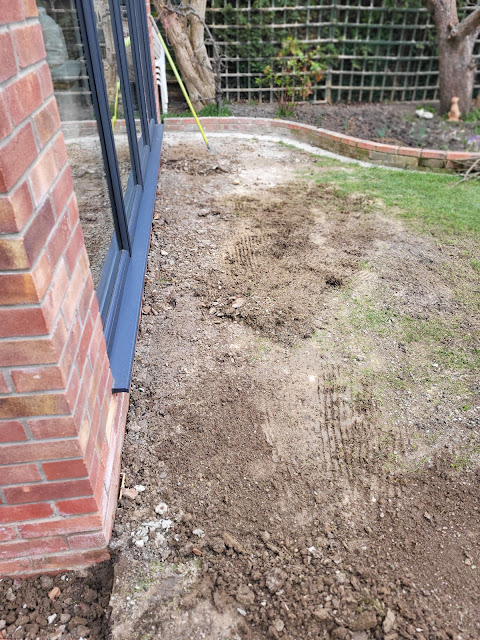
I have also started trying to claim my lawn back but that is a long job!

Conservatory rebuild

Although it does not look much I have been able to a lot of the compacted mud top surface off the grass level. I am guessing I willl be reseeding it at some stage.

Conservatory rebuild
Just to prove to Mrs. Woody that I have been busy I lined the 10 bags of rubble up in a spot where she can see them! I am, after all that, just tired now! Strange that - didn't I start this blog taking about tires?

Conservatory rebuild


Monday, February 13, 2023

Catching up!

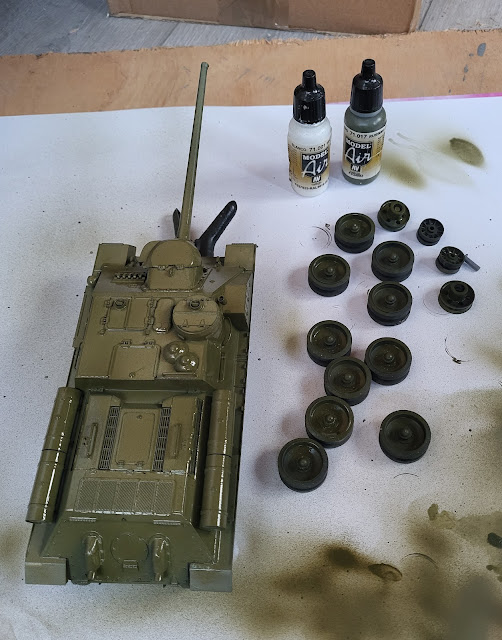
Anyone who has read this blog over time will probably understand that in Woody's life projects start and then take a long time to finish as other projects are started for reasons that seem credible at the time or Mrs. Woody has a 'must do now' chore or five for me! Today was a day to revisit one of those projects started some time ago. It is the Italeri SU-100 assault gun that Mr. Beecham gave me for Christmas. Construction of the kit was at lightning speed for me and then other things got in the way. So it has sat half painted for a month or so but it received a further dose of paint today. The backs of the wheels and underside were finally painted in Vallejo Russian Green using my airbrush. 

Italeri SU-100 assault gun

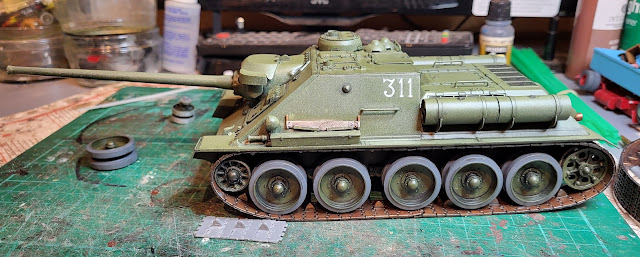
Then I decided it all looked ..... well just too uniform in colour. Weathering will provide some interest but I decided to in effect two tone the tank! This did not involve some form of custom paint job that you might find on  a 1950's classic American car! It does however involve recognising that upper facing panels of tank where day light affects the perceived viewed colour our eyes see look lighter than those in shadow which are darker. To achieve this a few drops of Vallejo white paint were mixed into the Russian Green to lighten it. The the tank was held such that the airbrush was at right angles to the upper part of the tank. Airbrushing at this angle meant that only those upper facing parts of the tank were painted in this lighter tone of paint. Although the weather is warmer than of late the paint is still taking some time to dry but the picture below when compared to the one above shows the effect I wanted. The wet look will go as the paint dries.

Italeri SU-100 assault gun

Once dry and when I start weathering it the paint will take on a darker look but it certainly gives some contrast. Progress but I still have a lot of catching up to do!