Search this blog

Showing posts with label PECO Signal Box Kit. Show all posts

Saturday, November 11, 2023

Signal box progress.

Whilst Mrs. Woody basked in the warmth of inside I spent some time in the Man Cave where I manly put up with the cold! Its not that I don't have a heater in there but if I am only in there for an hour it makes little sense in turning it on as it would be getting warm as I left. If I am in there for several hours it makes sense to turn on the heat. However my argument that I should spend more time in the Man cave will probably not work on Mrs. W! 

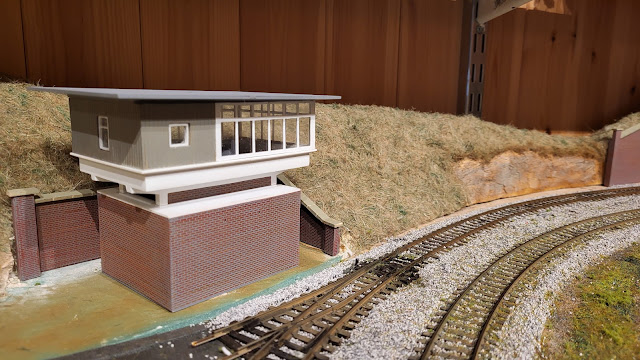
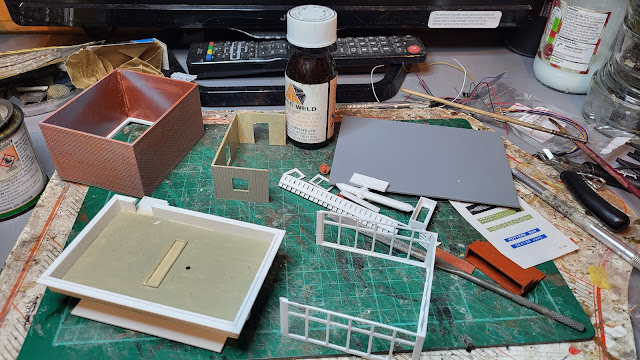
However today did see the glazing finished on the Peco signal box kit and most of the parts are together. I still need to finish the interior with the control desk, seat and signaler so the roof is still loose and the balcony railings need to be glued to match the stairs but otherwise it is looking good.

PECO Signal Box Kit

It certainly does not look like a conventional signal box!

PECO Signal Box Kit


Thursday, November 9, 2023

Free wood!

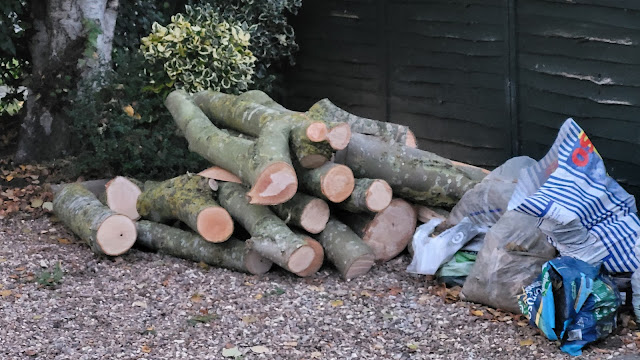
Don't say I don't take Mrs. Woody out on some unique trips. Today it was a trip down a local road where I had seen on a bike ride that the council had felled some trees and left the wood for locals to collect. Well I am local so once back home I announced to Mrs. W we were going out. I think she though it was retail therapy time but soon realised it was her muscles I was after! We came back home with a car load that given a couple of years will be ready for the wood stove much to Mrs. W's delight. I wonder if she will now cut them up and spilt them to save me the bother?

Logs

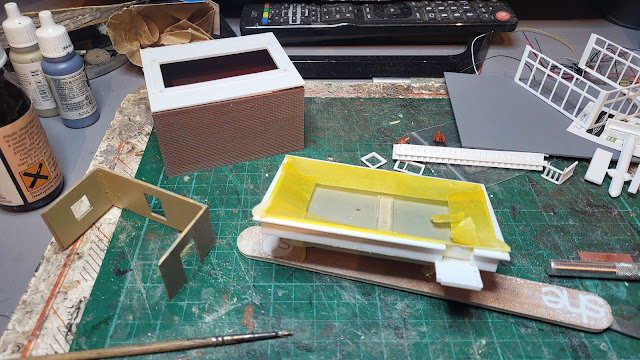
Back at WMD HQ and away from the logs I managed to progress the Peco signal box. The base to the upper cabin was glued, filled and masked before being airbrushed white.

PECO Signal Box Kit,

The windows have now been glued to the rest of the wooden cabin structure and the central control desk, which looks more like it belongs in NASA the in a signal box has been airbrushed grey. There is also a signal man figure and a seat for him to sit in which need further painting. I also started gluing the glazing into the window frames which will at least mean the 00 scale signal man won't be in a draught especially as this modern day type signal box doesn't have a log burner!

PECO Signal Box Kit,


Wednesday, November 8, 2023

Another success - Amazingly!

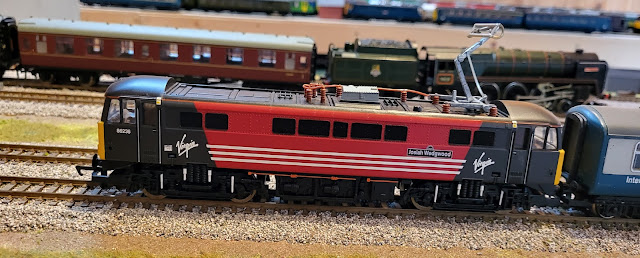
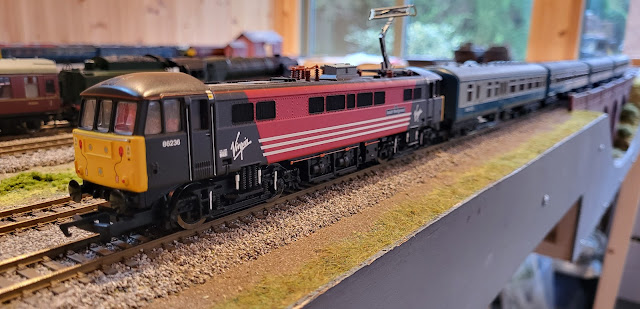
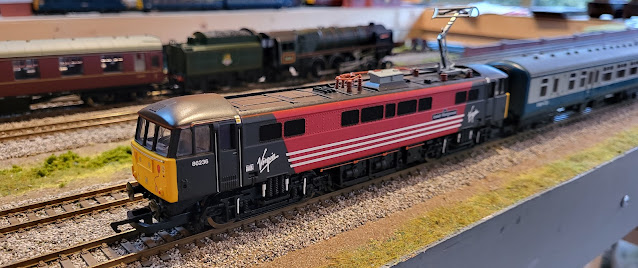
Another success and I say amazingly because something normally goes wrong but the Hornby Class 86 in Virgin livery now is DCC chipped and works! I had it running on the layout hauling four coaches. It tends to wheel spin with more but these are old Hornby coaches which are not the best at free running.

I do like the livery and it was one of those iconic liveries that came about at initial privatisation of the UK rail industry. You never know there may be some more come and join it but don't tell Mrs. Woody!

Hornby Class 86 Virgin livery

Hornby Class 86 Virgin livery

Hornby Class 86 Virgin livery

With that project finished it is time to return to other half finished projects of which I have many! First off though is the Peco Manyways Signal Box kit. I had posed the various parts together to give the impression of a finished building but they need gluing together and some more painting is required. I have at least made a start!

PECO Signal Box Kit

And this is it!

PECO Signal Box Kit


Monday, September 11, 2023

Trunking and ducting!

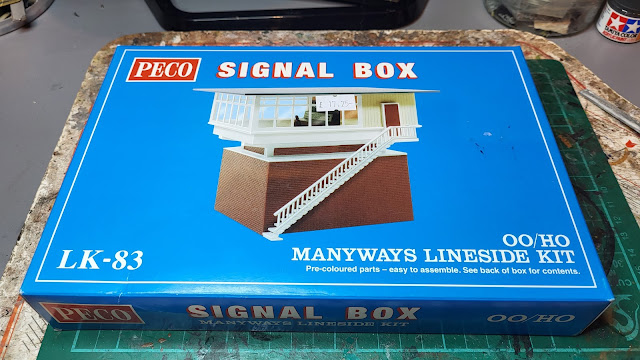
Moving on with the progress on my 00 gauge layout it is time to start incorporating those small details that add a little to the realism I mentioned in the last post. In this case the 'dummy' point motors that are to be added to the points to recreate the real life situation require power and control cables from the signal box. I am some way off adding a signal box yet but have a model in stock!

PECO Signal Box Kit

Not your traditional looking signal box but it actually dates from the 1960s and is based upon the one at Potters Bar. I look forward to building it to see just how it will fit in with my imagined scene!

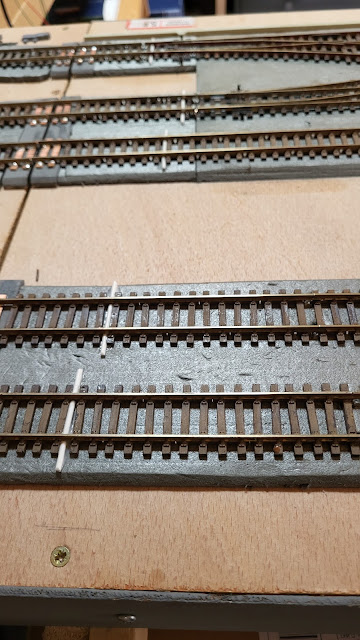
Back to the power and control cables, these need to come from the signal box to the point motors and when I fit them the signals. To that end I have added some concrete cable trunking running at the side of the track within which the cables would be protected and easy to maintain. These come from a Wills kit. The ducts that would take the cables under the track and protect them as well as allowing easy installation as the cable is simply fed through them avoiding digging up the track! I just used some plastic rod cut to size and laid across the track. They need to painted orange after I have finished ballasting.

My Last Great Project,

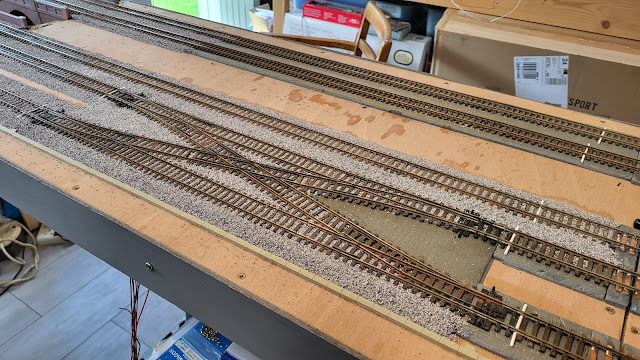
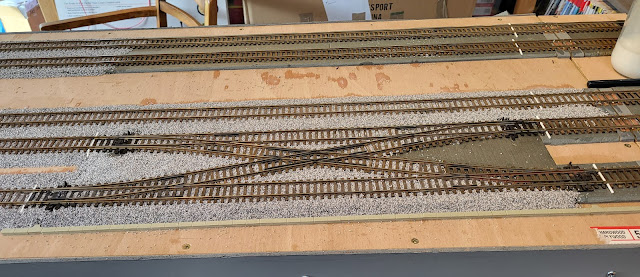
With the trunking and ducting in place I could get on with the job of ballasting. A time consuming job which needs to be done right to look right. Just the area around the points and crossing has taken me over two hours to lay and glue but I have done most of the board now so hopefully a few more hours should see that finished.

My Last Great Project,

You can see the cable trunking running along the lower level of the tracks.

My Last Great Project,

My Last Great Project,

Hopefully the hot weather will mean the glue dries quickly!