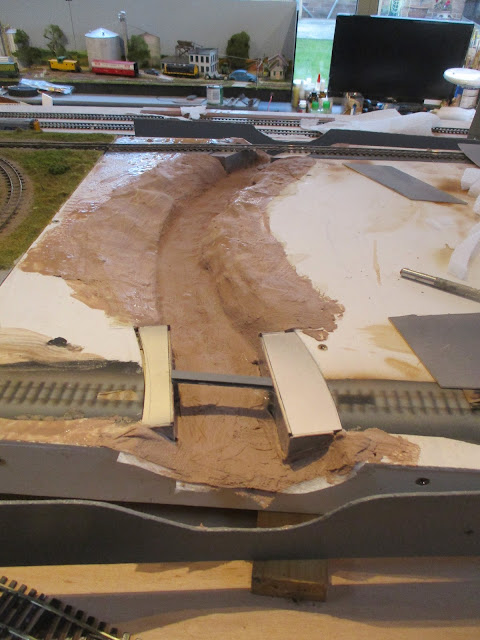
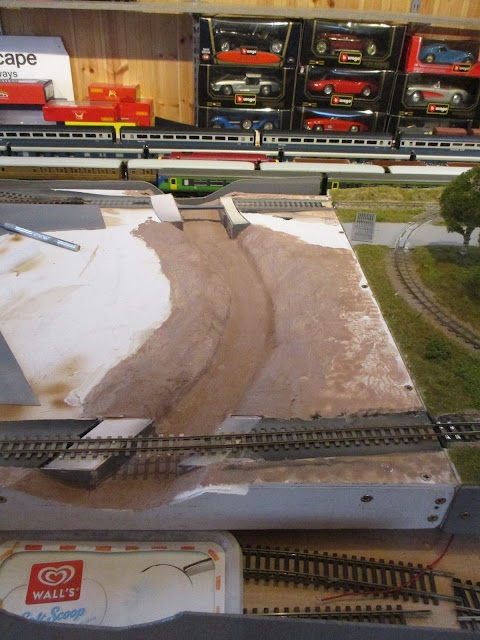
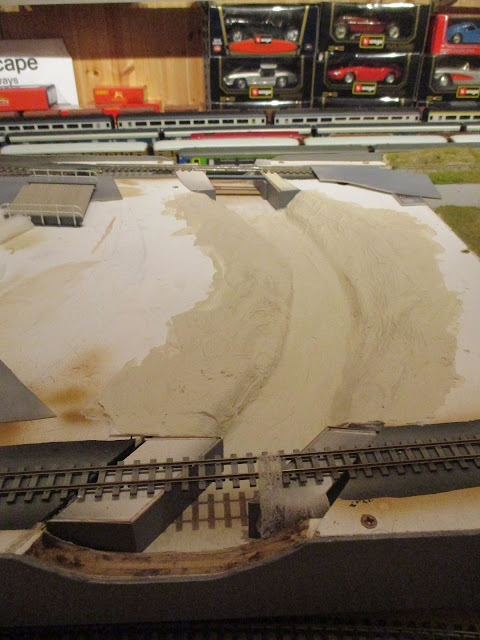
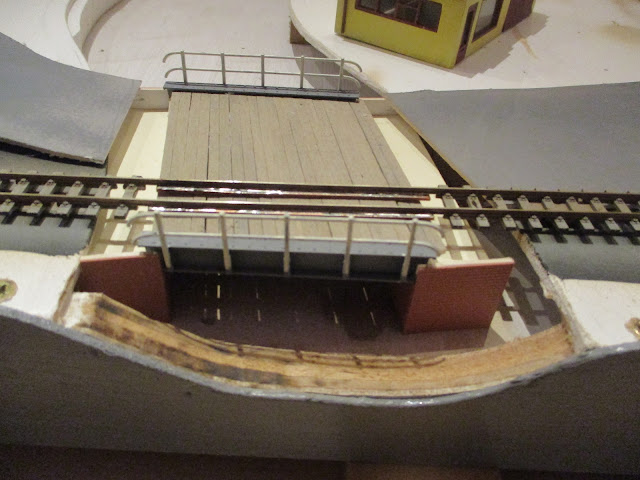
Despite the cold yesterday I ventured out to my man cave AKA the Room of Gloom or perhaps more aptly The Ice Cave! The heater soon bought up the temperature to something more hospitable and allowed me to do a little more on the river banks of the narrow gauge layout. Despite having shaped and built up the landscape of most of the river banks I still needed to fill in around the bridge abutments and add a bit more strength to the rest of the landscaping. Because anything to do with a sloppy DIY filler like substance in my hands is going to cause a mess I needed to protect the brickwork on the abutments. Indeed I still need to colour the brickwork. In one of my rare more thinking ahead moments, I had made the abutments removable at this stage so I was able to lift them out and then put sellotape around them. The shiny surface would stop the the filler sticking to the abutments and also it would protect the brick work surface.
Recording my progress, or usually the lack of it, in building kits, creating model railways and other related and sometimes unrelated matters!
Search this blog
Thursday, December 23, 2021
Further tales from the river bank
Wednesday, December 22, 2021
It may not look pretty, but it works!
Probably something that Mrs Woody thinks about me! Although having still got a list of jobs left to do from her 'List' the last bit of the title may not be so true!
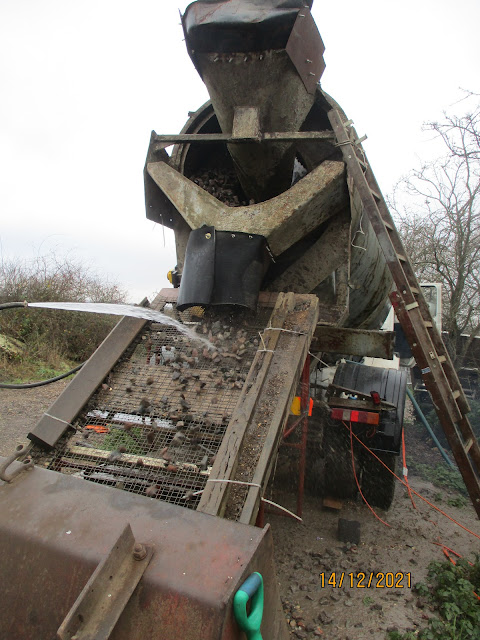
However I did manage a few hours of work at the Rocks by Rail Museum yesterday where the ballast washing operation continued with the over sized washing machine that I talked about last week (go here to see that post). Not looking pretty is something of an understatement about the machine as it looks as though it is a cast off from the Gold Rush TV series! The loading hopper is a case in point - lots of large nuts and bolts, bits of wood and rusty metal all fastened together in a bit of a haphazard manner which would make most advocates of aesthetic design turn away in disgust. However pretty it may not be but it works and that is what counts! In addition it cost a fraction of the £50m that Network Rail spent on a ballast cleaning machine back in 2015 - go here to see details of that and indeed how much prettiness £50m buys!
Anyway, following a day at the museum I also had an hour in my man cave AKA The Room of Gloom. The foam that i had glued to make the substructure for the river banks had dried and whilst not looking pretty, once carved to shape with a kitchen knife (note to self - remember to return before Mrs. W misses it) it provided the perfect base for the next part of the landscaping work. This involved mixing up a fairly sloppy mix of DIY filler and then using small pieces of kitchen roll laid over the foam and bushed with the sloppy filler until saturated (note to self - also remember to return kitchen roll before Mrs. W misses it). The idea is that you build up several layers of kitchen roll which eventually dry into a hard shell. Again, it may not look pretty but it works. Once it is covered with model foliage it will then look pretty - I hope!
Foam has been carved to shape.
Thursday, December 16, 2021
Tales from the river bank.
If you are associating the title of this post with a children's programme from way ago you are of an age where age doesn't matter any more!
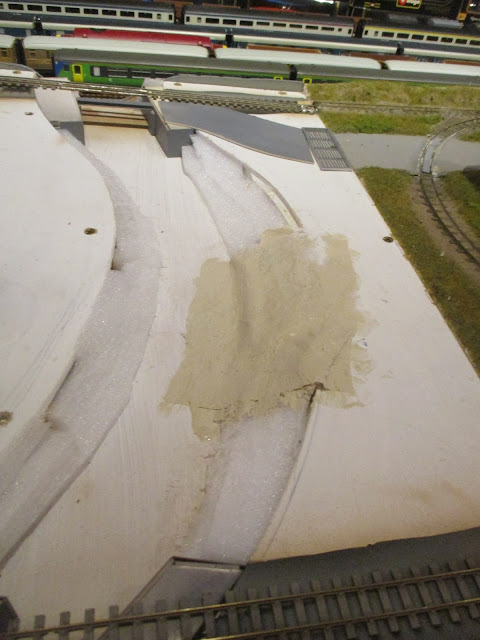
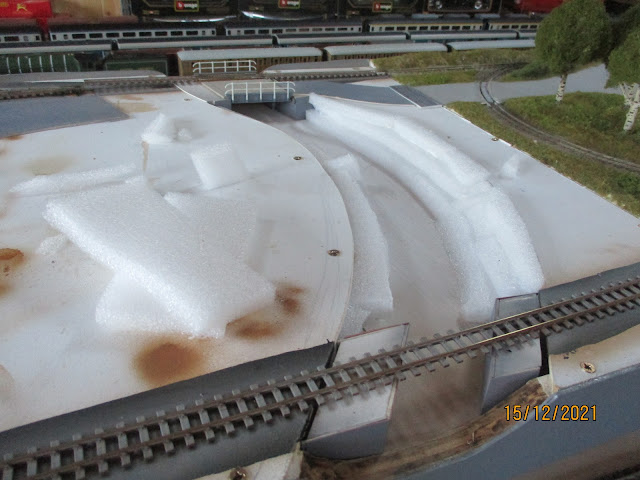
A bit of work last night on the river banks. Mrs. Woody had a parcel delivered (one of many!) with some rigid foam surrounding the contents. That almost ended up in the bin but I had the idea that it would be useful as the subbase to my landscaping of the river banks. Normally I would use polystyrene - the type which disintegrates into those small spheres that through static charge get stuck all over you. This foam however was as light as polystyrene and could be cut with a knife without me ending up looking as though I had been through a snow storm and having ended it in a collapsed igloo. I have therefore had a pleasant hour or so cutting it into the rough shape and gluing it all with PVA with no big mess to clear up - working smarter not harder as I get older!
Its a bit cold in the Room of Gloom as I call my man cave, so the glue will take a while to set. However once set a bit more snow free carving should see a basic shape which will then be covered with plaster and paper towel to give a rigid base for scenic treatment. That is for another time though when there will be more Tales from the river bank!
Wednesday, December 15, 2021
Oversized washing machine!
Last week it was clearing vegetation at the Rocks by Rail Museum but this week it was a chance to use the oversized washing machine to do some ballast washing. Now I generally like to keep away from washing machines as close contact with them can lead to all sorts of unreasonable domestic expectations about me using them from Mrs. Woody. However supersize the machine and put it in a railway setting - well that is a completely different situation that I like to be involved in.
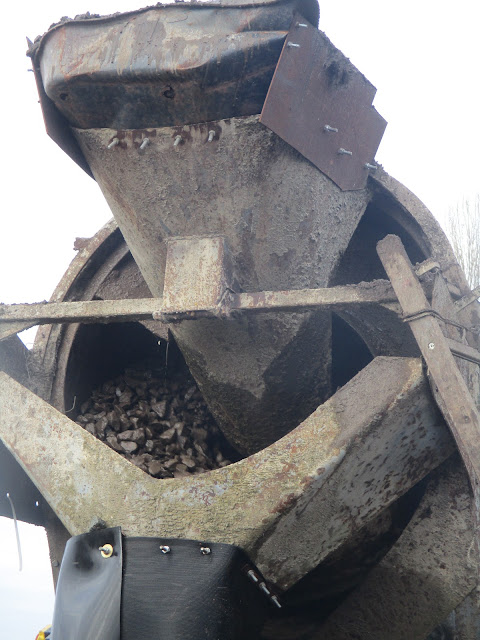
It may look somewhat Heath Robinson in nature but the system is sheer brilliance. The basis of the system is an old cement mixer with a drum of about 4 to 6 cubic meters capacity. Dirty ballast is loaded into it via the hopper at the top.
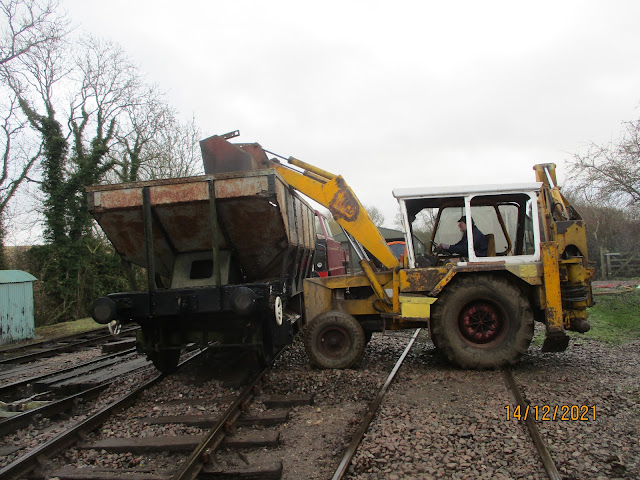
Having been washed the ballast then gets transferred into the nearby Trout ballast wagon ready to be spread around the tracks. I do have a gravel driveway at home which looks a bit dirty - wonder if Mrs. W would notice if I used the washing machine..........
Tuesday, December 14, 2021
Glacial progress!
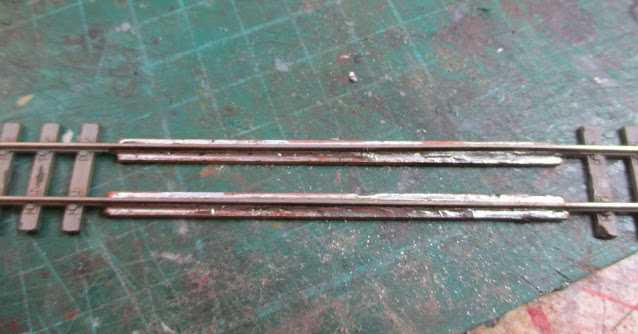
In light of various things going on with the climate I am sure there are actually glaciers that are moving one way or another faster than my progress on the narrow gauge layout. You think you will have time to do a few hours and then find yourself getting pulled into other jobs. The good weather the other day meant a too good a chance to catch up with tidying up the garden so that was most of the day taken up. However at least there has been some progress with the layout with the two river crossings more or less structurally complete. On the bridge with the wood deck I had to take the sleepers off the track. In real life the rail across most open deck or wooden bridges is supported by a sub-structure which holds the rail in place. If there were only sleepers then there would be no ballast to hold the track firm. In model terms taking the plastic sleepers off is fairly easy - a little action with a craft knief and they are gone. However the remaining rail does need some support to retain rigidity and avoid the track warping. Therefore I soldered some copper clad strip under each rail. The copper clad strip is plastic sheet covered with a layer of copper which makes it useful for all sorts of things including circuit boards in most electrical appliances. However as with many items people find uses for products which were far from the minds of the original creators as in this case.
Now soldered into place giving rigidity to the rails. I am going to have to recess the rails into the bridge deck which is something my original plan did not envisage but that plan also did not take account of my miscalculations on levels! Say no more!
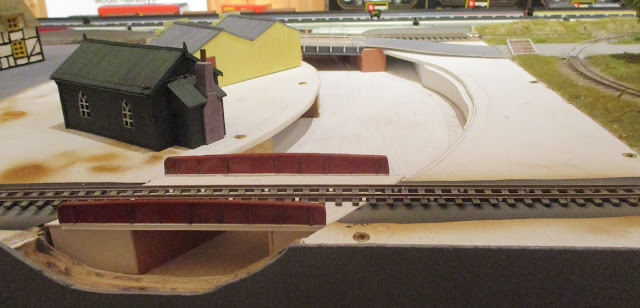
With some of my woeful geometry calculations for angles, the abutments for both bridges are done and it is mow looking like this.
The second bridge is much more conventional in style. The steel girders have been hanging around in my scrap box of bits which "may come in handy one day" for over 30 years. However despite not having seen them for most of that time I still remembered that I had them. Now if only I could remember what Mrs Woody was saying the other day - that would be progress!
Wednesday, December 8, 2021
Starting over!
Sometimes you have to admit defeat and go back to the drawing board. That was the case with the bridge on my narrow gauge layout. Originally it looked like this.
It was a nice build but didn't fit the curve of the river. I hummed and hared, tried bending parts of the abutments but soon came to the conclusion the bridge deck and abutments needed to be on an angle. So that journey has started and its looking like this at the moment.
I will have to get some of my wood butchery tools out to reprofile the edge of the baseboard so that should be fun and generate some income for the swear jar! However the project is moving on, slowly but it is at least progressing a little faster than glacial speed!
Monday, December 6, 2021
Finally!
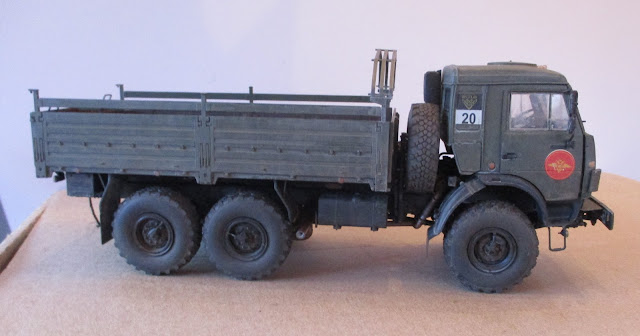
Yes - finally! I have completed the 5350 Mustang truck! Its been a long journey and I have been distracted from finishing so many times but it is done! I always said I was impressed by the way this kit had been designed and the fit of the parts and it is a credit to Zvezda. Obviously there is some licensing issue with the trucks real manufacturer Kamaz as the name plate on the front has been amended to 'Kama3' (see photo 5) which is no doubt sufficient to keep lawyers happy! It amused me anyway!
Thursday, December 2, 2021
Coupling Up!
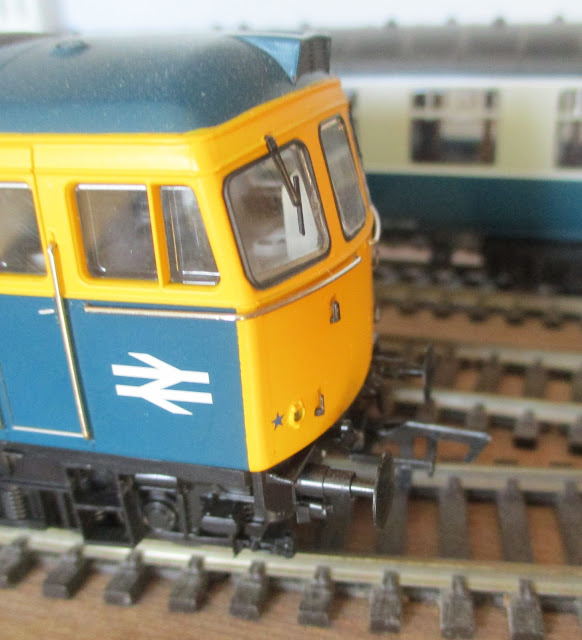
The other day I had a session just playing trains on my Last Great Project Layout. That involved watching the trains run around the layout - very therapeutic and relaxing! I also had a play with my USA switching layout. This layout is very much about shunting wagons about. The importance of couplers between the wagons and locomotive is always a matter that raises lots of chat and debate between railway modelers. UK outline stock is usually offered with a variant of a coupler which goes back to the 1950s or possibly earlier. It is termed as the tension lock coupler and to put it mildly it is ugly and out of scale. It couples reliably but uncoupling is another issue. There are uncoupling ramps available and some electrical ramp systems but they all have issues. The photo below shows a really nicely detailed class 33 locomotive but with that tension lock coupling on the front it looks somewhat strange and not what you see on the real thing. As modelers, most of us just accept it and I guess we turn a mental blind eye to it.
Meanwhile our American modeling friends have enjoyed the delights of a coupler that actually looks like a real life coupler. It couples reliably and equally it uncouples reliably with the use of a magnet which can either be installed out of sight under the track or incorporated as a crossing point. This photo of one of my USA locomotives shows how much more realistic it looks with what is known as a Kadee coupler.
The Kadee coupler has a metal pin hanging under it that is repelled by a magnet - that is it moves away from the magnet. The two photos below show the pin being repelled on the loco as it crosses the magnet which is part of the level crossing on my layout.
If you can imagine the same action happening on an attached wagon's coupling which will move in the opposite direction then you can see in the photos below how the locomotive and wagon uncouple.
The further beauty of the Kadee coupler is that once uncoupled you can push the wagon to where you want to park it on the layout - wonderful!
Why don't UK suppliers put this coupling on UK models? Well there are all sorts of answers but I guess we have just had the tension lock coupling for so long that it is unlikely, because of compatibility between existing and new models, that modelers would take to a new coupling with all the costs of converting old models to couple up with new models. Meanwhile I will enjoy the coupling up delights of the Kadee on my USA Switching layout.
Wednesday, December 1, 2021
Life is like a roller-coaster!
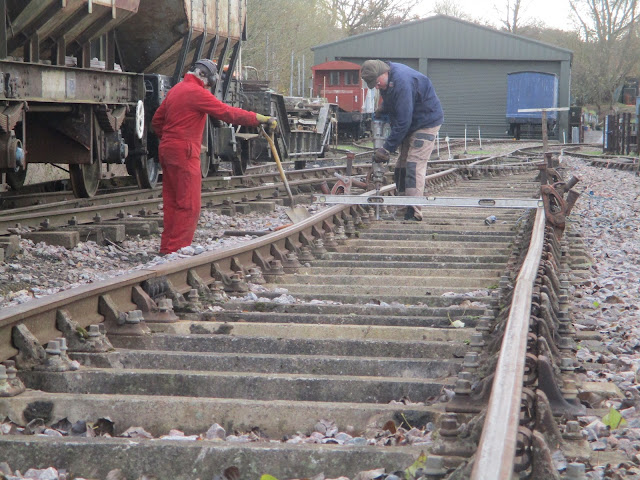
Not the Ronan Keating hit, Life is like a roller-coaster but hopefully the aptness of the title will become apparent as I go on with this post. Tuesday was another day at the Rocks by Rail Museum and as predicted in my last post on this subject it was a continuation of track levelling. The evening before I had my Covid booster and I did suffer on the Tuesday feeling as though I was coming down with a bad cold and left at lunchtime. However I did take part in some track leveling and as you can see in the picture below there was a big dip in the left hand rail that took a lot of jacking (it was me operating the jack as I am a 'Big lad!' so I do know how much it had to be raised and yes my back knew it too!) and a lot of packing of ballast underneath. It may not seem like much but riding in a train it can feel like life is a roller-coaster so for the benefit of passengers a level track is desirable unless of course the Museum wants to become an amusement park!
Saturday, November 27, 2021
Time to play trains!
Making and building models is all well and good but sometimes you need to realise that part of the fun is actually 'playing' with them! Tonight its cold with stormy weather over the UK, there is not much on TV and the news suggests that Covid may be having a fight back with us all. Now with all that doom and gloom what better therapy than to step into my man cave, ironically AKA The Room of Gloom, to run a few trains and simply enjoy watching them go round. Its therapeutic and takes your mind off the troubles of the World. In your own small World you control what goes on and how its done - Perfect!!!! Well that is until Mr.s W starts asking questions about where I am with her list of ''Must Do' jobs!
Anyway, on the tracks tonight, a selection of trains that you would never find sharing the tracks in real life but this is my railway where that well establish railway modeler's Rule One is in force! That is, 'Its my railway and I will run what I like!'.
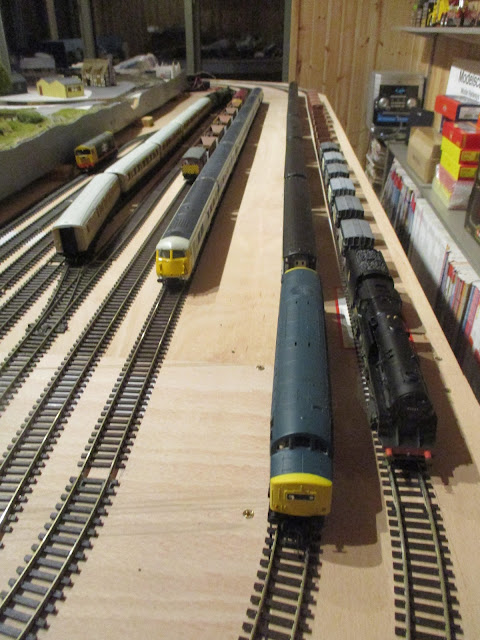
Looking left to right, A Bachman 6 car Western Pullman set, a ViTrains Class 37 in very early EW&S livery before it became plain EWS hauling a rake of 5 Seacows and a Shark brake van (you have to love the way that the track maintenance wagons are name - there are also such things as Trouts and Mermaids) and Tornado the new build Peppercorn A1 class hauling 5 Hornby Teak coaches.
There is a Bachmann Class 20 in Rail Freight livery hiding on the right in what will be a goods /maintenance yard as the layout build progresses. That large gap between tracks 2 and 3 will eventually be a platform unless I decide on a different track plan and with my track (no pun intended) record that is a strong possibility.

