Search this blog

Wednesday, February 8, 2023

I am a Rocket Man!

I have not tried to emulate Elton John with that great song of his but today I was out with Mrs. Woody taking her for some lunch. I diverted, as you do in such cases, to a close by model shop. I knew they had this in stock at a very reasonable price.

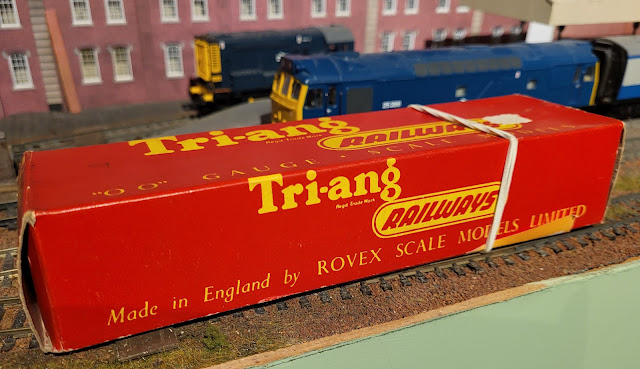
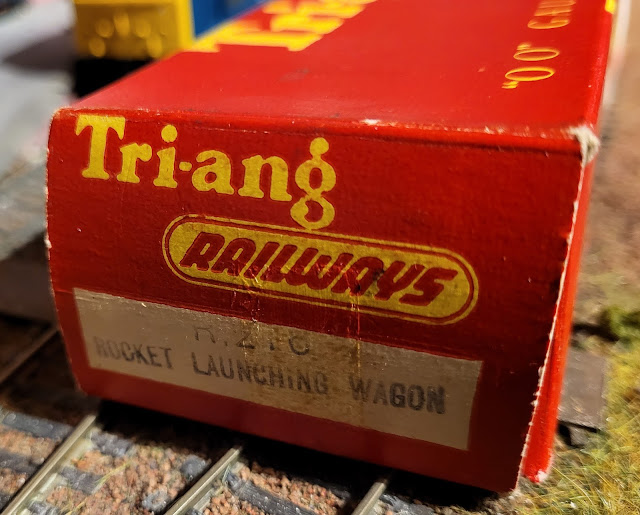
Triang R216 Rocket Launching Wagon

If you know model railways you will have gathered that this box comes from the 1960's. It was a time when Triang put some thought into the play value of model railways as at that time they were very much aimed at children. They had all sorts of innovative operating things such as the mail carriage that picked up and dropped off mailbags trackside. Then there was the giraffe wagon where the head and neck of the animal stuck out of the top of the wagon. By means of a trackside switch the giraffe would pop its head back in the wagon to avoid an overhead obstacle such as a tunnel. There were other things too but this is something I wanted as a child but I think the twelve shillings and threepence price about £0.62 in todays money) that is still on the box was out of reach of my pocket money in those days. However many decades later I have it! I am a Rocket Man! Or, as Mrs, W would say, Child!

Triang R216 Rocket Launching Wagon

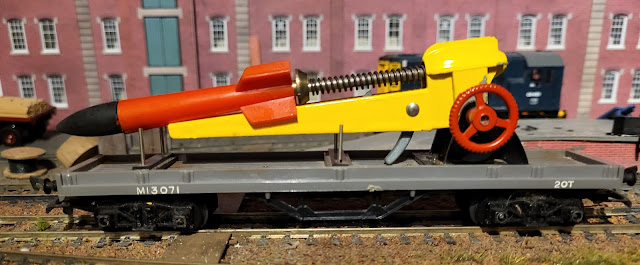
That's right - it is a rocket launching wagon! Inside the box is this very good condition item....

Triang R216 Rocket Launching Wagon

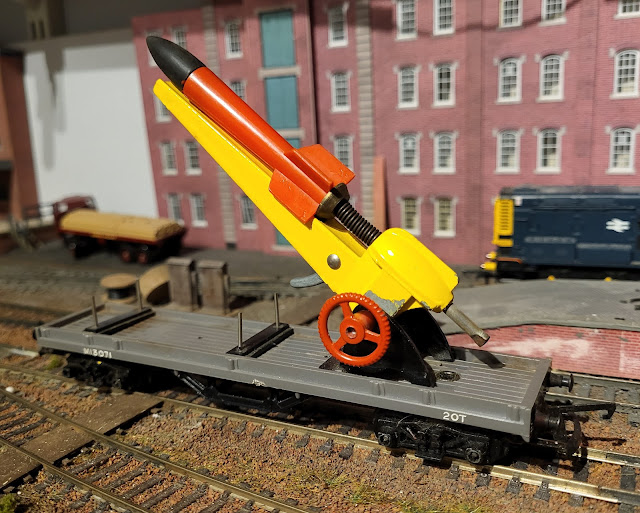
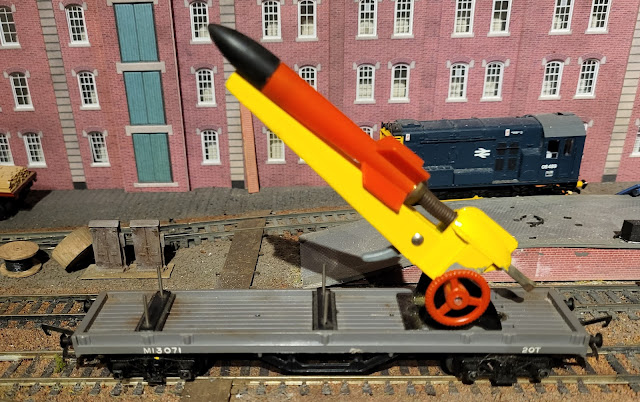
It is all there, buffers, couplings and posts on the wagon but most importantly a working missile launcher with rubber tipped missile - there was some thought about safety even in those days. To set it up, you push the spring on top of the yellow launcher back. It locks onto a protrusion from the grey leaver to the left of the red wheel. The rocket slides on the yellow launch guide. Elevation is set by loosening the red wheel, lifting the yellow launch guide to the desire position and then tighten the red wheel and it is set to be fired. To launch the rocket just pull back the grey lever like a trigger. It may all seem so simple compared to todays things that children have but back in the day these sorts of things were brilliant! 

Triang R216 Rocket Launching Wagon

Triang R216 Rocket Launching Wagon

Run this at a model railway exhibition and it will upset a lot of the purists but delight many others!

Mrs. W did enjoy her lunch as I did so a good day! Maybe I'll launch a celebratory rocket!

Tuesday, February 7, 2023

Time for a hobby?

Mrs. Woody and myself spent today out and about. Mrs. W wants some form of lounging chair for the rebuilt conservatory in which she can relax and watch me do the garden! There are some nice chairs out there which are positively very loungeable (is that a word?) but I can tell this is going to be something that takes its time to decide on. Well for me anyway, although I think Mrs. W may have different ideas!

In the meantime I have not been able to progress with the backscene on my 009 narrow gauge layout today. Given I need to be outside to spray some glue to hold the backscene to the backboard, I probably won't be able to do anything now until Friday or the weekend due to other day time commitments. As anyone who may have dipped into this blog before will probably have gathered I possibly have far too many projects on the go and progress on them is usually measured in geological terms! Still, better to have too many projects going then to sit in a lounging chair all day! Oops! Hope Mrs. W is not reading that!

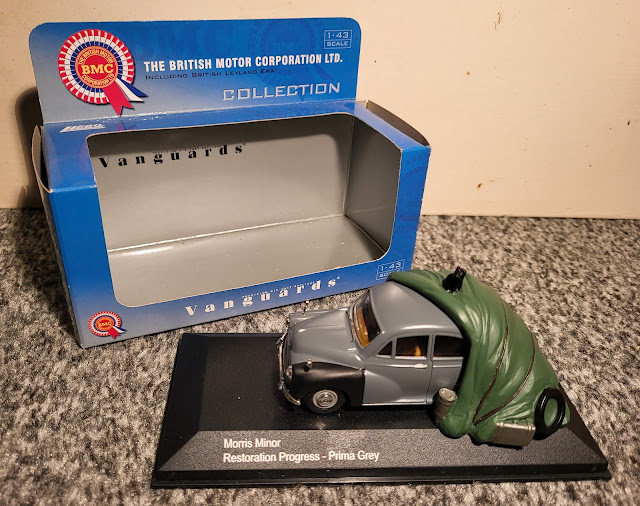
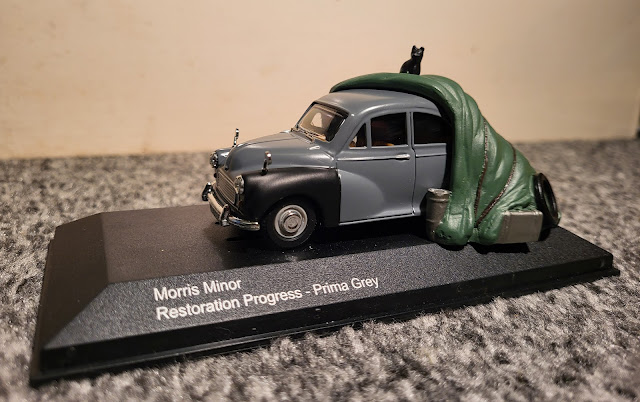
Talking of projects on the go, my eye was drawn to a die cast model by Vanguard that Mrs. W bought for me some years ago. In some ways it sums up my world of model making with half finished projects on the go and feline friends assisting hindering and limited time. 

Vanguard Moggy Minor Restoration

It is a characterful model and I do like it.

Vanguard Moggy Minor Restoration

We all have stages in life where your hobby or hobbies take a bit of a hit from a lack of time or pressures from other things going on in life. However hobbies are to be enjoyed in your spare time. If you do them full time they are no longer likely to be a hobby and become a job which probably is not enjoyable either! Anyway that is what I tell myself! 


Monday, February 6, 2023

Velcro time!

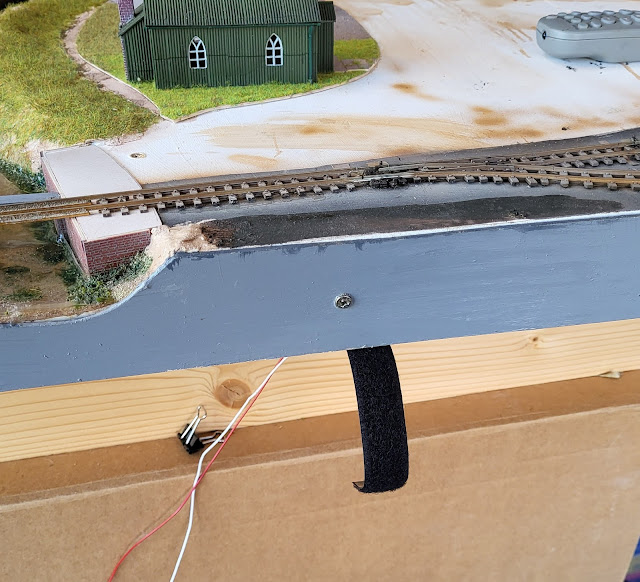
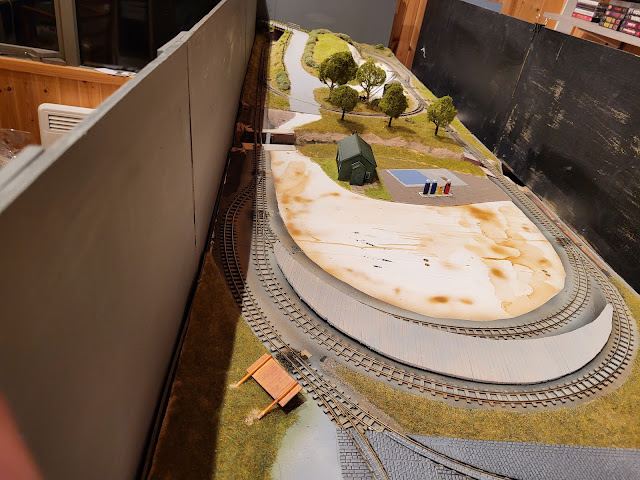
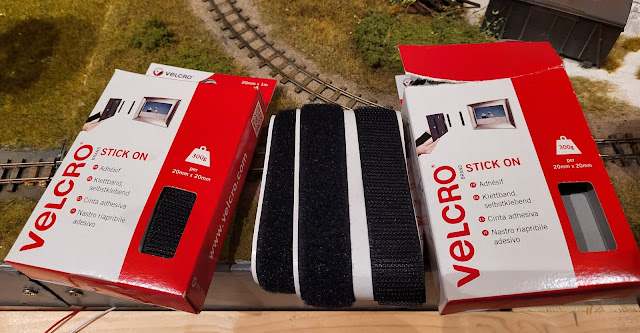
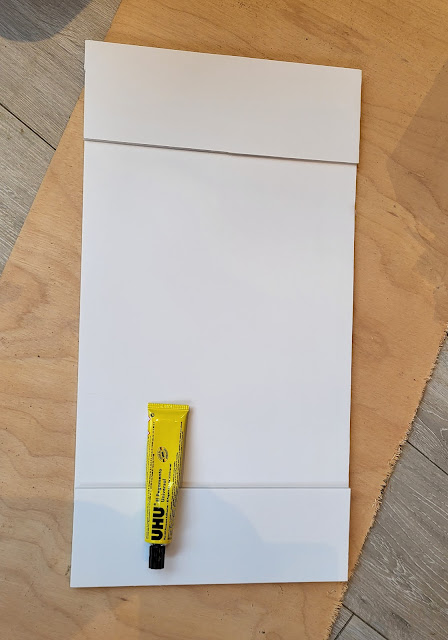
Today has been a slow day of sticking strips of Velcro to the backscene board and baseboard. Whilst the strips are supposed to be self adhesive they had about as much adhesive power as money has to stay in my wallet when Mrs. Woody is on a spending spree! Therefore I used some UHU glue to stick the strips - (note to self stick money in wallet with glue!).

009 gauge layout

009 gauge layout,

I did not have to use many fastening points as once the strip is stuck to the baseboard and backscene board the Velcro itself provides a firm fastening. 

009 gauge layout,

I have a few more strips to put on the end board but it does the job. I did remember to put that tree back up after seeing yesterdays photo. 

009 gauge layout,

Now where is my wallet.........

Sunday, February 5, 2023

A change of scene!

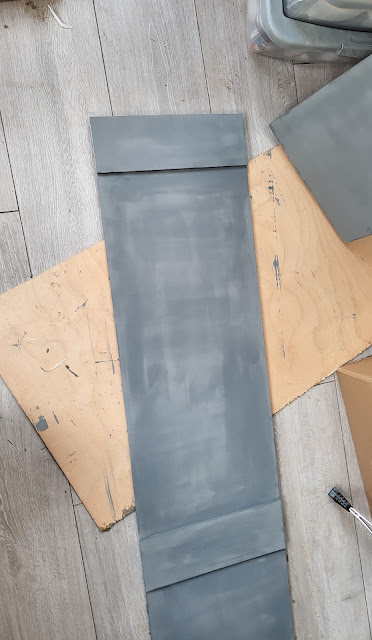
Work on the background scene for the 009 narrow gauge layout has continued today. In between bouts of tiding the mud pit of a garden following the building work I have been painting the backscene board. Maybe its my adversity to white after painting the rebuilt conservatory in that colour, but for me white has little place in relation to models. It is fine out of sight under baseboards where a white background can make identifying wires easier but up above it just draws the eye away from the model. Whilst I know the back of the backscene board will not normally be seen I just had to paint it. Paint colour of choice is slate grey to match the profile boards around the edge of the layout. 

009 gauge layout

009 gauge layout

009 gauge layout

I did paint both sides which given that the front side will be covered by the backscene seems slightly pointless. However learning by my previous mistakes I know that the paper covering on both sides of the foam shrinks as the paint dries. Paint one side only and the board curves and warps. Paint both sides and the shrinkage on both sides counteracts itself meaning the board remains flat. Working smarter not harder as I get older! I just wish I was smarter at getting out of Mrs. Wood's job list which would mean working less hard but she is always several steps ahead of me!

As I said yesterday the backscene board will be fastened to the baseboard using Velcro strip which I have dug out of the WMD HQ stock room.

009 gauge layout

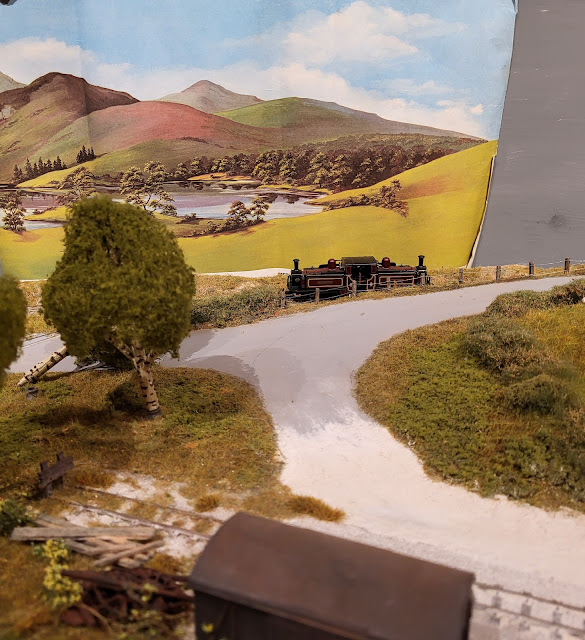
In my usual manner of impatience I did try out two of the backscene sheets on the layout using some clamps to hold them in place.

009 gauge layout

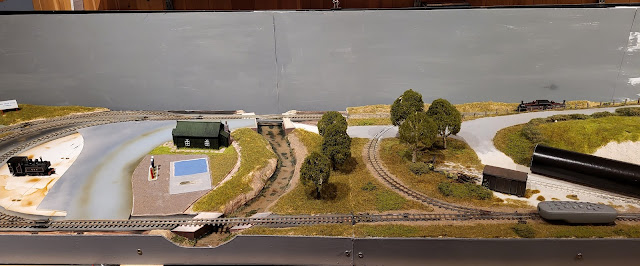
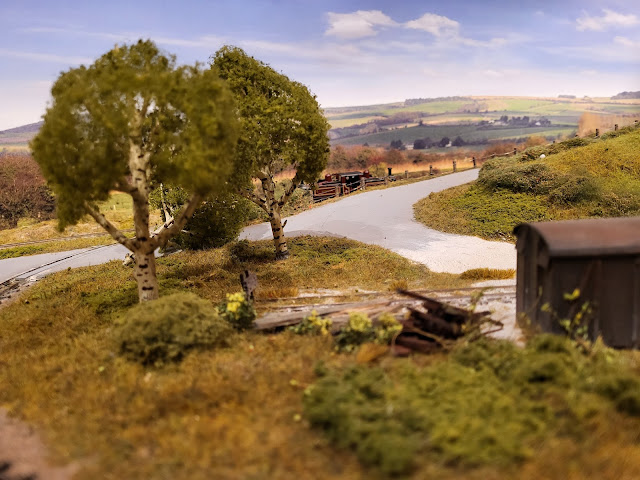
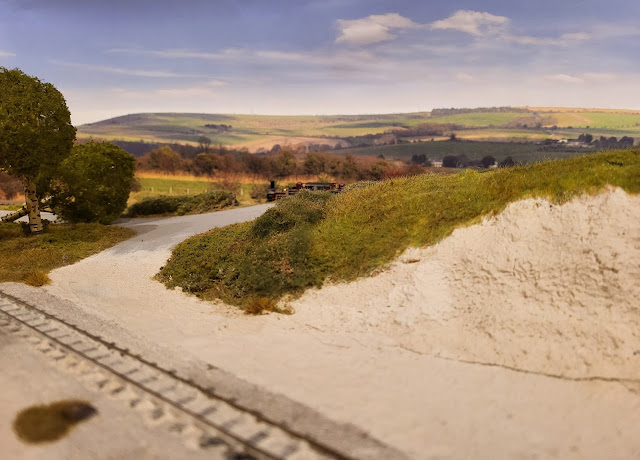
Even with the visible join it does bring a totally different feel to the layout and a real change of scene. I am pleased the way that the colours on the layout seem to flow into those on the backscene. I am happy with that! I certainly could not have painted a backscene of this quality and the £7.29 it cost would not even have covered the cost of some basic paints.

Looking from a closer view point I really do think this works well! My view I know but it is me who has to live with it!

009 gauge layout

Slightly different angle and the camera highlights what the eye misses! One of the trees on the left has fallen over! I will need to put that right next time I am in the Man Cave. Strange how you miss the obvious in real life only to discover it in a photo!

009 gauge layout

I did have an off cut of a Peco backscene which rather then being a photo backscene is an artistic one. Out of interest I put that up to see what it looked like.

009 gauge layout

I think that confirms to me I made the right decision. I just need to fit the sheets to the backboard now once I have got the Velcro in position. These jobs are never quick - something I tell Mrs. W on a regular basis!
Saturday, February 4, 2023

Oversized lego?

For what it is worth various sources on the internet say that there are over 400 billion Lego bricks in the World. Roughly that means that there are 80 bricks for every person on Earth. Quite a statistic. When I was a child, a long time ago before anyone asks, Lego was very much a toy. Supposedly of educational value but as my creations were usually architecturally and engineeringly challenged and  fell down the only thing I really learned from it was how to tidy the mess away! 
Lego has moved on a great deal from that time and now I think I would be right to say that it has moved on to become an adult pastime. Looking at the models which can now be built and the way in which people are creating their own highly complex and realistic models really means to me that it has become another branch of model making and nothing wrong with that. I have to admit there are some of the technical models that do tempt me such as the Cat D11bulldozer. A mere £430 buys you something that would no doubt take some time and be challenge to build. And of course unlike my normal plastic kits you can take Lego apart and build it again. However I suspect that should Mrs. Woody detect the arrival of £430 worth of  educational constructional heaven I would not be in best books. So at the moment that idea of the bulldozer remains just an idea.

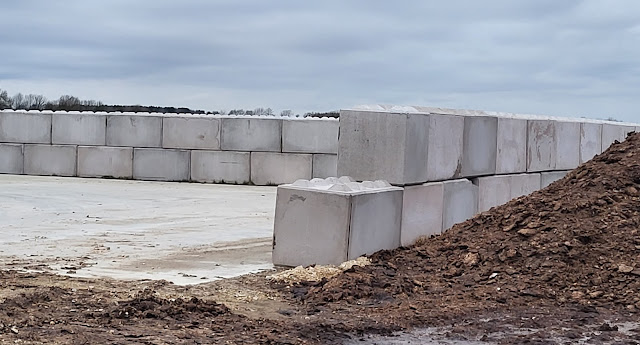
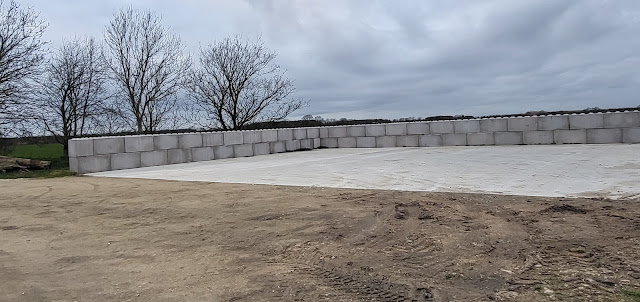
On my journey out today with Mrs. W, I came across evidence that a local farmer may also have an interest in Lego but maybe also has limitations on what can be done at home. However having a farm gives excuses to do things and do them in a big way and this has obviously allowed the use of this oversized Lego.

Oversized Lego

Those locating pegs are like those on Lego although with these bricks I guess you need a forklift to play with them! 

Oversized Lego

Oversized Lego

You even get the half sized brick to give a straight edge to the end of the wall! 

On a more serious note I have never seen these sorts of pre-fabricated sectional blocks with the Lego style of locating peg so I presume this is a fairly new development. Maybe it does show that toys can provide solutions to problems.

On arrival back at WMD HQ my discrete perusal of the internet for Lego Cat D11 kits was interrupted by the arrival of this.

009 gauge layout,

009 gauge layout,

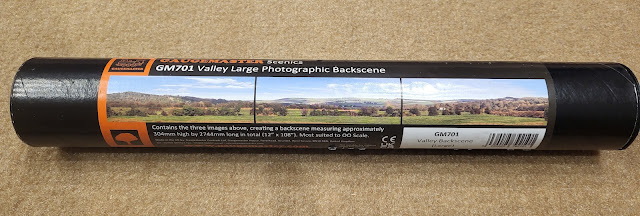
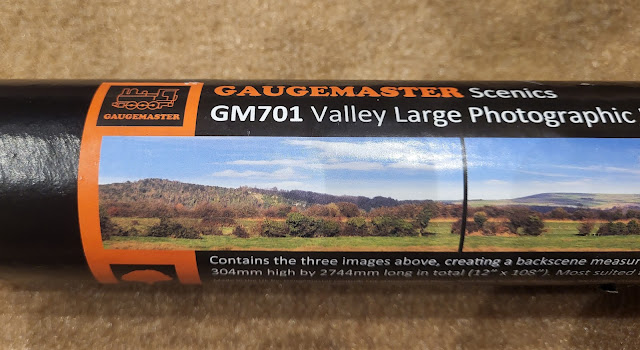
Having found time last night to look at available backscenes for my 009 narrow gauge layout, this one caught my eye. £7.29 including next day delivery seemed more than reasonable for a photo backscene so it arrived in less then 24 hours from ordering it. The wonders of modern retail. 

One thing is certain though and that is my backscene board won't be finished in less then 24 hours unless I built it in Lego.....


Friday, February 3, 2023

In the background

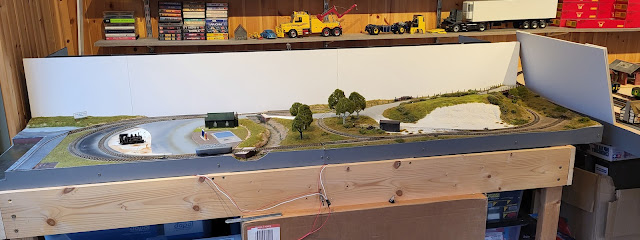
My escapades today in the Man Cave centered around my 009 narrow gauge layout. Whilst I am in the process of putting it back together I am doing some of the jobs that are easier without everything on it. Having sorted the wiring the other day it was time to deal with a matter that I have been putting off for a long time and it is literally in the background - the backscene. At the moment there is a black background from the rear of the USA switching layout which backs onto the 009 layout. Not exactly inspiring to look at!

009 gauge layout

I am not sure what the backscene will look like. There are choices to be made. I could just paint it sky blue and leave it at that. I could paint my own landscape which is probably not a good idea given my artistic skills are somewhat questionable! I could also use a preprinted backscene which opens up even more options. Peco do an artistic version which is like a painting whereas Gaugemaster and other companies do what is termed as a photo backscene where the scene is like an elongated photograph with the detail that allows. At this stage I am not sure which I will go for but in putting together the backscene board I have made it to the height (300mm) of the standard sizes for preprinted sheets.

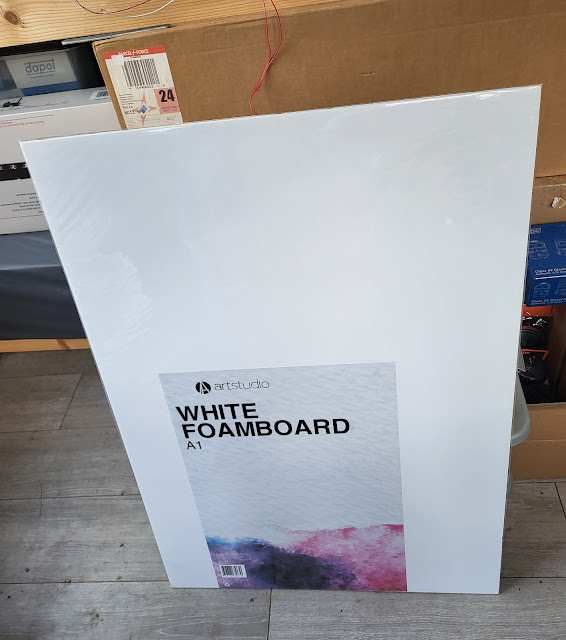
My material of choice is foam board which is light in weight and comes in sheets that are 600mm wide - that's handy! 

009 gauge layout

Unfortunately my sheets are not long enough to stretch the entire length of the layout so having cut two sheets in half lengthwise, I had to cut one sheet to the additional length required to complete the rear and side of the layout. These were joined at the rear by further 150mm wide strips of foamboard.

009 gauge layout

UHU glue, unless it us the solvent free variety, is not the best for foam board as it melts the foam. However as I was only gluing the paper face I used it with success. Having glued the various parts together it looks like this at the moment. The side piece is loose at the moment and will probably remain like that so it will be easier to handle the backscene if I have to take it off. Fastening it to the baseboard I am toying with the idea of Velcro and have some in the WMD HQ stock room! This would make it easy to take the backscene off if I need to split the two baseboards or indeed move the layout for some reason. Anything to make life easier as I tell Mrs. Woody when agreeing to her latest list of chores for me!

Even at this stage of the whiteness of the foam board (reminds me of my recent painting job in the rebuilt conservatory!) it makes the layout look better - in my view anyway!

009 gauge layout

Hopefully I can have a quiet hour or so perusing backscene options but I fear in the background of my mind that Mrs. W may have other ideas for my time!

Thursday, February 2, 2023

Rocks By Rail or should that be Rocks By JCB?

Back to Rocks by Rail today - my first day of volunteering this year. Lots has happened since I last visited as a volunteer last year.

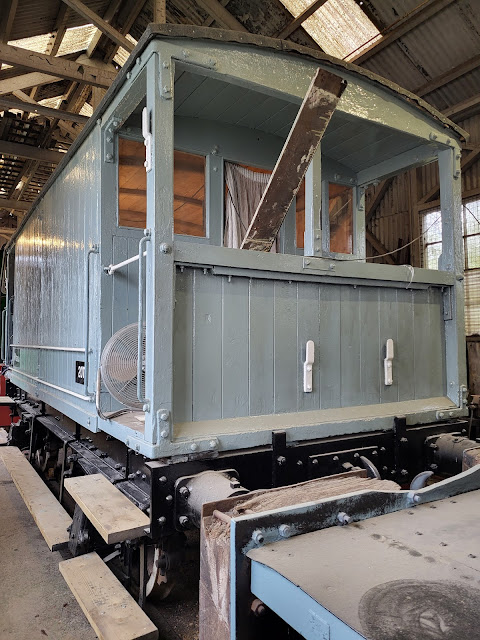
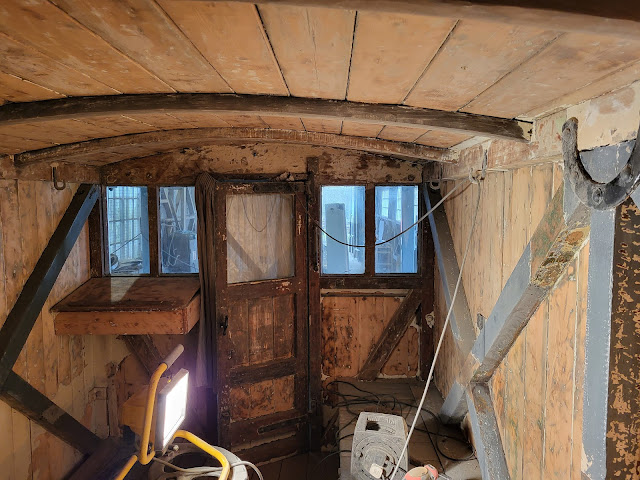
The Midland brake van that is desperately needed for this years season of brake van rides has now been stripped of much of its interior paint. The outside is done but the inside is now subject to attention.

Rocks by Rail Museum,

Rocks by Rail Museum,

Rocks by Rail Museum,

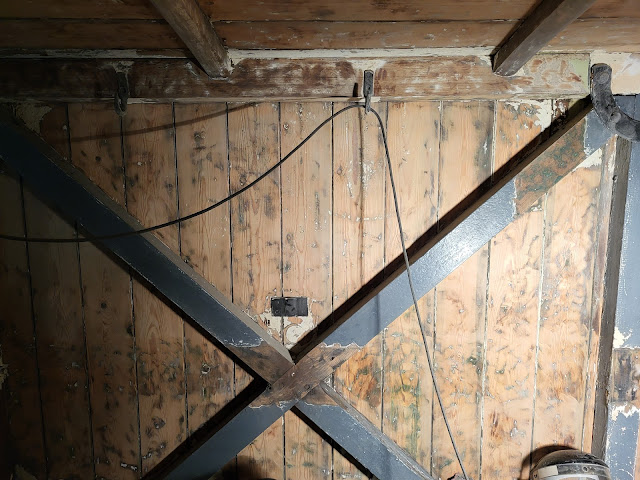
Stripping the pant off is like dealing with an old battleship - there are just layers upon layers of paint that literally have had to be taken off with an angle grinder! Unfortunately you get to a point where there are so many layers of paint that the only sensible thing to do to get a decent finish is to strip back to the wood. It is a messy job and John is dressed up more like he is working in a nuclear plant!

Rocks by Rail Museum,

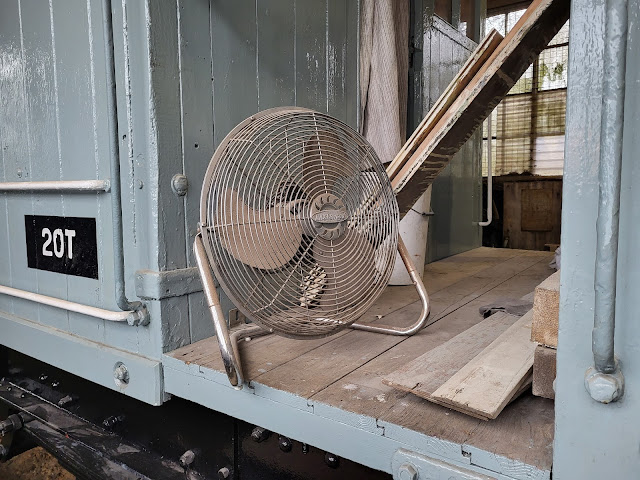
Although the weather has been cold doing this sort of work in a confined area soon generates some heat and a fan is a good idea!

Rocks by Rail Museum,

There are three other brake vans that need to be refurbished and they need to come into the workshop. To make room for them Harriot the JCB and the CAT need to come out. However being old machines they do need some protection from the weather so in a true budget limited way the solution is to put a roof between two containers.

Rocks by Rail Museum,

Believe it or not only a few days ago there was a third 40 foot container between these two and that had to be dragged out after the JCB with a seized engine that was in front of it had also been dragged out of the way. It was a bit like the old fashioned chain gang today breaking up rocks and old hard bags of cement that were also in the way to make a hard standing for the machines.

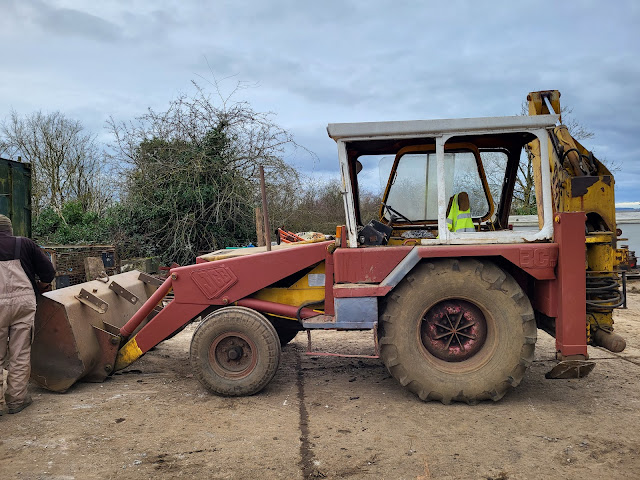
Harriot the JCB was in use to move the broken rocks and cement - a case of rocks by JCB!

Rocks by Rail Museum,

You may note that Harriot is looking a little different. Slowly she is being derusted and the red oxide paint is in preparation for a fresh new coat of yellow paint. Apparently the paint on Harriot is nothing like the Midland brake van - there is just the one coat of original paint! 
 
Rocks by Rail Museum

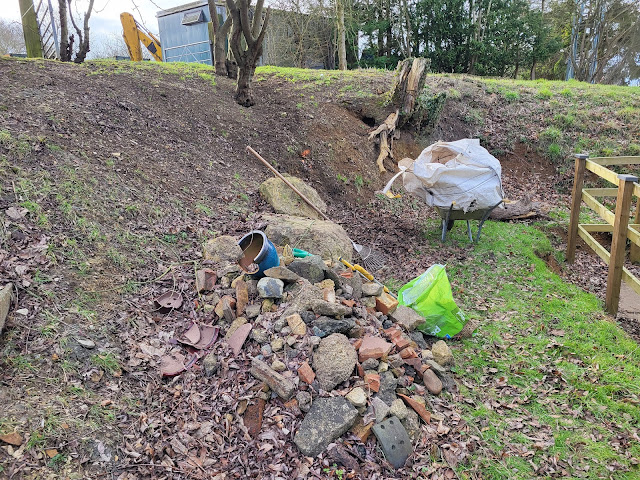
Meanwhile I also had an hour to do some leaf and vegetation clearing. Two large one ton builders bags filled with leaves, weeds and twigs came out from this small area. I also moved 60 bricks - I seem to have had the experience of that back at WMD HQ moving the bricks from the recent building work - to a more suitable location. Just need to move that rubble now! Unfortunately in accessible to Harriot so it will be a wheel barrow job! Rocks By Wheelbarrow then!

Rocks by Rail Museum

Rocks by Rail Museum


Wednesday, February 1, 2023

Escape to the Man Cave!

Yesterday I did say I hoped to clean the cat sofa and then escape out into the man cave and do some model making activities. Well I was successful! I even managed to get a bike ride in to build on the 207 miles I did last month. I was hoping for 300 but the sub zero temperatures made the roads I venture onto ice rinks for about 10 days in January. I don't bounce very well these days so rather than risk injury I stayed in!

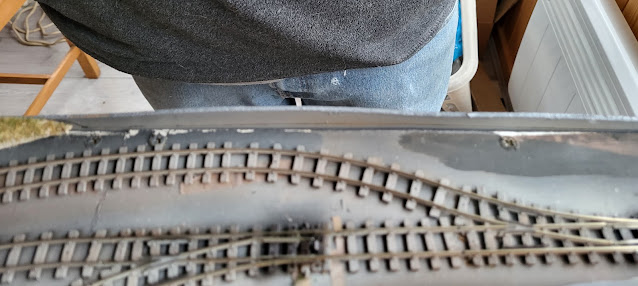
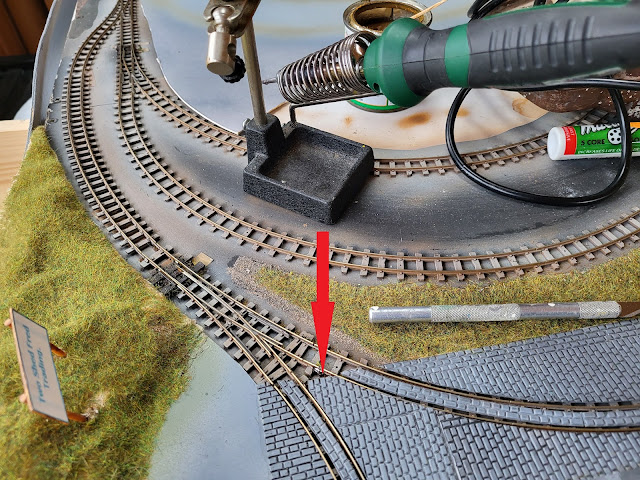
In the Man Cave I was going to do some more on the Tamiya Puma but got distracted (something that always happens to me) by my narrow gauge 009 layout. Since I reorganised and rebuilt my 00 gauge layout last October the 009 layout has remained stripped of loosed items and un run. I knew there was also an electrical issue on the wharf siding so whilst the layout was stripped of loose items it was opportune to deal with that issue. Tracked down to a loose wire feeding the track on the siding as shown by the red arrow in the picture below. I resoldered it to solve the problem.

009 gauge layout
 
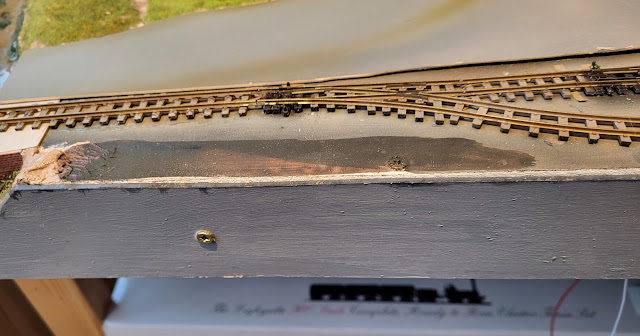
The rear profile board also required trimming so whilst things were still accessible I did that. It needed to be level with the baseboard itself.

009 gauge layout

Cutting done and edge painted the profile is now the shape it needs to be.

009 gauge layout

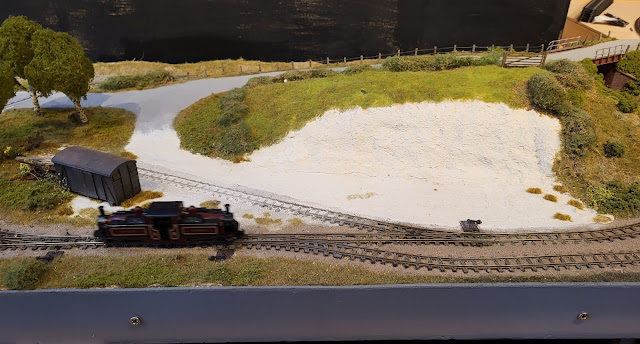
All this took longer than I anticipated but I had time to clean the track, connect up a controller and have a loco running. Always great to see something running. I need to get the rest of the parts of the layout back on the baseboards but as I am probably heading to Rocks by Rail Museum tomorrow (first time this year to actually do some work) that may take a few days to happen.

009 gauge layout

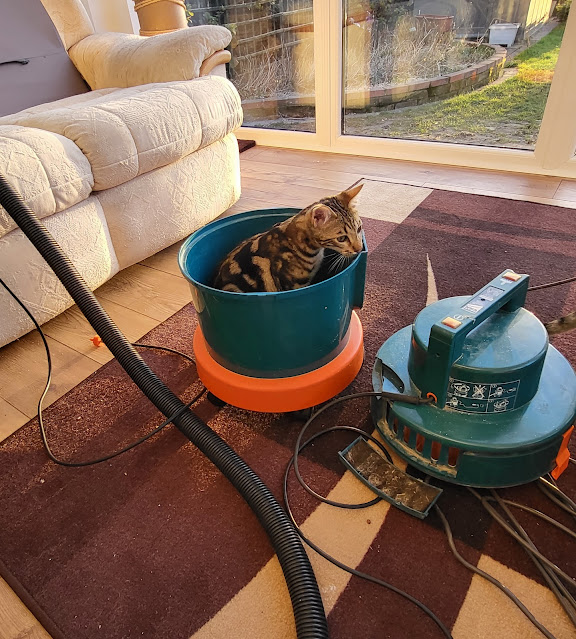
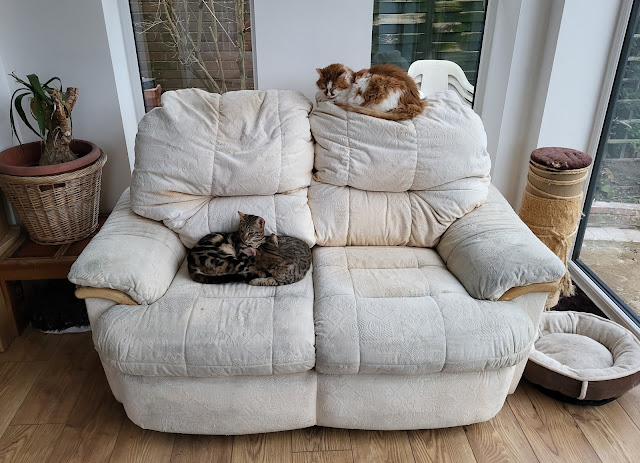
Sofa wise I got my ancient but faithful VAX carpet and upholstery washer out of the cupboard. Nearly 30 years old now but it has been reliable. Monty the cat decided to hinder operations...

Conservatory rebuild

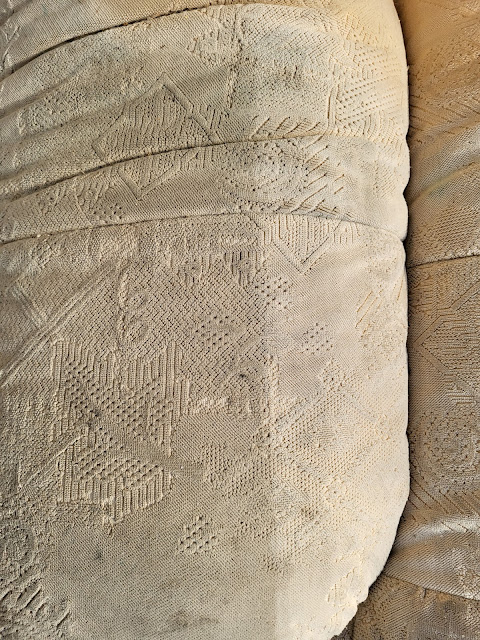
I am ashamed as to how dirty the sofa had got but you can see the difference a bit of claening makes.

Conservatory rebuild

The finished item after 3 hours of cleaning.

Conservatory rebuild

Shortly after it was approved as fit for use by part of the feline fleet - just hope they wiped their feet!

Conservatory rebuild

Tuesday, January 31, 2023

Officially finished!

Officially its al finished now. I look forward to the day I can say that about one of my layouts but that is probably years away! However and before going onto other things, I talked about Class 25 locomotives the other day and I did have a few minutes today running another one on my terminus layout. This time it is the Bachmann Class 25 in British Rail blue, No. 25286. Much like its two tone green counterpart the details are in my view still great for a 15 year old model. Running wise it is brilliant with smooth running even at a crawl. If you do get one of these older models try to avoid the very first release where the cab handrails are made of plastic. The handrails on those models are rarely straight and although a small item it is amazing how bad it makes the model look.

Bachmann Class 25 BR Blue 25286

Bachmann Class 25 BR Blue 25286

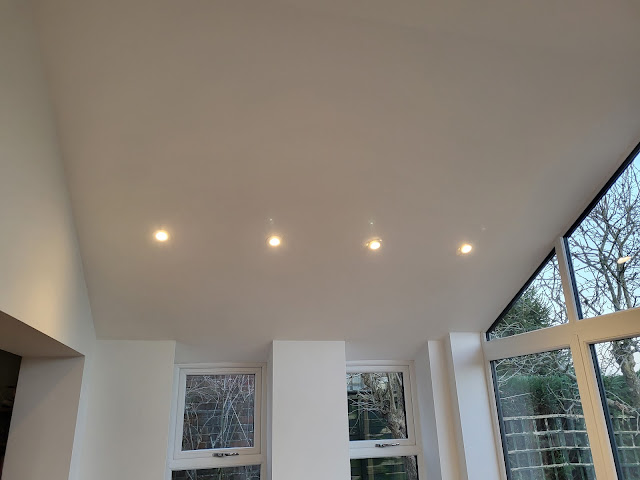
Back to the real World now after that model diversion and the conservatory rebuild is now officially finished with the final electrics being done and everything working. There are now operating lights so Mrs. Woody can examine, no matter what the time of day, in detail the painting that I have now also finished in there and no doubt draw up a list of areas requiring my further attention! I can almost see the list now with the last comment being 'Must try harder!'. 

Conservatory rebuild,

Conservatory rebuild,

I am somewhat shattered at the moment after the past few weeks of activity so tomorrow I may well just have a go at cleaning up the cat sofa (which is not exactly an easy task but desperately needs doing) so that it looks more at home in its new surrounds and then see if I can find some time in man cave for a restful bit of model making activities.

Conservatory rebuild,