Search this blog

Saturday, May 13, 2023

Taking Mrs. Woody for a day out - to a model railway exhibition!

Probably not her first choice of destination but Mrs. Woody does like to accompany me on trips to model railway exhibitions. She does enjoy looking at the layouts - the more unusual the better. She does also keep an eye on my purchasing which actually is a good thing!

Todays trip was to the Market Deeping Model Railway Club exhibition at Stamford. A medium sized event which is large enough to have a variety of layouts and traders but small enough not to be over crowded. The Club has certainly recovered from the 2019 vandalism that they suffered at the start of that years exhibition and it is good to see.

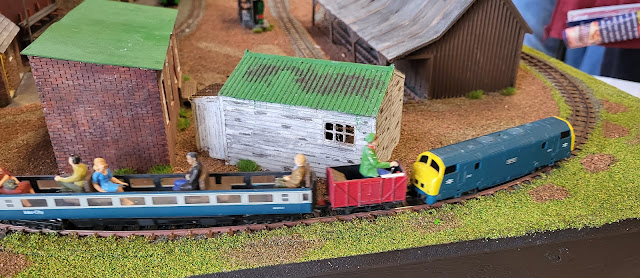
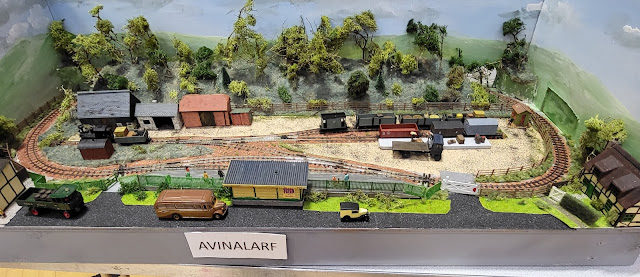
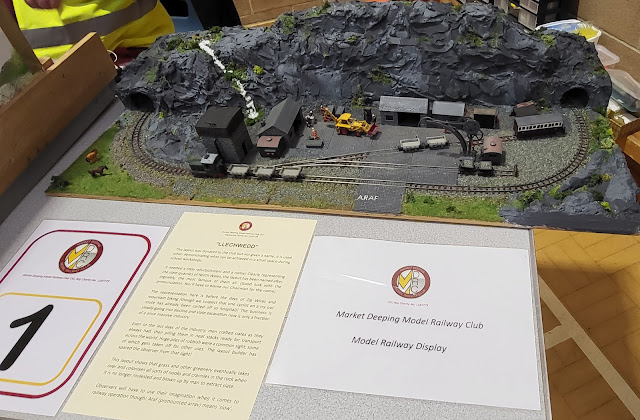
One thing I have noted over the past couple of years since the pandemic is that there are a lot more 009 narrow gauge layouts being exhibited. I guess that with the increase in ready to run products modellers are keener to build in the scale. There was certainly a variety of layouts in this scale at this years exhibition. They ranged from these two small ones...

Market Deeping Model Railway Club Exhibition May 2023

Market Deeping Model Railway Club Exhibition May 2023

This one which was actually 7mm scale running on 9mm track representing a farm/miniature railway.

Market Deeping Model Railway Club Exhibition May 2023

Market Deeping Model Railway Club Exhibition May 2023

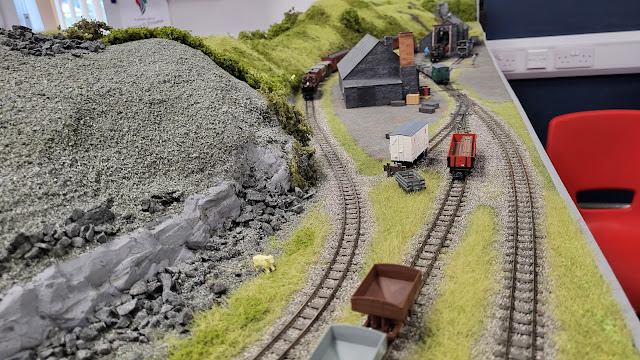
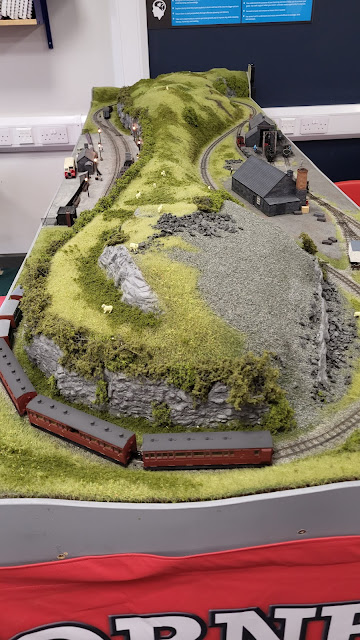
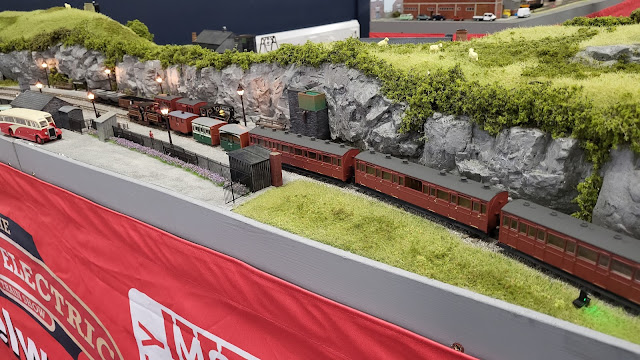
For me though, the layout I would like to build myself was the Hornby magazine 009 layout. It is large at I guess about 8 foot by 3 foot but so well done.

Market Deeping Model Railway Club Exhibition May 2023

Market Deeping Model Railway Club Exhibition May 2023

Market Deeping Model Railway Club Exhibition May 2023

I will just drool!

There were other layouts and despite the keen eye of Mrs. W some purchases too but more of that tomorrow although I can reveal I did buy Mrs. W some chocolate!
Friday, May 12, 2023

Bollard Crowns!

A day out for WMD saw me heading to a talk at a local railway society. Really good talk with a lot of photos from the 1950s, 60s and 70s of the East Coast Main Line from York to the north of Scotland at Wick and Thurso. The photos of steam engines made me want to get my 00 gauge steamers out but that will have to wait a while yet. 

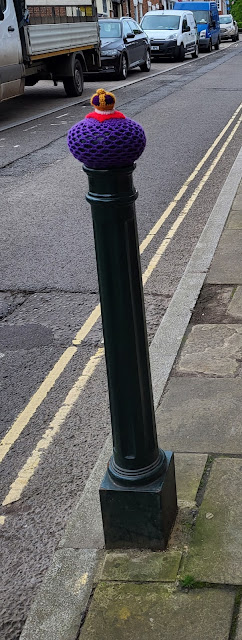
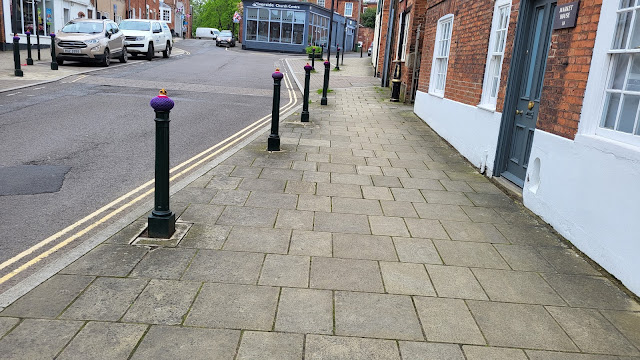
If you have read this blog before about a year or so ago I posted about post boxes having knitted Easter bunnies (here) and knitted crowns for the Queen's jubilee (here). Whilst walking to the venue for the talk I came across these.

Bollard Crowns

Bollard Crowns

There were about 25 to 30 of these what I will term as Bollard Crowns that I could see so there was certainly an investment in time by who ever made them but they looked brilliant!

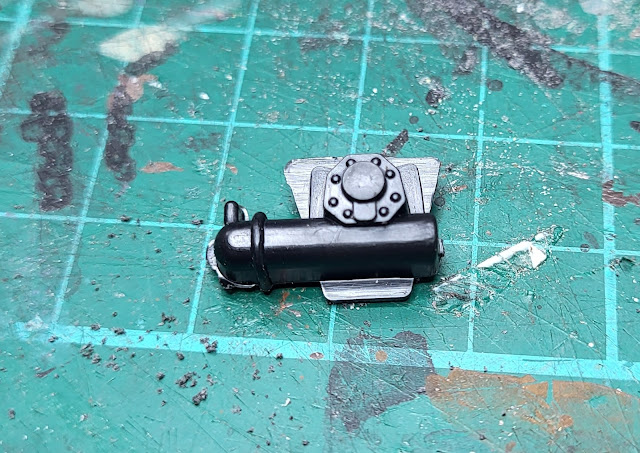
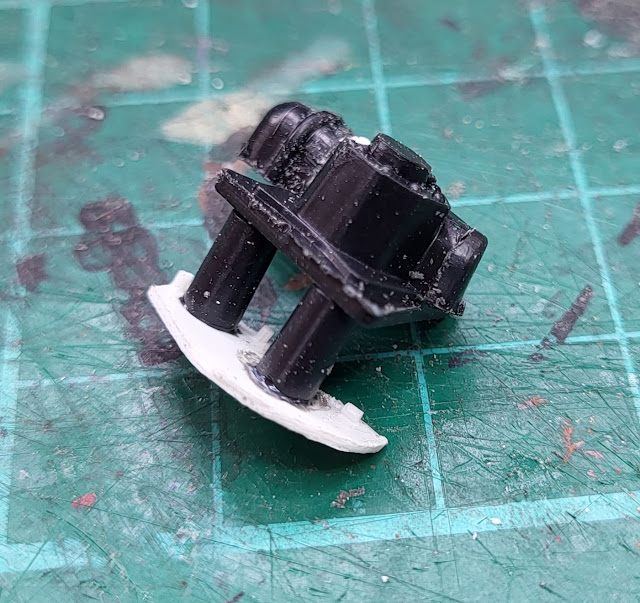
Back at WMD HQ the steering box of the Italeri DAF 95 Canvas Truck received some attention. This is the item and it needs some surgery to 'reverse' it.

Italeri DAF 95 Canvas Truck,

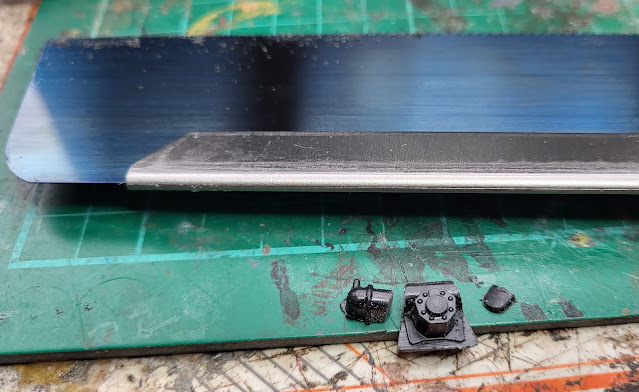
Mr. Saw came out to cut the parts that needed reversing.

Italeri DAF 95 Canvas Truck,

With the reversing completed the brackets from the chassis that are used to mount the steering box were sawn off and mounted onto a replication of the existing reinforcing plate on the chassis. The glue needs to harden and then it should be ready to mount on the chassis. It will make sense once finished!

Italeri DAF 95 Canvas Truck,

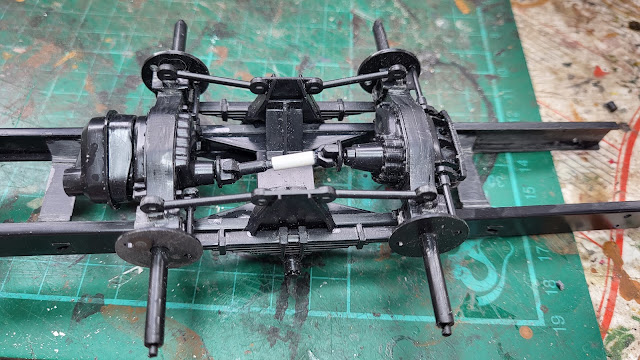
Meanwhile the overlength propshaft has been rebuilt. I cut off one part and substituted it with some plastic tube. That way the smaller middle part could slide in and give the right length of shaft - working smarter not harder as I get older! If only Mrs. Woody believed that!

Italeri DAF 95 Canvas Truck,


Thursday, May 11, 2023

Maybe not as simple a job as I first thought?

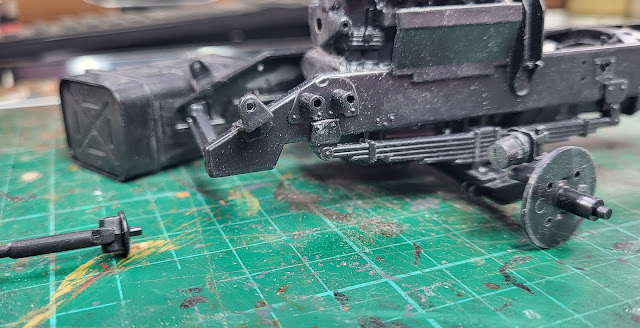
My idea to convert the Italeri DAF 95 Canvas Truck may not be as simple as I first thought! Now it is not unusual for Woody to underestimate things as Mrs. Woody will confirm. The front steering axle has had the various linkages for the steering redone without too many issues but the idea that I had that the steering box fastened to the chassis would just involve gluing it to the other chassis rail was shattered when I actually looked at how it attaches. There is a moulded on reinforcement plate and two mounting tubes that I either need to cut out and transfer or scratch build a replacement. One to ponder over tonight!

Italeri DAF 95 Canvas Truck 12

Putting the rear axles in place I found that unusually the joining propshaft between the two is actually slightly too long which goes contra to my experience with other Italeri kits where the shaft is too short. Not too difficult to sort but will be time consuming.

Italeri DAF 95 Canvas Truck 12

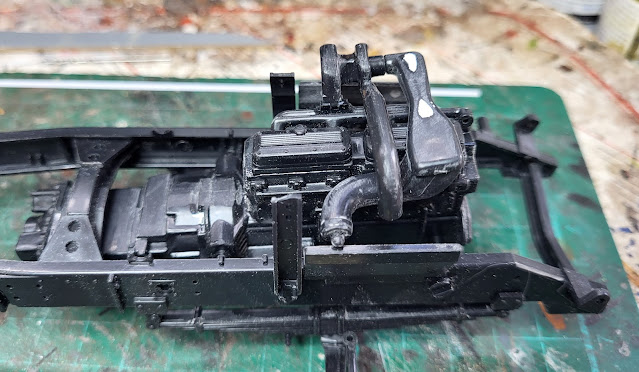
The engine and gearbox are coming along and almost ready for paint. A few moulding sinkholes that needed filling but mostly the parts have gone together well.

Italeri DAF 95 Canvas Truck 12

The chassis as a whole is beginning to look interesting and more truck like with various parts being added but it is not the simple job that I first thought! I never learn!
 
Italeri DAF 95 Canvas Truck 12


Wednesday, May 10, 2023

RHD? That's wheelie great!

RHD? That's wheelie great! Has Woody finally lost it you may be asking. Mrs. Woody thinks I did years ago but that is another matter! 

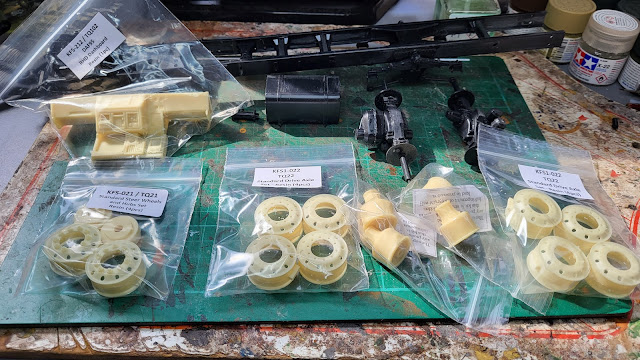
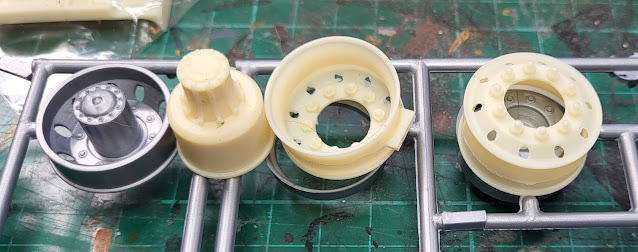
In this case I am talking about the Italeri DAF 95 Canvas Truck that I started building a few days ago. The RHD refers to Right Hand Drive. Just about every 1/24 and 1/25 plastic truck kit produced is based on continental or USA brands with left hand drive layouts. It is not unheard of UK trucks being left hand drive, especially those that spent most of their time hauling through Europe into the Middle East and Asia especially back in the 1970s and 80s. However most UK trucks are right hand drive so if you want to build a genuine UK spec truck you need to do some work to convert it. Swapping the steering box over is fairly simple but once you start the more visual stuff such as the dashboard in the cab things get a bit more complex. Luckily there are some companies who specialise in aftermarket truck kit parts. Kit Form Services is one of those. They have, in their large range of items, a RND dashboard for the DAF95 so I ordered one of those yesterday. They also do aftermarket wheels which have a much better representation of the wheel nuts then Italeri wheels. So a set of those were also ordered. Lastly they also do the DAF drive hubs which are finned rather then the generic hubs that Italeri have. I already had those in the WMD stock room but I was pleased to see they still do them. The order arrived today which is great service!
Laid out next to the chassis are the various parts.

Italeri DAF 95 Canvas Truck,

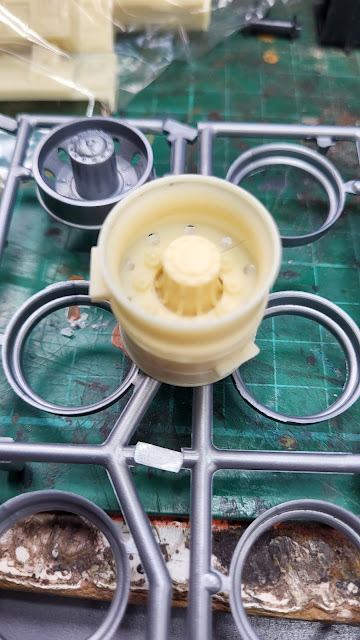
You can see the level of improved detail n the KFS wheels in this comparison with the Italeri wheels. 

Italeri DAF 95 Canvas Truck,

Italeri DAF 95 Canvas Truck,

They look wheelie great!

Tuesday, May 9, 2023

How much wood?

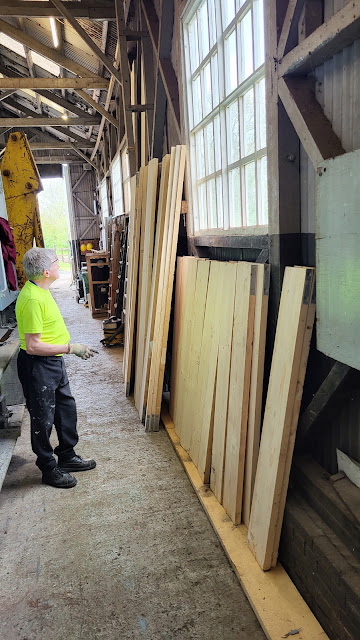
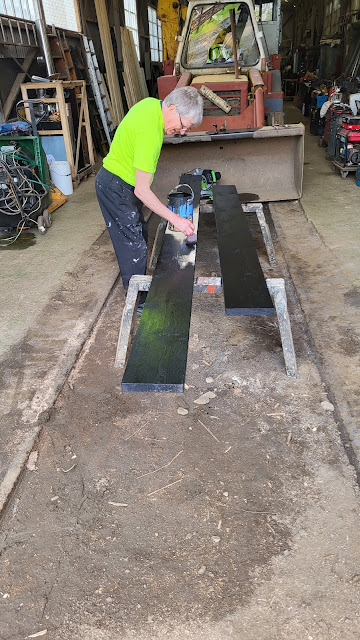
Tuesday - another day of grass cutting at the Rocks By Rail Museum! With the warmish and damp weather it just grows as fast as I cut it so for the next few weeks at least I know what I will be doing! I did have time to pop into the workshop where John was eyeing up the now cut to length wood that appeared last week to make the body for a wagon. Just how much wood is there?

Rocks by Rail Museum

I am not surprised he is eyeing up just how much wood there is as he has the job of painting it, If I know what I will be doing for the next few weeks, John also knows what he will be doing for the next few days!

Rocks by Rail Museum

Model truck wise, I am starting to glue some of the parts together ready to be smoothed off to hide the joints So far the engine block, two rear axles and the fuel tank are together. The chassis has dried nice and flat to which is good!

Italeri DAF 95 Canvas Truck


Monday, May 8, 2023

Getting it straight!

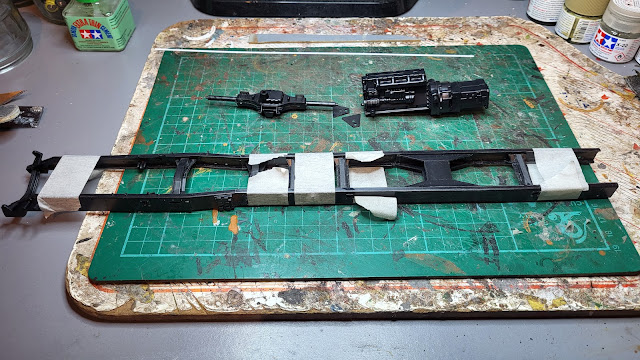
Time to start the chassis on the Italeri DAF 95 Canvas Truck. This is probably the most important part of any truck kit build. Get it anything other then straight and the consequences on the rest of the build are enormous. Everything either fastens to or sits on the chassis and the whole truck will at best look twisted and at worse never go together as a kit. How do I know? Lets just say I have been there and learnt the lesson! 

Chassis sides and cross members glued and taped together.

Italeri DAF 95 Canvas Truck

And now with added weight! That should make sure it gets straight!

Italeri DAF 95 Canvas Truck

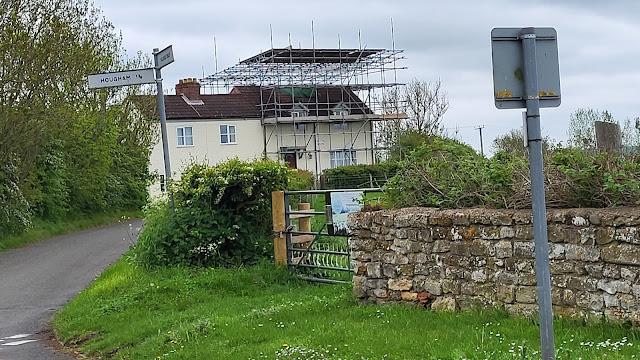
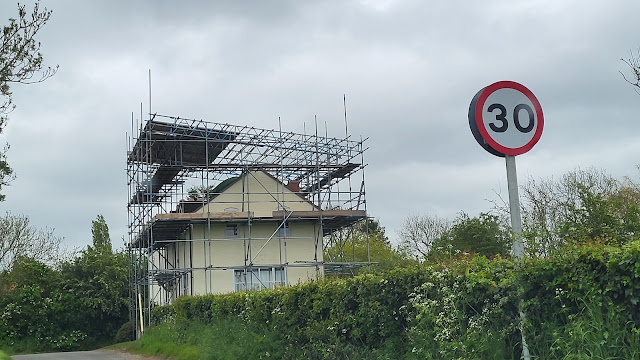
You may think all that weight is a little over the top but better safe than sorry. Talking of being over the top I had to look twice on a drive out with Mrs. Woody today when we came across this house with an obvious roof issue but with scaffold that might look more at home on a factory.

scaffold

scaffold

That is going to be a big bill for the home owner!

Sunday, May 7, 2023

Time for something new!

It was a great day with warm weather just right for a bike ride or indeed two and some gardening. I also had the urge to start something new model making wise. The Tamiya Puma is nearly done but I really need several hours in one go to finish the weathering which I did not have today. So, something that has been lurking in the Man Cave for some time - I think several years actually, was unearthed.

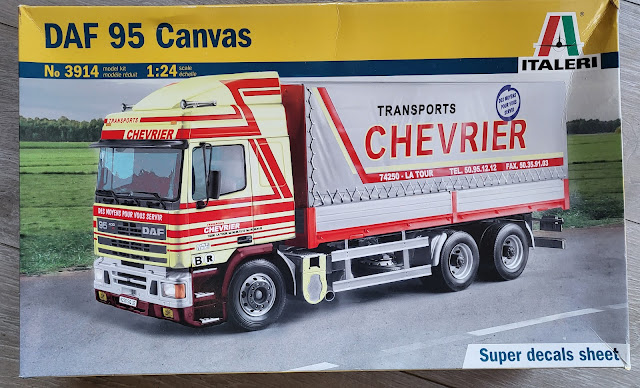
Italeri DAF 95 Canvas Truck

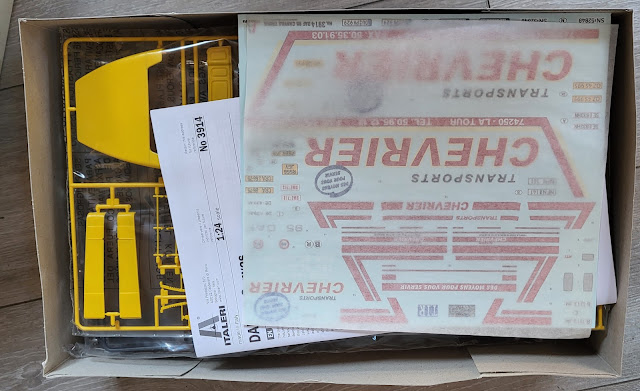
It is a big box with a lot of kit in it!

Italeri DAF 95 Canvas Truck

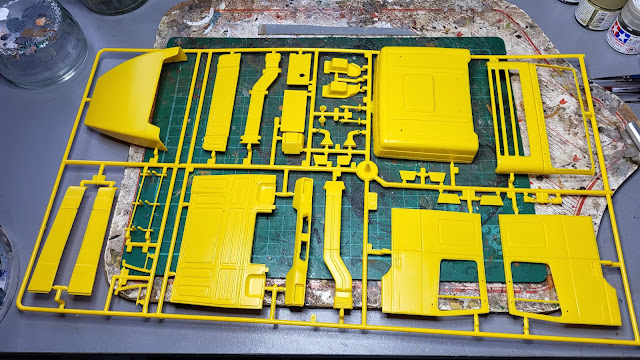
I did not have a great deal of time but wanted something to show for my hour or so. Therefore I did what I always say don't and ignored the instructions! I have built similar kits in the past so I do know what you can build without causing an issue later on. Both the cab and the canvas cargo bed are such items. The cab exterior can be built without the interior which can also be built separately and slid in later. Building these two items first also means I can start the painting process early on.

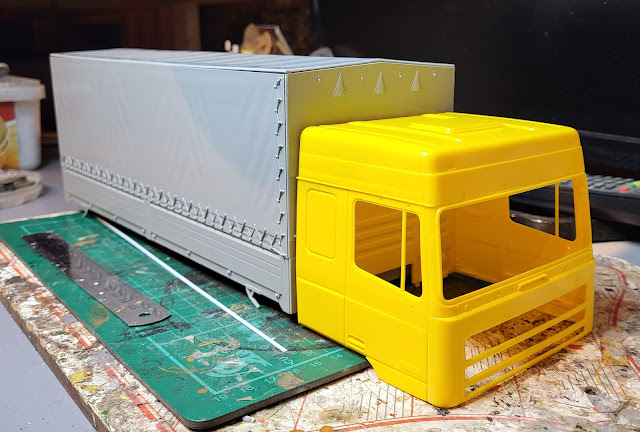
From all those parts below there are only five main cab parts that are needed to get the basic cab together.

Italeri DAF 95 Canvas Truck

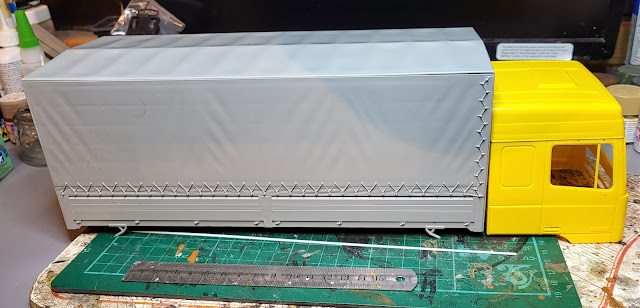
Likewise the canvas cargo bed is made up of six main parts. I have not glued the top on yet just in case I need to get inside to strengthen a joint.

It is a big beast as the 15cm/6 inch ruler illustrates. Going to take a lot of paint!

Italeri DAF 95 Canvas Truck

Italeri DAF 95 Canvas Truck

Saturday, May 6, 2023

Coronation - a day to remember.

Well this was the first Coronation I have witnessed and although I may see one more in my lifetime I guess it is one of those unique moments in history - a day to remember. However, despite all the celebrations, the weather was unfortunately emulating what it did back in 1953 when the late Queen's Coronation took place and rained. The continued rain saw me seek shelter in the Man Cave where I spent a happy hour or so. 

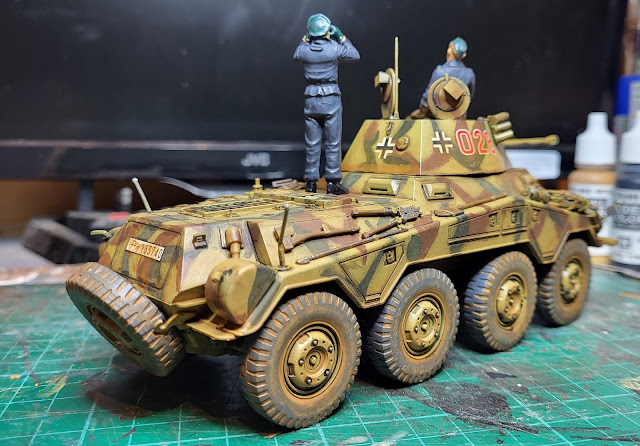
The Tamiya Sd.Kfz 234/2 Puma had some more weathering added and the turret hatches added. The officer figure now has his binoculars added so looks a little less strange. There is still some more weathering to do but it is getting to where I want it to be.

Tamiya Sd.Kfz 234/2 Puma


Tamiya Sd.Kfz 234/2 Puma

Tamiya Sd.Kfz 234/2 Puma

Whilst I had my weathering head on I washed these sacks, crates and cable drums which I built a few weeks back with my dilute black wash to tone them down. These are for my narrow gauge layout Chalkdon.

009 gauge layout

009 gauge layout

Whether I will actually remember that I did these jobs on the day of the Coronation is open to debate but then I can always look back on this blog to remind me!


Friday, May 5, 2023

Dirt Time!

After yesterdays 'dressing the set' of the Tamiya Sd.Kfz 234/2 Puma, today was the start of 'Dirt Time'! I used my favoured application of diluted Vallejo Flat Earth paint to in effect give the parts of the vehicle a wash of paint. The theory is that there will be a general light coat of the paint that will tone down the existing paintwork giving it a weathered look and that it will also accumulate around the edges and corners giving the affect of dirt having gathered as in real life. It is a long process that requires patience which is something that I have learnt to develop, after many years of failures due to impatience! Luckily Mrs. Woody has also developed patience over the years waiting for the jobs to be done on her list for me to do! 

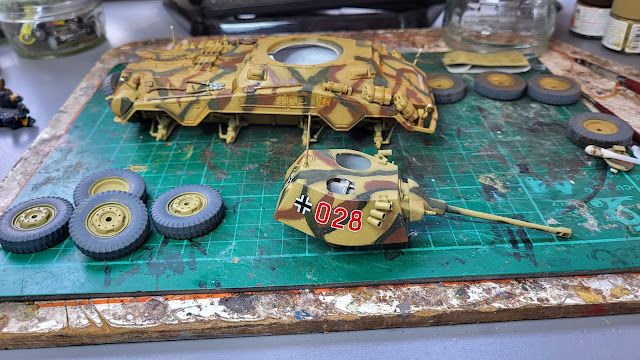
First thing to do was to disassemble the vehicle in order to be able to easily weather the parts.

Tamiya Sd.Kfz 234/2 Puma

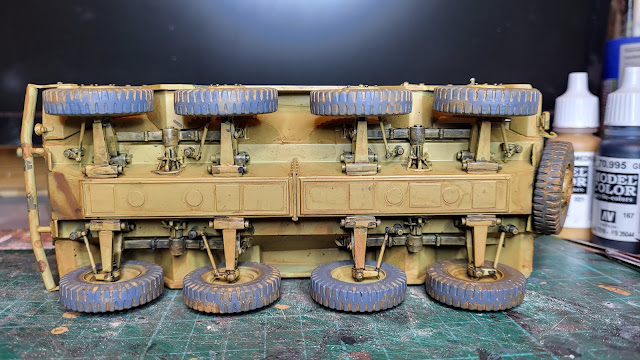
The picture below shows just how effectively the wash tones down the starkness of fresh paint. The wheels and tyres will get two or three washes to build up the level of dirt.

Tamiya Sd.Kfz 234/2 Puma

The top of the hull and turret have had a first coat of wash. The underside will also get a wash as this is fairly visible  even with the wheels on.

Tamiya Sd.Kfz 234/2 Puma

Hopefully tomorrow will see some more 'Dirt Time' but I think it will be more likely to be 'Clean Time' if Mrs. W decides I need to do some cleaning!

Thursday, May 4, 2023

Dressing the set!

Something they do on those make over TV shows where after a frantic session of building and painting the bare room is then dressed up with accessories to make it 'homely'. This of course is something this Mrs. Woody is never able to do as I never seem to manage to finish those make over jobs she has envisaged in her mind. 

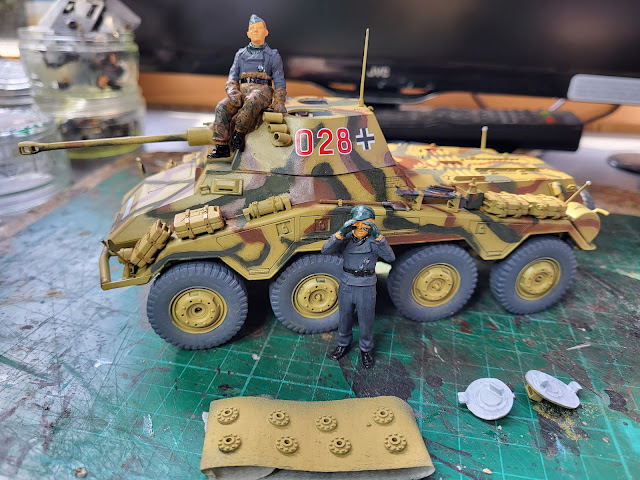
I don't think you can make a military vehicle 'homely' but I did 'dress up' the Tamiya Sd.Kfz 234/2 Puma today. All the various pre-painted tools and jerry cans were added using gloss varnish as an adhesive. It certainly brings the vehicle to life. In addition the two figures are nearly finished - the officer does need his binoculars adding. Normally I would have glued them to an ice cream wooden stick but I cannot find my stock and unfortunately the WMD HQ Chief Ice Cream Buyer (me!) has failed to have stocks of ice creams available to consume just for the stick of course! Oh well, they are on the shopping list! In the meantime I will complete painting the figures without the aid of the aforementioned stick.

Tamiya Sd Kfz 234.2 Puma 46

Tamiya Sd Kfz 234.2 Puma 46

Tamiya Sd Kfz 234.2 Puma 46


The wheels still need attaching and the eight small discs on the masking tape are the hubs to fasten the wheels to the axel. In addition the two hatches have had their inside faces painted white before being attached to the turret.

Unlike those TV make over shows where the lucky recipients basked in the delights of a newly created and dressed pristine room, this vehicle, after its 'dressing' will suffer the onslaught of weathering but that is for another day.