Search this blog

Sunday, August 27, 2023

Topiary? What is that then?

It is a Bank Holiday and as I am working at the Rocks By Rail Museum tomorrow Mrs. Woody and me had a day out at a place called Elton Hall near Peterborough. Although the last holiday weekend of the Summer it was busy at the Hall but not crowded, if that makes sense? 

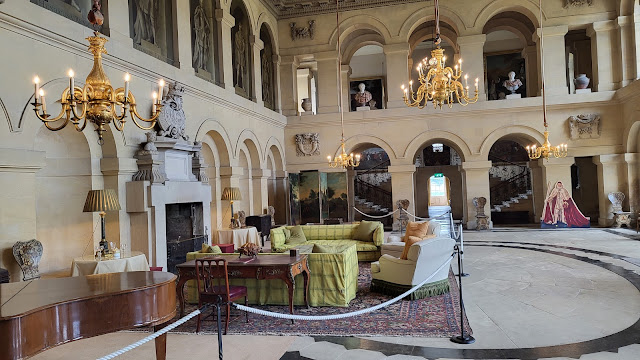
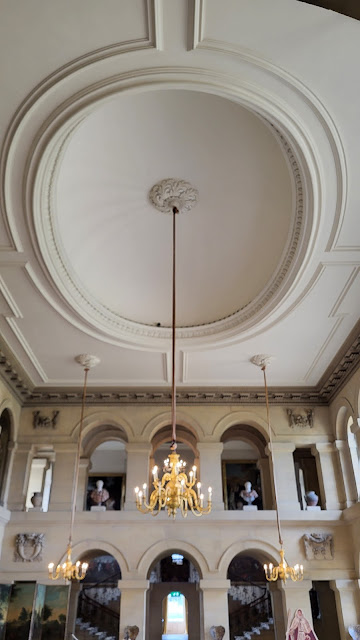
The Hall itself is a real mix of various ages of building with parts dating back to 1066 through to 1860 when the last major building work took place. Fascinating inside but being a house still used as a residency no photography was allowed inside which I can understand. We ended up taking about two hours to go through several rooms and had a good chat with the very friendly stewards. That did not leave a great deal of time for the gardens but what we did see was really nice - certainly much better then the WMD HQ gardens! 

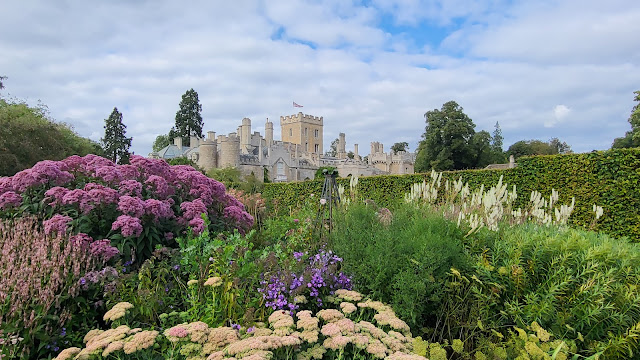
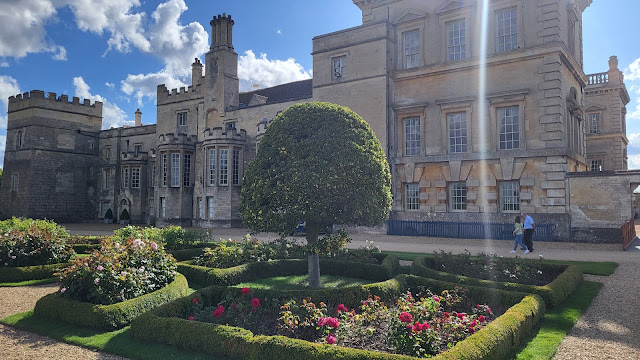
Looking back on the Hall you can clearly see the various different stages of its development over the centuries. Despite the mish mash of styles it still looks impressive.

Elton Hall

The gardens are well known for their topiary which I had no idea about. However I soon learnt that is the art of shaping shrubs and trees into shapes and there were certainly some wonderful examples to illustrate the art of topiary like this dog that Mrs. W found to her taste.

Elton Hall

These peacocks also looked very impressive.

Elton Hall

I have talked about cutting hedges in this blog before but I certainly would not want to have to do this one!

Elton Hall

Pyramid shapes are a theme throughout the garden and make an impressive statement.

Elton Hall

Elton Hall

 Carrying on the pyramid theme, this water feature was my favorite part of the garden.

Elton Hall

Elton Hall

There are also those classic English country garden scenes to enjoy.

Elton Hall

Elton Hall

Back at the somewhat less glamorous WMD HQ I ignored the garden and the various possible locations for the establishment of topiary shrubs and retired to the safety of my Man Cave to do a bit more on the Panzer Ferry kit. 

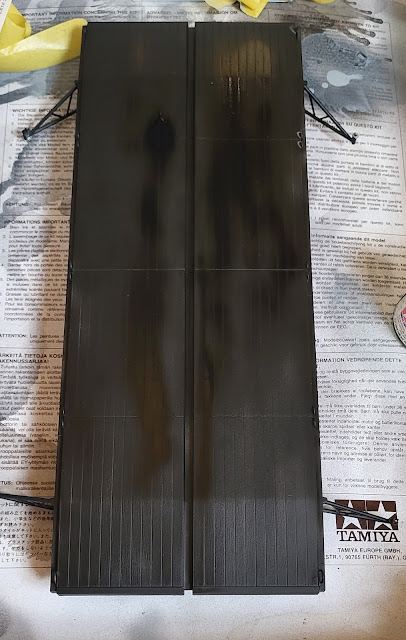
Having sprayed the wooden deck I applied a coat of matt varnish to protect it and once dry the deck was masked up.

Dragon Kit 6669 Panzer Ferry

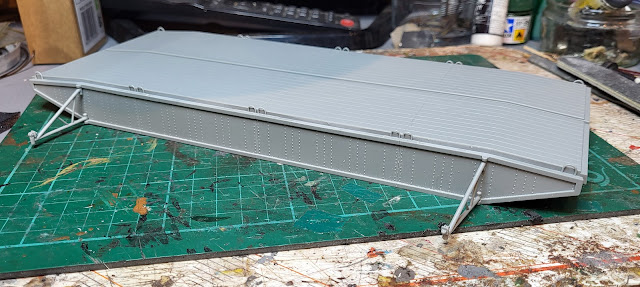
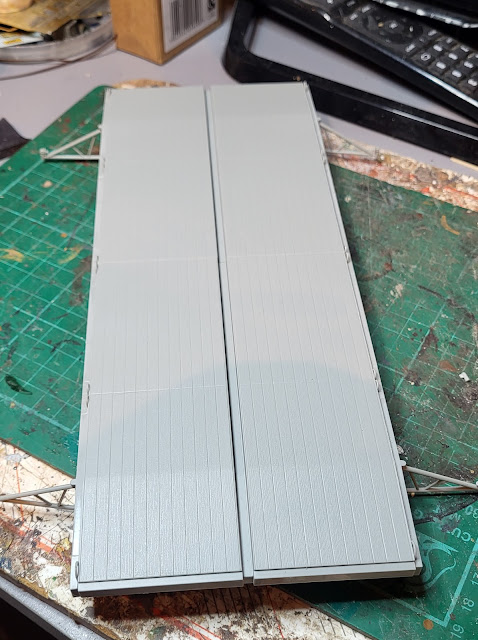
The pontoon was then sprayed in Vallejo Grey .

Dragon Kit 6669 Panzer Ferry

Dragon Kit 6669 Panzer Ferry

It is now drying and I will remove the masking once the paint is dry enough to be handled. 


Saturday, August 26, 2023

What is that???

Out on a bike ride I came across this and my immediate thought was, what is that?

Nissan Micra

Not a car shape that you see every day and things like the underbody sealant spray job on the body pointed to the fact that this was very much a custom job. But what car was it based on? A quick look round the back revealed that it had started life as a Nissan Micra!

Nissan Micra

It looks to be well engineered with some substantial struts in place to add strength following the removal of the rear upper body. Not sure if it really needs the rear spoiler and the wide wheels but who knows what may have been squeezed engine wise under the bonnet to replace the original 1lt. block! 

Although not something I would wish to own or indeed drive, I never the less admire the work that has gone into making something that is a one off and certainly catches the eye as well as no doubt raising that question as to what is that in the minds of many who see it!.

Back at WMD HQ I have returned to the build of the Panzer Ferry kit which when finished may also raise that question as to, what is that, with those that see it. 

The deck of the pontoon has now been sprayed in Tamiya Deck Tan which is a good shade to use.

Dragon Kit 6669 Panzer Ferry

Dragon Kit 6669 Panzer Ferry

Next up is to give it a coat of matt varnish to allow for the next stage of painting - more of that in a later post!

Friday, August 25, 2023

Build something simple!

I took Mrs. Woody out for lunch today which was a nice day out but not much time for model making so it was a case of build something simple. In this case the Wills SS80 kit for two Relay Boxes and you cannot get much more simple then the seven parts provided in the kit!

Wills SS80 Relay Boxes

Unsurprisingly there were no instructions as you cannot really go wrong or perhaps I should say I should not go wrong! Spending a bit of time cleaning the parts up and gluing them together whilst watching trains go round the Last Great Project Layout meant that a relaxing hour later two boxes were complete - nice and simple!

Wills SS80 Relay Boxes

They are nicely detailed and the larger one even has a padlock on the door. As in real life these things get dirty and rusty they will need painting and weathering before finding a place on my layout.

The video I shot yesterday on progress on my 00 gauge layout is now on YouTube in case anyone needs a cure for insomnia!


Thursday, August 24, 2023

There is something at the bottom of the garden!

WMD HQ backs onto a field. Last night as I watered my tomato plants I heard a bit of a strange noise and upon investigation these two were eating the hedge!

Cattle

 Mrs. woody will no doubt think they are cute - just like me! Anyway I left them to their eating - saves me cutting the hedge but I am not telling them that!

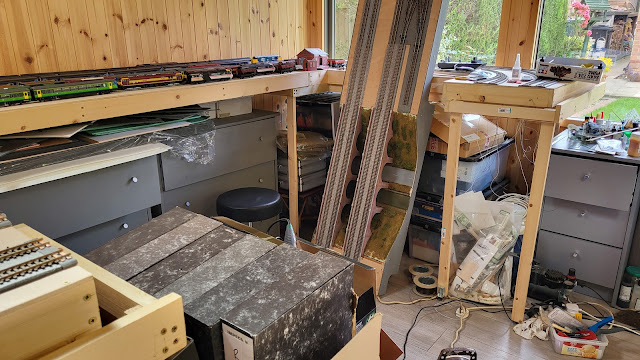
Todays adventures in my Man Cave consisted of giving it a good tidy up.

Man Cave

Still a lot of junk valuable materials but it looks neater!

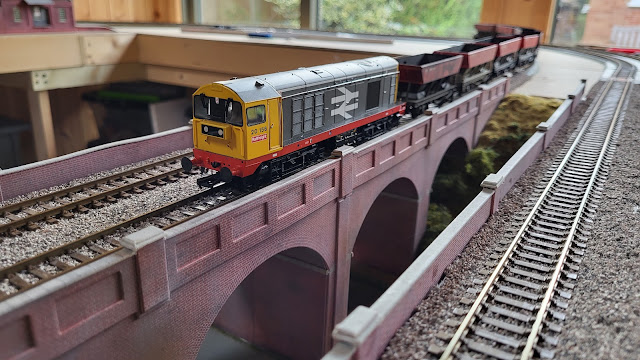
The layout then had a change of a few trains with this Class 20 in Railfreight livery hauling some merry go round coal hoppers coming onto do some circuits.

Bachmann Class 20 in Railfreight Livery

Bachmann Class 20 in Railfreight Livery

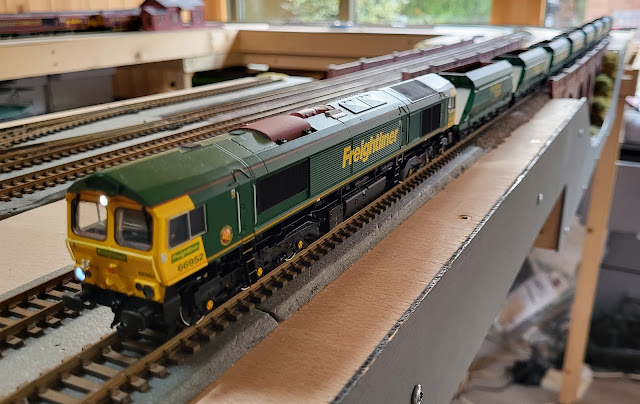
It was joined by this Class 66 in Freightliner livery hauling some HIA Limestone hopper wagons. I do like the Freightliner livery.

Bachmann Class 66 in Freightliner livery

Bachmann Class 66 in Freightliner livery

I am pleased to report that after having cut joints in the track yesterday the trains still ran! In fact I took some video of them today to post onto YouTube later so you can witness the action. I will post a link once done. 

Better go water my tomatos and see if I still have a hedge left!

Wednesday, August 23, 2023

Mind the gap! Sharing success with a lunar landing!

My Last Great Project,

After nearly a year since I built the baseboards for my 00 gauge Last Great Project Layout I was able to lift out the removable section of baseboard creating that gap which I need to mind - especially with all that junk valuable materials revealed and visible!

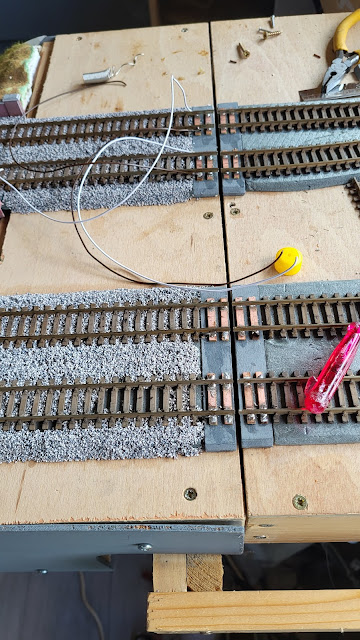
The ability to lift the baseboard out came after I had soldered the rails to copper clad sleepers at the other end of the baseboard and cut through them. I must have separated it at about the same time that the Indian moon mission successfully landed on the south pole of the moon. I think that the lunar landing probably was more technically challenging then my baseboard separation but still I was pleased!

My Last Great Project,

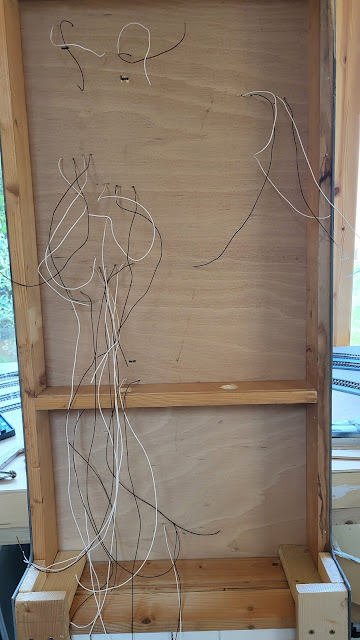
With the baseboard separated it was an ideal opportunity to do the wiring - certainly this mass of wires needed sorting so that it actually does the job it is supposed to! Not having to lie under a baseboard and peer up into darkness trying to get wires into small holes in the connector certainly made the job a more relaxing one!

My Last Great Project,

Using a multiwire connector the wiring was connected up to this and just needs two feeds back to the controller. This is probably some of the neatest wiring I have done!

My Last Great Project,

I just need to add some wires to the other end of the board which I have started.

My Last Great Project,

Those wires will be joined to a similar connector as at the other end of the board and yes I will be lifting the board out again to make that job easier! Fitting the point motors which is still to be done will also bea lot easier with the board lifted out. Working smarter not harder as I get older!


Tuesday, August 22, 2023

Skeleton staff do a lot of talking!

A day at Rocks By Rail Museum but with just three of us volunteers in today not a lot of physical things got done. We had quite a few visitors all very nice and inquisitive about things so we did a lot of talking! Now for me talking is something I do naturally so give me an audience and I can talk about almost anything that comes to mind so I was in my element! At least no one made excuses to walk away so the chat must have been interesting to all parties involved.

Despite the skeleton staff situation I did get a bit of grass cutting done.


Rocks by Rail Museum

The clam bucket planters have done well in the wet weather and as I said to Mrs. Woody, every garden should have one of these planters in it. I am still awaiting her response!

Rocks by Rail Museum

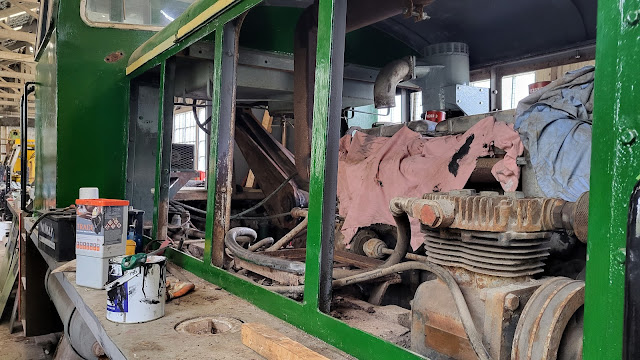
In the restoration shed work on Ketton No1 has slowed as the small parts are now dealt with - just like model making!

Rocks by Rail Museum

The four gaps on each side of the bonnet have covers like the two in the photo below.

Rocks by Rail Museum

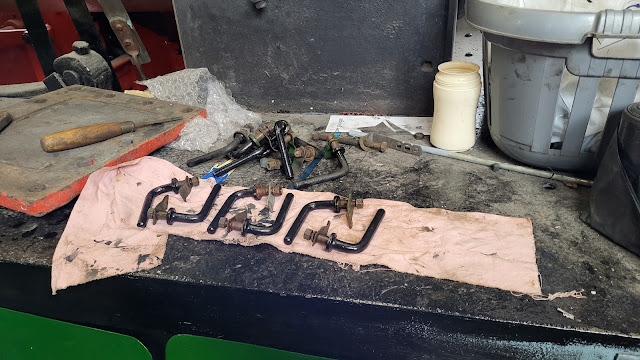
Alex is dismantling the handles for painting which does take time especially when these parts have been in place for nearly 70 years!

Rocks by Rail Museum

Back at WMD HQ I have had a chance to cut through the rails that I soldered yesterday so that is one side of the board separated.

My Last Great Project

Just the other side to do now!

Monday, August 21, 2023

Very lucky!

I have to say that although I some times doubt it, I am actually very lucky. Out on a bike ride this morning I stopped to take this photo as a reminder of the countryside I am so lucky to have around WMD HQ in which to cycle. Perhaps I was not so lucky in having to cycle uphill into a head wind to get to this view point but it was worth it!

Vale of Berlvoir

Talking of cycling it is not going well! Last year at this point I had over 4000 miles done but this year with the bad weather I have only reached 2880 which means this years target of 5200 is looking doubtful. Never mind, at least I am lucky enough to be able to get out sometimes!

Back at WMD HQ the top side of the Panzer Ferry pontoon has been primed in black.

Dragon Kit 6669 Panzer Ferry

The deck of the pontoon is supposed to be grey painted wood planks. However the paint would in real life wear away where it was trafficked so it will be sprayed with some Tamiya deck paint and then hairspray will be applied before applying the same grey as the amphibious tank has been painted in. Once painted the hairspray should allow parts of the grey paint to be abraded off leaving the deck colour showing.

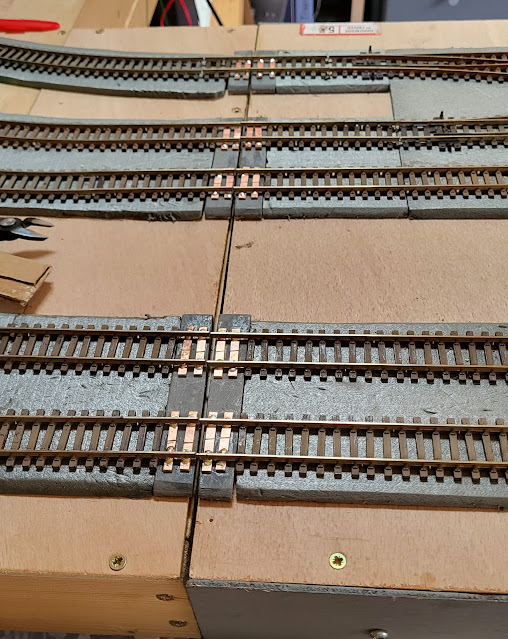
On my 00 gauge Last Great Project layout progress amazingly continues. My job at the moment is to prepare the track at the baseboard joints so that it can be cut through to allow the removable board to be, well, removed!

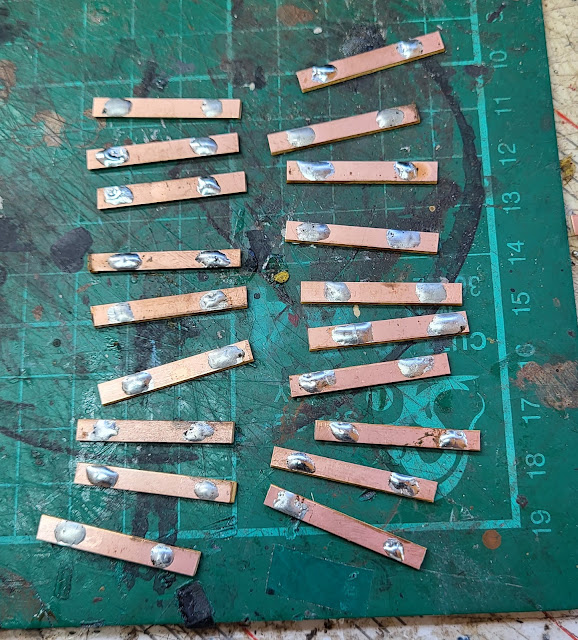
First job was to retrieve from WMD HQ Stores my stock of copper clad strip. Bough many years ago it is sold as a sleeper strip for modeller who build their own track. It is roughly sleeper width and just needs cutting to lenght.

My Last Great Project,

Using some side cutters and a plastic sleeper as a templet I cut a number of sleeper length parts. 

My Last Great Project,

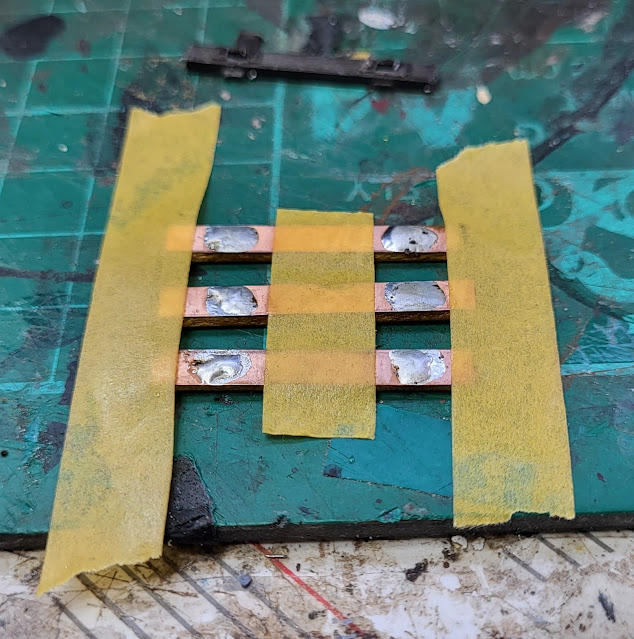
To make life easier when soldering these strips to the rail I pre-tinned them with solder.

My Last Great Project,

A bit of a production line means I had enough to do one end of the board.

My Last Great Project,

I then superglued them to the plywood strips I had glued in place some weeks ago ready for this moment! I love it when a plan comes together and it is also amazing if it is one of my plans!

My Last Great Project,

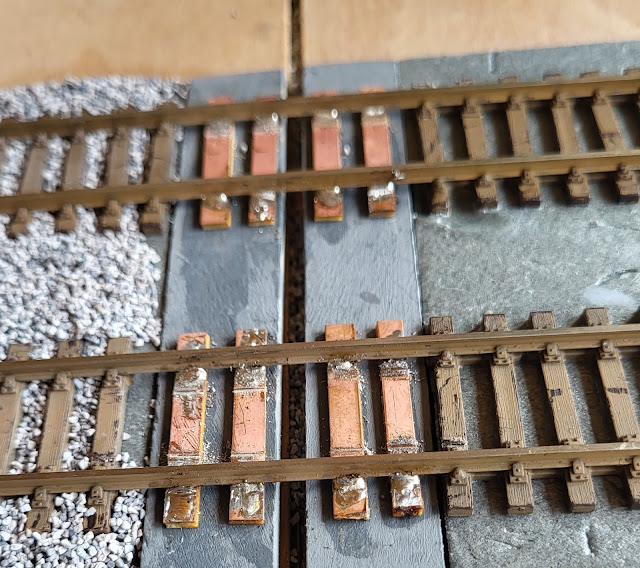
Once in place they were soldered to the rail.

My Last Great Project,

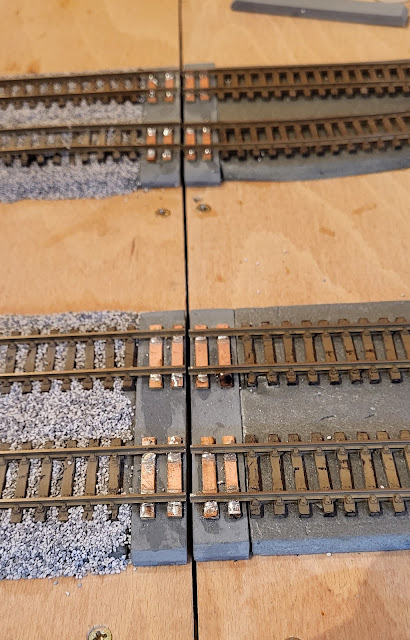
I had to file through the copper cladding to prevent a short circuit between the rails. It may look a bit messy at the moment but once cleaned up, painted and ballasted the track should look OK. I will cut through the rails once I have soldered all the tracks so that may be later this week. Once cut, that saw width gap between the baseboards should disappear - if I am lucky!!!!

Sunday, August 20, 2023

Mrs. Woody gets a day out!

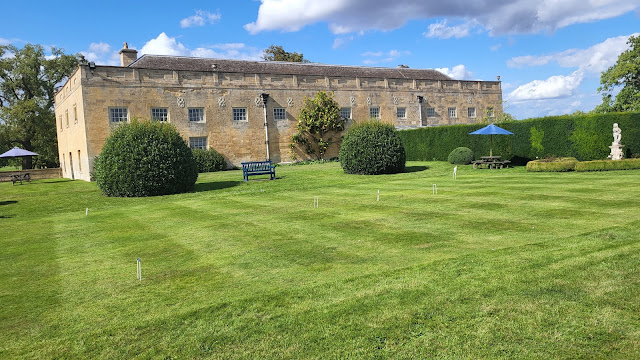
Somewhere that Mrs. Woody has wanted to go for some time now is Grimsthorpe Castle near Bourne in Lincolnshire. After a few abortive attempts today was the day we actually finally got there and it was open too! From that you can probably deduce that we have tried to go on a closed day before now!

Whilst not a castle in the traditional sense with a moat and battlements it still is impressive.

Grimsthorpe Castle

You can tell its going to be impressive when you see the driveway which is nearly a mile long!

Grimsthorpe Castle

Inside this is the entrance hall.

Grimsthorpe Castle

Certainly impressive for any visitors!

Grimsthorpe Castle

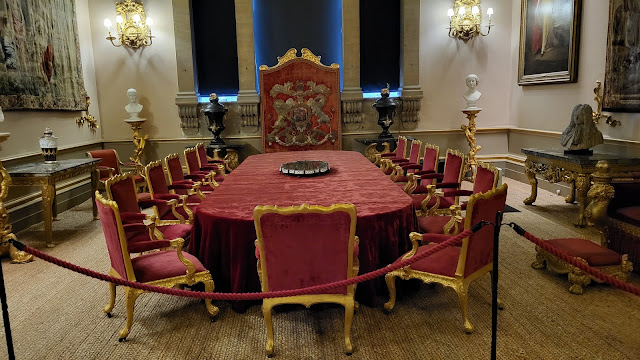
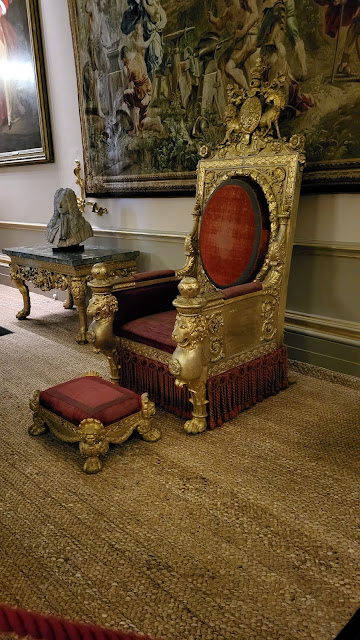
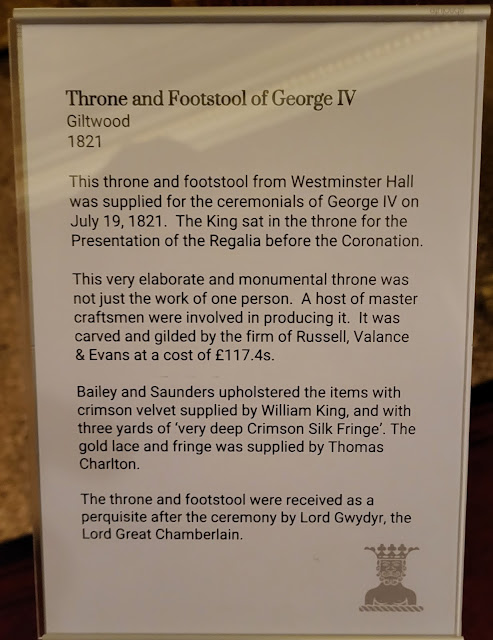
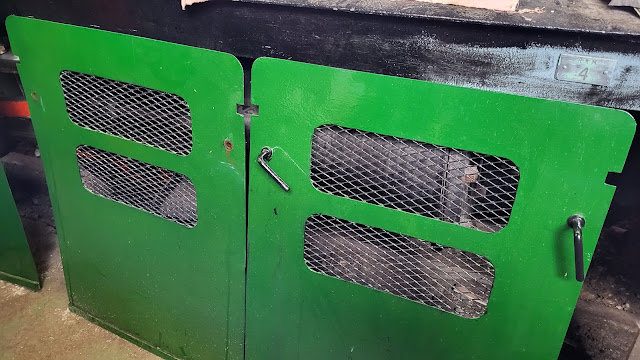
The castle is lived in and the present occupier and owner is Lady Jane Willoughby. Going upstairs there are rooms just oozing with history. This is where the throne and footstoll for George IV have ended up.
Grimsthorpe Castle

The throne is that big because he weighed between 28 and 30 stone - over 400lbs !
Grimsthorpe Castle

Grimsthorpe Castle

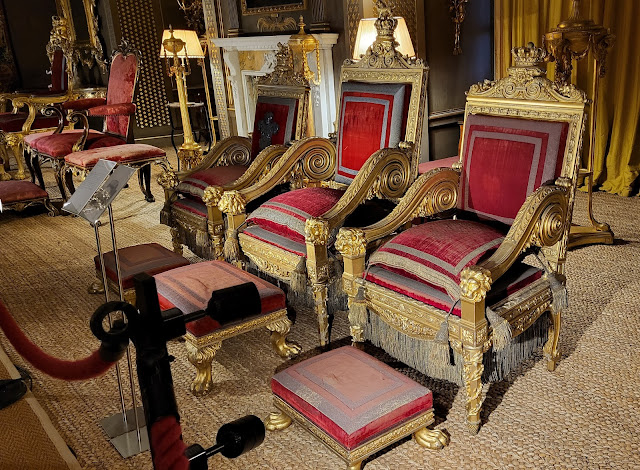
These are the thrones for Queen Victoria, Prince Albert and one of their sons. Apparently in this upstairs room Henry VIII held court but was so unfit he could not walk up the stairs so rode his horse!

Grimsthorpe Castle

We spent about two and a half hours wandering round and chatting with the knowledgeable and very friendly guides. Getting outside we did not really have time to fully explore all the gardens and grounds - there are about 10 miles of walks to do! - but we saw enough to decide on a return trip in the not too distant future.
Grimsthorpe Castle

A nice croquet lawn if you fancied trying the game out. I decided not too as it looked far too strenuous!

Grimsthorpe Castle

Grimsthorpe Castle

Mrs. W and me sat outside overlooking the croquet lawn and ate our packed lunch which I had carried about in a plastic carrier bag! We then headed for the gift shop where this ultimate picnic hamper made my plastic bag look somewhat inadequate but at £149 for the hamper, the plastic bag won't be thrown out just yet!

Grimsthorpe Castle

Back at WMD HQ the Panzer Ferry pontoon is being primed. It takes alot of paint with all those large flat surfaces!

Dragon Kit 6669 Panzer Ferry,

I have also started to assemble the tracks which come as individual links and handily they are already off the sprue which saves some time.

Dragon Kit 6669 Panzer Ferry,

According to the instructions I need to glue 105 links for each set of tracks - that's an awful lot of eye strain and carful gluing! I can see the swear jar getting a contribution at some point!


Saturday, August 19, 2023

Pontoon built and if I can predict this well I should buy a lottery ticket!

Having cleaned my car and predicted that Mrs. Woody, would as a result of this, want her car cleaned I can claim a 100% success rate in my predictive abilities! So this morning her car was cleaned and a lottery ticket bought! 

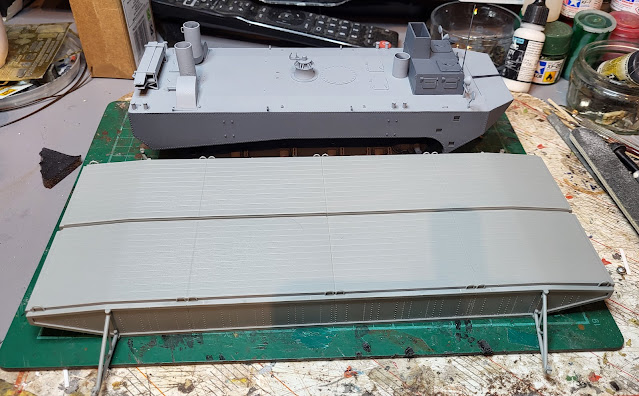
Back to the Dragon Panzer Ferry kit and the 14 parts which make up this part of the kit are now assembled. That was quick for me!

Dragon Kit 6669 Panzer Ferry,

The outriggers are where the attachment chains from the accompanying amphibious tank are attached to prevent the pontoon floating off.

Dragon Kit 6669 Panzer Ferry,

Putting it next to the amphibious tank illustrates the size of this model and there is still another amphibious tank to add!

Dragon Kit 6669 Panzer Ferry,

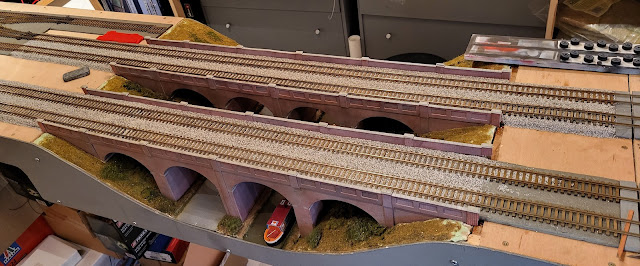
I also did some more ballasting which means I am over half way through doing this first baseboard - Nice! It will be even nicer when I finish it!

My Last Great Project