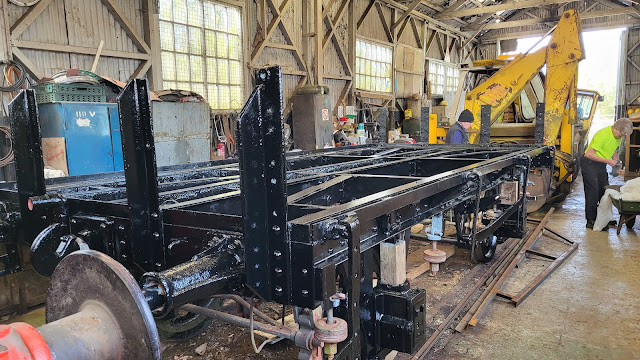
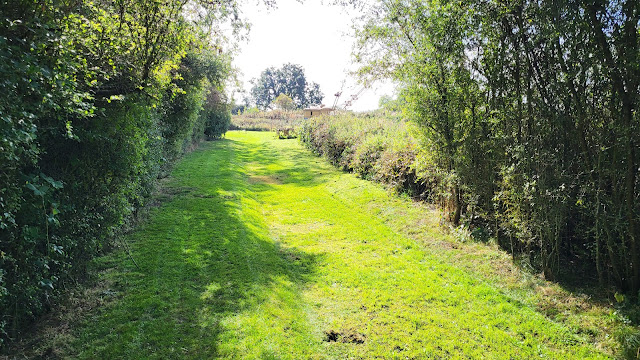
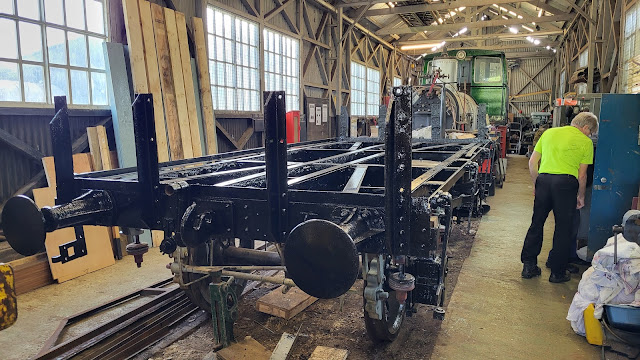
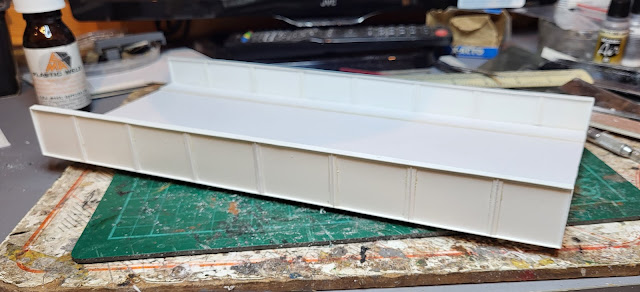
I will talk about saving money later but first off with the weather being more like it should have been in June, I ventured to the Rocks By Rail Museum. The event of the year is on Sunday and the grass areas where visitors walk has not seen my attention for three weeks or so! Therefore, after a couple of weeks of fun with the dragline excavator it was back to the more mundane mower! The grass had certainly grown but at least it is now looking a bit more cultivated then before after several hours of work! The temptation of getting on that dragline in the background was hard to resist but I did!
Recording my progress, or usually the lack of it, in building kits, creating model railways and other related and sometimes unrelated matters!
Search this blog
Monday, October 9, 2023
Saving money!
Sunday, October 8, 2023
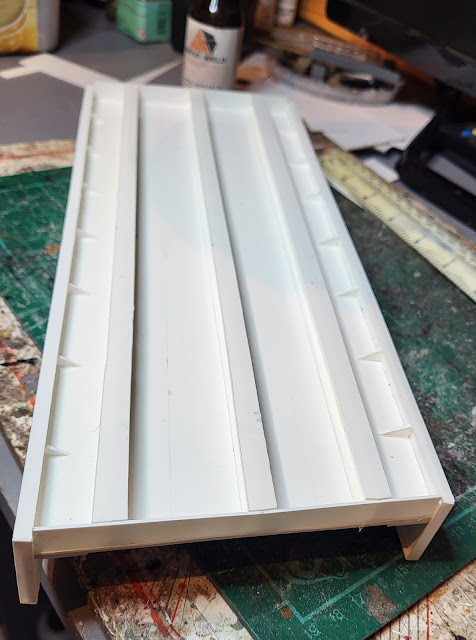
Underside detail.
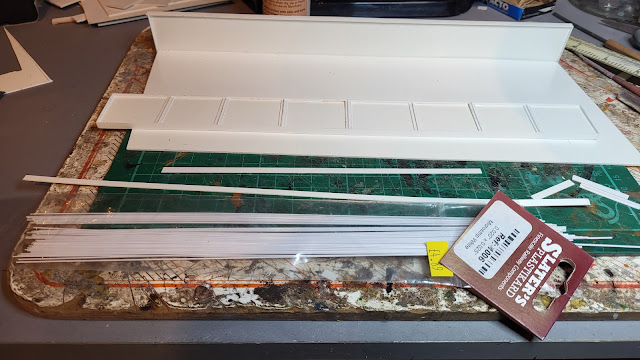
Well the steel girder bridge, which is actually card and plastic sheet but as it is a model we won't worry about that, has really come along. The outside jointing strips on the plate have been added which gives some interest to what was otherwise a featureless surface.
With the top side just about finished it was time to turn attention to the underside. Firstly I needed to make some triangular strengthening fillets to secure the side plates to the underside of the bridge deck. Whilst as a model the plates had already been glued to the deck so these fillets play no role in providing strength to the model, they do replicate what happens on a real bridge - so far as I can tell!
I think I need to turn my attention to the bridge abutments next.
Saturday, October 7, 2023
Bridge deck!
The steel girder bridge for my 00 gauge My Last Great Project Layout is coming on to the point that the bridge deck actually looks like a bridge deck! I added a card road surface to the plastic card bridge deck. Onto that I added footways either side cut to a suitably narrow width - footpaths across older bridges were never that wide! Before adding the footways I used the back of a scalpel blade to emboss the kerbs. You can just about make the detail out in the second photo. It should show a lot better once painted. I have also started detailing the bridge plates with jointing strips made up of a cut strip of plastic card and then some Slaters strip added along the middle. From a distance it looks OK!
Friday, October 6, 2023
Plates!
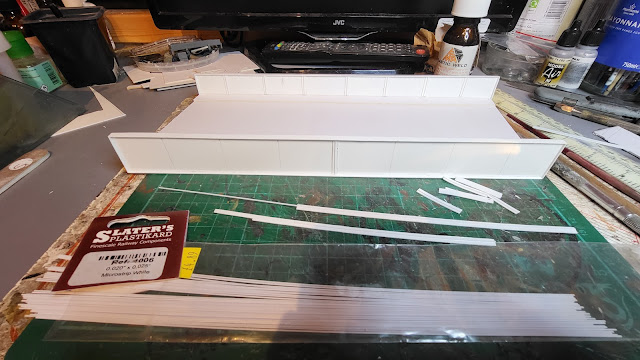
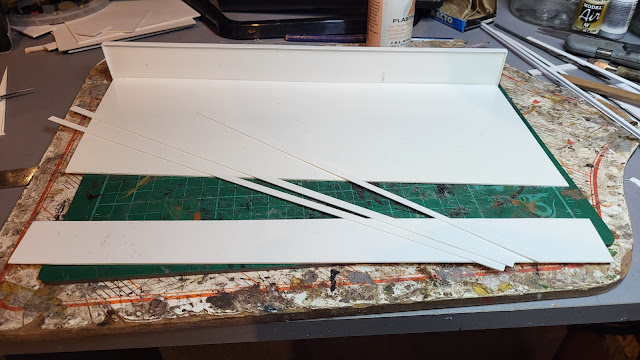
Whilst I know a lot about plates, especially washing them if Mrs. Woody is reading this, the plates I am talking about here are the steel plate ones that form the sides of certain bridges.
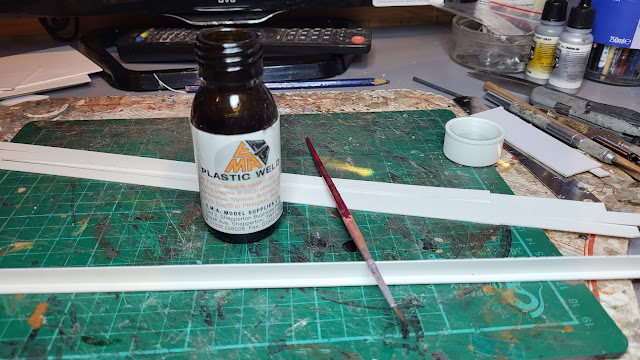
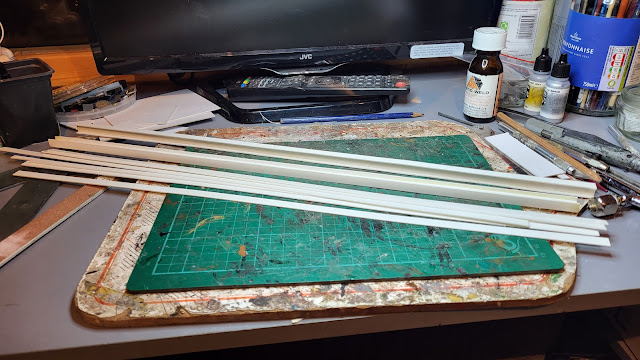
For my model bridge it will have steel plate sides so having cut the floor of the bridge from plastic card I was then able to cut the sides to size. Replicating the construction of such plates I cut 4mm strips to fit around the edges of the plate to give the reinforcing strip that runs around such plates. In addition I then started to make some joining strips to fit along the plate. Its all a bit fiddly but somehow therapeutic! The photos probably illustrate better then I can write!
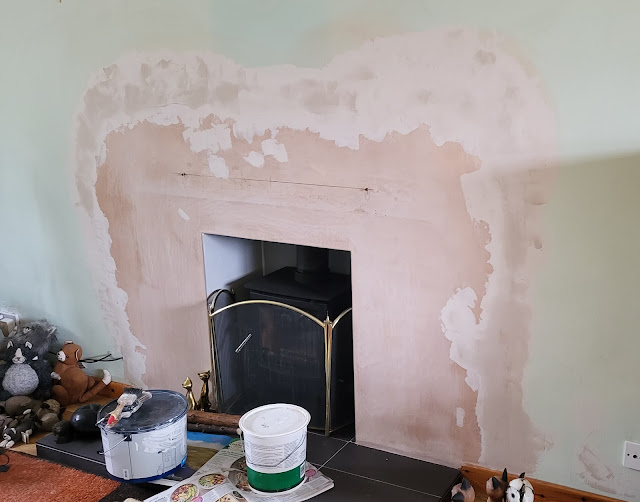
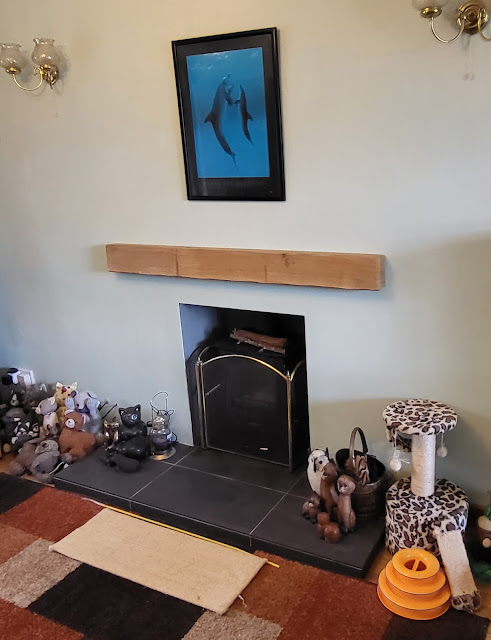
Going back to washing plates I may have earned my way out of this chore for a day or so at least as one of Mrs. Woody's jobs on her list for me to do is now done. I managed to turn this....
Thursday, October 5, 2023
Building girders!
Back on the 30th September I pictured the beginning of a bridge over the tracks of my 00 gauge layout. I have started some more serious construction of this - it is the only way I will really see if it works visually on the layout.
Some of the main components of the bridge are the girders that support the road deck above the railway. To make these I had to make some judgement as to the size they should be. I am not a bridge engineer although I have worked with some in the past so my judgement is based upon a little knowledge and as it is a model if it is wrong it cannot hurt!
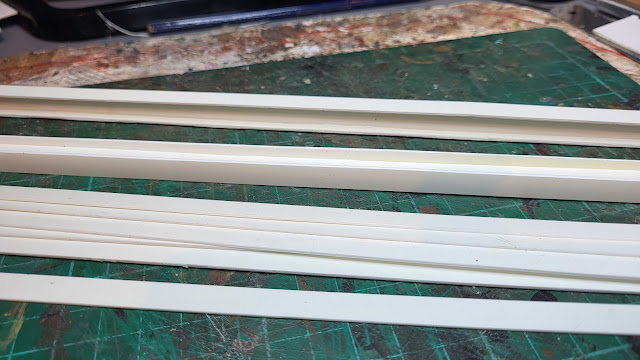
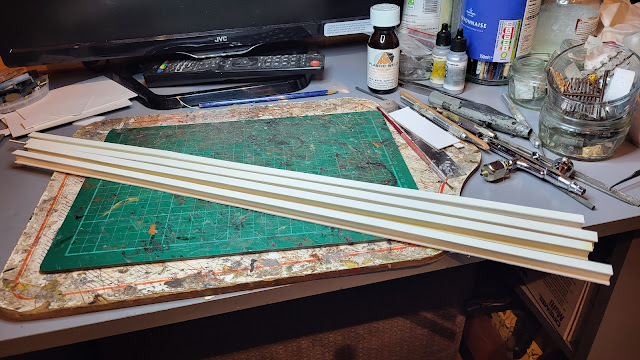
I started off getting a nice large sheet of 1mm thick plastic card from the WMD HQ Stores That was cut into 8mm strips about 18 inches long. I had decided that a scale 2 foot 6 inch deep by 2 foot wide girder would be the right dimensions. I had to get the strong solvent out to glue the plastic sheet as it is a robust plastic.
Wednesday, October 4, 2023
Tracks back on!
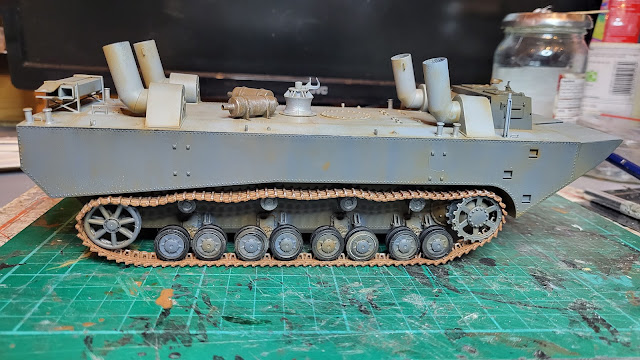
Well the tracks, suitably rusted and polished metalised where necessary, have been put back on the hull of the second amphibious vehicle.
I still have a selection of smaller parts to add including the chains that fasten the two amphibious tanks to the pontoon. I fear getting those to fit may see the swear jar grow with a few contributions whilst I do that job!
Tuesday, October 3, 2023
Rusty tracks!
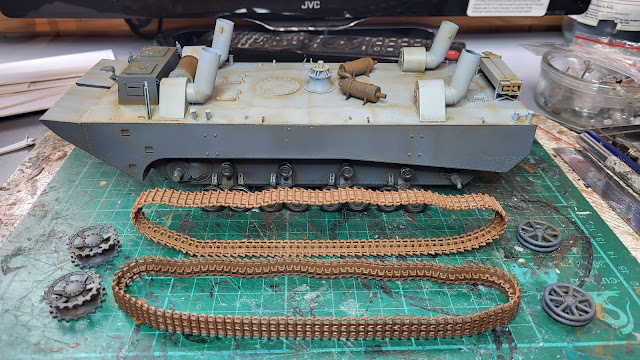
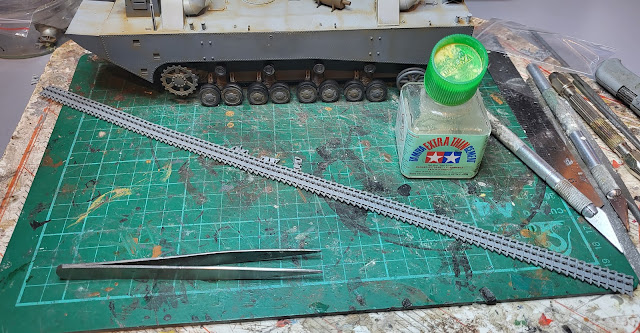
Having climbed all over the Rocks By Rail Museum's dragline excavator yesterday I was quite familiar with rusty tracks which was useful as today I had to make the tracks for the second amphibious vehicle rusty! Firstly though I had to finish assembling the second set for the other side. I followed the same method as the first and it went well - learning as I get older! The bits of card along the top of the track are there to induce the sag that the real track would have between the idle rollers. As I had used Tamiya Extra Thin glue the joints between the track links were still flexible some time after being glued allowing the sag to form
Monday, October 2, 2023
Grease monkey!
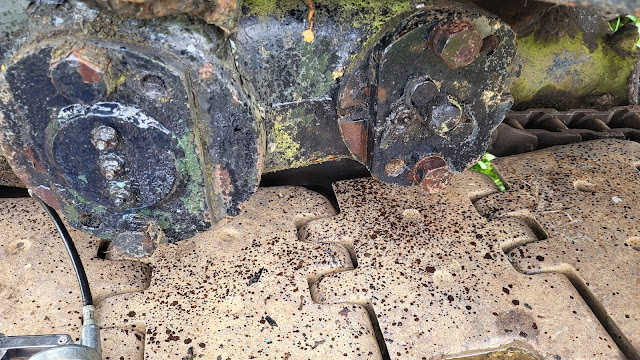
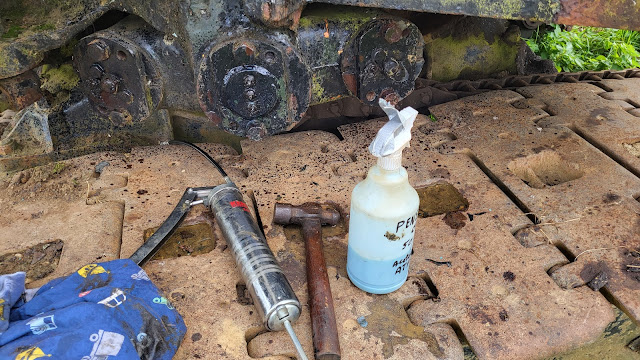
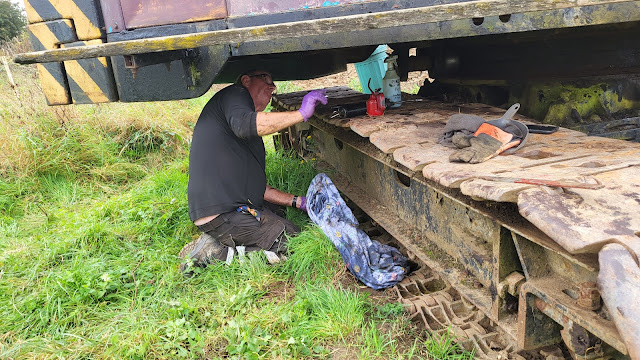
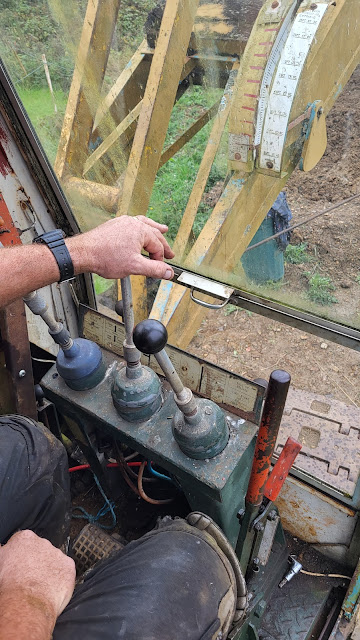
Today I was back at the Rocks By Rail Museum doing my grease monkey impression helping Rob grease and lubricate the drag line which we put a new steel rope on last week. Greasing involves uncovering the various grease nipples that are located all around the machine. Many were encrusted by old grease and dirt.
Sunday, October 1, 2023
Lazy Sunday Afternoon!
Saturday, September 30, 2023
Standing on its own wheels.
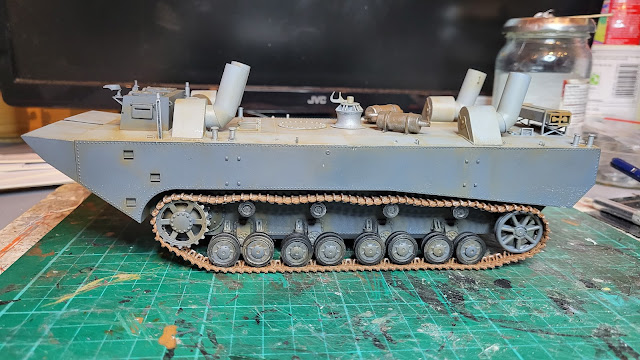
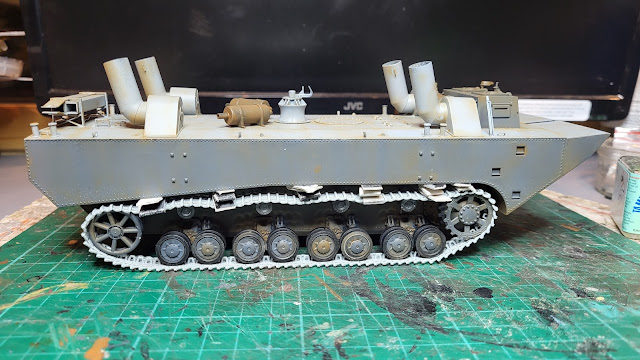
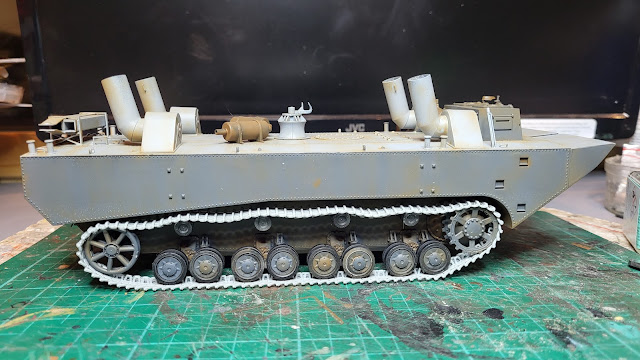
With the various wheels mounted to the hull, the amphibious tank can now stand on its own wheels! Because I try to anticipate what may go wrong, like in the future tracks breaking, I tend to glue tank wheels on to the hull using a glue like UHU. It provides a reasonably strong joint between parts but it is usually possible to separate parts in the future without major damage. Using a plastic cement would melt the two parts together bonding them into one piece. UHU on the other hand holds the two parts together without bonding them and given the flexible nature of the glue parts can be separated without damage in the future with some well placed but reasonable force
Next thing is the tracks which will just about bring this model to the same level of completeness as its partner vehicle in this Panzer Ferry.
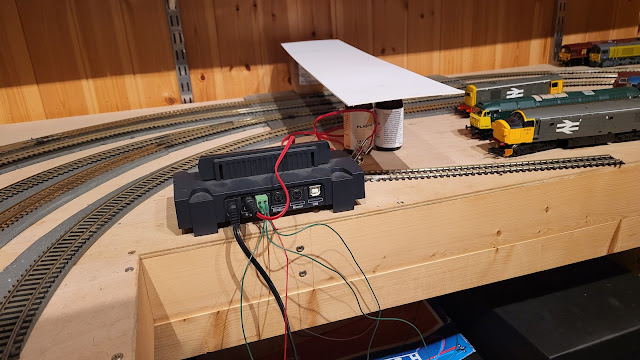
Despite having spent a fair amount of time on this model my mind has not been inactive in thinking about other projects. My 00 gauge layout has been developing at, for me at least, lightning speed and I am looking at the next stage. The photos below may show a white strip of card supported by a tub and a couple of bottles but this in my mind is the basis of a road bridge crossing the four railway tracks.
Imagination is a great thing and I can already see in my mind a finished bridge with scenery crossing the railway and making a great scenic focus point. Now the difficult bit is transforming that imaginative image into reality! Will I produce what I imagine? I will let you know in due course - anything could actually happen!