Yesterday I raised the question as to if the landscape sub-base for My Last Great Project 00 gauge layout would lift out in one piece following gluing a long strip of polystyrene sheet to it?
I think this answers that question - much to my amazement! I was expecting to have it fold in half on me!
Having got over the shock I got over to the WMD Stores where yet another piece of insulation foam was sourced - another, I knew it would come in handy one day, moments! Using the sub-base, I was able to trace the required profiles of where I needed to cut.
With that done it was time for Sammy Saw to enter the scene. No doubt any true woodworking devotees will be rolling their eyes as I use a chair as my saw horse! However it works - I just take my time and try to avoid cutting the arms of the chair off!
The only probelem is that this type of work creates a mess that even I cannot live with!
With that cleared up I could start mounting the cut foam on the sub-base. It will need further shaping but this initial shape is good enough.
With th efoam cut for both sides the PVA glue came out and a good coating to all surfaces to be joined allowed me to set the whole sub-base on the floor to set on a flat surface.

I need another level of foam to get the required height but that will wait until the glue dries on this lot. I just have to be patient and wait, just like Mrs. Woody has to show patience or is perseverance with my painting of the hall, stairs and landing! Today, having got out of the corner, it was onto a main wall!
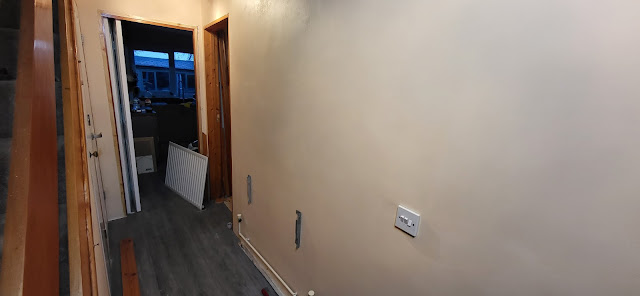
As you can see there is a fair amount of sanding and filler on the wall. At times I do wonder if I should name the house Polyfiller Villa or Tetrion Towers (other makes of DIY filler are available!)! One of the issues stopping me progressing was this radiator. Now I could have left it in place and tried to paint behind with a thin roller but I don't like cutting corners - well sometimes anyway! So it was coming off.
With the valves either side closed off and undone from the radiator and the bleed nipple opened it soon drained into a plastic tub. That then enabled me to remove the radiator and admire the dust and fluff of many years! I really must remind Mrs. W to remind me to dust behind radiators more regularly!

With the dust and fluff removed the painting could commence. Just need to let it dry and put that radiator back on before carrying on with the rest of the hall. That should be fun!


No comments:
Post a Comment