Search this blog

Friday, February 18, 2022

Storm Eunice!

Here in the UK we are being battered by the second storm in three days. Parts of the UK have suffered not only 100 mph plus winds but snow as well. Luckily for me the storm has not been as bad as for others - so far! I did manage a 19 mile bike ride this morning whilst the wind was relatively calmish!

Doing some inside jobs I did take an hour out to d a bit more on the model Scanias. The cab of the 143H is now partly assembled and ready for paint on a calmer day.

Italeri Scania Streamline 143H

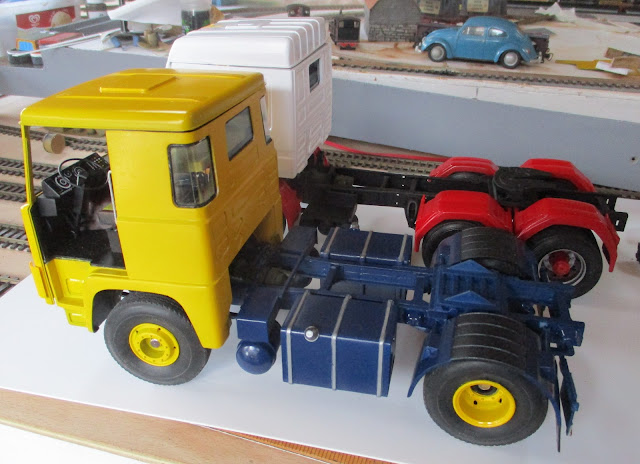
In my usual bout of curiosity I did tape the front panels and roof to the cab sides to see what it would look like and further curiosity saw me pose it with the 141LB.


Italeri Scania Streamline 143H, Heller Scania 141 LB

Italeri Scania Streamline 143H, Heller Scania 141 LB


Italeri Scania Streamline 143H, Heller Scania 141 LB

Italeri Scania Streamline 143H, Heller Scania 141 LB

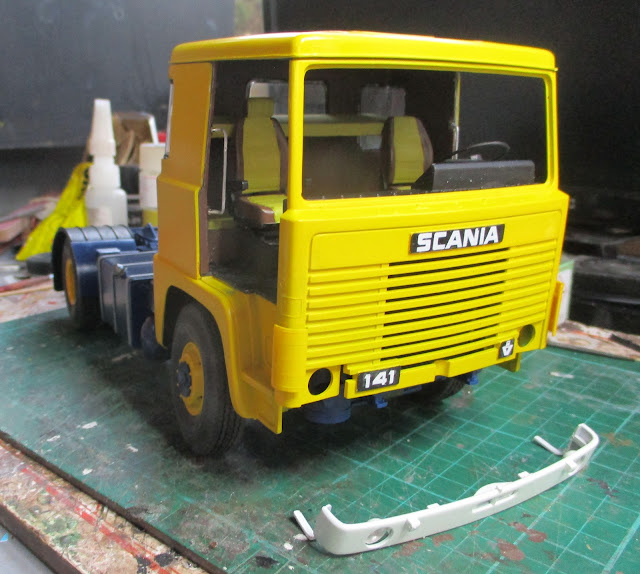
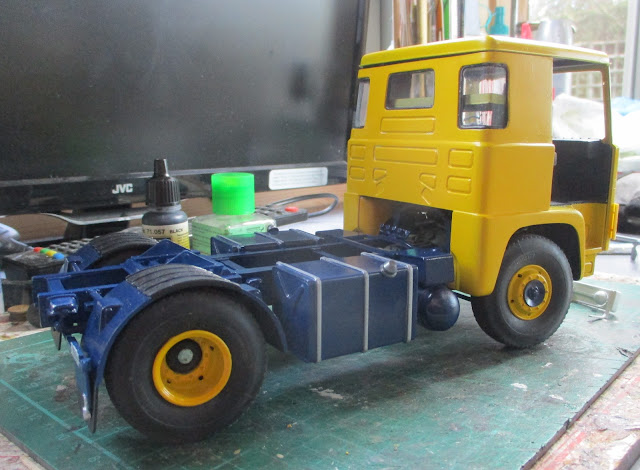
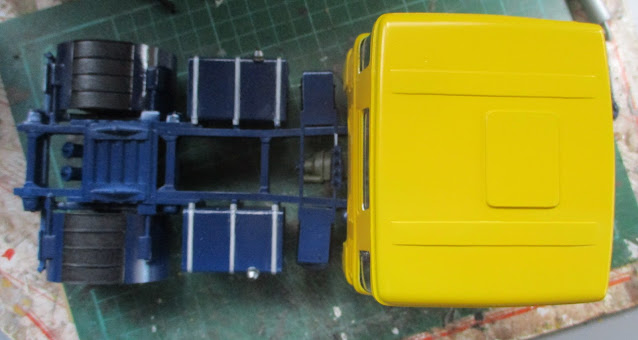
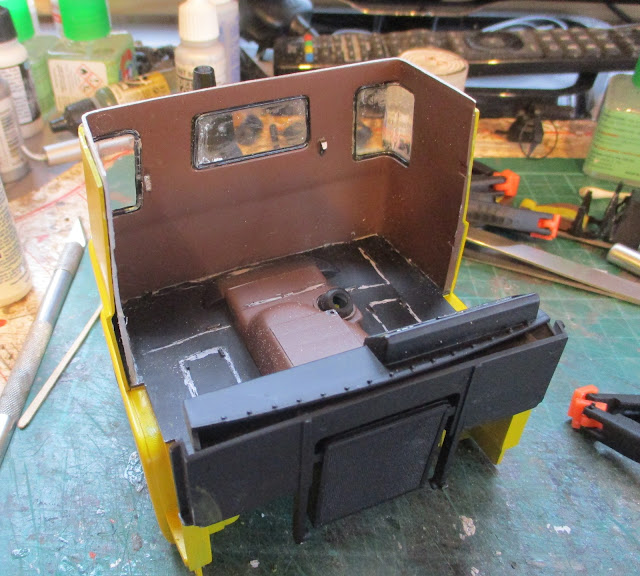
I also built the headlight units for the Scania 141 where the lens were 'glued' into their headlamp units using Tamiya varnish. The varnish acts like a glue and dries clear so is perfect for jobs like this. The light lenses for the spot lights in the bumper were also 'glued' in with the varnish. 

Heller Scania 141 LB

Hopefully by the time that Storm Eunice subsides they will all have dried. In the meantime I am just hoping that the storm does not create any additional jobs on Mrs. Woody's list of jobs for me to do!

Thursday, February 17, 2022

Scania Production Line 2!

An hour or so of further progress on the Scania models.

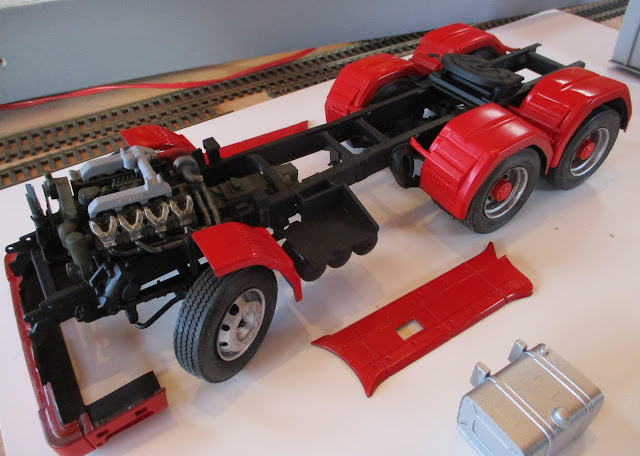
The 143H chassis is coming together and although the mudguards need to be glued I can not resist putting parts together temporarily to see what things look like.

Italeri Scania Streamline 143H

The cab interior is also coming along in its two tone grey which I decided to brighten up a bit with the seats getting some red panels. Interior design is not my particular forte, just ask Mrs. W, but I think that this does work! The instrument decal has been applied to the dashboard and once set the steering wheel and column can be attached and then the dashboard can be fastened to the rest of the cab interior.

Italeri Scania Streamline 143H

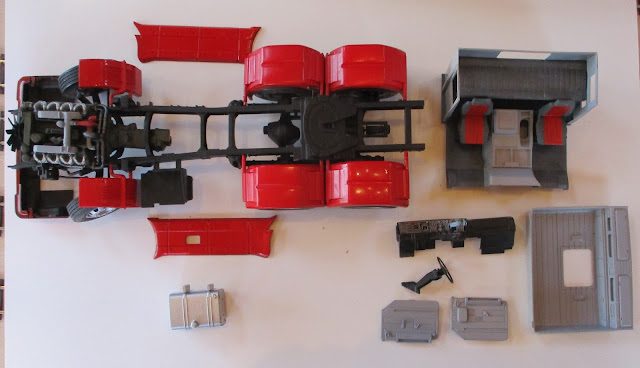
Certainly a lot less parts than yesterday!

Italeri Scania Streamline 143H

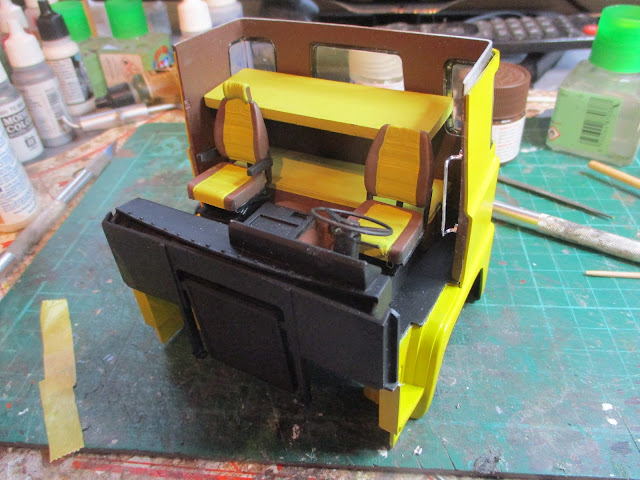
Painting the door interiors on the Scania 141H has progressed with the yellow parts having had an undercoat of matt yellow waiting for a top coat of gloss yellow.

Heller Scania 141 LB

Have to see if the production line continues with this rate of progress - There is even a danger that I could finish both models in a couple of weeks!


Wednesday, February 16, 2022

Scania production line.

That is what my model making feels like at the moment! Having done an 18 mile bike ride where half of it felt as though I was cycling into a brick wall and the other half as though I was Mary Poppins (now there's a thought!) being blown home by Storm Dudley and having done some Mrs. W jobs it was time for an hour more on the Scanias. 

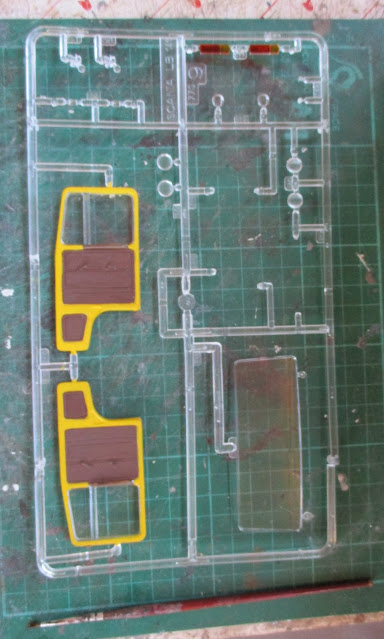
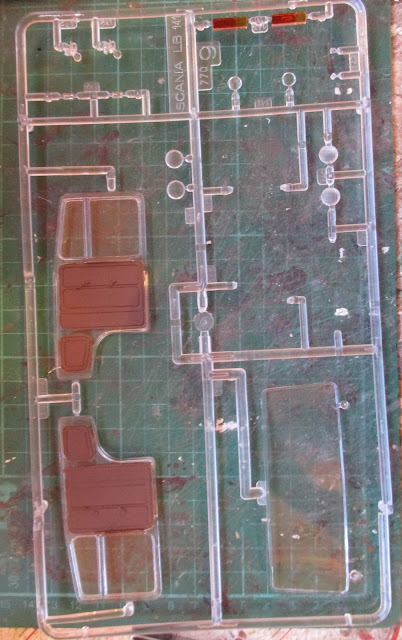
The door interiors on the 141LB by Heller are something that I have never seen in a model before. The whole door interior including the window is moulded as part of the transparent parts. Most strange. However I have started to paint these with the door cards being painted to match the rest of the interior. I have also painted the rear light lenses with Tamiya clear red and orange paints for the rear/brake lights and the indictors ready for fitting to the chassis.

Heller Scania 141 LB

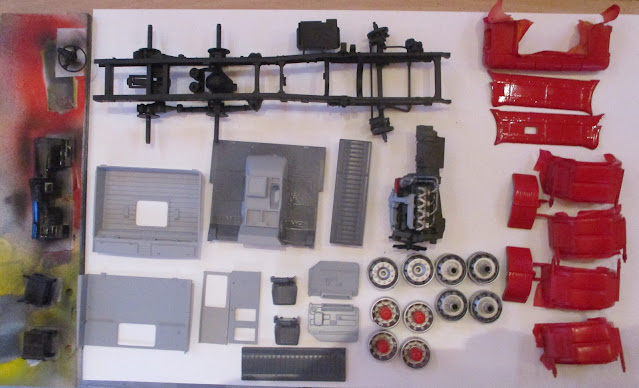
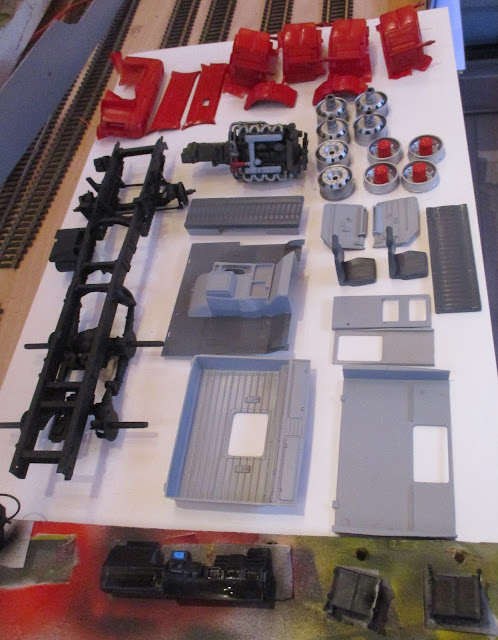
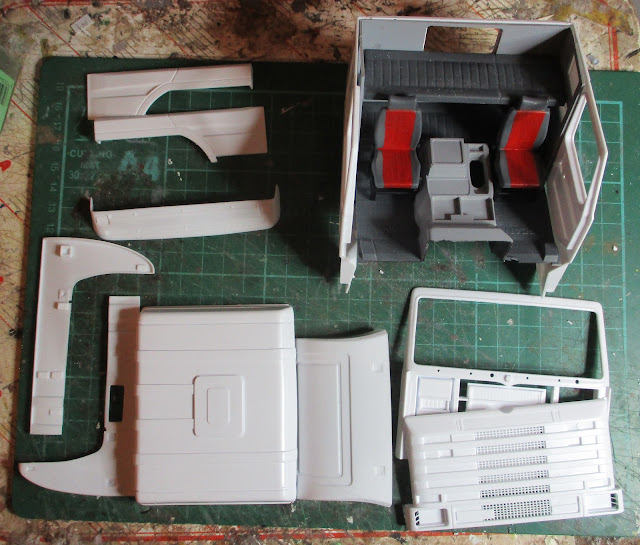
More parts of the Scania 143H have been painted, mainly parts for the interior where the browns and yellows of the 1980's are replaced by the greys of the 1990's. How fashion changes!

Italeri Scania Streamline 143H

Italeri Scania Streamline 143H

Lots of parts just needing a production line to assemble them!


Tuesday, February 15, 2022

A wet but poignant day.

A special day at Rocks by Rail Museum even though we were fighting the weather and the resultant drainage problems.

Rocks by Rail Museum

Today is the 80th anniversary of Singapore falling to the Japanese during World War 2. As a result 80,000 Allied service personnel were captured and taken as Prisoners of War. My Uncle was one of those. The stories of the brutality and hardship that those service personnel went through are countless. One in four did not survive the three and a half years they were held to tell those stories. 

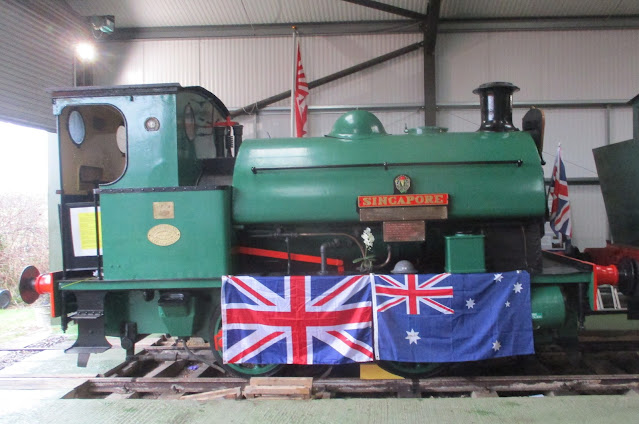
Rocks by Rail is the home of steam engine Singapore which is a registered war memorial. It was captured by thr Japanese and put to work in the docks at Singapore and even to this day still has bullet holes in it from when the Japanese first landed. There are further details of the locomotive on the Rocks by Rail website located here.

I attended a short remembrance today at the Museum where the locomotive took its place as a war memorial to all those involved in the Singapore campaign. I was priviledged that my Uncle's son, my cousin and his wife were able to attend and we could remember together what my Uncle and all those with him went through. WE laid orchids on the locomotive which apparently is the alternative poppy as those do not grow in the Singapore area but orchids do.

My Uncle was lucky and came home but the experience of those three and a half years no doubt affected his and his comrades lives for ever. I have the greatest respect and gratitude for them all. Let us hope we never again experience such wars which given current issues in Ukraine is something that is even more pertinent today.

https://www.rocks-by-rail.org/exhibit/hl-3865-singapore/

https://www.rocks-by-rail.org/exhibit/hl-3865-singapore/


Monday, February 14, 2022

Simply Red in a box!

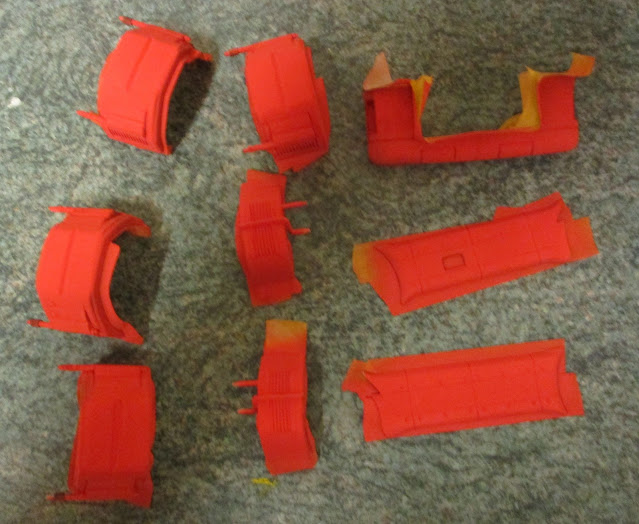
Not a box collection of the greatest hits from Simply Red but the undercoated parts of the Scania 143H kit now top coated and drying in a box along with the painted wheels. Doesn't look much but it was a couple of hours work, a full jar of Tamiya gloss red and a few swear jar moments with one of the mudguards deciding to fall on the floor! I managed to use a cocktail stick to remove a couple of  bits of dirt that had been picked up by the wet paint. At this point my bodging skills came in to play. As the paint was still wet I sprayed a further coat of paint on. The fresh coat of paint was viscous enough to in effect fill the holes left by the dirt removal and level out so it looks reasonable. Once I can have a closer look after the paint has fully dried and the parts are safe to handle I will be able to tell if 'reasonable' is good enough! For the moment though I give you simply red in a box.


Italeri Scania Streamline 143H

Sunday, February 13, 2022

Simply Red!

Even the best laid plans sometimes go differently to expected and that is what happened today. I will go into the reasons another time but I did manage to get some undercoat on the mudguards, front valance and side skirts of the Scania 143 or as I have termed it, simply red!

Italeri Scania Streamline 143H


Saturday, February 12, 2022

Sound advice!

A somewhat windy day when I felt as though I was riding into a brick wall on this mornings bike ride. However the journey home was a breeze with the wind behind me. Something that has stuck with me since I started serious bike racing in my teens was a piece of simple but very sound advice from another experienced rider which was that if you can cycle into the wind on your journey out do that so the wind blows you home. Nothing worse then turning back and having to fight the wind on your way home. Strange how advice like that sticks with you for your life and something I pass onto others.

Other sound advice I have found during my years of model making is that there are times when you need to take your time and think about what and how you are going to do something before you actually do it.  It may sound logical but sometimes, just like chess you need to be thinking several moves ahead. Not something I did in my earlier years when I built a model and then wondered how on earth I was going to paint it so that it didn't look like something involved in a paint factory explosion. Take the rear wheels on the Scania 143H. I have not fully assembled them so that it is easier to paint the hubs which are a different colour to the rest of the wheel. I also did this sometime ago well ahead of painting the other wheels so that they were all ready to be painted in one go. 

Today I actually started the painting process not only for the wheels but also the mudguards, front valance and side skirts. The rear of the valance and skirts in real life are undersealed to resist stone chips and rust. Therefore they would not look right being painted in red which will be the colour on the front and upper faces of the various items. So using that sound advice of thinking ahead I painted the appropriate surfaces with black paint. I don't want the surfaces which are to be red undercoated in black as this will make the red too dark as the undercoat affects the final look of the final top coat of paint. Having matt varnished the black surfaces the parts were left to dry.
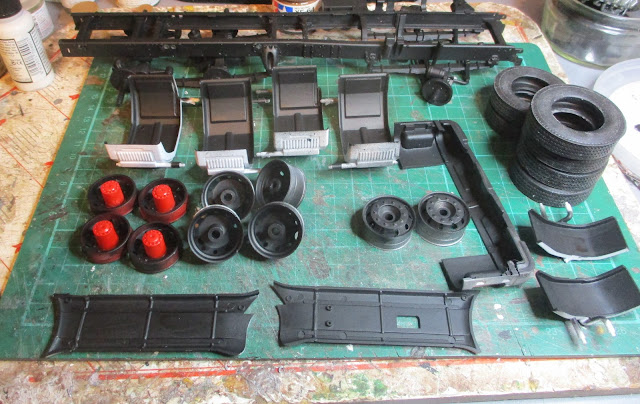
Italeri Scania Streamline 143H

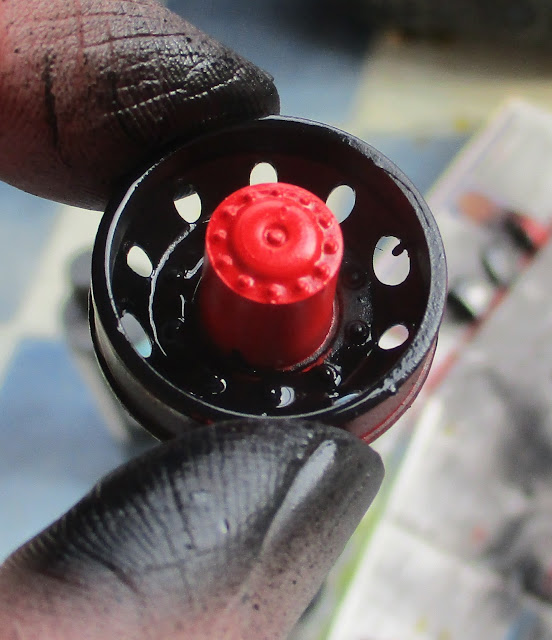
As I also need the wheels to be painted ready for fitting before I fit the mudguards these were painted black too. The wheels will eventually be aluminum in colour and black is the perfect undercoat for that paint. The four wheels with the red hubs had to be masked before painting. I actually made one mask by rolling some paper to the diameter of the hub, taping it and then using it as I painted each wheel separately. I can then use the mask again when I airbrush the aluminum paint.

Italeri Scania Streamline 143H

Italeri Scania Streamline 143H

As you can see painting can be a dirty process but on occasions can get you out of assisting Mrs. W with folding the washing! As it is acrylic paint it scrubs straight off under the tap once the washing folding activity has been completed!

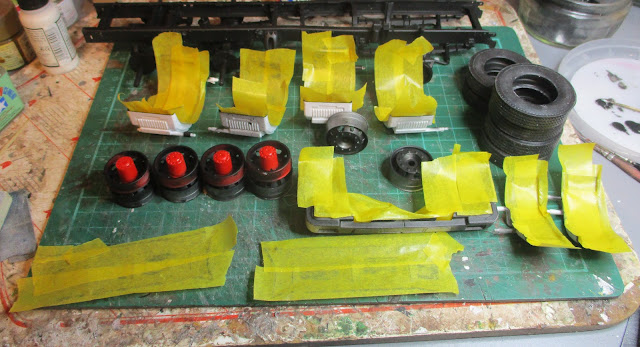
Hoping that tomorrow will allow the various parts to be painted in their final top coats so the areas painted black need to be masked off. This is also where thinking ahead plays dividends. It will be much easier to touch in the black areas, which are mainly hidden from sight, with a brush should any red paint seep under the masking. Touching up the highly visible red paint with a brush would be a much more difficult thing to do - for me anyway! An hour of masking will hopefully ensure a neat job. All will be reveled soon! 
Italeri Scania Streamline 143H


Friday, February 11, 2022

Further tales of plastic butchery!

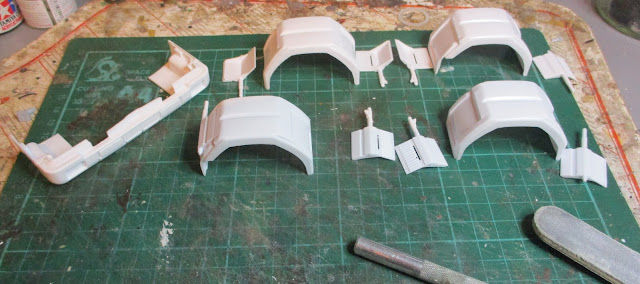
Moving back to the Scania 143H I need to catch this build up with the other Scania so I spent an hour or so dealing with the mudguards, front valance and side skirts. The mudguards were fairly straight forward as was the front valance. Clean parts up and glue together. 

Italeri Scania Streamline 143H

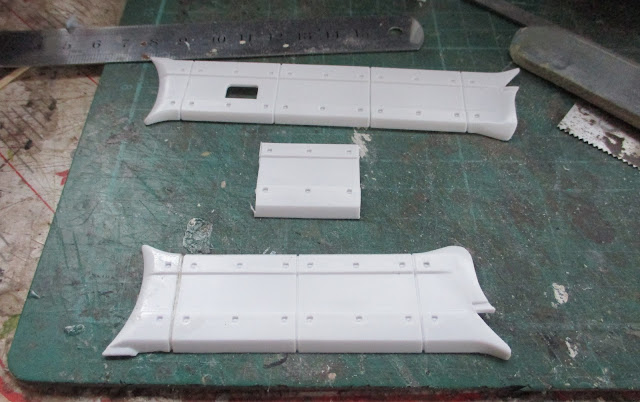
The side skirts though were a different matter.  They require shortening to fit the shortened chassis so it was out with the razor saw and taking a deep breath the cutting or my case butchery commenced. 

Italeri Scania Streamline 143H

It went reasonably well - surprisingly! The picture above shows one side skirt shortened and the amount that had to be taken out. Next stage is to get all these parts painted up so hopefully this weekend might see that commence unless Mrs. W has other plans!

Italeri Scania Streamline 143H


Thursday, February 10, 2022

Light bulb moment!

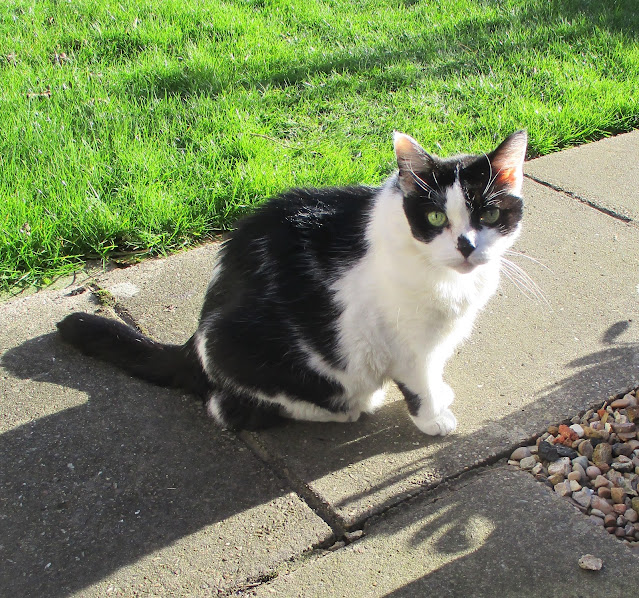
A great sunny day which saw me clock up 512 miles on my bike this year so far. Even Smudge the cat came out of her basket curious at the brightness outside and took in some of the sun before heading back in for something to eat and another sleep. She has a hard life!

Smudge the cat

It was also sunny in the Man Cave AKA The Room of Gloom as the Heller Scania 141 LB made progress. 

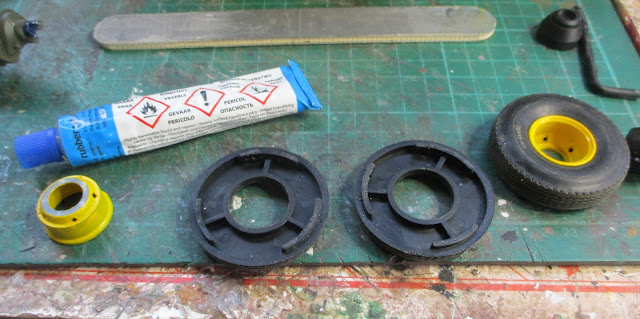
First thing was to glue the two part tyres together. As these are rubber plastic cement was not going to work and my trials with super glue failed miserably. Pondering this as I fixed a puncture on my bike I suddenly had that light bulb moment. The adhesive used to adhere the repair patch to the inner tube glues rubber to rubber! Yes it did work on the model tyres as well! Half an hour with my puncture repair kit on the workbench had the tires glued. I also remembered to return my repair kit to the bike or that could be a swear jar moment when a future puncture occurs.

Heller Scania 141 LB

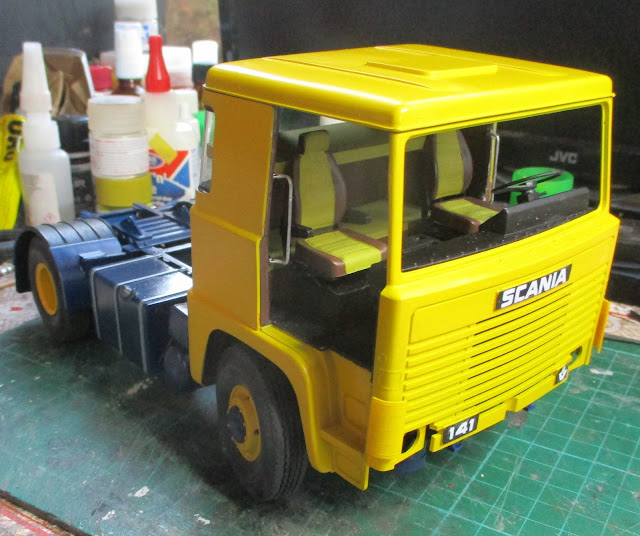
The engine has now been glued in and the wheels attached to the axles and just await their center caps to be fitted. The cab front has also had various decals applied and the model now looks like this.

Heller Scania 141 LB

Heller Scania 141 LB

Heller Scania 141 LB

Heller Scania 141 LB

Heller Scania 141 LB

Heller Scania 141 LB

Not many parts to fit now but the further into the build you get the more fearful you become of something going wrong! Hopefully nothing does.

Wednesday, February 9, 2022

Sometimes you have to be destructive to be constructive!


Heller Scania 141 LB

As I highlighted yesterday I needed to take drastic action to try to make the inner cab unit fit the outer cab shell on the Scania 141LB. First try was a lot of clamps and leaving the model on top of a radiator for a while. As the radiator is a central heating water filled one there was no risk of fire but always a risk of damage to the paint. The idea was that as the plastic heated up and became a little more flexible the clamps would pull it into place. That was the theory and the model was completely successful in proving  me wrong! Rather than breaking into a Basil Fawlty moment and threatening the model I sat back and thought that there was no other way remaining other than to be destructive so I could deal with the inner cab unit. I therefore had to be destructive! Out came all the cab innards and it was not easy as my glue joints were for some unusual reason strong! Seats, bunks and steering wheel all ended up on the work bench. It looked terrible!

Heller Scania 141 LB

I felt a bit like Edd from Wheeler Dealers with a stripped out cab putting right the underlying problems. I had to shave parts off the lower back joint of the inner cab part and file parts off where it matches up with the passenger door. I also had to cut  chunk out there and cut back and reshape and rejoin the part. The result was that the panel fitted apart from a gap at the side which cannot be seen. With that issue resolved it was back to putting the parts back in with the advantage that there was no annoying Mike Brewer telling me he had worked hard in having the glove box emptied! Anyway I am back to this and yes I have tested that the roof fits! 

Heller Scania 141 LB

With all the handling that the cab has had there are some marks on the paintwork which I am hopeful will polish out just like on Wheeler Dealers!