Search this blog

Friday, September 15, 2023

Its Friday - Relax with a train!

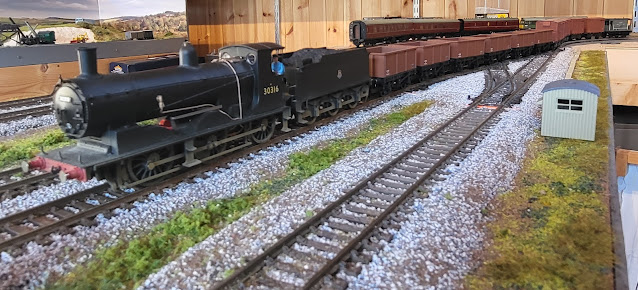
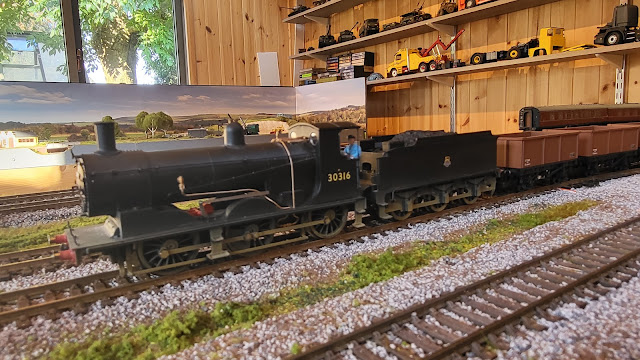
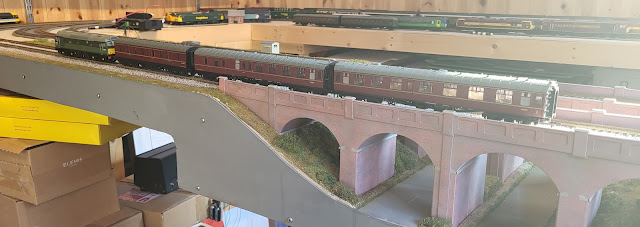
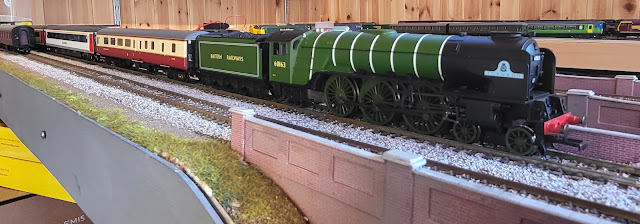
It has been a long and tiring week here at WMD so what better way to relax and play trains! So here are a few photos of todays runners.

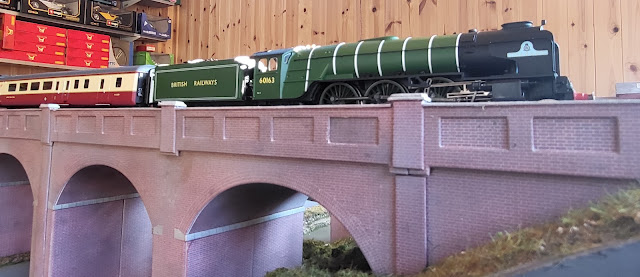
Here is Tornado with an excursion train

My Last Great Project

My Last Great Project


My Last Great Project

My Last Great Project

My Last Great Project

My Last Great Project

My Last Great Project

I had great fun and videoed it so there will be another video out soon on YouTube! 


Thursday, September 14, 2023

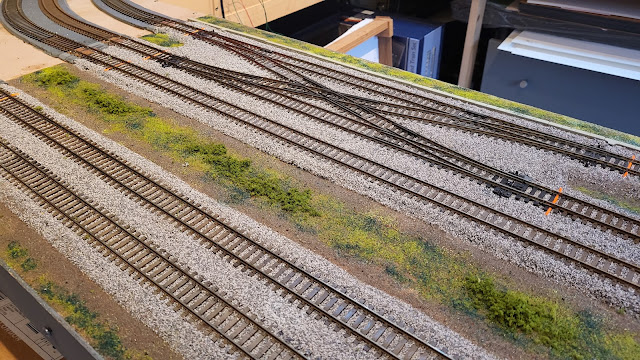
More greenification.

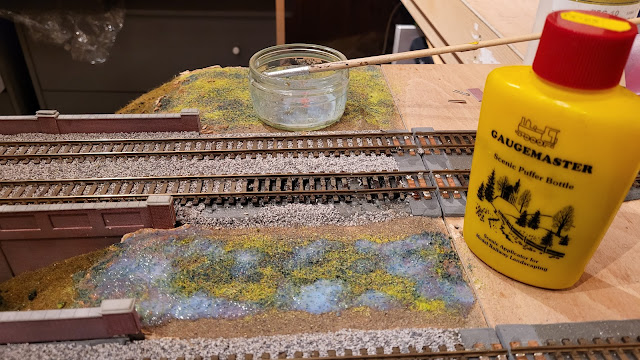
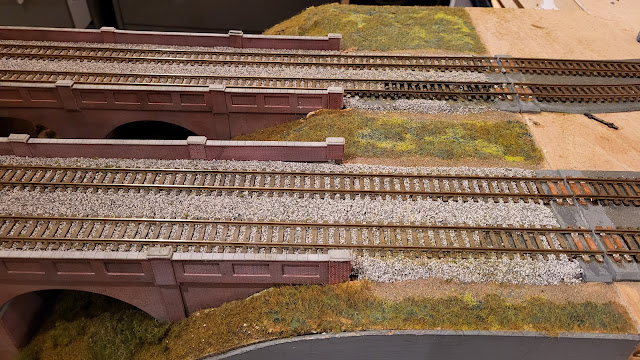
Some more progress on greenification of the removable baseboard of my 00 gauge Last Great Project layout. I have added some static grass which has added some more texture to the green areas. The Gaugemaster puffer bottle proved the ideal tool for the application of the grass given the small areas involved.

My Last Great Project

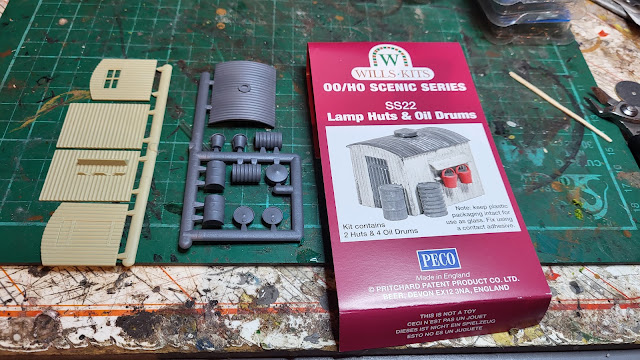
I have also started to build the other Wills Lamp Hut kit left over after building the other for Chalkdon my 009 narrow gauge layout. It just adds a bit of interest to what at the moment is a relatively flat scene and uses up a kit!

My Last Great Project

There will be some more shrubs, small trees and structures to add further relief and those will be added as and when I have the time and I am in the right mood to do it! However looking at where I am now makes me feel good!

My Last Great Project

My Last Great Project

My Last Great Project

My Last Great Project


Wednesday, September 13, 2023

Unusual sightings!

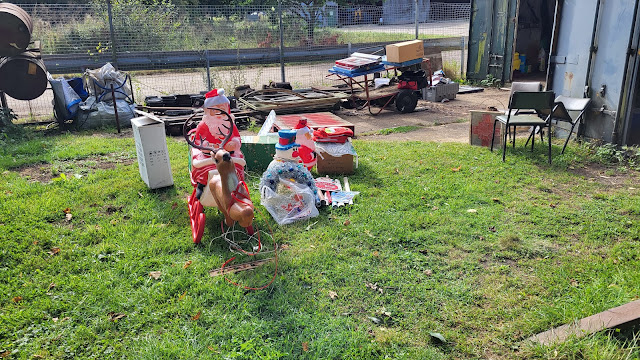
It is early September so the last thing I expected to see, apart from in the shops where such things are almost a year round sale item, was Christmas decorations. However getting to the Rocks By Rail Museum today I was faced with this scene!

Rocks by Rail Museum

After some investigation I established that we were not entering into a early seasonal preparation but just a sort out.

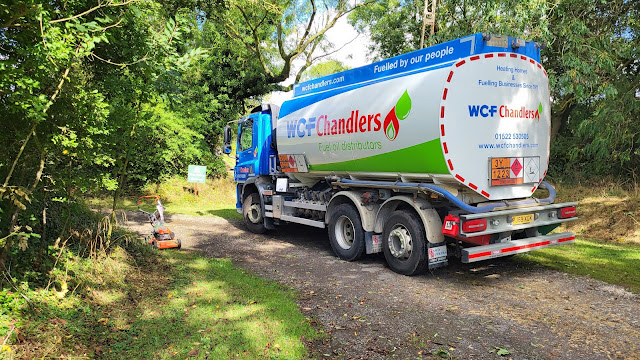
That was unusual sighting one and number two was this large fuel tanker coming in as I carried out my now weekly vegetational butchery! Enough fuel to keep my car going for several years but with a fleet of diesel locos it won't last long!

Rocks by Rail Museum

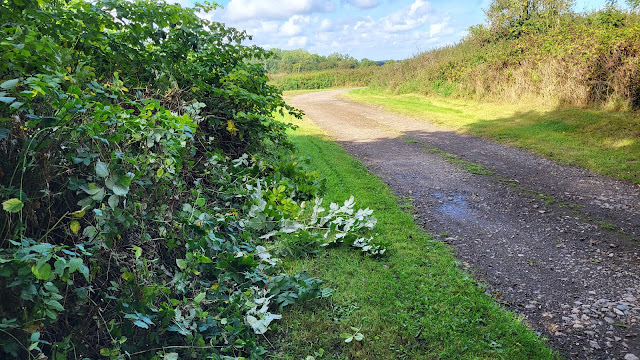
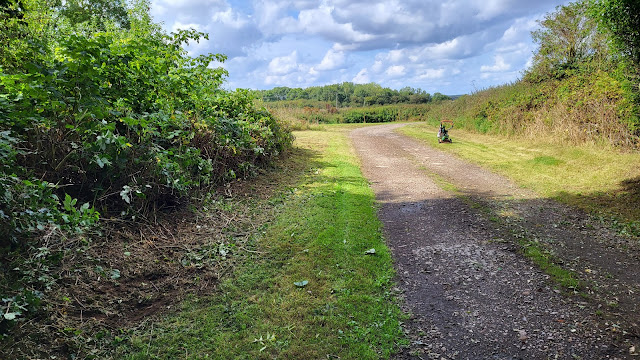
Talking of vegetational butchery this road side shrubbery was part of my work today.

Rocks by Rail Museum

Slashed back giving a more spacious feeling!

Rocks by Rail Museum

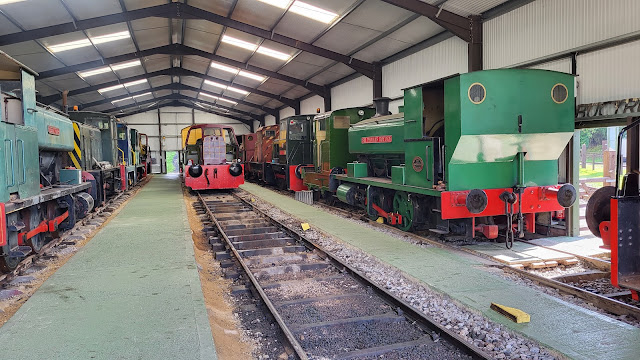
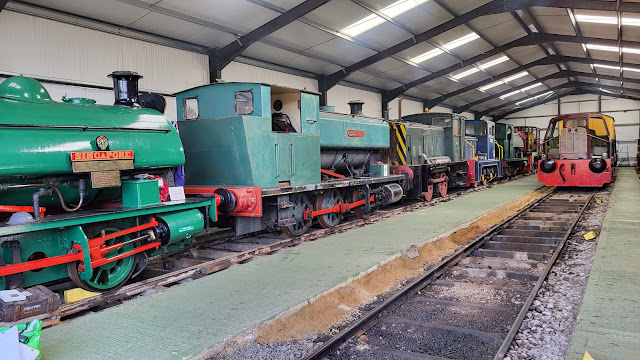
Back at the Exhibition Centre preparations were underway to move rolling stock ready for this Sunday's Quarry day. You don't often see some of these views but with some of the stock outside there were new views on locos. Another unusual sighting!

Rocks by Rail Museum

Rocks by Rail Museum

Rocks by Rail Museum

The van that Thomas has been painting has now had one side sign painted and looks very good even if it would be an unusual sighting on the real railway!

Rocks by Rail Museum

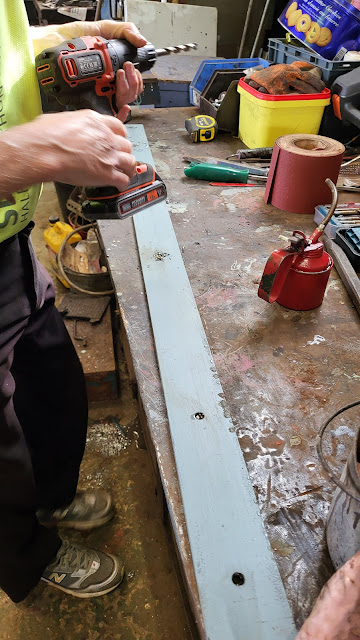
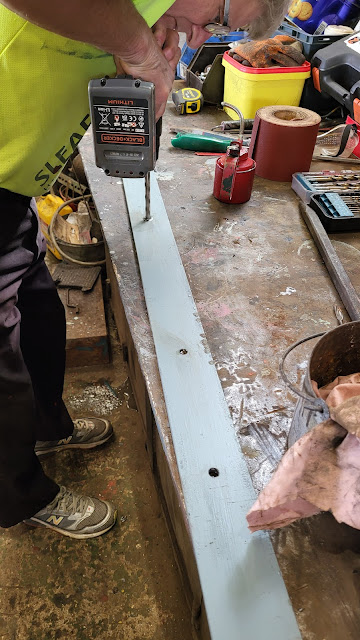
Into the Restoration Shed and it was time for another watch and learn with John. This time he was drilling holes into a thick metal strip.

Rocks by Rail Museum,

 Instead of drilling each hole in turn John drilled for about 30 seconds or so on each hole in turn using oil as a lubricant and cooling agent. Doing it this way means that the drill bit doesnt overheat and become blunt. The other thing was to use a slow speed drill. Faster drills just mean the drill bit skims the metal in the hole rather than biting and cutting into it.

Rocks by Rail Museum,

Proof that he knows what he is talking about!

Rocks by Rail Museum,

Just to draw a conclusion to the theme of unusual sightings, John did surprise me by doing this chalk drawing on the metal strip. Apparently he used to draw such things on the top of his school books. Why, I asked. John said with a smile that it was to show his 'train of thought!'. Brilliant!
Rocks by Rail Museum,

Tuesday, September 12, 2023

What a difference a day makes!

Yesterday -

My Last Great Project

Today -

My Last Great Project

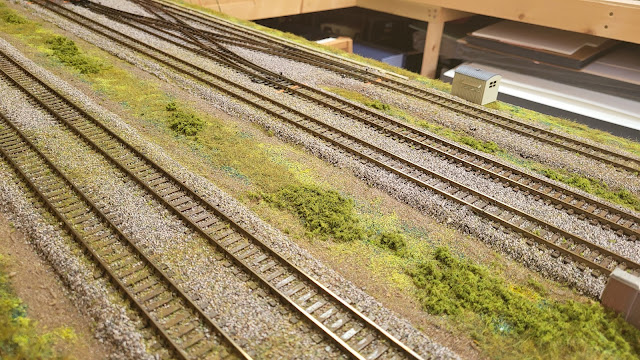
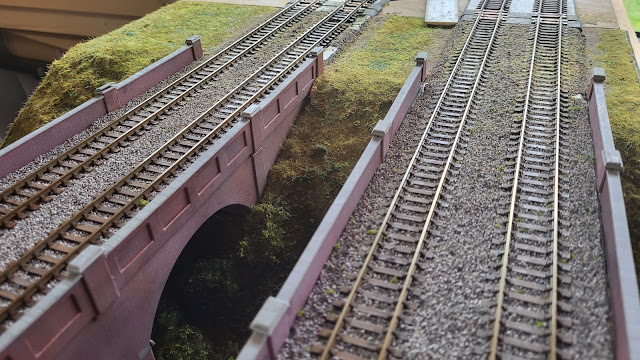
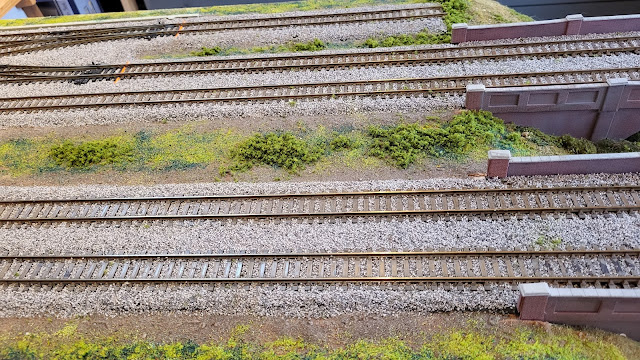
Well a day certainly made a big difference to my 00 gauge layout. From bareish baseboard to something that now begins to come alive! 

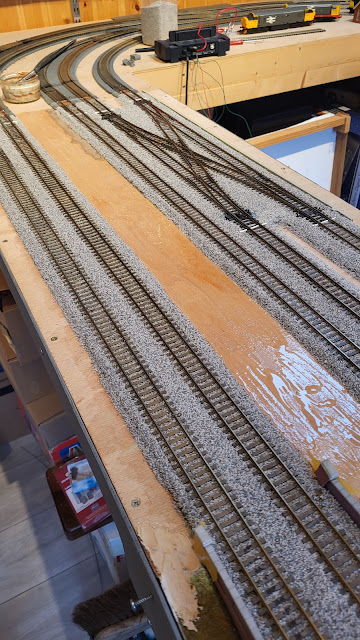
How did I get there? Last night I did have a late night finishing the ballasting in the hope the hot weather would dry it by the morning.

My Last Great Project

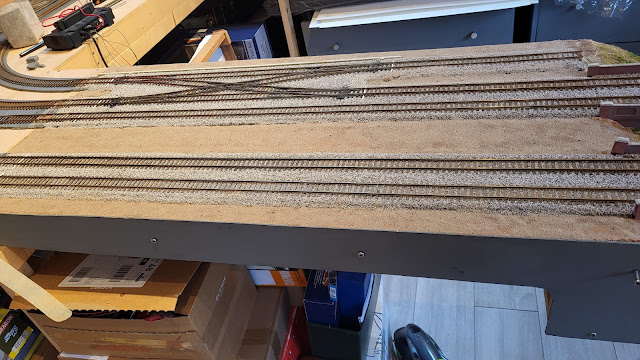
My plan was somewhat thwarted by the incoming band of cold wet weather! However it was dry enough to get things moving. First thing off was to get rid of the wood baseboard top. Some brown paint, some PVA glue and some filler powder were mixed with wate and brushed over the bare wood board. 
My Last Great Project

Once applied my favoured kiln dried sand was spread over the still wet mix. This gives a good base for further vegetational work.

My Last Great Project

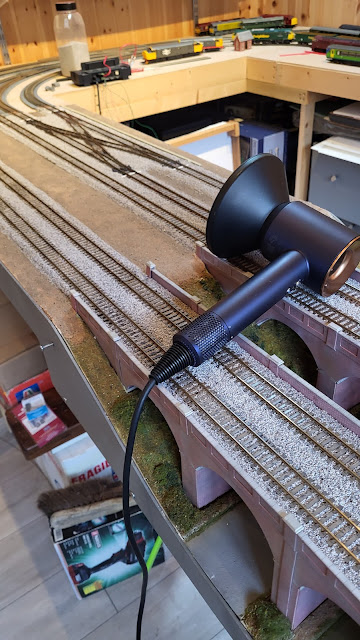
Now as long as Mrs. Woody doesn't read this she wont know that her hair drier played a role in todays model making applying some heat to encourage the glue to dry! If she reads this I am in trouble!

My Last Great Project

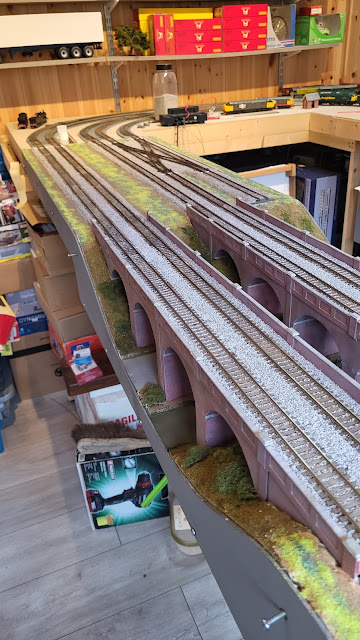
With the sand in place I then added some varied green flock powders to give a base for later application of static grass.

My Last Great Project

I have added a bit of shrubbery at this stage joust to see how it looks. Woodlands Scenics provided the medium foliage that I used. Once in place I just soaked it in diluted PVA glue. 

My Last Great Project,

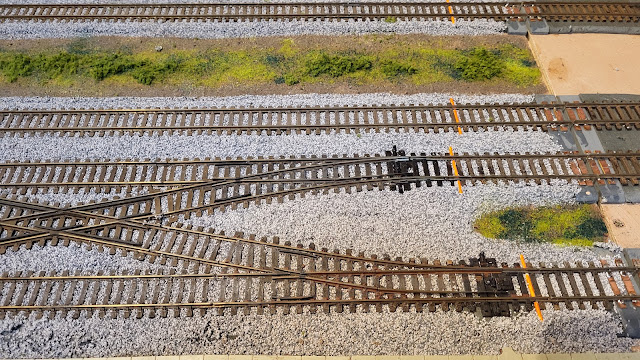
I also painted the ducts crossing under the tracks their prototypical range colour.

My Last Great Project,

My Last Great Project,

Its all beginning to come together! Certainly different to yesterday!


Monday, September 11, 2023

Trunking and ducting!

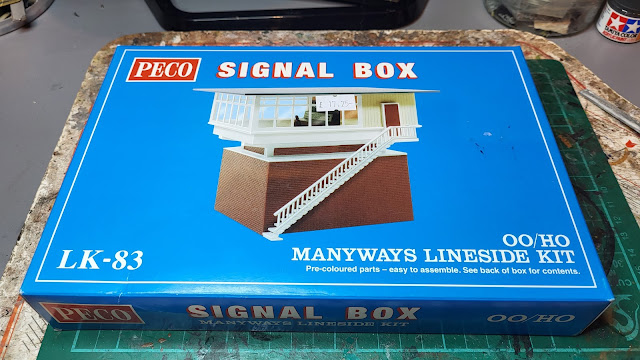
Moving on with the progress on my 00 gauge layout it is time to start incorporating those small details that add a little to the realism I mentioned in the last post. In this case the 'dummy' point motors that are to be added to the points to recreate the real life situation require power and control cables from the signal box. I am some way off adding a signal box yet but have a model in stock!

PECO Signal Box Kit

Not your traditional looking signal box but it actually dates from the 1960s and is based upon the one at Potters Bar. I look forward to building it to see just how it will fit in with my imagined scene!

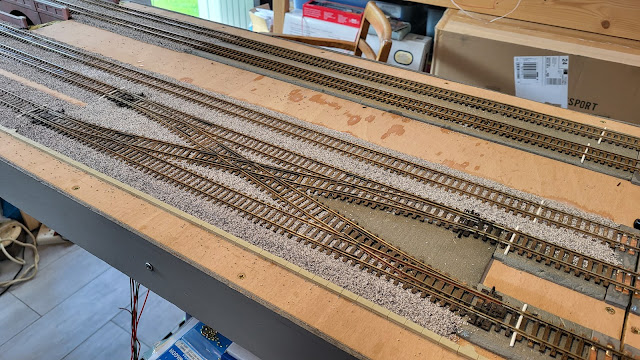
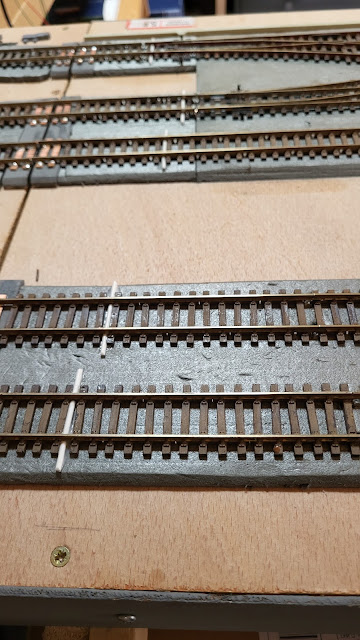
Back to the power and control cables, these need to come from the signal box to the point motors and when I fit them the signals. To that end I have added some concrete cable trunking running at the side of the track within which the cables would be protected and easy to maintain. These come from a Wills kit. The ducts that would take the cables under the track and protect them as well as allowing easy installation as the cable is simply fed through them avoiding digging up the track! I just used some plastic rod cut to size and laid across the track. They need to painted orange after I have finished ballasting.

My Last Great Project,

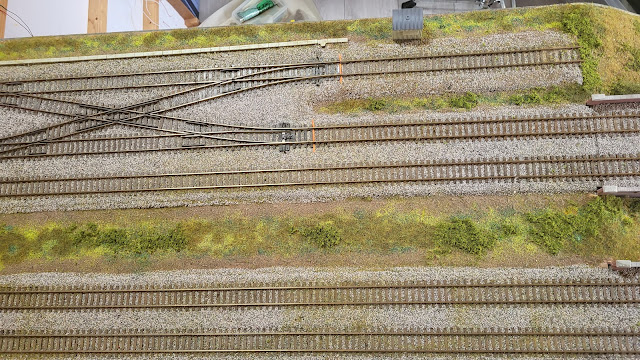
With the trunking and ducting in place I could get on with the job of ballasting. A time consuming job which needs to be done right to look right. Just the area around the points and crossing has taken me over two hours to lay and glue but I have done most of the board now so hopefully a few more hours should see that finished.

My Last Great Project,

You can see the cable trunking running along the lower level of the tracks.

My Last Great Project,

My Last Great Project,

Hopefully the hot weather will mean the glue dries quickly!


Sunday, September 10, 2023

Mugginess and back to School?

It was a muggy night leading into a muggy day and even after the rain it feels even more muggy! Being the mug for not going shopping yesterday when it was a bit fresher Mrs. Woody and myself had to go out in the mugginess to restock a very empty looking fridge! With that job done at least I could head to the mugginess of the Man Cave.

I was hoping to do many jobs in there but on a day like today that was a mug's game so I was happy enough just to get one done.

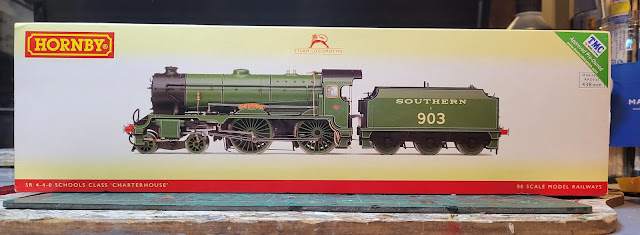
That was to get back to school and add a DCC chip to the Hornby Schools class locomotive that Mrs. W gave me for my birthday. It was fortunately, as stated on the box, DCC ready which makes life easier with just having to find out how to get the relevant body part off to allow access to the socket. To begin with though I had to get into the box!

Hornby Schools Class

It may sound a simple job but with all the packaging that is used on these models it sometimes takes a bit of detective work to dismantle it all and get to the contents.

Hornby Schools Class

What was obvious was that although second hand the loco had been very well looked after. It even came with its transit holders in place which was a nice touch.

Hornby Schools Class

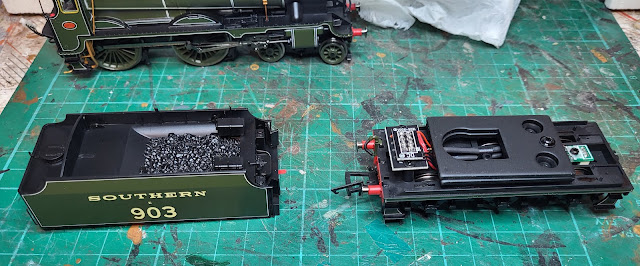
I did read the instruction leaflet strangely enough for me as I usually only get that out in a last measure of desperation if I cannot get something to work. Luckily it informed me of the right way to remove the transit holders rather then the way I thought that it should be done! Equally the instructions usefully told me that the DCC chip socket was in the tender and where the two screws were to take the tender body off. These instruction things are quite good! Must read more of them!

Hornby Schools Class

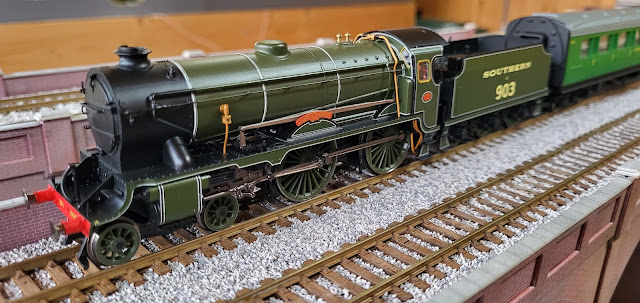
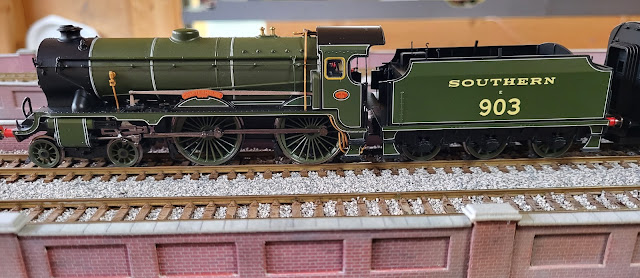
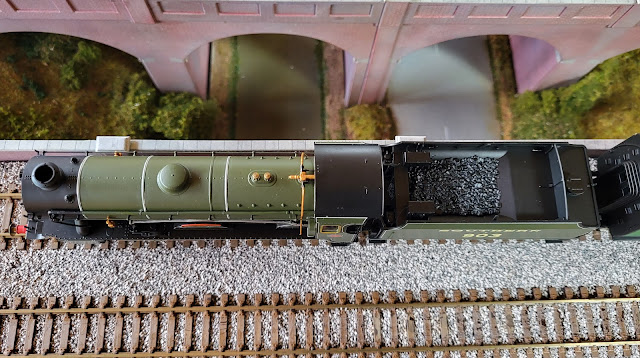
In the excitement of things going well I forgot to take a picture of the chip fitted but it is in there and the loco now runs and is hauling a pair if Southern Railway coaches in these pictures. I think it is one of the smartest looking locos in that Southern Railway olive livery and it just looks 'right'! I like it!

Hornby Schools Class

Hornby Schools Class

Hornby Schools Class

Hornby Schools Class

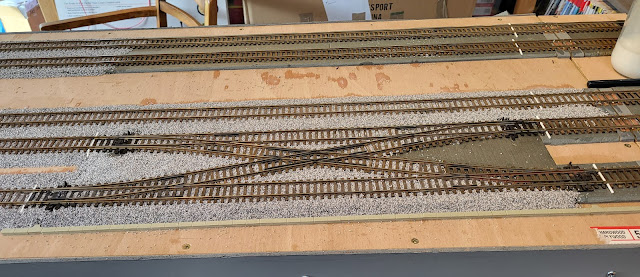
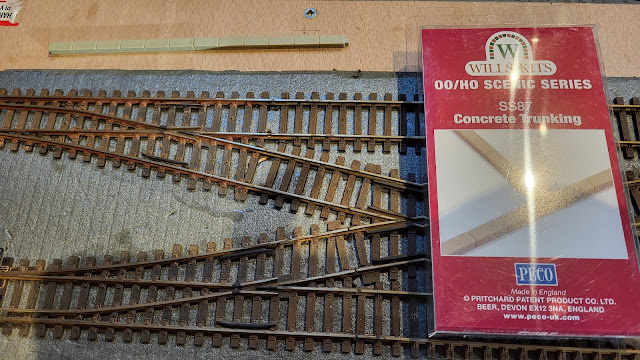
I need t get on with my 00 gauge layout and next on the agenda is to complete the scenery on the removable baseboard section. To that end need to fit a few accessories such as this cable trunking which is now being prepared for placement.

My Last Great Project,

Need to think carefully how I fit these. Maybe these details are a mugs game?


Saturday, September 9, 2023

Glad that is over - for now anyway!

I am glad that is over for now anyway and the 'that' I am talking about is the under board wiring for track and points on the removable baseboard of my 00 gauge Last Great Project layout. For those who wonder - yes it does all work! I just need to make a box for the control switches for the points and I am then fully done - on that board anyway. Just another three larger ones to do! 

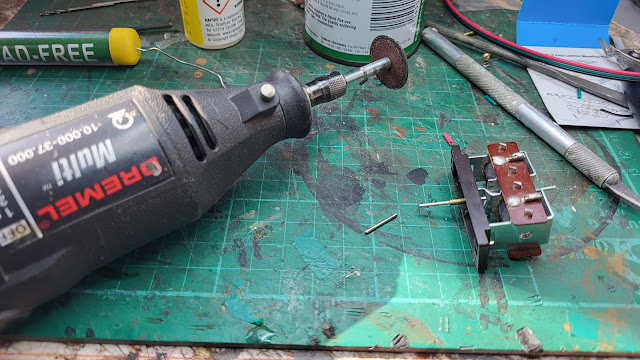
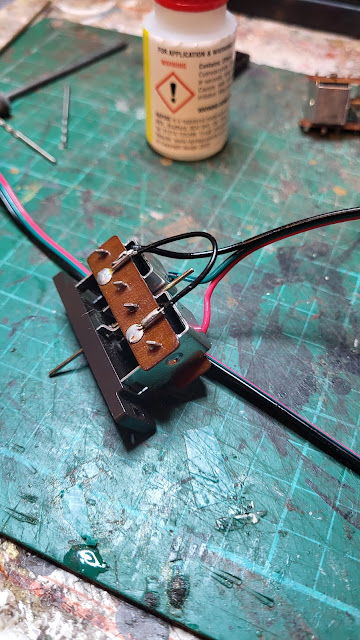
To get to this stage I had to do a few jobs first. The actuation pins needed cutting down as they stuck up above the point itself and would have stopped trains running! I had already mounted the point motors to the baseboard using the PECO mounting plates but I had deliberately left the wiring off to make that job a bit easier. I could have used a cutting disc in my Dremel to cut the actuation pin to length whilst the point motor was in position but I have done that before and learnt my lesson! The heat generated from cutting the pin with a cutting disc can end up melting the plastic part of the point through which the pin goes. This is not a good thing! The easiest thing was to mark the pin with a Sharpie pen and then cut the pin at the workbench.

My Last Great Project

With the pin cut to length - miraculously despite my normal ham-fisted ways they were all the right length - it was time for wiring. The point motor has four tags for wires to be attached to. One side becomes a common return and the other side has two separate power wires attached. Luckily I had spotted that Gaugemaster do a three core wire specifically for point motor wiring and so I had some in stock. The black wire is the common return, the red wire is for the straight ahead direction and the green for the diverging line. As long as all the points are wired the same it makes life easy when you connect them up to switches. Again, doing this on the bench made life much easier - working smarter as I get older!

My Last Great Project

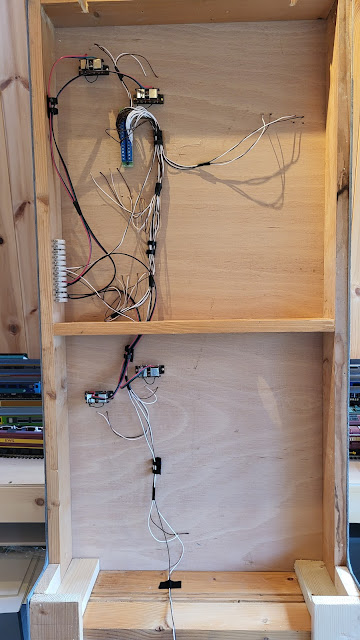
With the pins cut and wiring completed the motors were remounted to the baseboard. As explained in yesterdays post I had to move the connector for the track wiring to make space for one of the point motors. With all the wiring done it looks like this under the board neat - for me anyway! 
 
My Last Great Project

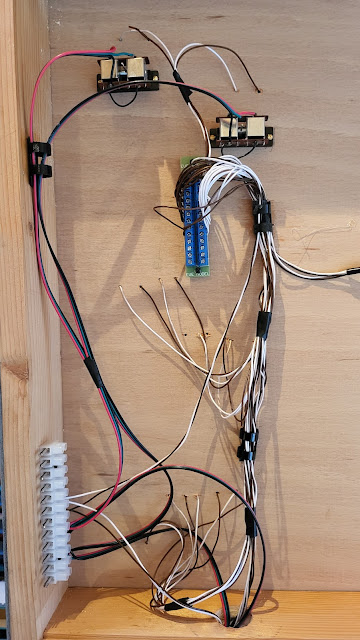
Getting closer in you can see the point motor wiring contrasting with the track wiring. Colour coding everything makes wiring simpler and any future fault finding a lot simpler! I did hot glue some cable holders to the baseboards which are the plastic binders that are used to hold the pages of manuals or reports together. The white connector block in the bottom left of the photo will connect to the point control switches and track power supply.

My Last Great Project

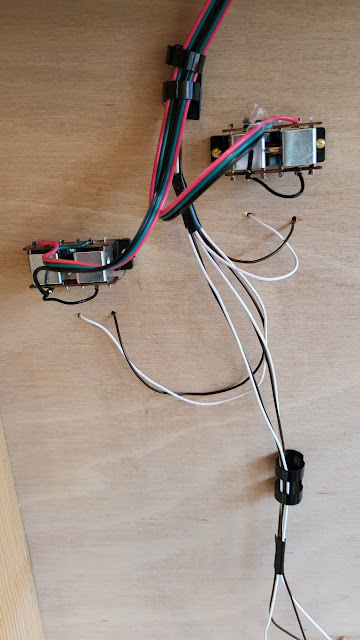
A close up of the point wiring and the cable holders.

My Last Great Project

Think after all that I will run some trains now!