I am glad that is over for now anyway and the 'that' I am talking about is the under board wiring for track and points on the removable baseboard of my 00 gauge Last Great Project layout. For those who wonder - yes it does all work! I just need to make a box for the control switches for the points and I am then fully done - on that board anyway. Just another three larger ones to do!
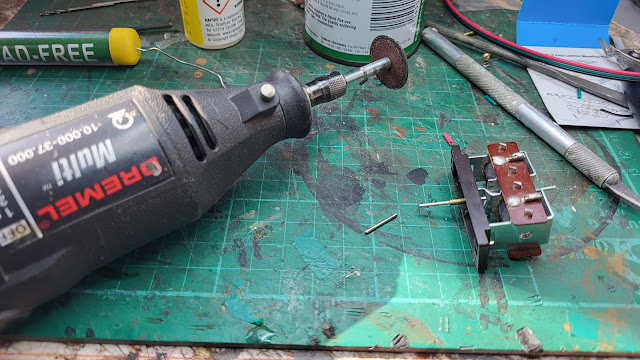
To get to this stage I had to do a few jobs first. The actuation pins needed cutting down as they stuck up above the point itself and would have stopped trains running! I had already mounted the point motors to the baseboard using the PECO mounting plates but I had deliberately left the wiring off to make that job a bit easier. I could have used a cutting disc in my Dremel to cut the actuation pin to length whilst the point motor was in position but I have done that before and learnt my lesson! The heat generated from cutting the pin with a cutting disc can end up melting the plastic part of the point through which the pin goes. This is not a good thing! The easiest thing was to mark the pin with a Sharpie pen and then cut the pin at the workbench.
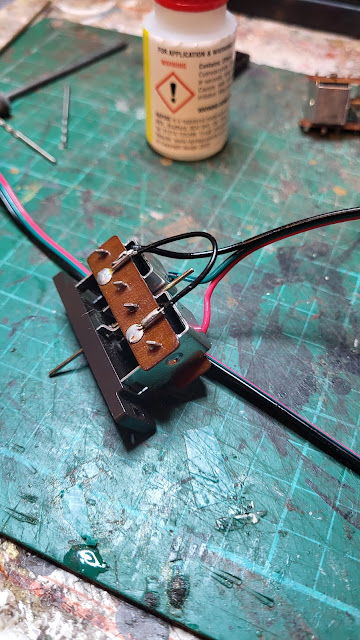
With the pin cut to length - miraculously despite my normal ham-fisted ways they were all the right length - it was time for wiring. The point motor has four tags for wires to be attached to. One side becomes a common return and the other side has two separate power wires attached. Luckily I had spotted that Gaugemaster do a three core wire specifically for point motor wiring and so I had some in stock. The black wire is the common return, the red wire is for the straight ahead direction and the green for the diverging line. As long as all the points are wired the same it makes life easy when you connect them up to switches. Again, doing this on the bench made life much easier - working smarter as I get older!
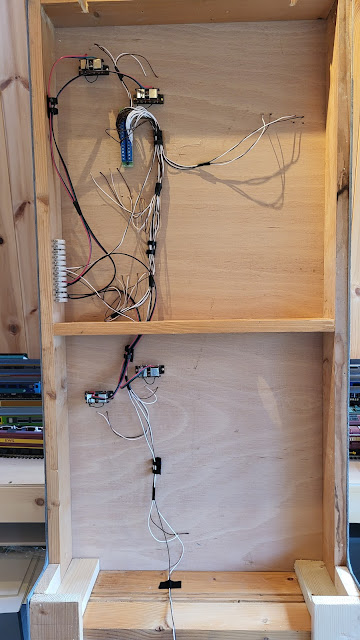
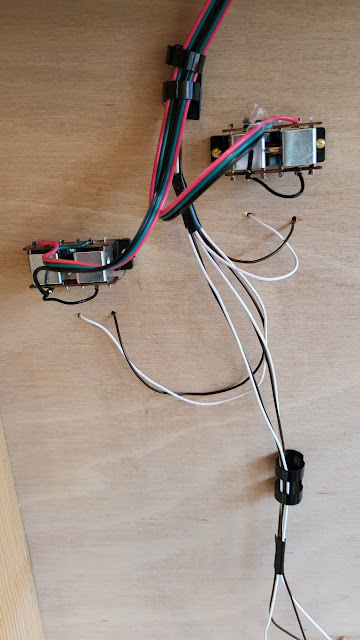
With the pins cut and wiring completed the motors were remounted to the baseboard. As explained in yesterdays post I had to move the connector for the track wiring to make space for one of the point motors. With all the wiring done it looks like this under the board neat - for me anyway!
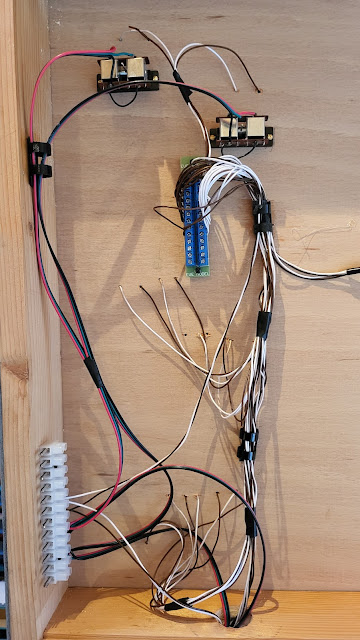
Getting closer in you can see the point motor wiring contrasting with the track wiring. Colour coding everything makes wiring simpler and any future fault finding a lot simpler! I did hot glue some cable holders to the baseboards which are the plastic binders that are used to hold the pages of manuals or reports together. The white connector block in the bottom left of the photo will connect to the point control switches and track power supply.
A close up of the point wiring and the cable holders.
Think after all that I will run some trains now!

No comments:
Post a Comment