Search this blog

Friday, November 10, 2023

No model making today!

Just one of those days when the opportunity to get some model making just did not arise! 

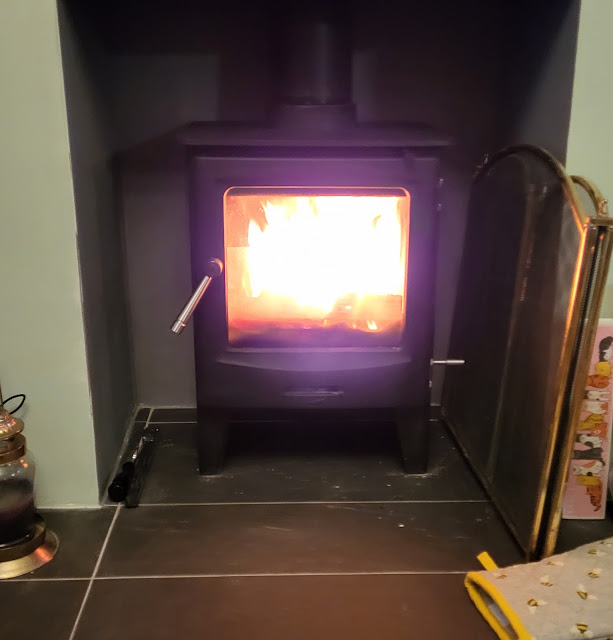
A combination of things such as a garage door that got stuck open and took two hours to get closed, a shopping trip for a few small items that turned a two hour trek with two trolley loads and it being one of those cold days when you just want to stay in the warm, meant that I have stayed close to this rather than go in the Man Cave!

Log burner

However staying warm by this does give me the opportunity to take a look at the latest WMD YouTube video - just in case I forgot what it was about and it should inspire me to get back out into the Man Cave soon!!!


Thursday, November 9, 2023

Free wood!

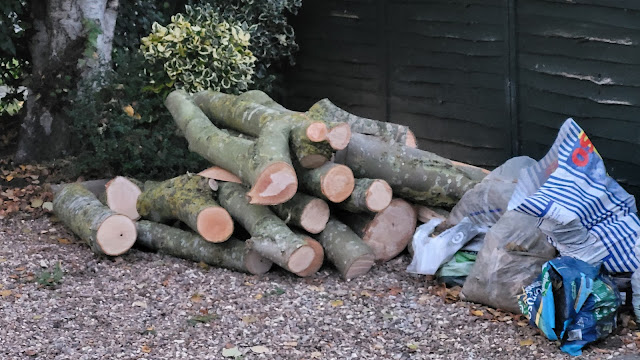
Don't say I don't take Mrs. Woody out on some unique trips. Today it was a trip down a local road where I had seen on a bike ride that the council had felled some trees and left the wood for locals to collect. Well I am local so once back home I announced to Mrs. W we were going out. I think she though it was retail therapy time but soon realised it was her muscles I was after! We came back home with a car load that given a couple of years will be ready for the wood stove much to Mrs. W's delight. I wonder if she will now cut them up and spilt them to save me the bother?

Logs

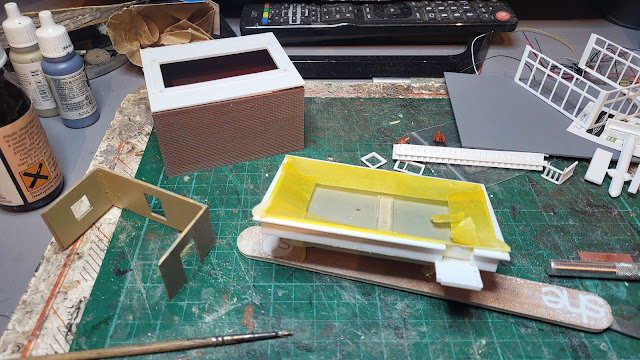
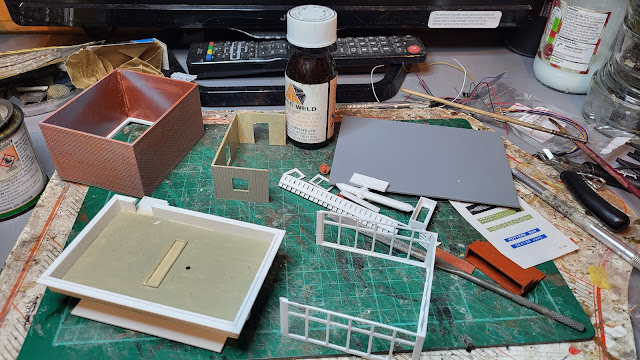
Back at WMD HQ and away from the logs I managed to progress the Peco signal box. The base to the upper cabin was glued, filled and masked before being airbrushed white.

PECO Signal Box Kit,

The windows have now been glued to the rest of the wooden cabin structure and the central control desk, which looks more like it belongs in NASA the in a signal box has been airbrushed grey. There is also a signal man figure and a seat for him to sit in which need further painting. I also started gluing the glazing into the window frames which will at least mean the 00 scale signal man won't be in a draught especially as this modern day type signal box doesn't have a log burner!

PECO Signal Box Kit,


Wednesday, November 8, 2023

Another success - Amazingly!

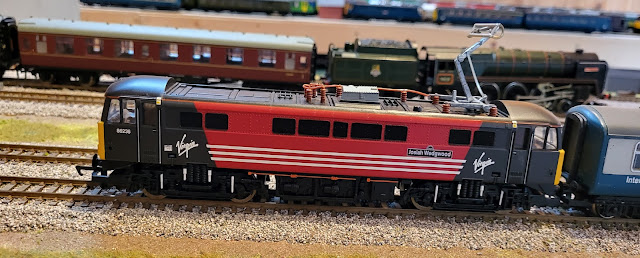
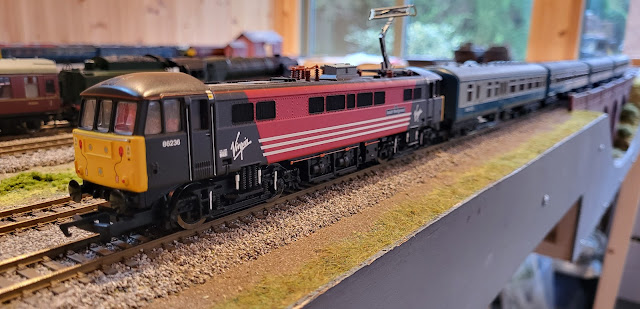
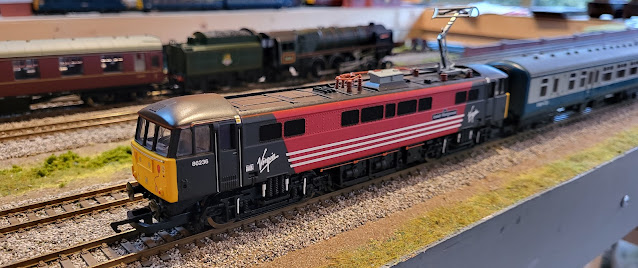
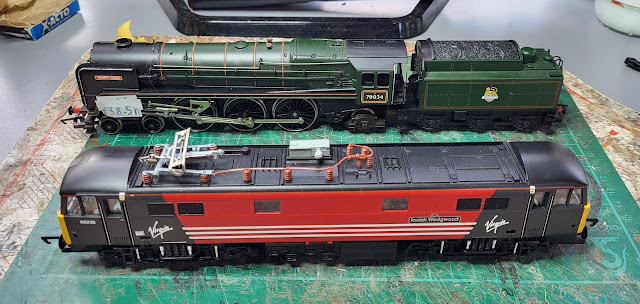
Another success and I say amazingly because something normally goes wrong but the Hornby Class 86 in Virgin livery now is DCC chipped and works! I had it running on the layout hauling four coaches. It tends to wheel spin with more but these are old Hornby coaches which are not the best at free running.

I do like the livery and it was one of those iconic liveries that came about at initial privatisation of the UK rail industry. You never know there may be some more come and join it but don't tell Mrs. Woody!

Hornby Class 86 Virgin livery

Hornby Class 86 Virgin livery

Hornby Class 86 Virgin livery

With that project finished it is time to return to other half finished projects of which I have many! First off though is the Peco Manyways Signal Box kit. I had posed the various parts together to give the impression of a finished building but they need gluing together and some more painting is required. I have at least made a start!

PECO Signal Box Kit

And this is it!

PECO Signal Box Kit


Tuesday, November 7, 2023

More chips?

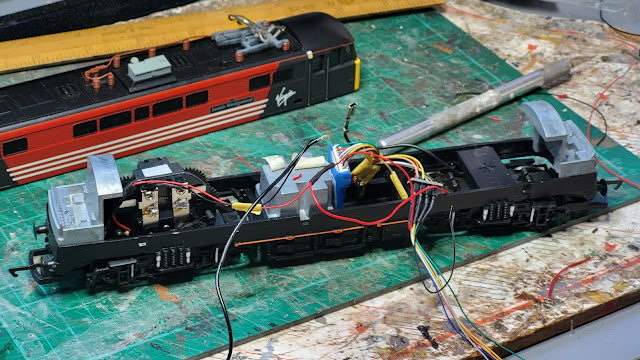
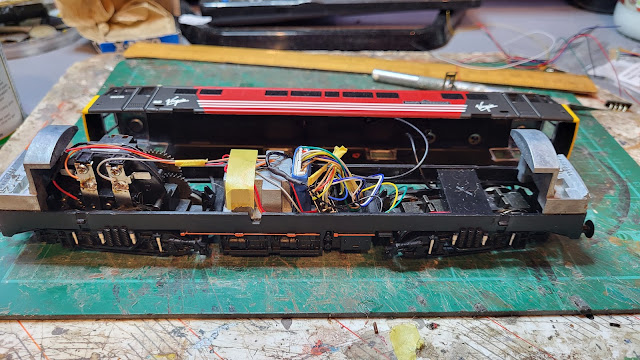
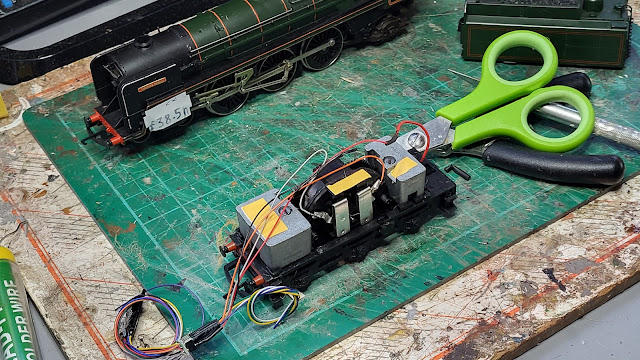
Well Mrs. Woody will be getting chips with her dinner tonight but there has also been more DCC chip work. This time on the Virgin livery Class 86 locomotive. Some interesting wiring but more space then the Britannia class loco I did yesterday.

Hornby Class 86 Virgin livery

All wired in. 

Hornby Class 86 Virgin livery

Not had time to test my installation yet as I have had to make the chips for Mrs. W's dinner! However, in the meantime there is a YouTube video of my work yesterday.


Monday, November 6, 2023

Do you want chips with that?

'Do you want chips with that?' is something that is usually heard in the type of eating establishments that I take Mrs. Woody to. You can tell I take her to classy places! However in this case the chips I am talking about are DCC chips for model railway locomotives. Having gone to the Spalding Model Railway Exhibition last weekend it was inevitable that something would come back with me and it did although it also cost me a handbag for Mrs. W in the nearby retail center!

Hornby Britannia DCC chip

These two are old Hornby locomotives. The Britannia steam loco is a model probably over 30 years old and was made in the UK, whilst the Class 86 Virgin loco is about 20 years old. They cost just £38.50 and £31.50 respectively. Both come from an era prior to DCC. So the question is - Do you want chips with that? - to which the answer is Yes! However I am going to have to wire in the chips myself.

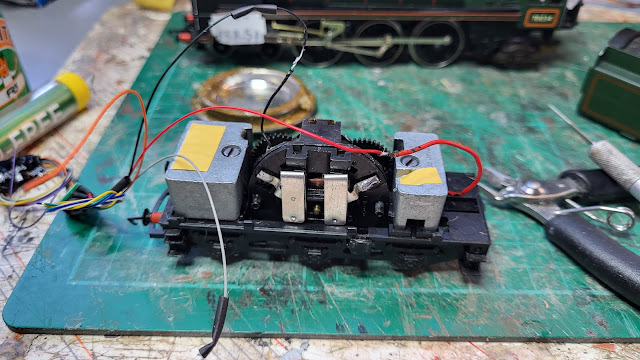
First job was to remove the body of the tender as this is where the motor is. With that off the wires to the motor were removed and desoldered.

Hornby Britannia DCC chip

Having decided where the chip was going, bearing in mind there is not much room, I applied two sided tape to the ballast weight to fasten the chip to.

Hornby Britannia DCC chip

Next up the decoded wires from the harness were wired to the pickups and motor and sealed with heat shrink.
Hornby Britannia DCC chip

Hornby Britannia DCC chip

With the wiring done the job of convoluting the wiring into a form that fitted inside the body was undertaken., It may ot look neat but it is functional!

Hornby Britannia DCC chip

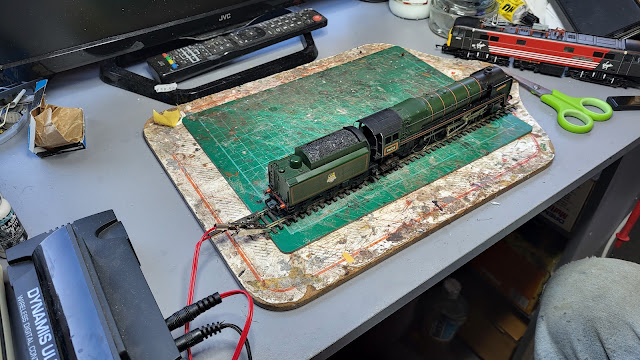
The body fitted back on and the chip was programmed.

Hornby Britannia DCC chip

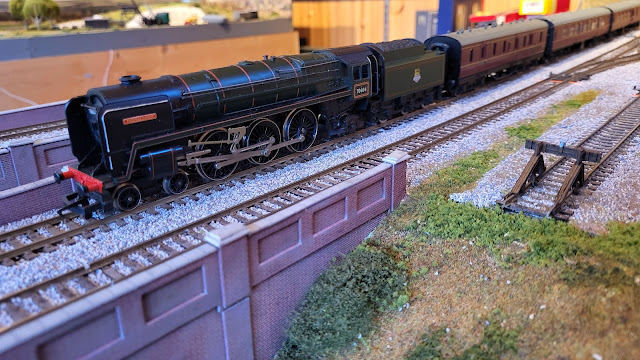
Then the moment of truth - will it run? Yes it did and very nicely too! For an all in cost of just over £50 its not breaking the bank either especially as the newest Hornby Britannia, which although much more detailed, comes in at around £250!

Hornby Britannia DCC chip

I did video all this so that will be on YouTube soon! Right better go off and cook Mrs. W's dinner - will she want chips with that?


Sunday, November 5, 2023

Having recovered from the Spalding Model railway Exhibition yesterday I have had time to look through the photos that I took. The quality of the layouts and the trade support were the best yet. Not sure whether attendance was down on my last visit but it never seemed crowded which was nice.

Layout wise I will just deal with two at the moment which caught my eye.

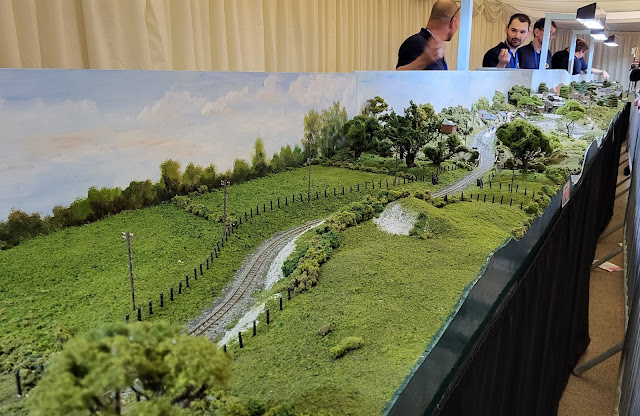
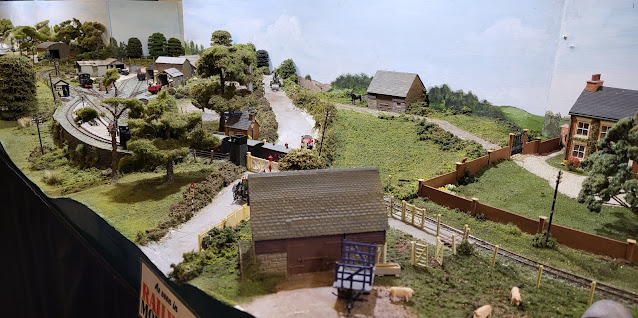
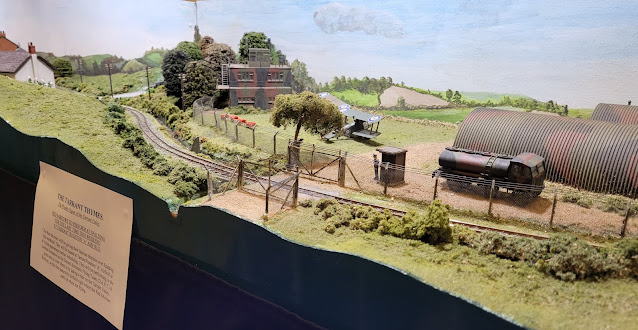
You could not help but be impressed by this 009 gauge layout that had come up from Dorset with the Wimborne Railway Society’s ‘OO9’ Tarrant Valley Railway.  I have never seen an 009 layout this long - 43feet! Packed with all sorts of details, its building spans several decades - almost makes me hopeful of completing my layouts!

Spalding Model Railway Exhibition 2023

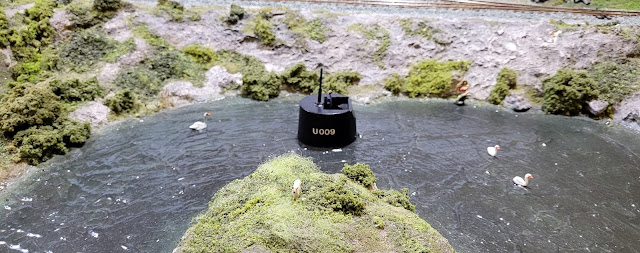
Always good to see some humour on a layout and this submarine conning tower sticking out of a river made me smile!

Spalding Model Railway Exhibition 2023

Spalding Model Railway Exhibition 2023

Spalding Model Railway Exhibition 2023

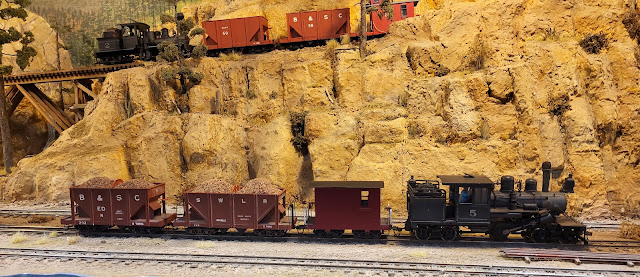
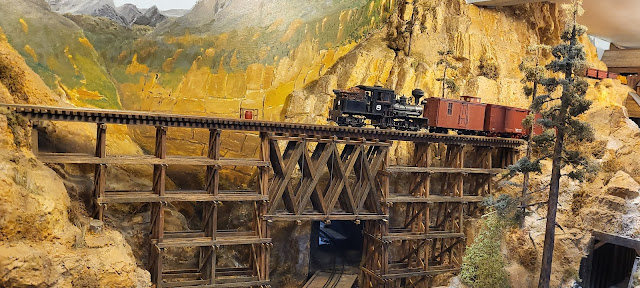
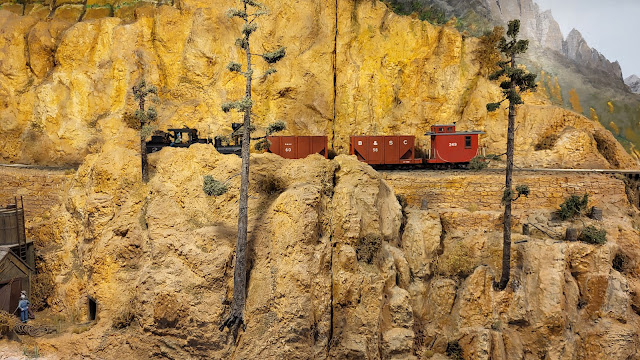
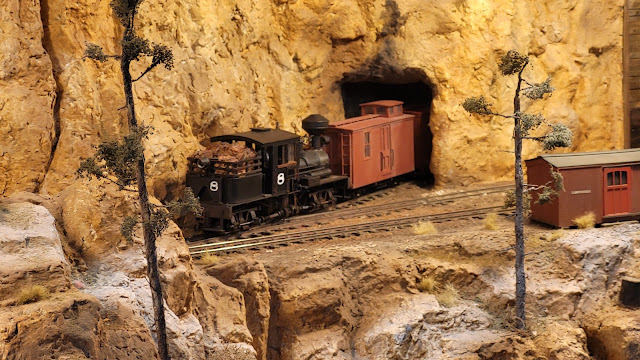
The other layout was this 0n30 layout. Pergatory Peak, which is 0 gauge running on 00 gauge track giving a narrow gauge - if that makes sense! An extraordinary layout which captured the Colorado setting so well. There are some photos below but a video clip might just illustrate this 24 foot long layout better.


Spalding Model Railway Exhibition 2023,

Spalding Model Railway Exhibition 2023,

Spalding Model Railway Exhibition 2023,

Spalding Model Railway Exhibition 2023,

Spalding Model Railway Exhibition 2023,


Saturday, November 4, 2023

Woody takes Mrs. Woody out for the day to a model railway show!

Yes, it is that time of year when the Spalding Model Railway Exhibition takes place. I have been going, accompanied by Mrs. W, for well over two decades and have seen it grow in stature. This year was no different. Even better than last time with some great layouts on show and I will talk about that tomorrow once I have recovered! In the meantime there is a new video up on my YouTube channel which brings together the recent work I have been carrying out on My Last Great Project 00 gauge layout as well as having some trains running. If you have a need to fill 1 minutes or so then this is for you!!!!


Friday, November 3, 2023

Coping well!

Given the ever growing Mrs. Woody task list for me I am pleased to report that I am coping well! However if Mrs. W is reading this then I am not! However, as well as I may be coping with the task list I have also been coping on the various walls of the bridge abutments. In this case the coping is the coping stones that grace the top of most external brick walls to provide some protection from adverse weather to the otherwise exposed top surfaces of bricks. 

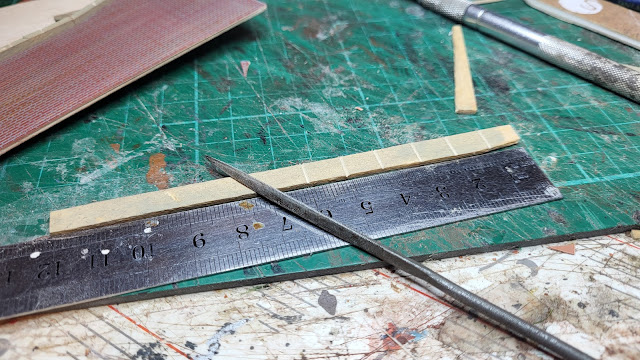
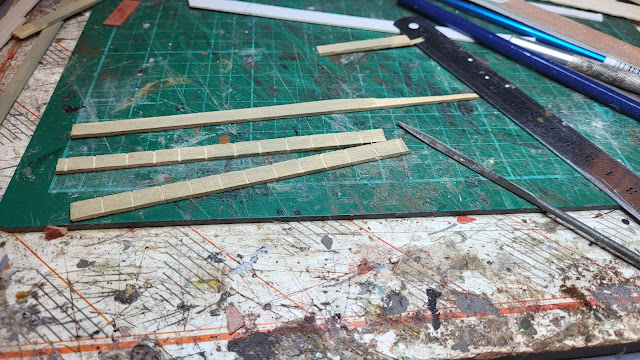
I have used strips of balsa to make mine. To highlight the gaps between stones I have used a triangular file, pointy side down, to 'cut' the gaps in the stones.

My Last Great Project

I will run some dilute black paint over them later which will highlight the gaps.

My Last Great Project

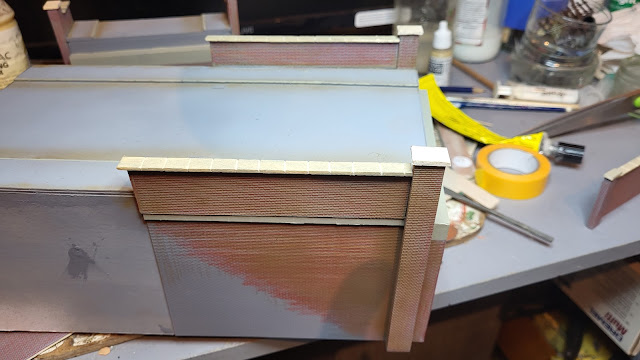
Once stuck to the brick work they look good.

My Last Great Project

Well that is another job I have coped with!

Thursday, November 2, 2023

CAT window cleaning!

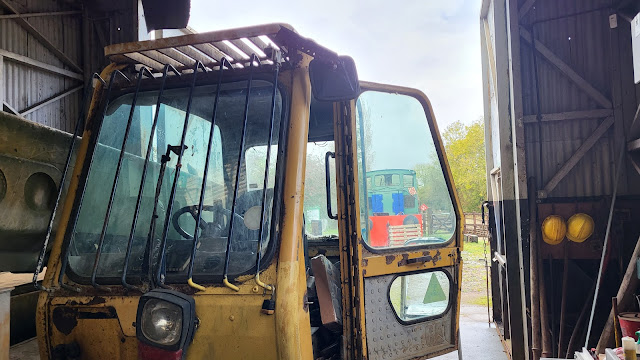
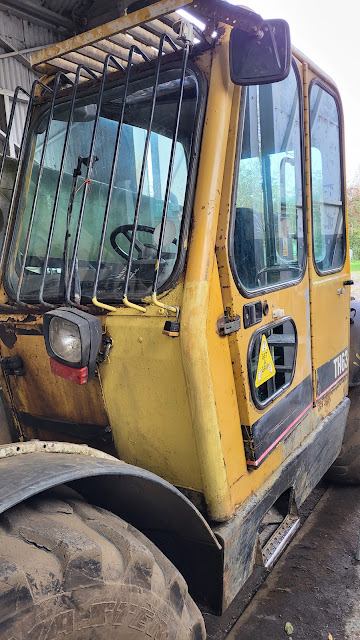
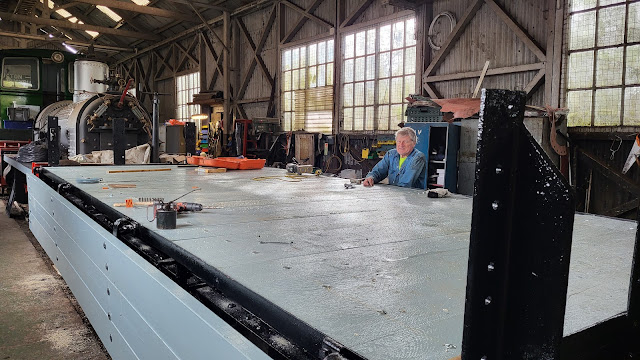
Despite the latest storm in the UK I ventured off to the Rocks By Rail Museum where I safely ensconced myself in the Restoration Shed where a few other volunteers were getting on with things. Rob had said that the last time he operated the CAT teleporter the windows were that dirty in the cab it made it difficult to see which is not the best thing when trying to maneuver the vehicle. In view of my recent window cleaning ventures at WMD HQ I therefore took on the job of making the CAT a more pleasurable vehicle to drive!

Dirty!

Rocks by Rail Museum

Clean!

Rocks by Rail Museum

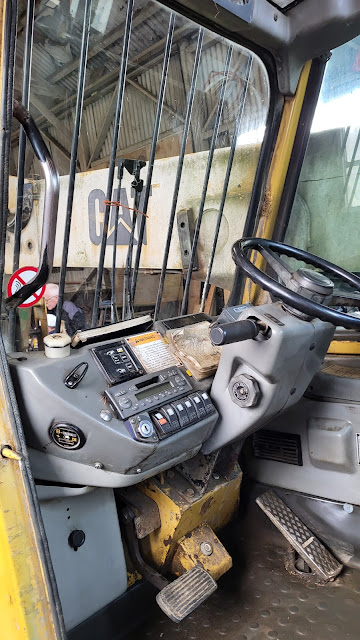
I even tried to give the cab interior a bit of a clean. It still looks.....well worn but is better then before - honest!

Rocks by Rail Museum

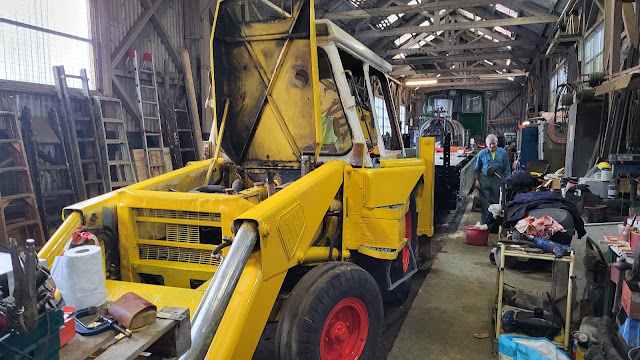
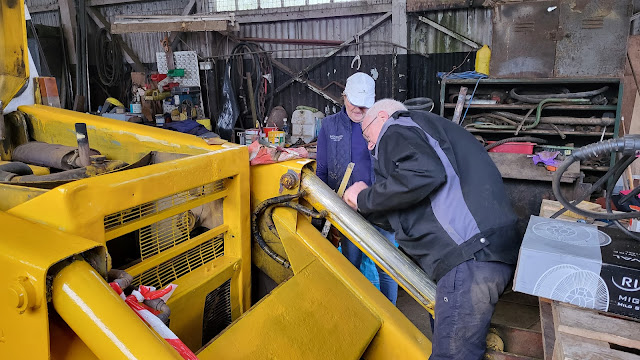
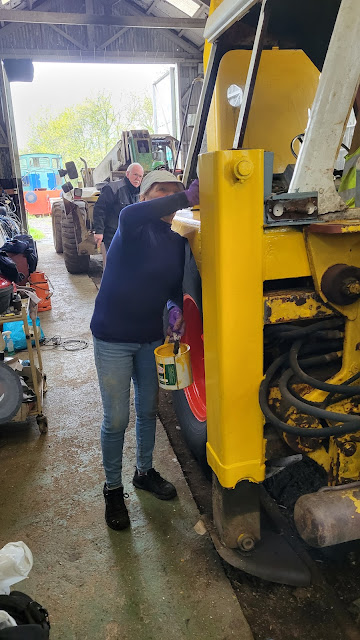
Pete and Pam were busy on the continuing painting of Harriot the JCB. It is like painting the Fourth Bridge. However it is looking a lot better than a few months ago.

Rocks by Rail Museum

This is not just a quick slap of paint job with many parts being taken back to bare metal.

Rocks by Rail Museum

Yellow is not the easiest of colours to apply. It needs several coats to build up sufficient depth to the colour so some parts have four or five coats.

Rocks by Rail Museum

Painting the rear is going to be interesting!

Rocks by Rail Museum

Meanwhile Ketton No3 is still moving on. It starts and apparently has brakes that work which is an important operating feature!

Rocks by Rail Museum

Although it did not look as though much was going on I followed the noise of the vacuum cleaner to find Alex deep under the cab floor cleaning the chassis and components of cement dust which had gathered whilst the loco operated at Ketton Cement Works. 

Rocks by Rail Museum

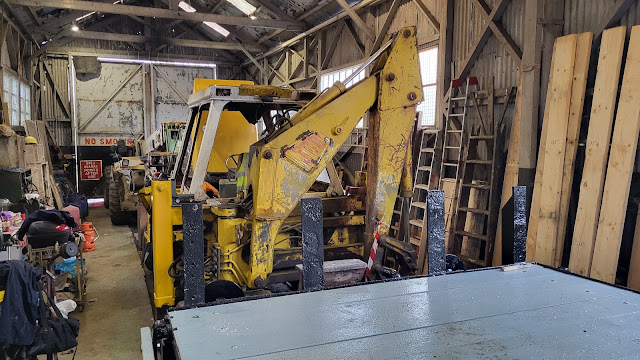
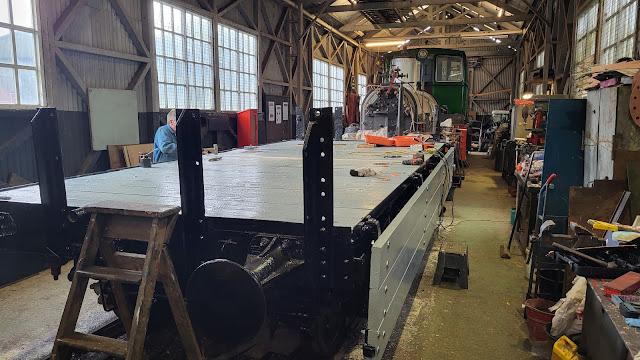
Meanwhile John's continuing project of the three plank wagon is beginning to come close to being finished. The floor is just about in and the drop sides are done. The end boards need fitting and a few other small parts but after that it is ready to go into operational service as a coal wagon. How john will feel when someone drops five tone of coal into the immaculate body remains to be seen! 

Rocks by Rail Museum

Rocks by Rail Museum

I did have the opportunity to assist John and bolted a few of the floor planks in place. I had noted that john had drilled the chassis first before drilling the plank to allow the bolt to go through. I did wonder how he got the hole in the plank in the right location. I soon found out.

I did have the opportunity to assist John and bolted a few of the floor planks in place.

In John's inevitable way of years of experience he put a bolt in the chassis with the threaded part facing up. The plank went on top, hit with a hammer and then lifted off leaving an indentation from the bolt indicating exactly where the hole should be drilled. Brilliant!

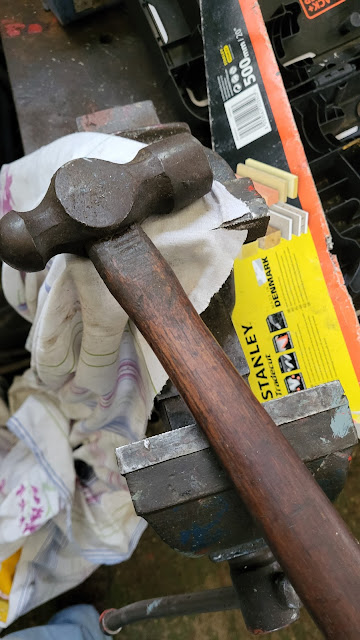
I was fortunate to also learn another trick from John. Needing some rag to clean the CAT's windows all that was available was a large sheet. With no scissors or knife it was going to be difficult to get small pieces from it. John however had a way - edge of vice and a hammer. Place edge of sheet on vice edge and hammer it which cuts through the fabric. You can then rip the sheet. Another piece of brilliance!
Rocks by Rail Museum


Wednesday, November 1, 2023

Profiles!

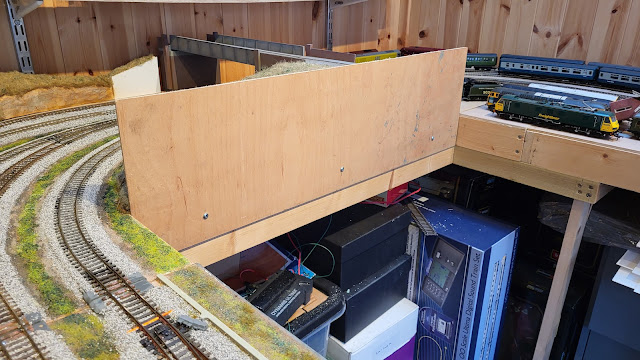
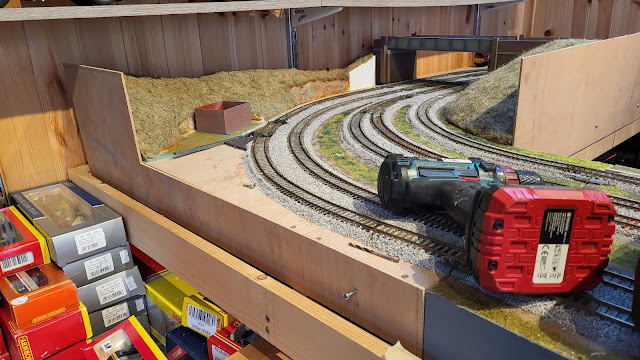
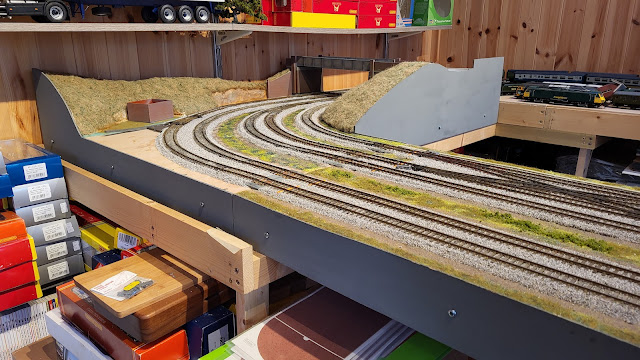
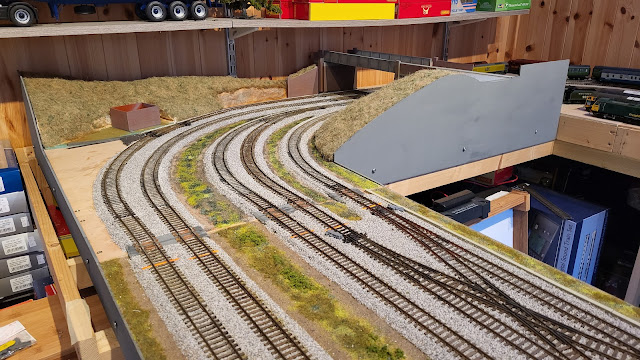
Not my profile, you just don't want to know about that, but today it was time to make some profile boards for the baseboard at the end of layout. 3mm ply was the choice of material to match the profile boards on the dropped baseboard section.  First I cut the ply roughly to shape and mounted the three profiles to the baseboard.

My Last Great Project

My Last Great Project

With the profiles in place I was able to mark around them with a pencil the shape of the hills. Taking them off again a jig saw was used to cut the hill shapes. As I don't know what exactly I am going to do to the right of the bridge I have left the board at full size. Once decided, and with me that could take some time, that part of the profile will be cut to shape.

With the boards cut to shape they were painted both sides with the Slate Grey paint I used on the other profile boards and then reattached to the baseboards. Although there is still much to do around the girder bridge area the profile boards do bring some harmony to the layout.

My Last Great Project

My Last Great Project