Search this blog

Tuesday, November 28, 2023

3D Printed Maintenance Loco No 5 - The build begins!

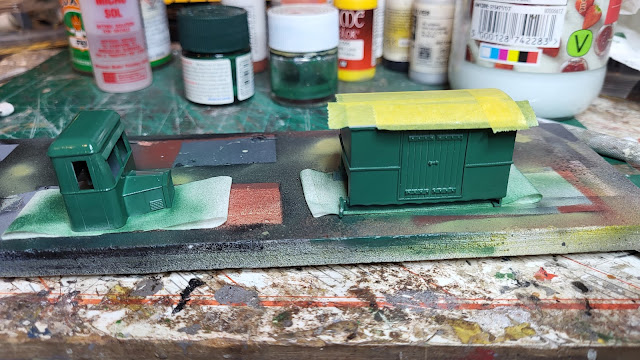
 Well work has started on the 3D Printed Maintenance Loco which I am numbering No 5. The first thing was to cure a slight bend in the chassis which saw the cab separate from the body.

3D Printed Maintenance Loco No 5

3D Printed Maintenance Loco No 5

Not to worry as it would super glue back together and made it easier to paint it!

3D Printed Maintenance Loco No 5

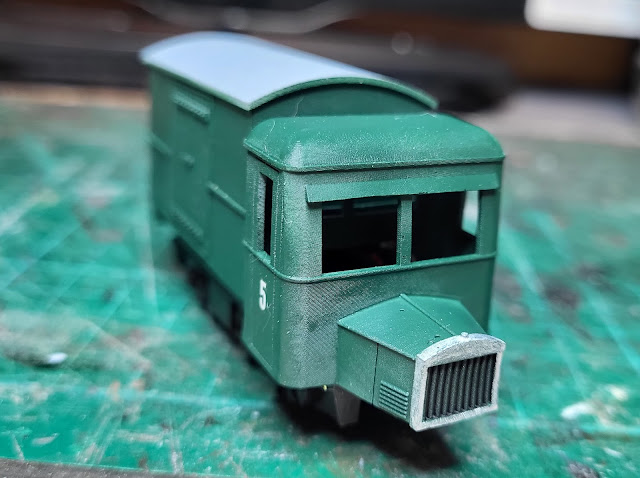
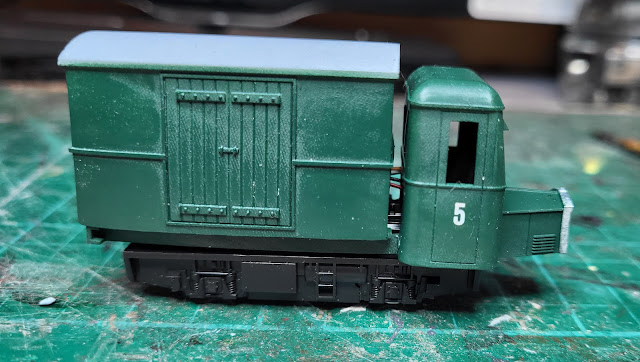
Airbrushed in the same green as No6 and the '5' decals came from the same source!

3D Printed Maintenance Loco No 5

3D Printed Maintenance Loco No 5

3D Printed Maintenance Loco No 5

Not sure if I need to add a pony truck to the front under the bonnet. I will think about that and just how I might do it! Next is to convert the chassis to DCC.


Monday, November 27, 2023

3D Printed Maintenance loco No 6 on the tracks and YouTube!

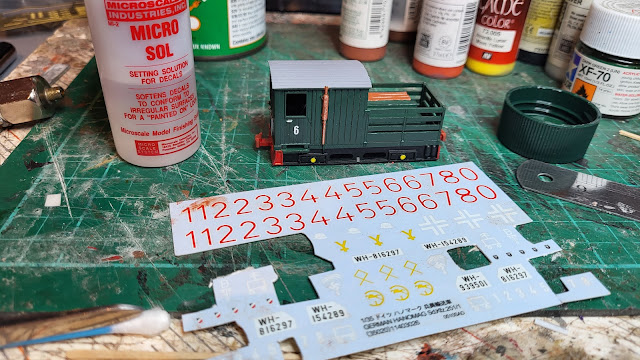
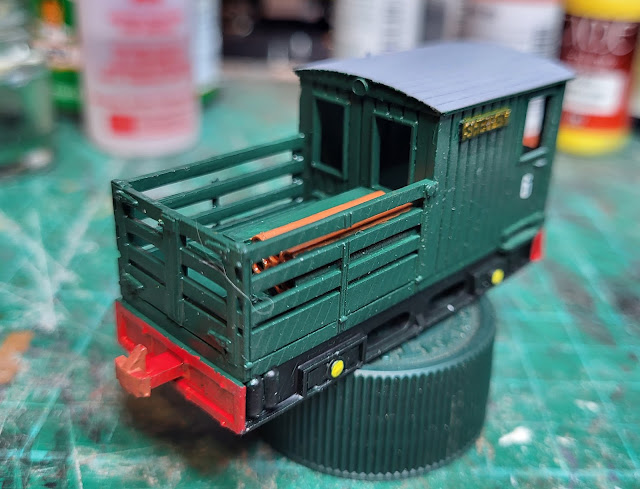
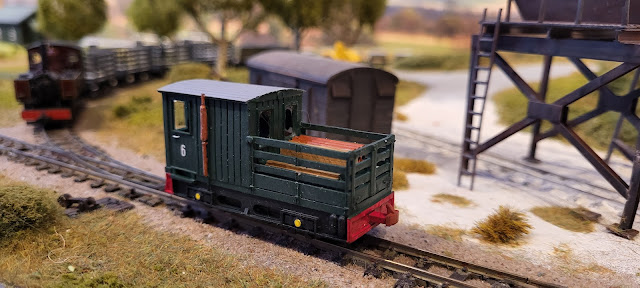
Shelly No 6 is just about finished. Painted in green with a black chassis and red buffer beams the loco looks the part in my mind. It even has a number 6 on each door that I plundered from some left over tank decals. 

3D Printed Maintenance loco No 6

3D Printed Maintenance loco No 6

I painted the load as well - a clay colour for the pipes and a wood colour for the planks.

3D Printed Maintenance loco No 6


3D Printed Maintenance loco No 6

A coat of matt varnish and the windows glazed with Glue and Glaze sees Shelly read for action on the layout.

3D Printed Maintenance loco No 6

3D Printed Maintenance loco No 6

3D Printed Maintenance loco No 6

3D Printed Maintenance loco No 6

To see Shelly running watch this video!


Sunday, November 26, 2023

Sunday chip!

Having established that the 3D print fitted the Kato chassis the next stage was to try to fit a DCC chip to it. This is not something that appears to be common but there was a YouTube video of how to get into the internals of the chassis which was useful because looking at the chassis there was no apparent way of doing it.

3D Printed Maintenance loco No 6

With the chassis opened up the internals are rather simple. Two chassis halves isolated from each other and a coreless motor. This actually looked like it might be a lot simpler than I had thought.

3D Printed Maintenance loco No 6

The motor collects its power from the wheels through the brass pickups touching them and feeding into each chassis half with two wires taking the power to the motor. All I had to do was substitute the DCC chips power in wires for the motor wires and then solder the DCC out wires to the motor.

3D Printed Maintenance loco No 6

I did actually think about how the wires were going to be routed so that the top of the chassis could go back on The part of the chassis above the motor has some convenient cut outs so this is where I threaded the wires through.

3D Printed Maintenance loco No 6

The cover actually went back fairly easily leaving the DCC chip to be located in the cab space.

3D Printed Maintenance loco No 6

With the loco superstructure back on the Kato chassis it was time to see if it worked. It did, which of course I never doubted!!!!! I was actually pleased that I had managed to make it work as I had wondered if the chip would work on the chassis.

3D Printed Maintenance loco No 6

With that done its now time to think about painting it and getting it into service.

Saturday, November 25, 2023

3D Printed Maintenance loco No 6 - The build begins!

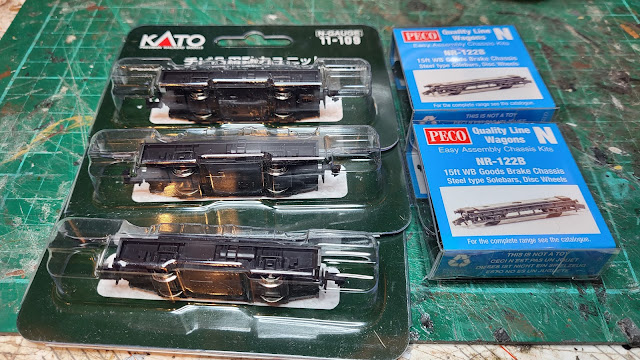
 I was keen to get on with the 3D printed locos that I described the other day. I now have the necessary parts - 3 Kato chassis and two Peco wagon chassis.

3D Printed Maintenance loco No 6

First thing was to fit the chassis to the body. The two n gauge couplings on the Kato chassis need to come off which is a simple job. Whilst I had the parts from this I took one of the springs to replace the one I had taken from an n gauge wagon that I had removed to put in my 009 gauge loco. There is some logic in all that! 
3D Printed Maintenance loco No 6

The spring was quickly replaced so that is one job out of the way!

3D Printed Maintenance loco No 6

3D Printed Maintenance loco No 6

To get the chassis to fit I needed to remove some of the inside of the body which was done with my scalpel.

3D Printed Maintenance loco No 6

With that done the chassis fitted and putting the loco on its wheels revealed that it stood nice and level - amazing for any thing that I have fitted!


3D Printed Maintenance loco No 6

3D Printed Maintenance loco No 6

That might be it but having proved that the chassis fits I now need to convert it to DCC which is going to be interesting!


Friday, November 24, 2023

Hammer Time - Again!

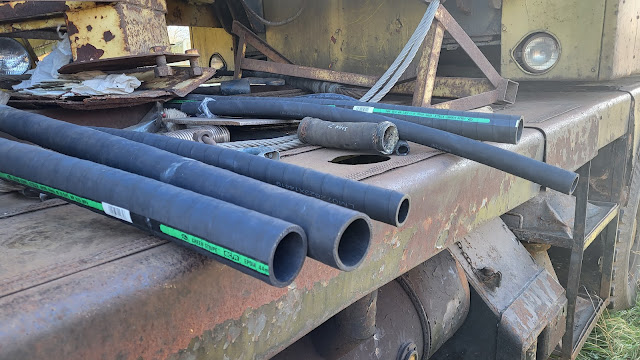
 I had a day at the Rocks By Rail Museum where with the closed season upon us, volunteers get down to various maintenance jobs and projects for next season. Rob is busy getting some new robust water pipes onto the engine of the Coles Crane. The old ones are showing their age and are unlikely to see a Winter through. These new ones should last a long time but need a fair amount of work to make them fit.

Rocks by Rail Museum

Rob wasn't smiling several hours later!

Rocks by Rail Museum

Meanwhile Pam and Pete were inside the cab of Sundew which was a 1957 walking drag line excavator. Their mission was both to clear the flies that seem to have set up home in the relative warmth of the cab and give the inside a repaint.

Rocks by Rail Museum

Since the last time I was in the cab the three circular windscreen wipers and motors have been fitted into the windscreen itself.

Rocks by Rail Museum
 
The control seat looks like an early gaming chair!

Rocks by Rail Museum

Back in the Restoration Shed I kept John company as he removed the years of cement from the cab roof of Ketton No3. The cement was from its days at Ketton Cement works and it is incredibly difficult to remove.

Rocks by Rail Museum

Things must be moving on with this loco as these vintage air horns have appeared awaiting fitting probably to the cab roof.

Rocks by Rail Museum

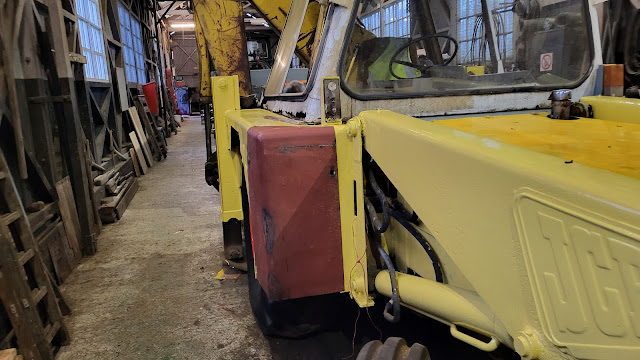
For me, it was another day of hammering trying to get the cover door to the hydraulic tank on Harriot the JCB. I have managed to get it a bit more straight using both hammer and carefully placed angle grinder cuts that are welded up later. 

Rocks by Rail Museum

Rocks by Rail Museum

Rocks by Rail Museum

Rocks by Rail Museum

It actually is beginning to line up with the existing body work. Just needs some more hammering!!! 


Thursday, November 23, 2023

Glazing the greenhouse!

I have a cunning plan to glaze the greenhouse! Not the conventional way of trying to cut clear plastic sheet to fit but by using Glue and Glaze by Delux Materials. The manufactures claim it is simple to glaze a window with their glue that dries clear. I must admit my early attempts to get the glue to fill the window holes was not successful but once I got the hang of running the material down a cocktail stick into the window aperture things improved. Well I was not sure this would work so I just tried the front of the greenhouse and initially I was sceptical!

3D Printed Greenhouse

Leaving it alone for several hours and I was surprised by just how well this product works with clear glass in the window frames.

3D Printed Greenhouse

3D Printed Greenhouse

Just got the rest of the windows to do now!

Wednesday, November 22, 2023

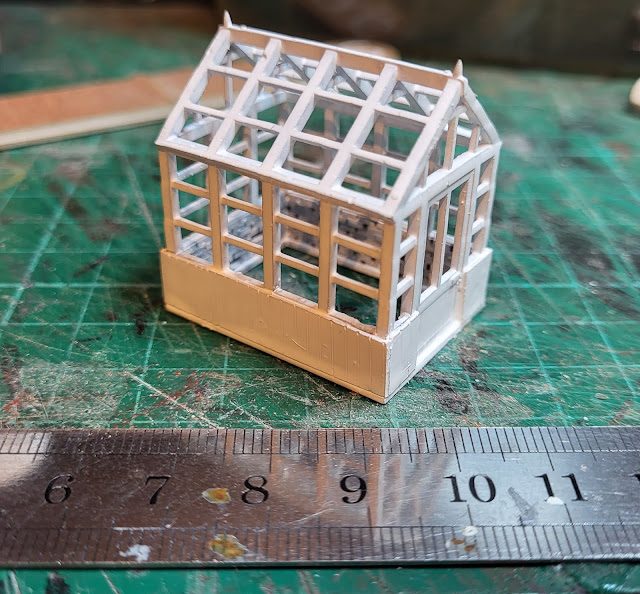
In my usual impetuous way I have put the Panzer Ferry to one side, again, so that I can have a look at some of the 3D printed items that I have described over the last few days. First off is the greenhouse. This print was the only one where there was a print fault with the lower wall parts meant to represent bricks but with brick shaped holes in the walls!

3D Printed Green House

The close up above clearly shows what happened  and my solution was to wrap the walls in a sheet of plastic card to represent a wooden wall rather than brick.

3D Printed Green House

With that done it was time to paint it white which would have been hard work using a brush so the airbrush came out - much easier even if I had to clean it out afterwards!

3D Printed Green House

If I thought the painting might be difficult, glazing this may prove interesting although I think I have a plan! Have to wait and see if it works!


Tuesday, November 21, 2023

New motive power - in kit form!

As I said yesterday there were a few other 3D printed purchases which are these which I will describe as interesting rolling stock or even motive power.

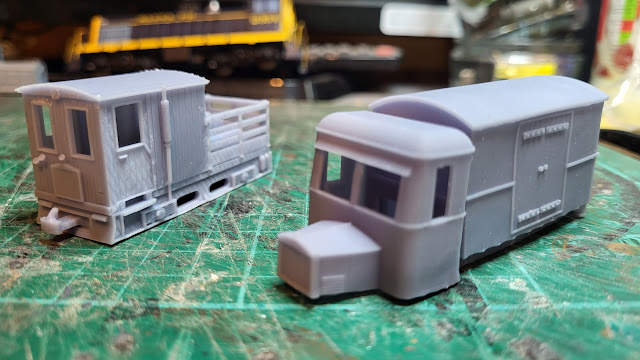
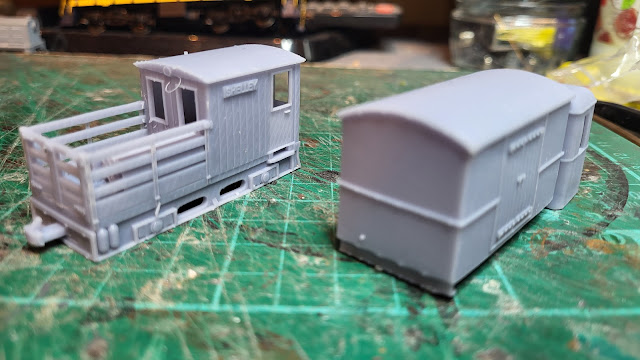
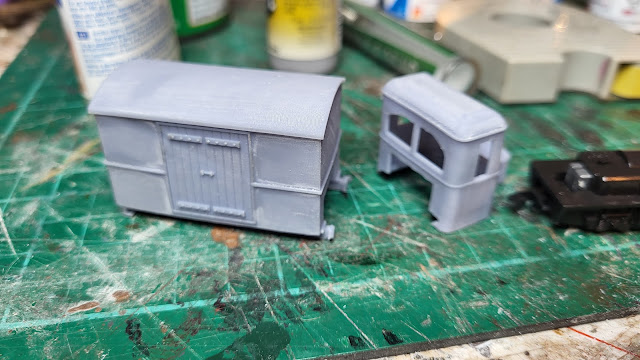
First there are these two oddities! They are to my mind maintenance vehicles and they will look good once painted and mounted on a Kato 109 chassis which I have on order. They need a bit of fettling but overall the print quality is very good

Sleaford Model Makers Show 2023

Sleaford Model Makers Show 2023

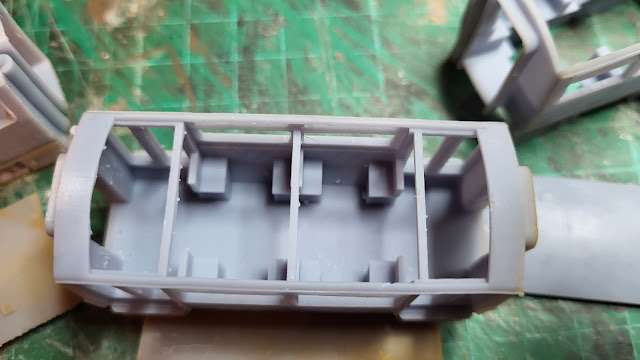
Second is another oddity! I like oddities though! This is a DMU based upon a Pacer so I am told. Again a Kato chassis is required along with two Peco N gauge brake van chassis. Again the print quality is good and detail even goes to interiors which will need passengers. 

Sleaford Model Makers Show 2023

Sleaford Model Makers Show 2023

I am looking forward to getting these running on Chalkdon. Just need to find the time to build them!

Monday, November 20, 2023

Purchases!

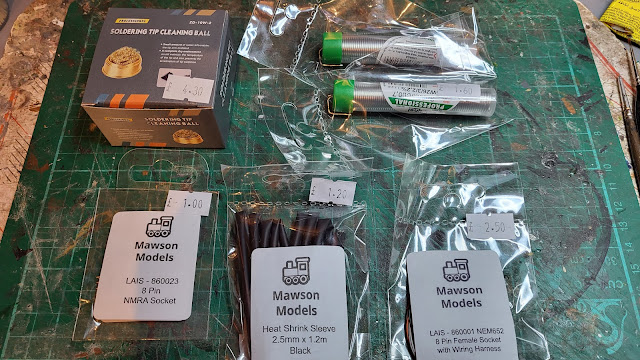
There were traders at the Sleaford Model Makers Show and it seemed rude not to support them by making a few purchases. Modest amounts on some needed items at Mawson Models who supply a variety of consumables such as solder and DCC accessories.

Sleaford Model Makers Show 2023

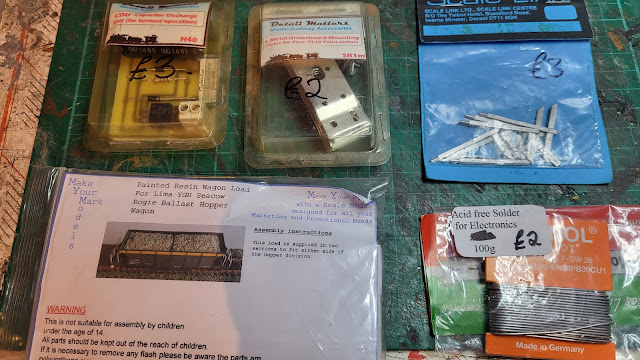
A rummage in the 'Bits Box' on Elaine's Trains uncovered these jems including a Capacitor Discharge Unit for £3.

Sleaford Model Makers Show 2023

Unfortunately, for me and my wallet, there was a stand selling a 3D printed items. The print is good and priced very competitively. 
Sleaford Model Makers Show 2023

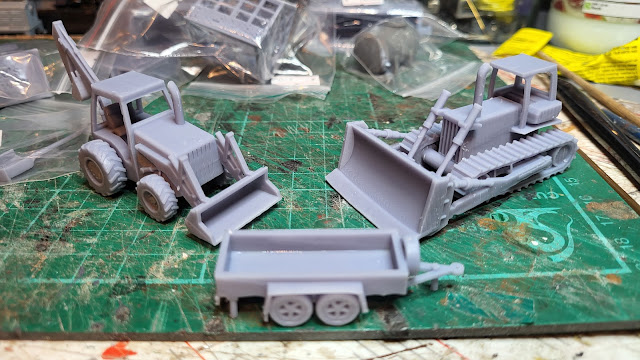
Rummaging through the stock I uncovered these. The Bulldozer in particular caught my eye.

Sleaford Model Makers Show 2023

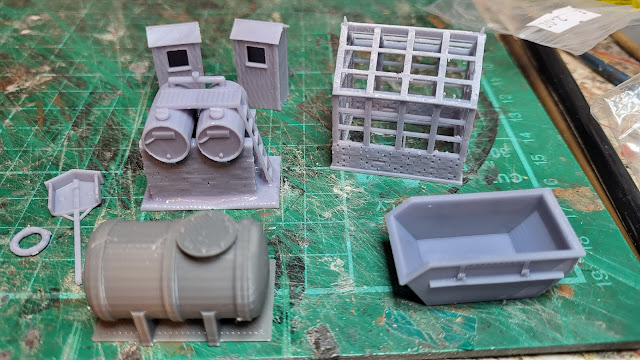
Then there were these, including a green house , fuel tanks, a skip, sheds and a lifebuoy stand. A lot of these will come in for Chalkdon, my 009 narrow gauge layout.

Sleaford Model Makers Show 2023
 
The green house looks as though it will end up in the garden of the shop once painted. It was the only item where the print was not very good on the lower parts so will need a little bit of work but for £2 I am not complaining!

Sleaford Model Makers Show 2023

There are some other things for Chalkdon but more later!