Search this blog

Monday, September 19, 2022

A day of sadness, a day to be proud!

I am not going to be the only person making reference to the funeral of Queen Elizabeth II. I was sad, even the odd tear at times as I watched the proceedings on TV but also proud of the way in which it went. Being from a military family I know that the UK military are some of the best in the World. Today they showed that mixture of professionalism and tradition in the proceedings and made me and most of the Country proud of our traditions and history. 

RIP Queen Elizabeth, God Save The King! 

On a more minor note Mrs. Woody and myself are now testing negative for Covid! 

Covid test

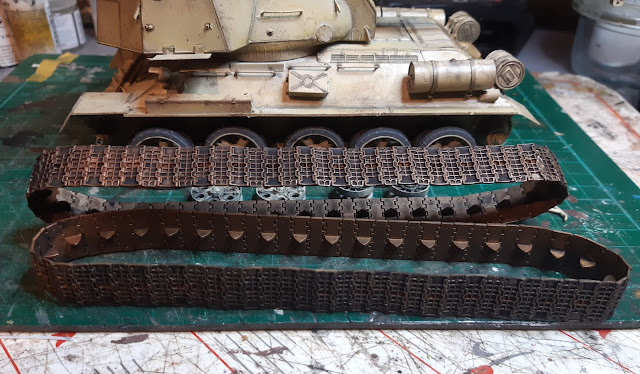
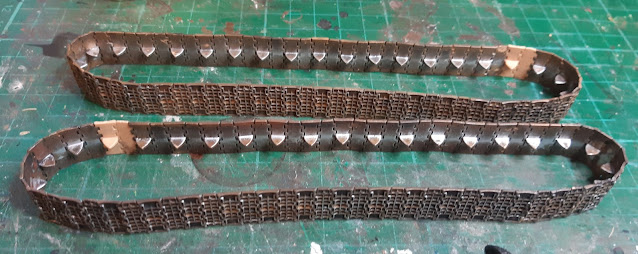
Having spent much of the day watching the ceremony I did have a little time this evening to see if I could sort the tracks out on the T34/122 model. Having had both sides come apart yesterday as the fit around the wheels was very tight I tried again having glued them back together last night. The one I tried came apart again so I cut my loses and went straight to Plan B thus avoiding contributions the swear jar! Plan B involved inserting a pair of spare links from the kit into both sides which I did.

Ryefield Models T34 122,

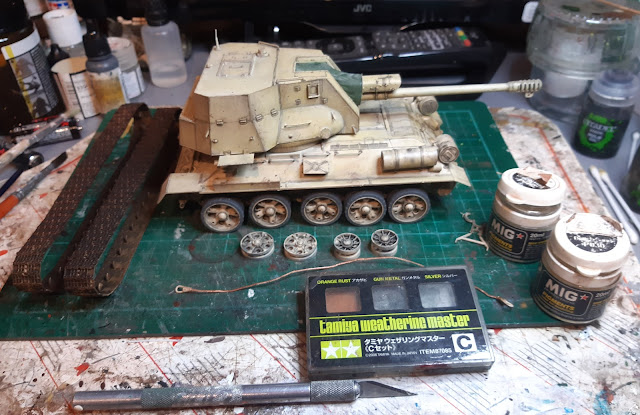
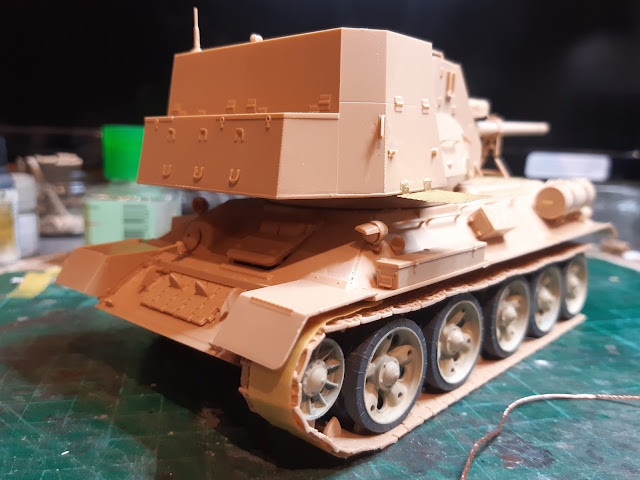
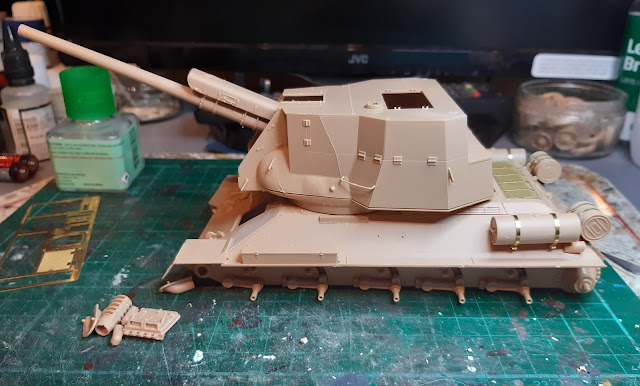
You can see them in the picture above. Once the glue had hardened I painted them to match the rest of the tracks and fitted them with the wheels to the tank. As I outlined yesterday I was fearful that they might look loose with the additional links and yes they do but I am living with that! In the overall composition of things and looking from a distance it looks OK which is all I need. I build these kits for my pleasure not a museum or competition - I leave that to modellers who actually know what they are doing!

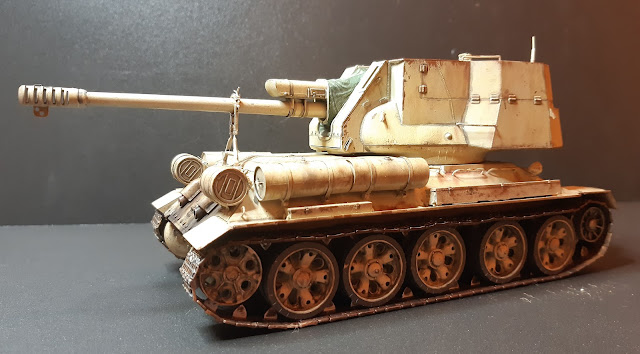
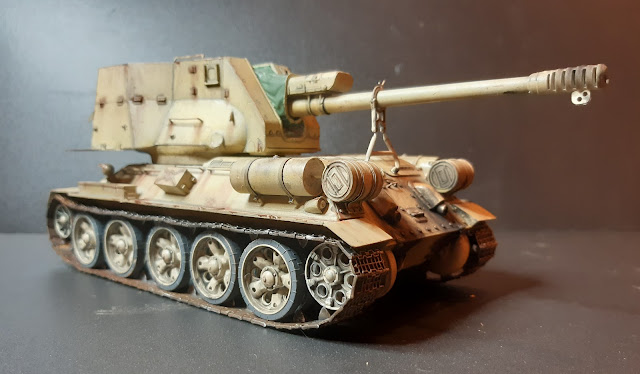
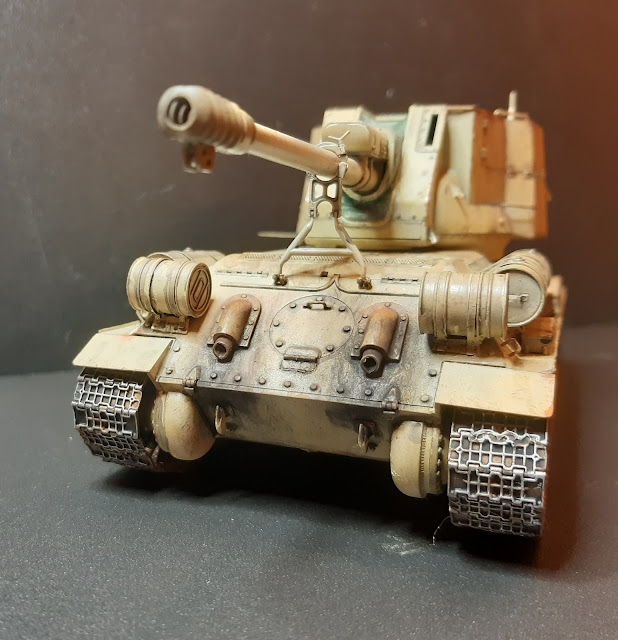
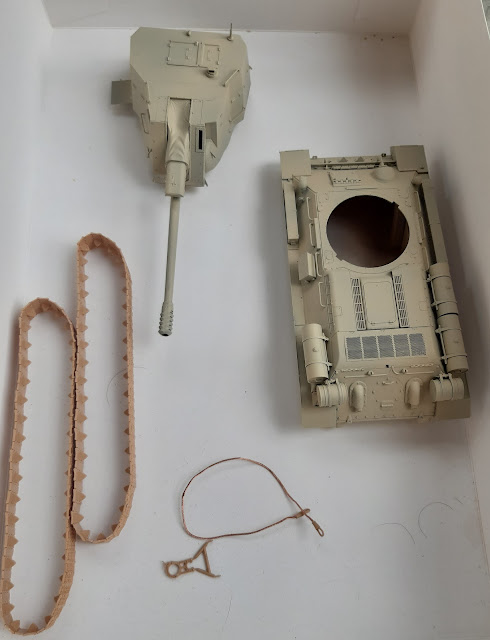
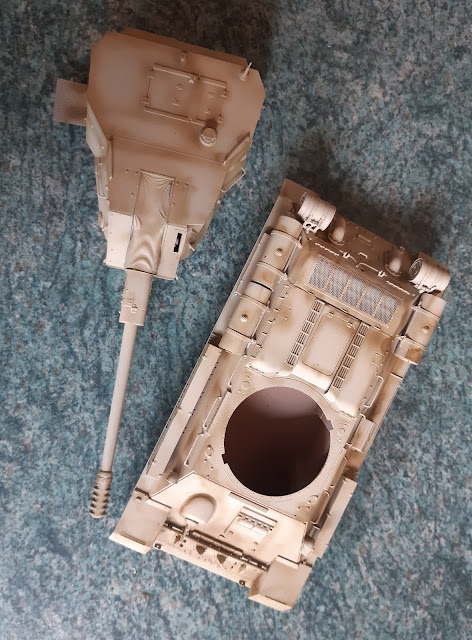
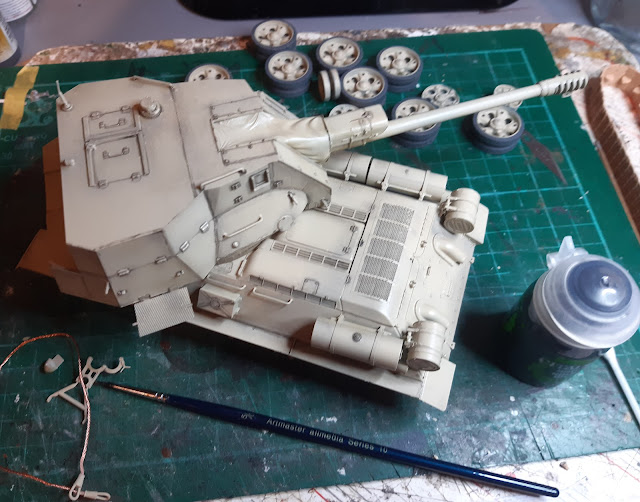
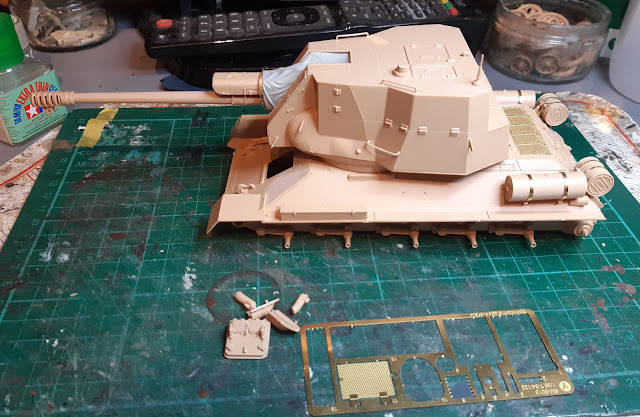
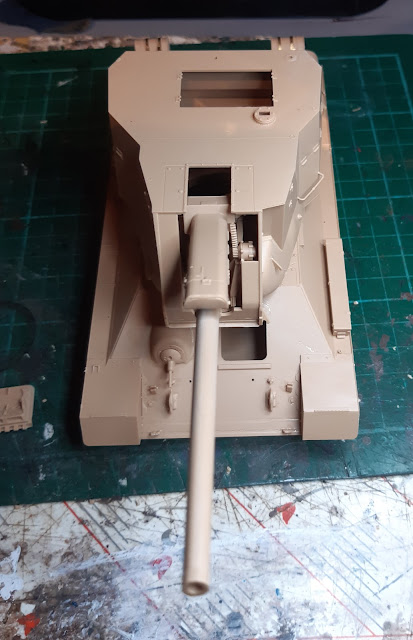
So the tank is just about there. I just need to fit the tow cable and spray it with matt varnish and make a base similar to those made for the other T34's I have built. In the mean time here are a few staged photos.

Ryefield Models T34 122,

Ryefield Models T34 122,

Ryefield Models T34 122,

Ryefield Models T34 122,


Sunday, September 18, 2022

Too tight!

I'm not talking about my wallet being too tight although Mrs. W probably would say it was as I claim I have forgotten the combination to open it when needing to spend money and look to her purse as an alternative! In this case of being too tight I am referring to the tracks of the T34/122 Ryefield Models tank. I have built the tracks according to the instructions. They have been painted and weathered which was finished today. I added polished metal highlights where the wheels and sprockets would come into contact with the tracks and track guides as well as on the faces of the tracks where the running on hard surfaces would keep the metal polished and free of rust.

Ryefield Models T34 122

I then attempted to mount the tracks and wheels to the tank hull. Side one was a struggle but I thought all had gone well and moved onto side two. Struggling with the last wheel the tracks came apart at the join between two of the track links. I tried gluing in situ but there was just too little give in the track to allow a bond to form abd harden before the two parts pulled apart. I dismantled that side and glued the links again but this tiem they should bond fully as there is no undue pressure on them. Going onto add some more weathering to the tank such as rust and soot I noticed that the other track had also come apart. I tool these photos before taking that track off to glue it. I suspect that I may actually have to add two more links to the track in order for it too fit. The only problem with this is that the track will probably look too slack. However I will have to wait and see what tomorrows episode of track fitting brings before deciding if I have to deal with that problem.

Ryefield Models T34 122

Ryefield Models T34 122

I must admit I do like the way this tank is turning out - I just need to solve the track issue.

Earlier in the day I spent a few more hours cleaning the greenhouse. A number of spiders are now looking for new homes and it is amazing just how many cobwebs such a small space can contain. However most of the glass has now been cleaned so I can actually look out of it without the view being blurred! I still need to sort my tools out and have a bit more of a sort out of various pots and associated things but certainly looking better!

Greenhouse


Saturday, September 17, 2022

Clean some dirt, add some dirt!

It was one of those days that you knew Autumn is not that far off. Sunny but the sun low with a little chill in the air. Suddenly all those jobs in the garden that need to be done before Winter come to the forefront. So I did make a start on cleaning the green house. Not much of a start but enough to see how much it needs a clean! Amazing just how dirty the glass gets and just how many spiders make their home in there. I will probably continue battle with the dirt tomorrow - you need to pace yourself with these types of job as I keep telling Mrs. Woody!

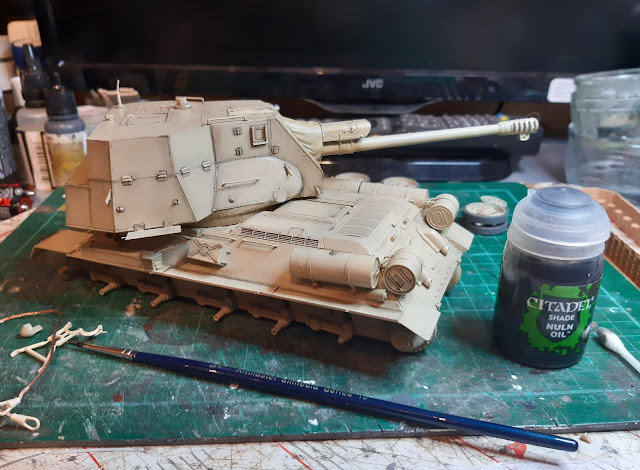
Whilst trying to remove dirt from the greenhouse my time with the Ryefield Models T34/122 today ironically has been centered around adding dirt to it. Unlike many modellers who actually know what they are doing and have a tried and tested way of weathering a model my method varies with every model. It makes weathering each model interesting! Anyway on this one I had already gloss varnished the finished paint job and had finished using Citadel Nulin Oil to highlight various features on the tank. Today initially painted the canvas cover to the gun a Military Green which appears to be one of many colours my research suggests that these were. It certainly adds a bit of colour to an otherwise dull tank.

 I followed this up first using a scrap of sponge from the kitchen pan scourer to apply some rust paint randomly around the tank. The idea is that you dip the sponge in the paint, dab it off on some scrap paper so that it is almost dry and then gently push it onto the model in those places where you want rust effects. The texture of the sponge means you get a finish similar to how rust breaks through paintwork. At this point I better make a note to myself to get some new pan scourers once I am testing negative for Covid and allowed back in shops which is hopefully before Mrs. W notices her slightly distressed scourer!

Having done that I then used some weathering powders to further add that all important tonal variation and the all important dirt - you can't have a clean tank!

Ryefield Models T34 122,

MIG provided the Sand and Industrial Grime weathering powders whilst Tamiya provided some paste like material from a set I bought years ago and nearly fell over when I found out they were £6.99. Almost sounds like a bargain with todays prices! The MIG powders were applied and then using water to wet them once on the model, This creates a coloured paste and I was then able to use a mixture of brush work and swiping with a cotton bud to 'move' the pastes about and create the effects I wanted. The Tamiya pastes I used to highlight the edges of various items applied with a cotton bud. It took a few hours to do but there are no quick ways to do weathering. It is just about there but I probably need to add some soot to the exhausts and a few more scratches and rust effects.

Ryefield Models T34 122,

Ryefield Models T34 122,

Ryefield Models T34 122,

I have also finished applying the Nulin Oil to the tracks but they still need some more work on them before being put on the hull. 

Ryefield Models T34 122,

Once I get to the point where I decide enough weathering has been done I will matt varnish everything which will hopefully tone down everything  At this point I am pleased with the way things are going with this tank and enjoying, mostly, the build! Tomorrow it will probably be back to clean some dirt from the green house and add some dirt to the tank!

Friday, September 16, 2022

The Waiting Game!

Mrs. Woody and me are still suffering from Covid. We actually felt worse today than yesterday but tomorrow is another day and hopefully we will be feeling better but it is very much a waiting game!

However its still not been too bad for me and a few jobs were done around the house as well as having a bit more time to spend on the T34/122 model tank by Ryefield Models. I keep telling Mrs. W that its good therapy for a speedy recovery so that I can get on with more of her jobs!

The tracks have been spray painted first using Vallejo earth then their rust paint mottled onto that. I have started to us the Citadel Nulin Oil paint to highlight the details of the tracks but more is needed yet. On the main hull and turret the Nulin Oil has continued to be used to highlight parts on the tank and the wheels have also been done. The next task is to paint the exhausts and then use a few weathering powders and streaking effects to finish the tank off before putting the wheels and tracks on. This could actually be a build completed in about three weeks! Very unlike me!

Anyway here are a couple of photos showing what I have talked about above and they probably make it clearer than my poor narration!

Ryefield Models T34 122

Ryefield Models T34 122


Thursday, September 15, 2022

A bit of tonal variation! That's on the tank not in my voice!

Mrs. Woody re-tested positive for Covid this morning so I didn't bother testing myself as I still feel rough anyway and it saves a test kit! It looks as though we will have this virus for a few more days yet! 

However not feeling like doing the usual list of jobs and with the excuse of not feeling well and that some model making would be good therapy for Covid (I don't think Mrs. Woody shares that thought!) I have got the top coat on the T34./122 tank having primed it yesterday. I gave the turret and hull a coat of Vallejo Sand to get an overall coat of paint on it. I was going to paint the tracks too but I spotted one or two links that were not quiet right and needed 'fine tuning' so that will hopefully be done tomorrow.

Ryefield Models T34 122,


Ryefield Models T34 122,

Ryefield Models T34 122,

Once that had dried for a few hours I highlighted edges of things around the turret and hull with a thinned brown to highlight them. 

Ryefield Models T34 122,

Ryefield Models T34 122,

It looks a bit stark at this stage but I then repainted a thinned top coat so that the brown highlighted edges were still there but much faded. The photo below does not show it very well but there is, as the proper modellers and skilled proponents of this method say, tonal variation in the colour on the model. Once dried a then sprayed it with a very thin coat of gloss varnish as a base for some highlighting and weathering. 

Ryefield Models T34 122,

Once the varnish was dry and I had awoken from my Covid induced afternoon nap I started some highlighting using some Citadel Nuilin Oil. It tends to flow around things and into gaps which is great for highlighting them. It does however take a long time and you need to have a cotton bud handy to mop up excess applications when they happen which with my skill level is often!

Ryefield Models T34 122,

Ryefield Models T34 122,

So, Covid allowing, I know what will be my jobs on this model tomorrow!

Wednesday, September 14, 2022

Puncture repair marathon and also the T34/122 tank.

As I have mentioned in the past I do a lot of cycling and have done so for decades! 200K plus miles of cycling on my legs going back over a long time with a lot of time trialing and road racing in my younger days. However, as Mrs. Woody would no doubt agree, you would probably have to scrap a car with 200K miles on it especially if it was as old as I am!

Over all those miles of cycling I have had all sorts of  mechanical mishaps from gear and brake cables snapping through to snapping chains which when it happens and you are out of the saddle climbing a hill the first thing you hit is the cross bar and then the ground! Ouch and a squeaky voice! 

Generally I carry a few tools with me on the bike and I have mostly managed to get home under my own power after most mishaps. Whilst I do carry a puncture repair kit I do tend to avoid repairing punctures at the road side preferring to carry a couple of spare inner tubes with me. Get puncture, stop bike, wheel off, tyre off, check for what caused puncture and remove, punctured inner tube replaced with spare, tyre back on and pumped up, wheel back in place, get back on bike and continue happy bike ride! I can usually do that in about 5 minutes which is a lot quicker than trying to find the puncture in the inner tube and repairing it especially if its cold, windy and wet. The repair can await my return to a hopefully warm and dry WMD HQ - working smarter not harder as I get older! 

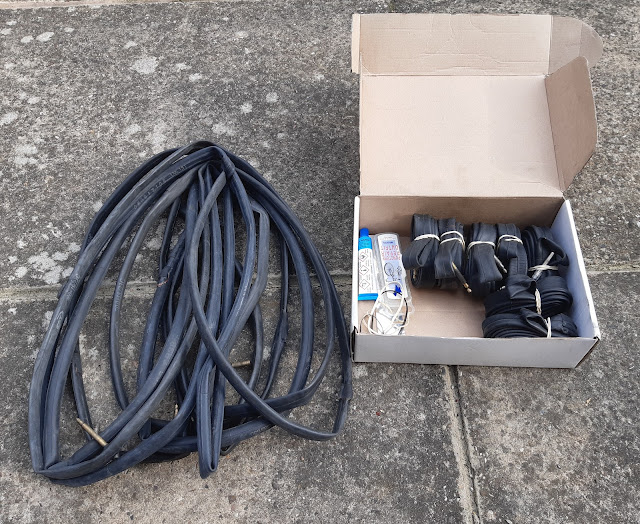
When back a HQ I replace the now used spare tube on the bike with another from my box of good tubes straightaway so I still have two good tubes with me for my next ride. I have learnt the hard way when miles from home with both spares having not been replaced. The punctured tube then usually ends up hanging on something convenient and then gets forgotten about rather than repaired. This goes on until I look in my box of good tubes to find the last one. So still feeling a bit under the weather with Covid I decided to bite the bullet and go through the 12 tubes that needed repair as I was down to my last good tube. It was a puncture repair marathon but worth it. Five were beyond repair or ended up needing repairs that would involve putting a patch on a patch which is never a good idea. However, I did end up with seven repaired tubes and a happy Mrs. Woody seeing the tubes removed from various hanging points despite my manifestations that they were a decorative feature!

Inner tubes

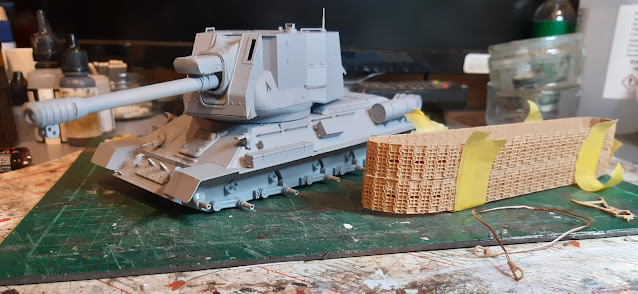
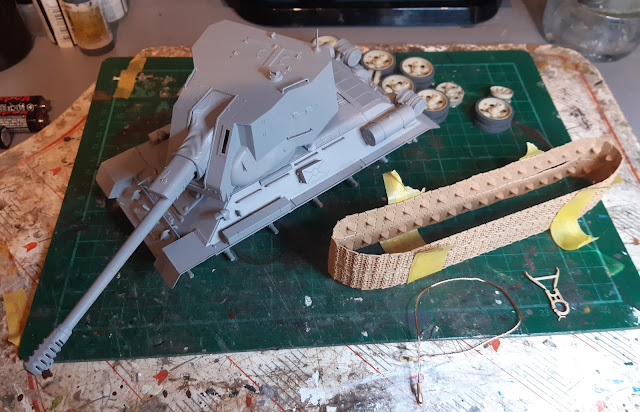
Tank wise the tracks are now constructed. Having built one set on the tank itself with the wheels temporarily mounted to the hull I used this a s a pattern to build the other set. I used masking tape wrapped half way around the complete set and then built the other set by attaching the links to the other half of the masking tape. The photo probably explains it better.

Ryefield Models T34 122,

I have also primered the hull and turret in a light grey primer which should be a good base for the top coat. It is drying over night so should be ready tomorrow to go back in the spray booth - Covid permitting!

Ryefield Models T34 122,


Ryefield Models T34 122,

Tuesday, September 13, 2022

The Covid days!

Well Mrs. Woody and me cannot see anyone until we test negative for Covid but living in the countryside I could go for a short bike ride today without fear of infecting anyone. Only 12 miles but it was a great day and too good to miss! For me, Covid in this instance is like having a cold. I don't feel fantastic but I don't feel so bad that I am bed ridden or sat watching inane day time TV with every other advert telling me I need a funeral plan or life insurance! Mrs. W on the other hand has a worse case than me so I have been acting in my nursing role today which is a change from the usual course of events. At least I cannot be accused of having Man Flu!

T34/122 wise things are getting close to the painting stage with just about everything finished apart from the tracks and I have even started those! 

Ryefield Models T34 122

Ryefield Models T34 122

Ryefield Models T34 122

When moving the turret faced rearwards with the gun supported on a carrier as seen in the middle photo above. Not sure if this will be the final configuration for the model but it certainly makes a change from turrets facing forwards. Hopefully I will continue to have minimal Covid effects and be able to continue with the tracks and or get some paint on the hull and turret tomorrow in between nursing duties during these Covid days!

Monday, September 12, 2022

Two red lines!

Covid

After two and a half years of avoiding Covid and being triple jabbed both Mrs. Woody and me tested positive for it this evening. I was feeling well this morning having done a 22 mile bike ride but by this evening headache and aching joints for both of us made as reach for the testing kit and confirmation came a few minutes later with two red lines showing themselves on the test pallet. Why any self respecting virus would want to infect me is beyond my understanding but I guess it must be getting desperate for victims!

Had this have happened back in March 2020 I think we would have both panicked but hopefully it will be like a bad cold and we will get over it in a few days. However we are staying away from anyone else to avoid the risk of passing it on.

Despite feeling somewhat rough this evening I had already finished painting the wheels for the T34/122 and I fitted the tyres to the wheels. I have temporarily attached the main wheels to the hull as I still need to construct the tracks but the whole model begins to look a great deal more interesting.

Ryefield Models T34 122,

The tyres were sprayed in Vallejo Grey whilst the wheels are in Vallejo Sand. Rubber never stays black for long as it weathers and ages and the grey is a good representation for this.

Ryefield Models T34 122,

You can see the odd shape of the turret from this aerial view. I still think it looks like a bunker! 

Ryefield Models T34 122,

A few more details have been added to the front including the drivers hatch, spare track links and the splash board which goes over the top of the links. The idea, I believe, is to stop water going up into the drivers hatch and the machine gun port if the tank goes through a large puddle or wades a river. Whether it worked is a question I have never seen an answer to but I guess it must have as just about every T34 I have seen has it fitted.

Ryefield Models T34 122,

You can see the grey rubber gun cover supplied in the kit in some more detail here. It appears to look OK although I believe some modellers do not like this feature of the kit. However it works for me!

Ryefield Models T34 122,

Not sure if anything will get done tomorrow but I will see how I feel after hopefully a good nights sleep and a few flu tablets to see if I can minimise the impact of this Covid virus. 


Sunday, September 11, 2022

The concrete bunker takes shape!

Well, as I said in the last post this T34/122 looks like someone dropped a concrete bunker onto a T34 hull and called it a turret. The turret has come on assembly wise and is basically finished but it still looks like a bunker! 

Ryefield Models T34 122,

Ryefield Models T34 122,

The last piece of etched brass you can see in the photos is a step that fastens to the side of the turret but I will leave this off until I am ready for painting - it is just too vulnerable to me knocking it off! The grey part around the gun represents the cover sealing gun and turret. It is made from a sort of stiff rubber which is unusual but it works!

I have also painted the rubber tyres and primed both sides of the wheels and got one side into top coat. 

Ryefield Models T34 122,

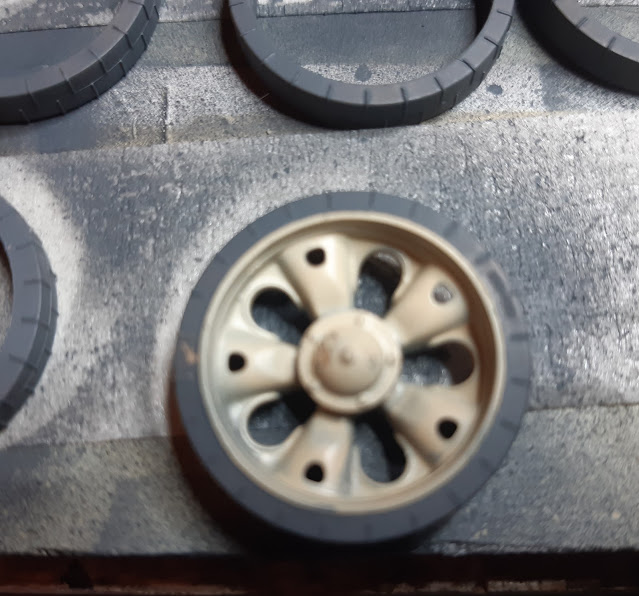
The fact that the tyres are separate makes this painting job so much easier. I could never get such a clean edge painting freehand as in the photo below. I was never any good at colouring books - always went outside the lines!

Ryefield Models T34 122,

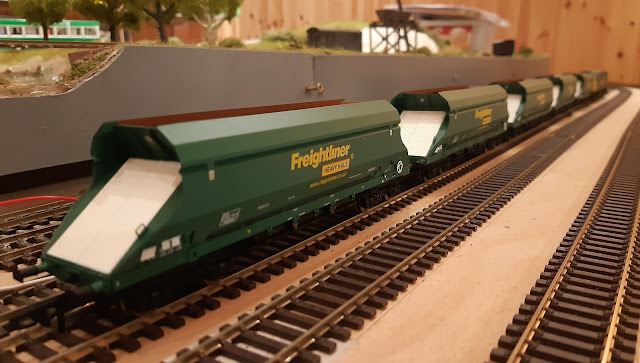
I took a little time out to have a play with my birthday present which was the Freightliner Class 57 and 5 limestone hopper wagons for it to haul. The loco is second hand but is like new and runs sweetly. It has a great sound to it with a full engine start up sequence including warning buzzer at the very start. I could understand though if you were at an exhibition for two days the whole DCC sound thing could become very irritating! I must admit there are times when I just run a loco silently and listen to the clickety clack of wheels going over my rather poorly laid track!

Freightliner Class 57007

The wagons are great too but far too clean for working rolling stock. However I will just pretend they are fresh from the production line on their way to their first load which will cover them in dust. As is often said, my trainset and I will do as I please! Well of course unless Mrs. W says something!

Freightliner Class 57007


Saturday, September 10, 2022

Hidden away!

Ryefield Models T34 122

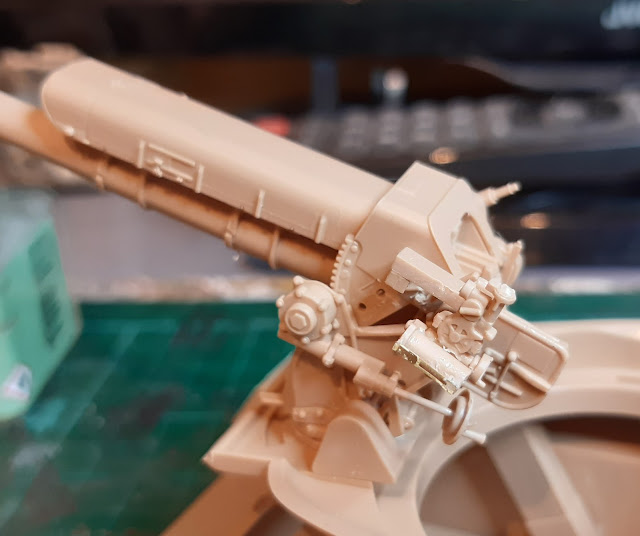
Things have moved on! The 122mm gun is all assembled apart from the very end of the barrel, and mounted to the turret base. It us a superbly detailed gun which looks great when viewed closely.

Ryefield Models T34 122

Ryefield Models T34 122

 The one thing is.....

Ryefield Models T34 122

...as soon as you put the turret superstructure on the detail disappears! It is not as though the turret has opening hatches. You can leave the hatches open but apart from the detail of the gun there is no other interior so the model would look somewhat strange if you did. 

Why did I assemble all that detail when it will be hidden away? Good question that even I asked myself. However there is an answer. Without building some of the detail the mount to the turret base would not work. Unfortunately a great number of the parts are interconnected so it is not as though you can leave off certain parts because others will not fit without them in place. It was however an interesting build for me and I do at least know the detail is there even if it never sees the light of day once finished.

As this build progresses, I have to admit, that whilst aesthetically the tank looks somewhat strange as though someone dropped a concrete bunker onto a tank chassis it does have a purposeful, industrial look to it. It will be interesting posing it next to the Egyptian T34/85 I recently built. In the meantime these two last pictures show why this tank probably would never win a design award!

Ryefield Models T34 122

Ryefield Models T34 122