Search this blog

Tuesday, October 26, 2021

Bricking it!

No! I am not in fear (for those outside the UK there is an online description of the phrase here ) although I may be later on if I don't get Mrs Woody's list of jobs finished! Bricking it in this case is related to the Dapol General Store where I have amongst other things painted the brick work. The windows, doors and roof have also been painted.

The painting started with what was a fairly vivid red although it was my personal mix from Vallejo Earth Brown, Orange and Red but it did not finish the shade I thought it would. Lesson to be learnt here - never trust me to mix anything as Mrs W has already learnt from one or two kitchen related incidents. Enough said! Back to the red paint. Never mind there are other things that would be done to it to tone it down.


This is what it looked like looking almost Post Office Red. However a caot of Earth Brown mixed with some Light Grey was gently wafted from a distance so that it dusted rather than painted the surface which still allowed that red base coat to be seen but through a opaque shading colour - nice!


At the moment I am adding washes of very dilute grey to highlight the mortar courses. The relief in the casting of the building is not very deep which is causing some issues and was the main reason that I did not use my usual way of colouring bricks with coloured pencils. However the picture below shows the concrete window cills have been painted in and one window frame is temporarily in along with the roof  to give an idea of how the building will eventually look. Now where is that list of jobs.........


Sunday, October 24, 2021

Back on the Chain Gang!


Well on Thursday it felt a bit like being part of one of those old films set in an American prison where the inmates were breaking rocks as part of their punishment. Whilst it may have been hard work digging out ballast from between sleepers at the Rocks by Rail Museum, it was far from punishment. I enjoy a bit of digging and it was a nice sunny day surrounded by railway infrastructure and rolling stock and some good guys with some great chat as well as Riley the dog, who prefers to dig up grass rather than ballast - pity!


What could be better? I even got home in time to put Mrs W's dinner on the table as she arrived home - result! 

Over the weekend I have managed to make some progress with the various buildings for the narrow gauge layout. The Dapol General store has been primed ready for its final paint scheme. There were some gaps in the joints at the corners of the walls that required filling. To cut down on the mess and subsequent cleaning and sanding I ran a strip of masking tape either side of the gaps. 


Vallejo acrylic putty was then brushed into the gaps and left to dry.

The masking tape was then removed leaving a nice clean joint that needed little more then me running a finger nail down it to remove a few rough bits. Working smarter not harder as I get older!

If you look at some model buildings on railway layouts you will notice that you can look straight through a window to the other side of the building and through the opposite window. Whilst open plan living may be a concept some like it is not something that you see in many buildings and at some point there are internal walls even if only to separate the sanitary facilities from the rest of the house. I have added several partitions into the shell of the building as well as a first floor floor - if that makes sense! Not only do these block the view through the building but they also add a bit of additional strength. I am not going to add internal detail but I think these partitions will do a good job in adding that extra realism to the model.


All the parts have now been primed in a light grey awaiting their final paint scheme.

I have also glued the walls of the Service Station together and cleaned up some of the other parts which now await their turn to be primed which hopefully may get done tomorrow if Mrs W doesn't introduce here own version of a Chain Gang to get me to finish that list of jobs!


Tuesday, October 19, 2021

Complex crossing maneuvers!

Not anything to do with taking your life in your hands as you try to cross a road or getting on the right side of Mrs. Woody - yes that list of jobs will get done - eventually - but more to do with model railway track layouts. I needed to put in a double crossing to allow access to my planned MPD or in plain terms Motive Power Depot where the locomotives are stored, refueled and serviced. To get the best possible variations in access and maneuvers I came up with this bit of complex trackwork.


Amazingly it works! I quite like the way the train snakes through the crossing.


The MPD will lead off from the three way point and I am still deciding on the eventual layout of that but I am almost at the point of having completed that first fix of track work laying. If only I could complete that list of jobs from Mrs. W! Its a complex life!

Sunday, October 17, 2021

Is there a catch?

 A few hours spare this evening saw some more track laying on My Last Great Project. The three main circuits are connected and the goods sidings laid complete with a double slip point which is like two points back to back and a 'catch' point, so yes there is catch! What is a 'catch' point you may ask? Well they are common on real railways but not so common on model railways and I am as guilty as many modelers for not including them in my layouts. The catch point is there to prevent and catch a runaway wagon, carriage or even train from coming out of a siding without the right of way and and onto the mainline where the potential implications could be very serious and even deadly. It does this by derailing the rolling stock and diverting it away from the main line. The photo below shows the catch point as well as the double slip and a three way point leading into the goods sidings.


At the moment the track work is at a "First Fit" stage so any issues are fairly easy to resolve. The photograph below shows where I have got to and a slightly eclectic mix and eras of trains but its fun to run them and that is what this layout is about!


I just need to lay the Motive Power Depot on the other side and then it's time for some serious playing operating trains unless of course there is a catch and Mrs Woody has plans for me to "play" with the garden jobs and painting that needs doing but she will need to catch me first!

Thursday, October 14, 2021

Many paths to be followed.

As I have become accustomed too, another few days of distractions and projects taking me on different paths but hopefully they all end up at the same destination which is an overall finished project!

On the 009 gauge road bridge I have given the stone work several washes of a very dilute black acrylic paint. The picture below shows one half of an abutment has received this treatment showing just how simple it is - well it would have to be for it to work for me!


Painting one face at a time and letting gravity do its work means this process can take a long time especially as the temperatures outside fall and my man cave, AKA The Room of Gloom, is not as warm as it was in the summer meaning paint tends to take longer to dry. I did think about bringing it into the house but given my ability to spill paint and stain carpets and other soft furnishings with it, I thought that for harmonious relationships to continue with Mrs W it would be best to just wait! At the end of the various waits this is what the bridge looks like.


So what did I do with the time I had whilst waiting for the paint to dry? Well give me a few minutes spare in the Room of Gloom and I am easily distracted! It has been some time since I did anything with My Last Great Project - the 00 gauge layout that I am building. The 009 narrow gauge layout is at the present resting on the baseboard to the 00 gauge layout and it all looks untidy, unloved and most of all unprofessional to anyone stepping in to the room. There are various items that need to be sorted but unfortunately I am not a tidy builder of projects! I tend to need everything that I need out even though I contribute to the swear jar when I cannot find things but that is just the way I model. When I am cooking, completely different with things washed up and put away as soon as possible. No idea why the different approaches but it confuses Mrs W!

My decision in light of the above was to try to get the basic track laying done (it was just some lengths of track thrown together some months ago to allow me to run trains) on the 00 gauge layout so that I could then at least tidy all the track laying items away. It is a long process and it will take some time but at the moment I have the two outer circuits complete and the third inner one getting there. Next stage will be a few sidings. As the layout is still open to alteration the track is secured in a few places with double sided adhesive carpet tape which is strong enough to hold the track but weak enough to allow the track to be lifted washout making significant contributions to the swear jar. 


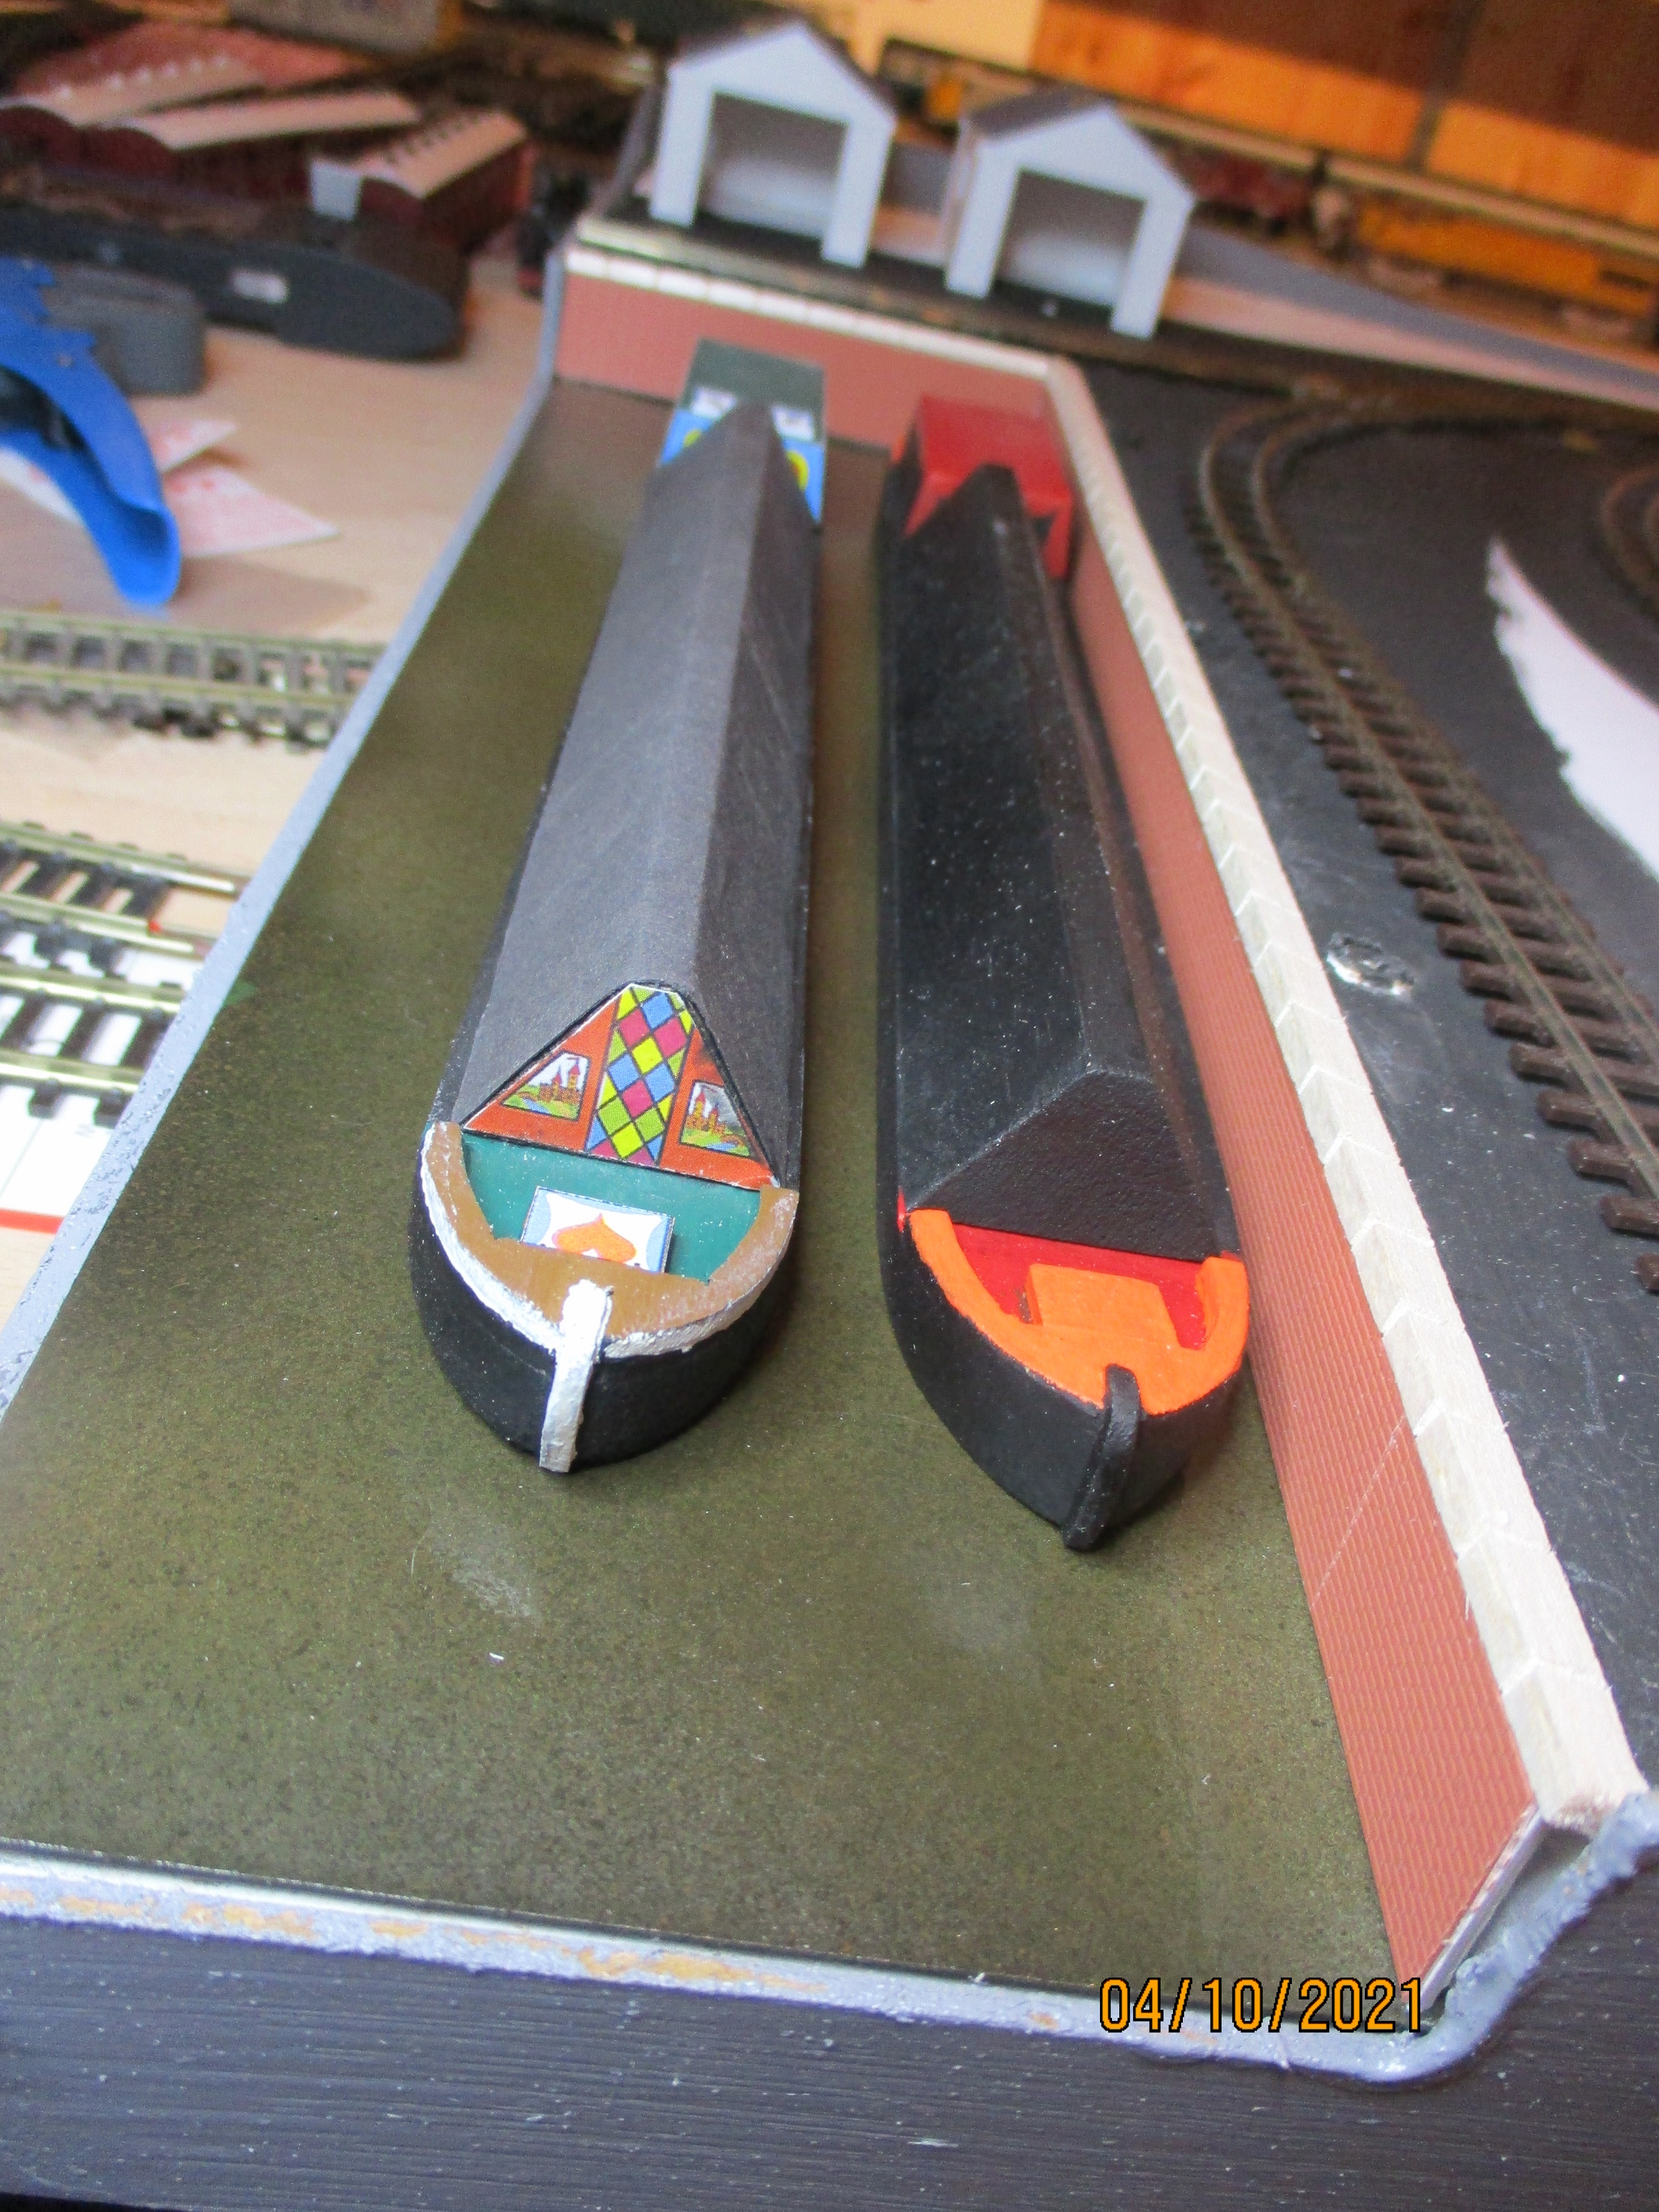
The track boards have progressed from this...
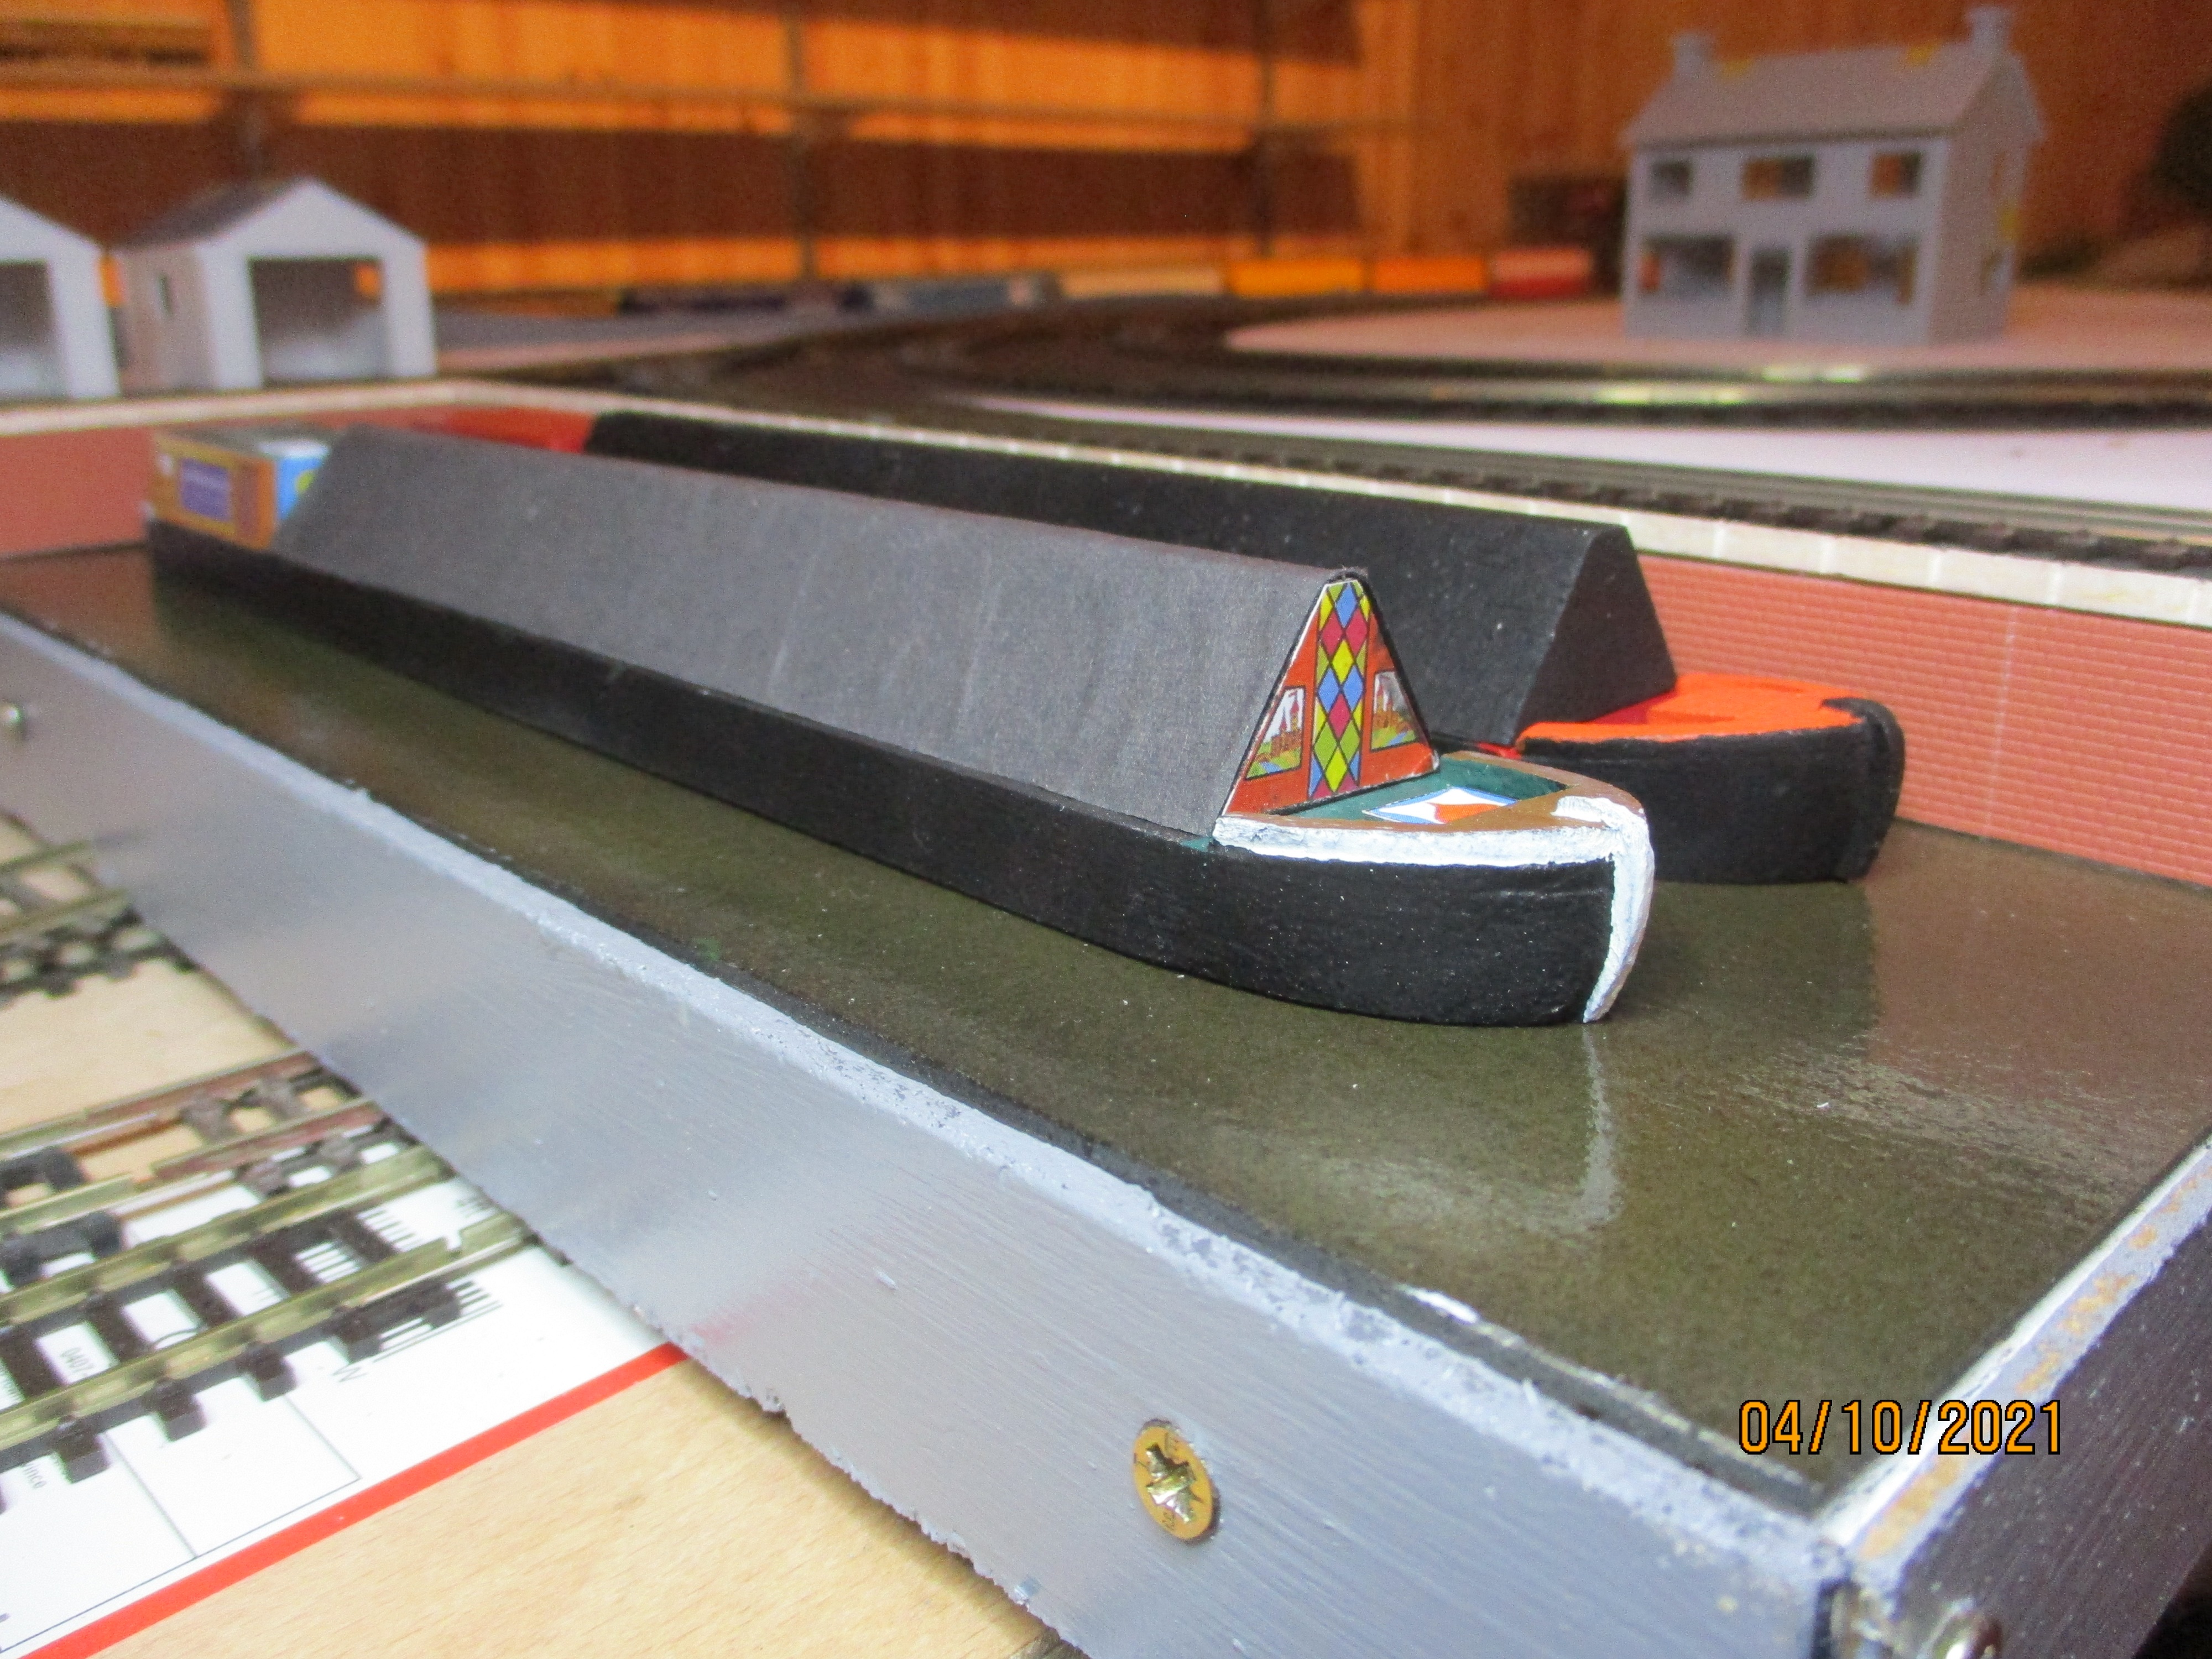


to this......


Still somewhat messy but the track is looking more like a railway than a roller coaster!

Mrs Woody's birthday tomorrow so hope she likes her gift or I might be spending more time in a cold Room of Gloom!

Sunday, October 10, 2021

Winter thoughts.

A day where today's duties were focused on cleaning up the greenhouse in preparation for Winter as per Mrs Woody's list of such like jobs that I almost forgot about as outlined in my post here. It is amazing how much accumulates and it was a chance for a bit of a clear out as well amd with some nice weather it was a pleasant way to spend the day.

The oncoming of Winter is something I have mixed feelings about. The Summer means warmth (well usually) and light evenings when you can enjoy the outside. All that goes with Winter but the upside is that time for model making increases! Well in theory unless Mrs W finds a list of inside jobs which she will no doubt already have in preparation! However I will hopefully make some additional progress on my various model making projects.

At the moment the 009 narrow gauge layout is the focus and having butchered the Wills kit into something that it wasn't designed for, it was time to start the job of painting. The stone retaining walls have been given a coat of various stone coloured Vallejo paints mixed together randomly and hopefully looking something similar to what such a wall should look like in real life.  The hand rails were given a coat of the same manufacturers cream coloured paint which always looks more realistic than the starkness of pure white. All this has to dry and then a wash of my favorite diluted black paint needs to be applied to highlight the stones and their mortar courses. The bridge deck is still in the making and will perhaps not be the usual type of deck that you may expect but more on that in another post. In the meantime I am awaiting the arrival of Mrs W's list of Winter jobs which is likely to include painting jobs but not of my models!

Wills SS32 Occupation Bridge (Double Track) and Stone Abutments


Saturday, October 9, 2021

It wasn't designed to do that!

In my trademark way I have been distracted with another project on the 009 narrow gauge layout! The two narrowboats - I was put right on the RM Web that these vessels are narrowboats and not barges as barges have to be at least 7 foot wide - have got a little bit closer to being finished, but only a little bit!

CraftLine Models Canal Barge Kit

What has now distracted me is whilst looking through the multitude of unmarked, disorganised and chaotic storage boxes of things 'That will come in handy one day' in my man cave, AKA The Room of Gloom for some plastic card for some parts on the barges - Ooops! I did it again! - I mean narrow boats, I found the Wills Double Track Occupation Bridge kit. This set my mind going - always a worrying thing especially for Mrs Woody! I had used the same manufacturer's single track bridge to take the road over the railway on the original and first board of the layout as described here. Could I use this double bridge to take the road over the river on the second board? It certainly wasn't designed for that purpose! However that is one of the great things about model making - you take something that was designed for one purpose and then repurpose it. There was only one way to tell if this kit could do the job with modifications and that was to get the parts out of the packaging and start measuring and construction. So here I go again. Distracted with this project! However it has actually progressed and looks as though it may well work - again unusual with anything I do! This is what I started with and the packaging shows how the kit designers envisaged the finish product to look. They didn't take me into account though!

Wills SS32 Occupation Bridge (Double Track) and Stone Abutments,


The width of the bridge as governed by the steel girders and railings provided in the kit fitted well with my cut out river base in the base-board. Good start! The retaining walls however were too tall. In my use of the kit on the original baseboard the retaining walls were too low so I had to make my own higher ones. This time all I had to do was cut down the kit walls to the right height. Firstly though the main retaining walls were constructed as there are four parts to each one. Left over night to fully harden, this evening saw some carful measurements taken and then the retaining walls cut with a small Xacto saw to the measured height and you know what? They actually fitted! 

Wills SS32 Occupation Bridge (Double Track) and Stone Abutments,

Wills SS32 Occupation Bridge (Double Track) and Stone Abutments,

Wills SS32 Occupation Bridge (Double Track) and Stone Abutments,

Wills SS32 Occupation Bridge (Double Track) and Stone Abutments,

As you can see I cut down the wing walls and joined them at right angles to the main retaining wall to give a more normal construction for a river bridge. More work to be done on this and who knows when that may be done if there are any other distractions that come about!

Thursday, October 7, 2021

Its A Dirty Job But Someone Has To Do It!

Over my lifetime I have been fortunate enough to have visited many heritage railways and railway museums. Most are run by volunteers who do it for the love of it. Today I became one of those volunteers. As you may have seen from previous posts I have been to the Rocks by Rail Museum on a couple of occasions this year. Its not the biggest museum or the longest railway but it does have a unique fascination for me. I took advantage of a Family membership so that Mrs Woody has also become a member and I decided it was time for me to put something back into railway heritage so I put my name forward as a volunteer. I have no ambitions to drive locomotives but I would like to learn a bit more about the realities of running a railway and be able to say at some stage in the future that I had a part in that project.

I arrived today and was greeted by a great group of long-term volunteers. Once briefed on safety matters I was told we were going to do some work on ballast cleaning which is part of a long time project. In very basic terms the ballast which has become contaminated with fine material no longer drains water as it should. When there are wooden sleepers surrounded by that water retaining ballast they tend to rot and replacing sleepers, so I am told, is not an easy job. However it wasn't that easy cleaning the ballast either. There is some mechanisation with a JCB digging between the tracks but most of the ballast has to be pick axed and hand shovelled out so the JCB  bucket can get to it. I can vouch it is hard work! The ballast is then loaded onto a flat bed wagon which is then moved up the track to near the wash plant. More hand shovelling of material into a teleporter bucket which then takes the dirty ballast to the wash plant which is pure genius. It is an old cement mixer with a 6 cubic meter drum. The ballast gets tipped in, water added, put it on a medium wash cycle and ten minutes later reverse the drum so the ballast is ejected out over a screen and the nice clean ballast is then ready to go back to the track via a hopper wagon. As always the photographs below better explain than my words can! 

No model making tonight - I am shattered but so pleased I have become a volunteer and will be back in a couple of weeks when no doubt there will be further jobs to do and whilst I don't know what they will be it could be more ballast cleaning - Its a dirty job but someone has to do it!. One thing I do know though is Mrs Woody draws the line at manual labour so I doubt that she will be shovelling ballast with me! 


Monday, October 4, 2021

Down by the Waterfront!

Just a quick update on some progress on the 009 narrow gauge layout and the canal wharf and barges. I will let the pictures tell and describe the methods in more detail in another post once things are nearer completion.


Saturday, October 2, 2021

Oooops!....I did it again!

In the last post I talked about having completed the Wills Corrugated Iron Chapel kit which had distracted me from other things on the work bench. I said that the distraction was over and I was getting back to those other tasks but I also mentioned a canal barge kit was on my workbench. Well just like Britney Spears but looking nothing like here I hasten to add, Oooops!....I did it again! Yes another distraction in that I started the canal barge kit produced by Craftline Models who produce a number of 00 gauge canal type vessels to populate your canal scene. As the finished model is for the canal wharf on the 009 narrow gauge layout I felt that the distraction of making this model had at least some justification.

CraftLine Models Canal Barge Kit

The kits are based upon semi precut balsa shapes with some other parts you have to cut from an already marked out sheet of balsa wood. There are also parts for the tiller, stove chimney and similar barge type things as well as some pre printed paper decorations to give that traditional canal boat paint job to your model which you can see in the picture above.

CraftLine Models Canal Barge Kit

I have never made on of these kits before so it was a bit new to me. It has been getting on for several decades since I last made a balsa model aircraft, which if I recall followed the fate of its predecessors in self destructing on a crash landing! I am no Biggles when it comes to flying that is for sure! Anyway this kit is simple enough and so with some balsa wood glue a few parts were fitted. Some shaping of the bow and stern, or if you want to annoy boating enthusiasts just refer to them as the sharp and blunt ends, was carried out and it soon began to look barge shaped.

CraftLine Models Canal Barge Kit

CraftLine Models Canal Barge Kit

CraftLine Models Canal Barge Kit

You will notice the bottle of Shellac Sanding Sealer in the background. Balsa Wood is fantastically workable in that it is light in weight, sands and shapes easily and is comparatively strong. What it is not very good at doing is being painted. It can swell and distort with certain types of paint so the sanding sealer seals and fills the wood grain so that you can sand it to a super smooth finish and then apply paint safe in the knowledge that nothing untoward should happen. 

As I had progressed with the kit so quickly it seemed a shame not to make the other kit I had which is also for the canal wharf and so this is the situation on my workbench.

CraftLine Models Canal Barge Kit

Oooops!... I did it again!