Search this blog

Thursday, February 10, 2022

Light bulb moment!

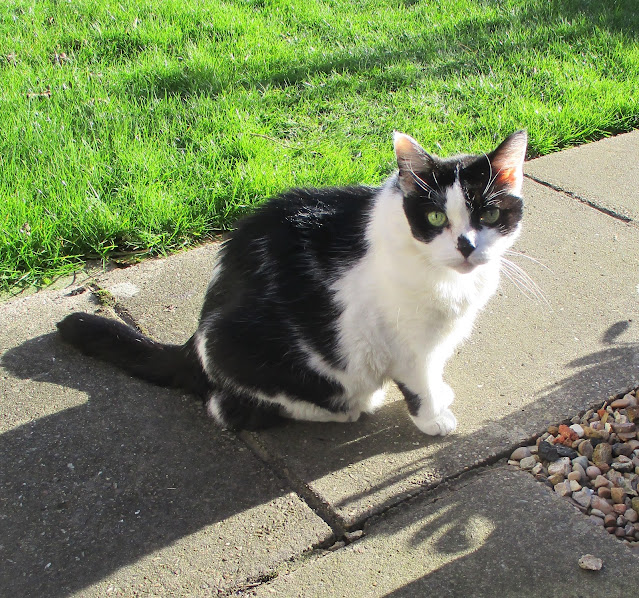
A great sunny day which saw me clock up 512 miles on my bike this year so far. Even Smudge the cat came out of her basket curious at the brightness outside and took in some of the sun before heading back in for something to eat and another sleep. She has a hard life!

Smudge the cat

It was also sunny in the Man Cave AKA The Room of Gloom as the Heller Scania 141 LB made progress. 

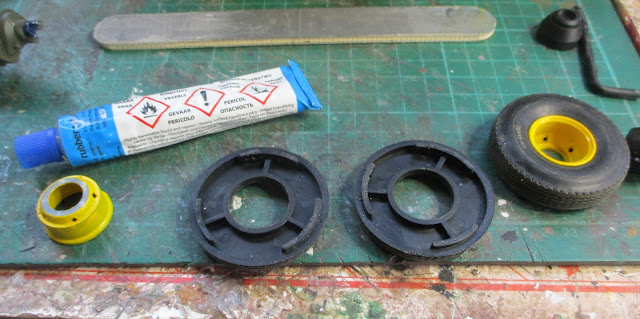
First thing was to glue the two part tyres together. As these are rubber plastic cement was not going to work and my trials with super glue failed miserably. Pondering this as I fixed a puncture on my bike I suddenly had that light bulb moment. The adhesive used to adhere the repair patch to the inner tube glues rubber to rubber! Yes it did work on the model tyres as well! Half an hour with my puncture repair kit on the workbench had the tires glued. I also remembered to return my repair kit to the bike or that could be a swear jar moment when a future puncture occurs.

Heller Scania 141 LB

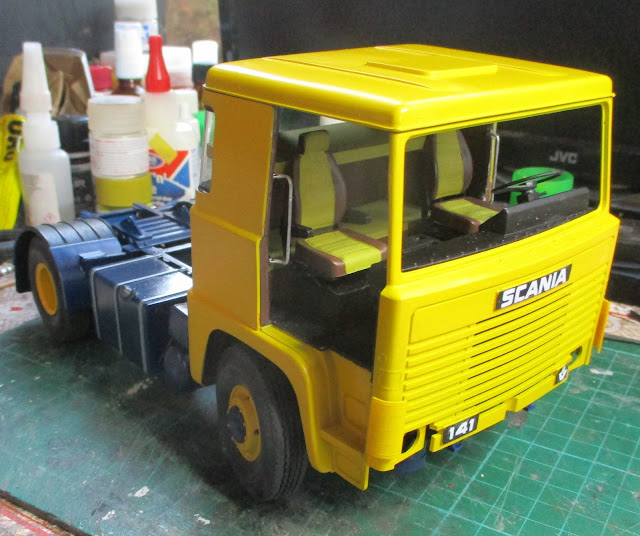
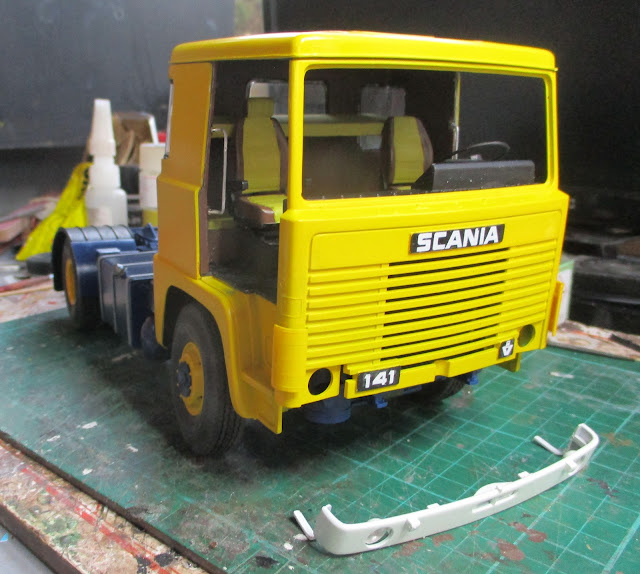
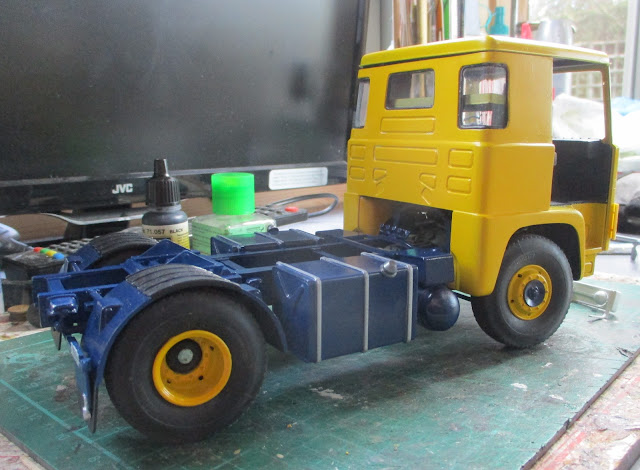
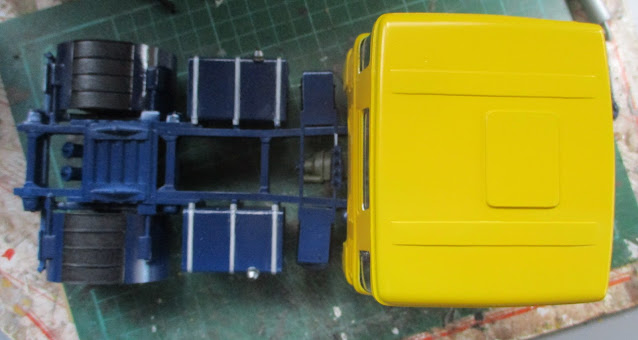
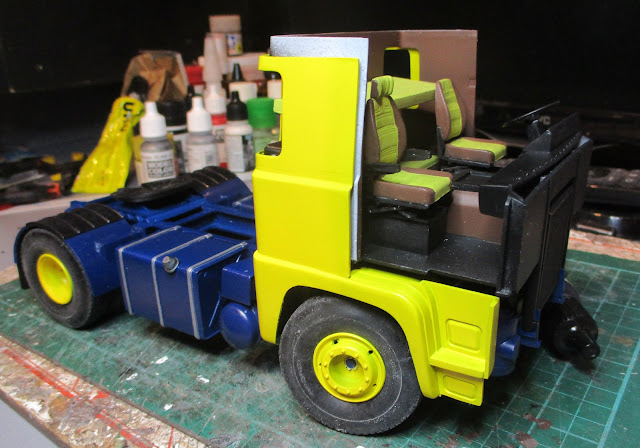
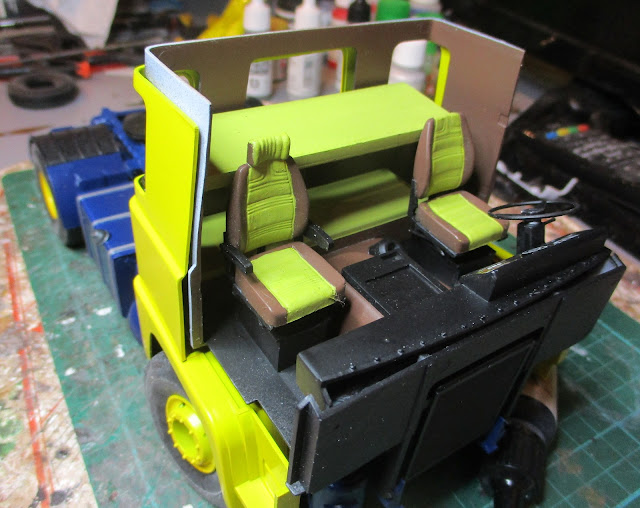
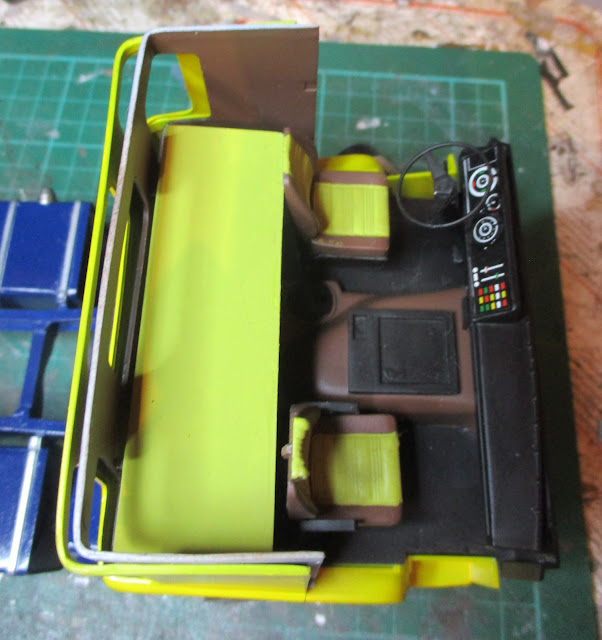
The engine has now been glued in and the wheels attached to the axles and just await their center caps to be fitted. The cab front has also had various decals applied and the model now looks like this.

Heller Scania 141 LB

Heller Scania 141 LB

Heller Scania 141 LB

Heller Scania 141 LB

Heller Scania 141 LB

Heller Scania 141 LB

Not many parts to fit now but the further into the build you get the more fearful you become of something going wrong! Hopefully nothing does.
Wednesday, February 9, 2022

Sometimes you have to be destructive to be constructive!


Heller Scania 141 LB

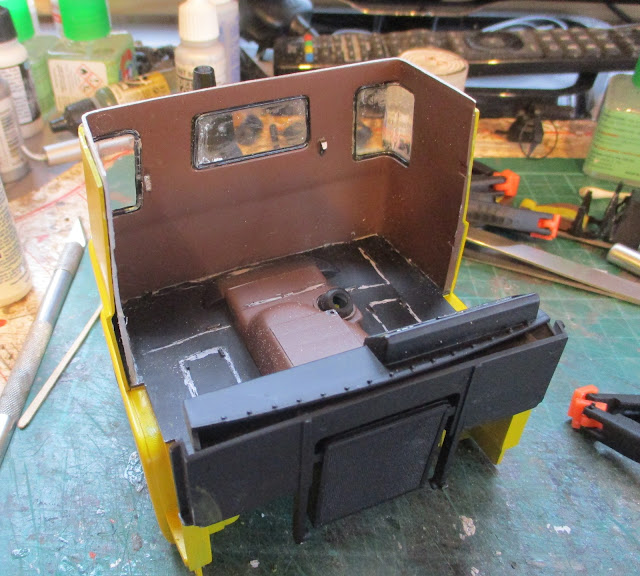
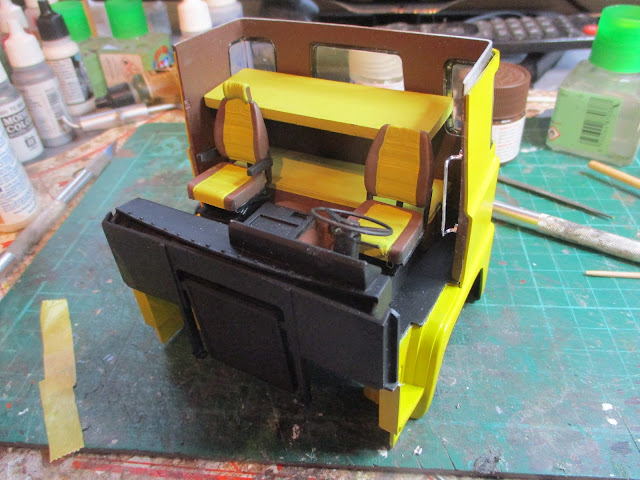
As I highlighted yesterday I needed to take drastic action to try to make the inner cab unit fit the outer cab shell on the Scania 141LB. First try was a lot of clamps and leaving the model on top of a radiator for a while. As the radiator is a central heating water filled one there was no risk of fire but always a risk of damage to the paint. The idea was that as the plastic heated up and became a little more flexible the clamps would pull it into place. That was the theory and the model was completely successful in proving  me wrong! Rather than breaking into a Basil Fawlty moment and threatening the model I sat back and thought that there was no other way remaining other than to be destructive so I could deal with the inner cab unit. I therefore had to be destructive! Out came all the cab innards and it was not easy as my glue joints were for some unusual reason strong! Seats, bunks and steering wheel all ended up on the work bench. It looked terrible!

Heller Scania 141 LB

I felt a bit like Edd from Wheeler Dealers with a stripped out cab putting right the underlying problems. I had to shave parts off the lower back joint of the inner cab part and file parts off where it matches up with the passenger door. I also had to cut  chunk out there and cut back and reshape and rejoin the part. The result was that the panel fitted apart from a gap at the side which cannot be seen. With that issue resolved it was back to putting the parts back in with the advantage that there was no annoying Mike Brewer telling me he had worked hard in having the glove box emptied! Anyway I am back to this and yes I have tested that the roof fits! 

Heller Scania 141 LB

With all the handling that the cab has had there are some marks on the paintwork which I am hopeful will polish out just like on Wheeler Dealers!


Tuesday, February 8, 2022

Pulling levers and turning wheels!

Another day at the Rocks by Rail Museum. Although there were only four of us there we got a bit more ballasting and track leveling done. With a minimal crew on hand I was allowed to pull a point lever which was a first for me and operate the chutes on the ballast wagon by turning the operating wheels which again was a first. I think I didn't make too much of a mess of it as the loco traversed the point OK and the ballast came out of the wagon in the right places!

Rocks by Rail Museum

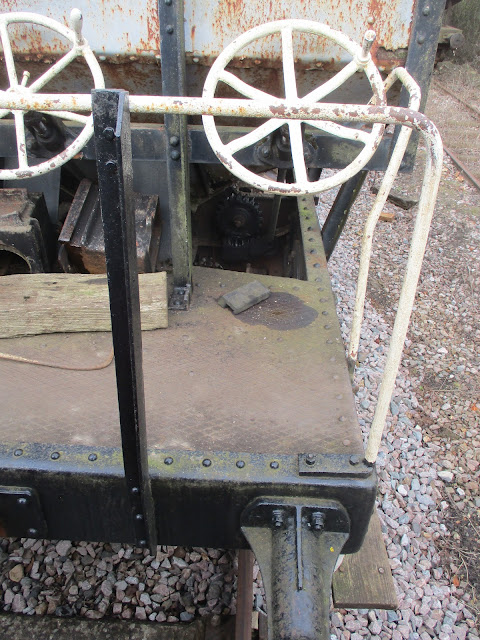
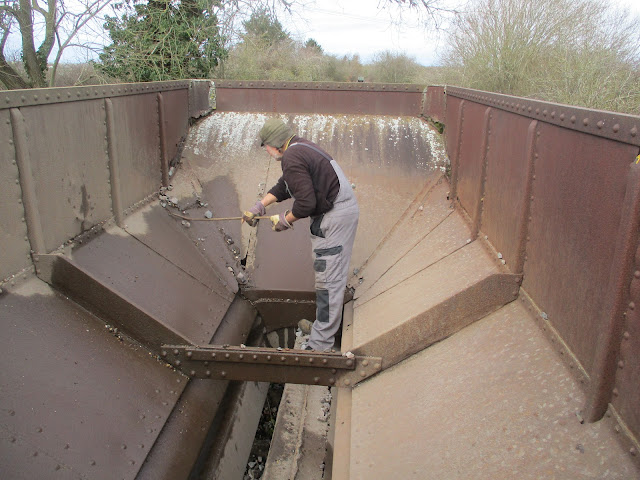
These are the wheels on the ballast wagon. There are three. The outer two open the side chutes whilst the middle one opens the one in the center of the hopper.

Rocks by Rail Museum

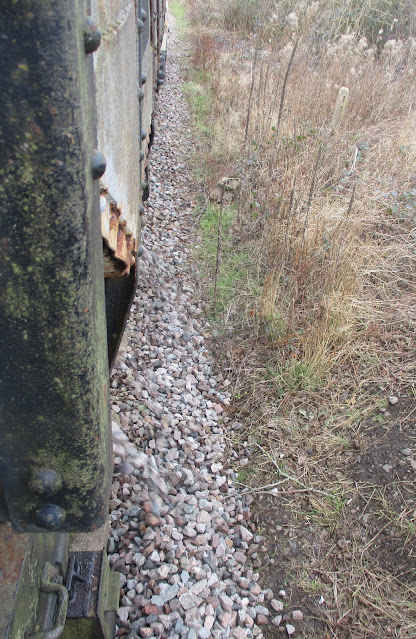
The ballast in the hopper discharges through the chutes....

Rocks by Rail Museum

and out of the side of the hopper.

Rocks by Rail Museum

There is always some ballast that refuses to come out so in this case Richard went in to poke it out.

Rocks by Rail Museum

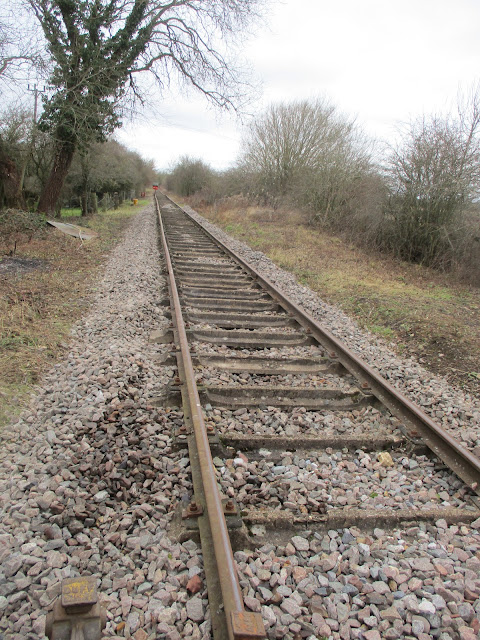
Looking at where we are now with the ongoing track ballsting and leveling shows just how far we have progressed. We started near to the engine shed in the far distance of this photo back in October.

Rocks by Rail Museum

We need to get down to that wagon in the distance on this photograph near that red board so probably over half way now. We need to be ready for the opening of the Museum at Easter so there is still a lot of work to do!

Rocks by Rail Museum

Walking down the track today I noticed that some of the concrete sleepers have the old WD or War Department mark on them.

Rocks by Rail Museum

These apparently date from the First World War. Not bad for being over 100 years old! 

On the Scania 141LB build my fears about dealing with warped and twisted parts and these causing problems have proved correct! No amount of pulling levers or turning wheels or even pushing and coercing the parts makes this problem go away!

Rocks by Rail Museum

I can see I will need to take some drastic action and get another larger swear jar!

Monday, February 7, 2022

Nerve wracking times!

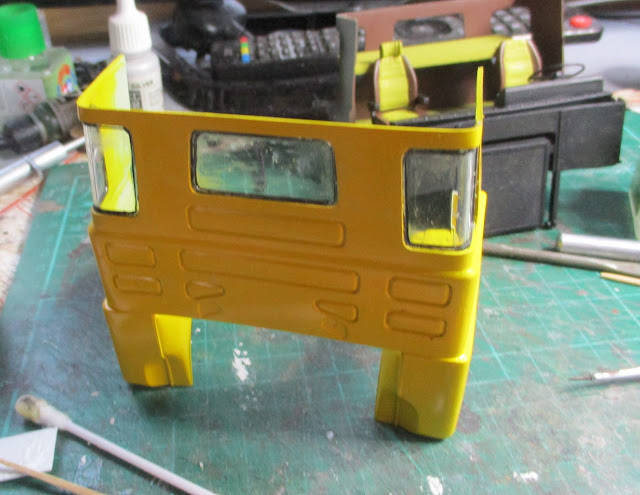
The time has come with the build of the Heller Scania 141LB to put the cab exterior around the cab interior. It is nerve racking as I am dealing with painted parts, glazing and with a kit that has twisted and warped parts that have no doubt caused some issues with the subassemblies which probably show up in yesterdays pictures. This particular part of construction could well see the need for a much larger swear jar! 

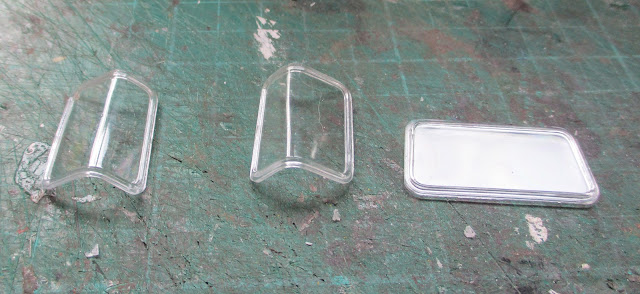
First job was to fit the glazing into the rear windows using Deluxe Materials Glue and Glaze which works well.

Heller Scania 141 LB

Heller Scania 141 LB

Once the glue is set I can then go onto the difficult part so there will be much trial fitting and no doubt shaving of parts to get it to all fit. 

I did have the opportunity to spray up the front bumper in white which can await fitting whilst I fill the swear jar!

Heller Scania 141 LB


Sunday, February 6, 2022

Getting there!

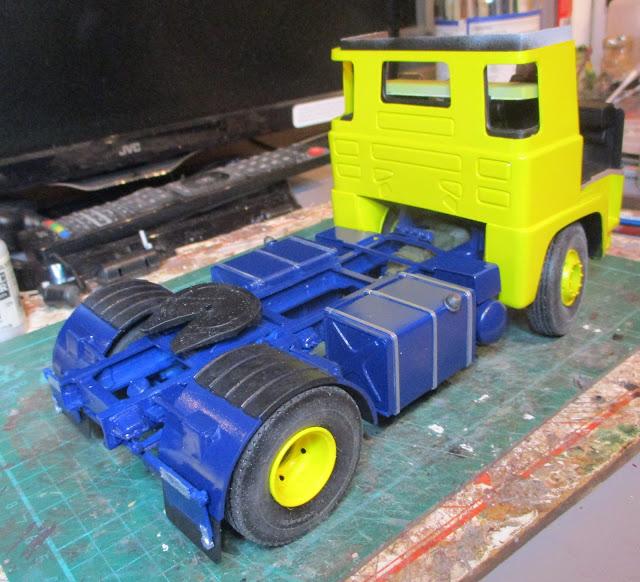
Getting there, is the usually response from me to Mrs. Woody's enquiries as to progress on her list of jobs. Getting there, is usually that unspoken code for, well its not really progressed much but I am working on it - honest! However with a day of doing various different jobs today and getting there with some of them, I did manage to fit in some model making between and in this case the model Scania 141LB is indeed actually getting there but don't tell Mrs. W! Some airbrushing, some gluing and some balancing of parts towards the end of the day to see what it will look like. The wheels still need attaching properly, the exterior of the cab is held up by a paint bottle but the interior is more or less finished as is the engine and the mud guards are now attached after another coat of black paint on the rubber parts. So here we are - getting there! Now where is that list of jobs......
Heller Scania 141 LB,

Heller Scania 141 LB,

Heller Scania 141 LB,

Heller Scania 141 LB,

Heller Scania 141 LB,


Saturday, February 5, 2022

Fuel for thought

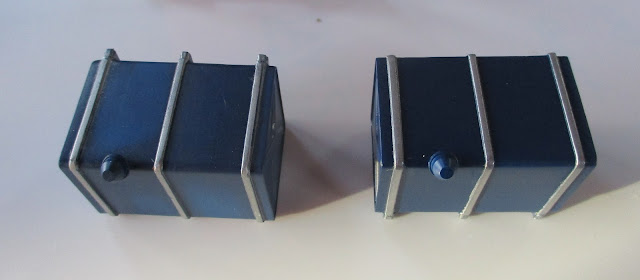
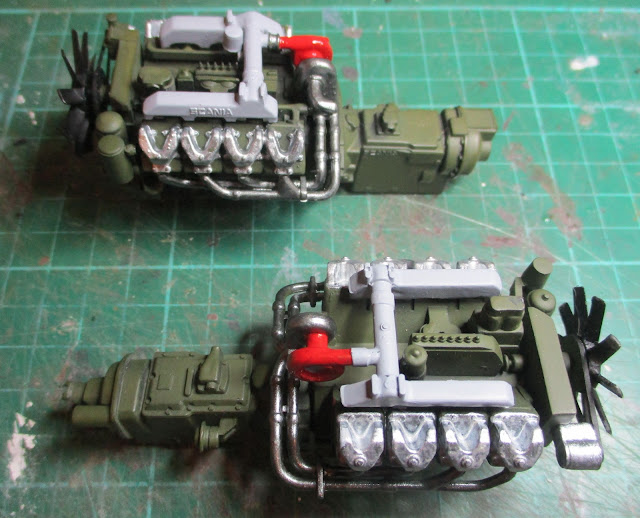
This evening I managed a couple of hours of work on the Scania 141LB. Thoughtfully, having painted the straps on the fuel tanks yesterday I was able to mount them to the chassis which gave that a bit more of a look of a complete chassis. I also have matt varnished the engine block as well as the one for the Scania 143 and applied a wash to highlight detail on both. The mudguards for the 141LB have also been painted, unusually for me, using a conventional brush. As it was a black matt paint used to represent rubber parts it should be OK. Putting it all together (the mudguards are yet to be properly attached) it actually is looking good to my aging eyes! The coloured engine certainly adds something.

Heller Scania 141 LB

Heller Scania 141 LB

I did grab a few minutes earlier toady to put a first coat of red onto the Scania 143 rear wheel hubs which I primed in white earlier last week. Red can sometimes be an awkward colour to paint as the pigment is not that strong meaning if you apply it with an airbrush it can look very washed out hence an initial coat of matt which has a denser pigment content then the gloss red which I will apply later. Actually sounds as though I know what I am talking about. Now that is fuel for thought! Wonder what Mrs. W thinks?

Italeri Scania Streamline 143H,


Friday, February 4, 2022

Masking it!

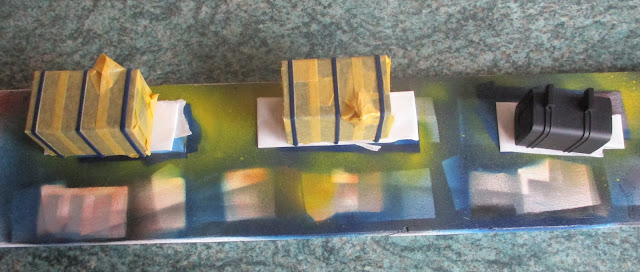
No not masking me up although some would say it might improve my looks! In this case I needed to paint the straps on the fuel tanks for the Scania 141LB in an aluminum shade of paint. I could have tried doing it freehand with a paintbrush but previous experience starting from my early days of childhood has shown me my inability to keep in the lines not only of colouring books but on models as well. So I needed to mask the tanks and then airbrush the silver paint. It took me almost an hour to mask the tanks up but it was worth it. Whilst the paint was in the airbrush I also painted the tank for the Scania 143.

Heller Scania 141 LB

Heller Scania 141 LB

Also taking time but not needing masking were various components on the engine so they look a bit more interesting now.

Heller Scania 141 LB

Heller Scania 141 LB

They need to dry fully and a coat of varnish will be applied before they both get a wash of black to highlight the details. This may sound a bit strange as black hides things but in this case the wash is a very dilute mix of paint that settles in the recesses and around the edges of the models which in effect highlights them. 

Putting my efforts together for the day there is not all that much to show but this is sometimes how model making goes - progress is masked by the detail!

Heller Scania 141 LB


Thursday, February 3, 2022

Instrumental times!

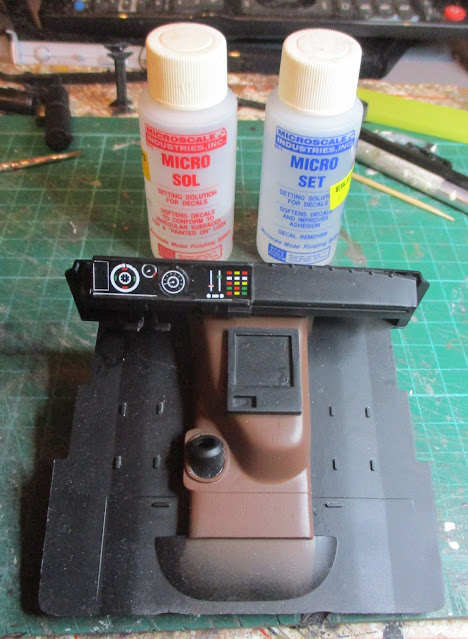
On the day the Country found out that average energy bills would go up by £693 a year I decided to loose myself in the Man Cave AKA The Room of Gloom for an hour this evening and forget about the impending price rise. My mind soon was on the next part of building the Heller Scania 141 LB which would be instrumental in finishing the cab interior and this was to apply the dashboard decals. These were included in the decal sheet and looked good.

Heller Scania 141 LB

Having cut them from the sheet with a new sharp scalpel blade they were dipped in water for a few seconds and I waited a few minutes for them to come free of the backing sheet. Despite the application of liquids designed to assist decal application namely Micro Sol and Micro Set the decals are very brittle and took some carful manipulation to get them in place. I am hoping the liquids do their job overnight to soften the decal so that it dries shaped to the surface of the dashboard.

Heller Scania 141 LB

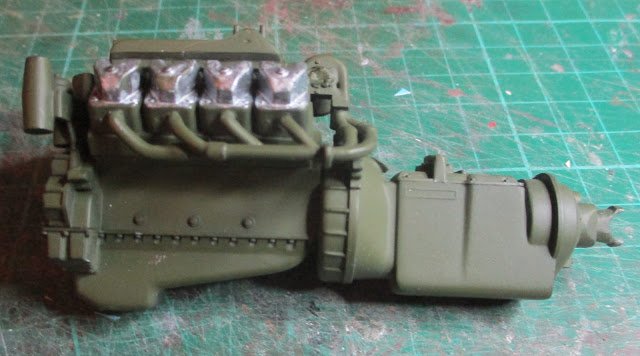
I started to paint in the details on the engine for this kit which is to paint the rocker covers in silver.

Heller Scania 141 LB

A painfully slow job but again another instrumental one in getting this kit finished. 

Wednesday, February 2, 2022

What can I do in 4 hours?

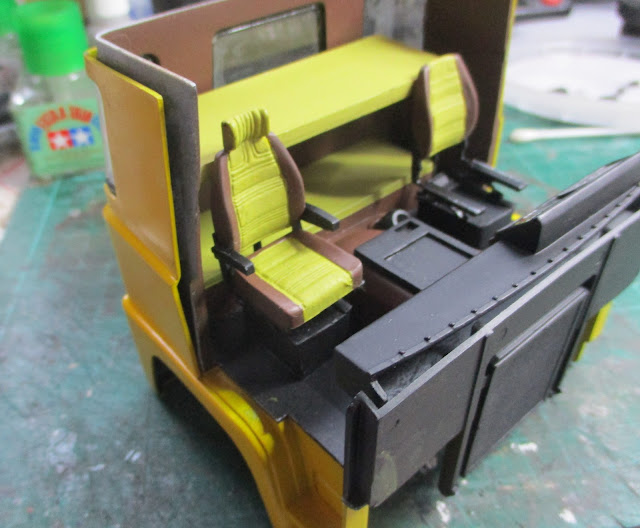
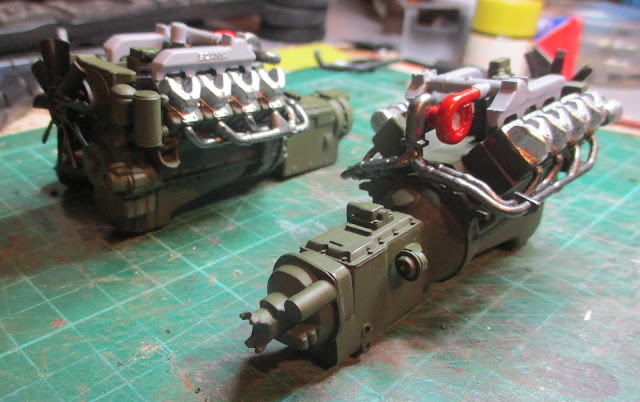
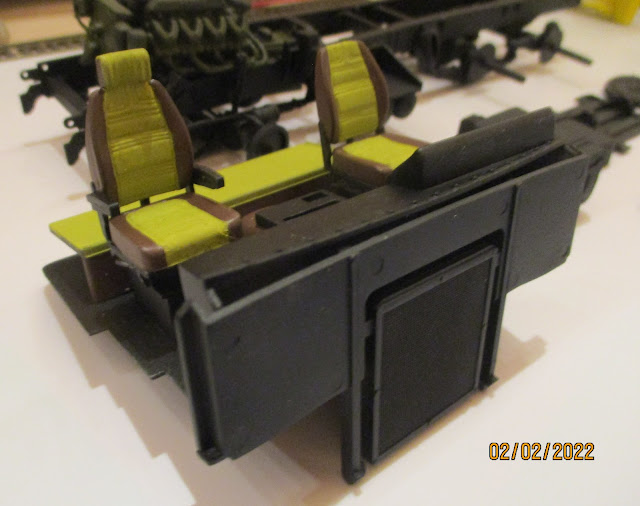
Mrs. Woody could no doubt find all sorts of jobs for me to do in 4 hours but not today. It was out with the airbrush today in her absence as I gave the Italeri Scania 143H chassis a painting as well the engine and a few other parts. The chassis looks better although with the base plastic being black it doesn't look to different. However the engine is now green so we have some differentiation in the kaleidoscope of colours! I also managed to do a bit to the cab interior of the Heller 141 LB with the seats now offering something comfy looking to sit on even if those 1980s fabrics may offend fashion conscious truck drivers!

Heller Scania 141 LB

Heller Scania 141 LB

I did also make a start on the wheels. The wheels themselves will be painted aluminum whilst the rear hubs will be red. The Italeri wheels are in two parts but leaving the outer part of the rim off at this stage makes the awkward job of painting the hubs a little easier so here they are primed in white which is a good undercoat for red.

Italeri Scania Streamline 143H

It may not look much but including giving the chassis of the Heller Scania another coat of paint this still took the 4 hours to do but it was enjoyable which is what all this is about not that Mrs. W's jobs wouldn't be fun but those will be for another day! 

Tuesday, February 1, 2022

Variety is the spice of life!

A day with a variety of things I like today. First off a bike ride which woke me up and then off to the Southwell Railway Society's first meeting since February 2020. Never been to the Society before but thought I would turn up following an invite and I had a really good time. There was a presentation from one of the members of old photographs of the railway system around the Whitby and Scarborough area. I know that area from numerous holidays so it was very interesting. I have paid my subs to join for a year but as Mrs. W tells me I should have waited in paying as I only go to places twice and the second time is to apologise! 

Following a lunchtime catch up with a good friend it was back to WMD HQ where I had a chance to add a few more bits to the Scania 143H chassis. It still looks much the same as it did yesterday so no photo but here are some previous builds. 

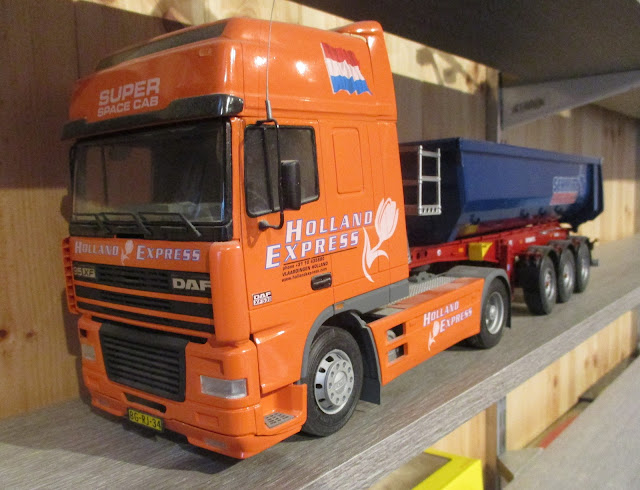
First off is the Italeri 1/24th scale DAF 95 truck built out of the box apart from a CB antenna back during Christmas 2000. I recall having problems spraying the cab as it was so cold - now that rings a bell with the build of the Heller Scania!. It is coupled up to a Italeri tipper trailer built back in 2010. I literally built the kit in a day but it took a week to paint it. Must have been my fastest build ever!

Italeri DAF 95

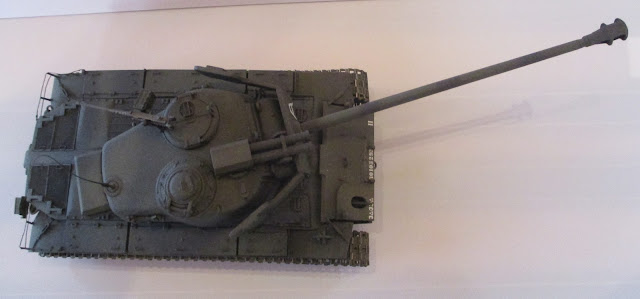
The second kit dates from about 2013 and is the 1/35th scale Hobby Boos kit of the Super Pershing T26E4 Tank. Developed by the Americans in response to the Tiger Tank that out gunned and out armoured most Allied tanks, the Super Pershing had a 90mm gun which on testing put a shell straight through a Jagpanzer IV and it embedded itself in the ground behind. The barrel of the gun was a bout twice the length of most other tank guns at the time. Unfortunately it only entered into service in January 1945 and only 20 saw active combat until the war ended later that year. 

Hobby Boss Super Pershing T26E4

Hobby Boss Super Pershing T26E4

To complete this day of variety will be a BLT for dinner but no spices, just mayo!