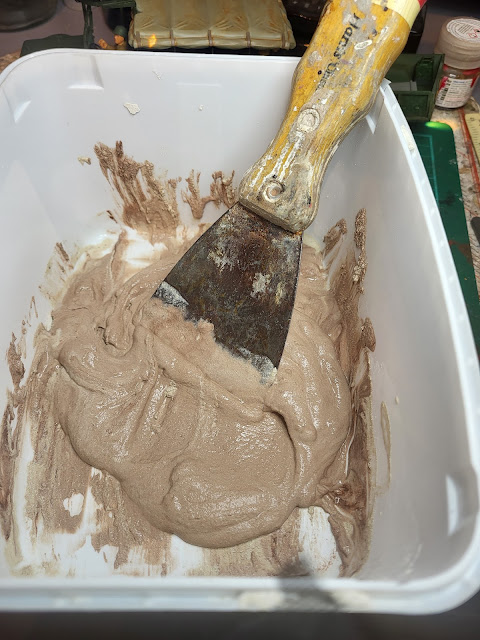
Not sure if I would actually make it to the Great Bake Off with my recipe but my ingredients certainly produced the right mix for my diorama base. Starting with a mixing bowl I added filler, brown paint, PVA and water - Mmmmm!
After a thorough mixing with this less than hygienic looking spreader it looked like this. Double mmmmmm!
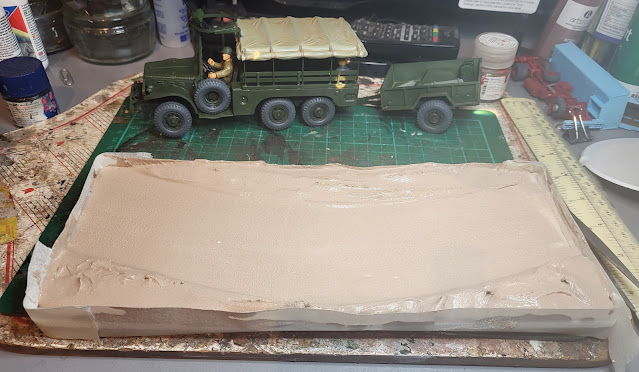
Having placed masking tape around the edges of my base to keep spillages to a minimum the mix was spread to create my desired landscape which was a lane on a slight curve.
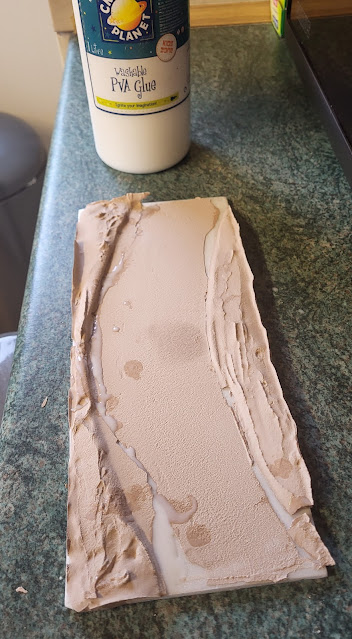
Left to dry in the kitchen (don't tell Mrs. W) things did not quite go to plan! It dried but despite the PVA glue to provide grip to the base there had been a slight warp during the night which loosened parts of the mix. Never mind! The art of the modeller is to recover from mistakes and as you know I make a lot of mistakes so I am used to making recovery strategies! In this case I glued the pieces back with PVA. It did not need to be perfect as it would be covered in scenic materials later.
Once that gluing session had dried it was time for yet more glue! This time for the lane surface.
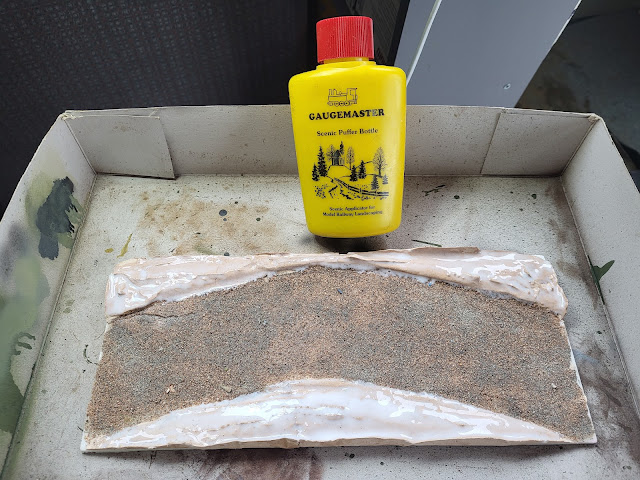
I brushed the PVA glue on and left it for 10 minutes to spread naturally. Then I spread my favoured road making material, kiln dried sand. It is perfect for this type of effect where I am trying to recreate a gravel lane. I bought a 10kilo bag years ago for about £1.50 and still have most of it so value wise it is great.
That Gaugemaster Scenic Puffer Bottle gives a hint of the next stage which was to spread yet more PVA and then apply static grass using the Puffer Bottle. Although I still need to tidy up the edges it certainly has made a big difference.
You may notice some decals appearing despite the issues I posted on a few days ago. More on that hopefully tomorrow. In the meantime I feel like baking a cake for some reason !


No comments:
Post a Comment