Search this blog

Thursday, September 8, 2022

The wood butchery continues as does the tank build!

I said yesterday that I was taking advantage of the warm weather to start the rebuild of My Last Great Project. What I had not taken account of was the rain! Much as we need rain here in the UK it did stop me from progressing with todays pretend carpentry session. I do have a nice dry garage which I could work in - if it was not full of junk! However progress and I now have a  almost finished matching frame to yesterdays efforts. I must be getting better at this wood butchery as the half joints in this one were so tight I had to use a hammer to tap them together! 

Hopefully tomorrow will see warm and dry weather!

My Last Great Project,

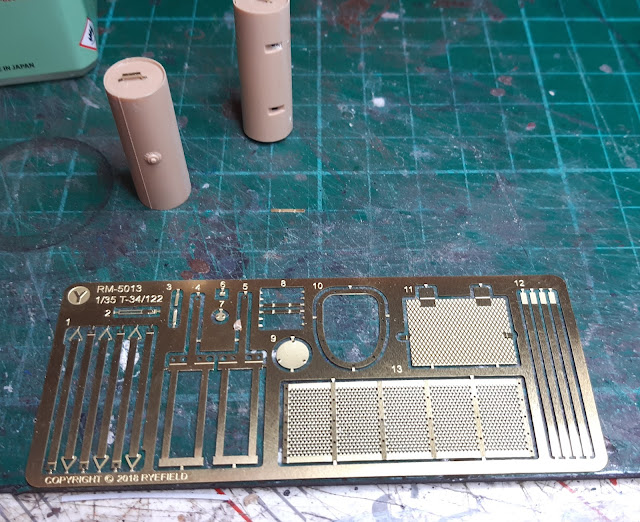
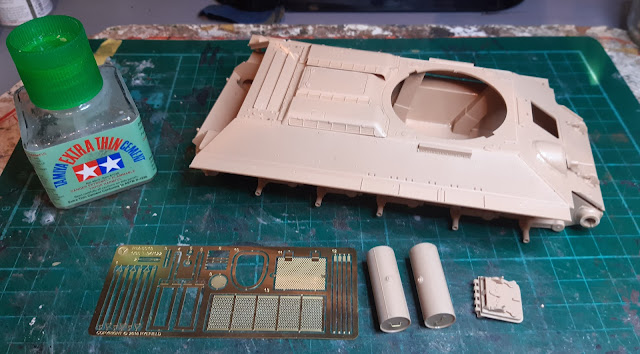
Progress on the T34/122 has now seen the external fuel tanks added. The etched cradles for the rear ones are not the greatest thing I have ever done so I will need to find some way of disguising my ineptitude with etched brass parts! However they are on and things can move on with hopefully not as much drama! Let us never talk of the etched brass parts again. However I bet we will!

Ryefield Models T34 122,


Wednesday, September 7, 2022

Starting this years lesson in wood butchery!

I blame it on Mr. Beecham - he of modelling and cycling prowess. There I was starting another session of garage clearing. I was going to sort my timber stock out and had taken some out. Mr. B arrives and says it looks like I am starting another project. Well I wasn't but after he left my mind started working which as Mrs. Woody says is always a dangerous event! I have been thinking for a long time about My Last Great Project 00 gauge layout. I constructed the baseboards last year and got a rough track layout down during last summer. 

The track layout works for me in general but the configuration of the baseboards does not. Without going into to many details it needs reconfiguration to open up the Man Cave a bit more. 

I have had in the back of my mind a plan to resolve that which will involve a fair amount of upheaval. Given that we still have some reasonable weather it suddenly made sense that whilst I had the timber out I might as well bite the bullet and start the project in the relative warm weather and it would save me having to put it back it the garage! Therefore I spent this afternoon sawing bits of wood and screwing them together to form a base which now needs legs adding. In fact my wood butchery skills even included two half joints which actually were fairly accurate - amazing! 

It doesn't look much at the moment but in my mind I can visualise the finished project. I just need to get that vision into reality!

My Last Great Project,

Hopefully Mrs. W does not mistake my wood butchery skills with those of a carpenter and draw up a list of carpentry type jobs!


Tuesday, September 6, 2022

007!

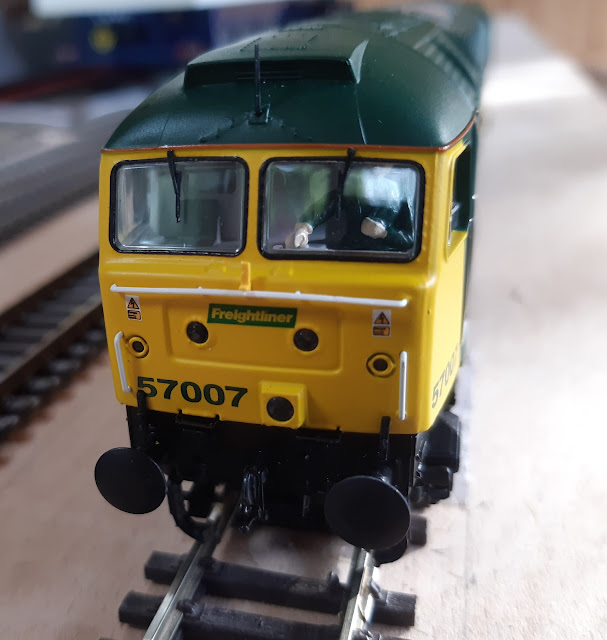
Not James Bond but a Bachman class 57 locomotive in Freightliner livery numbered 57007! It was my birthday present and it is beautiful - if you can see beauty in a diesel locomotive! I also got 5 limestone wagons for it to haul also in Freightliner livery. A really nice addition to the fleet. Thanks Mrs. Woody!

Bachmann Freightliner 57007

Bachmann Freightliner 57007

Bachmann Freightliner 57007

Bachmann Freightliner 57007

Bachmann Freightliner 57007

The T34/122 is still moving on although the etched parts are slowing progress!

Ryefield Models T34 122,

After a busy day at the Rocks by Rail Museum, where it appears that a lot of visitors have waited for the schools to go back before going on holiday, I think I will have a quiet night on the sofa!

Monday, September 5, 2022

My arch Nemesis - Etched brass parts!

It had to come! My affection for the guys at Ryefield Models almost disappeared when I found that I needed to construct the cradles for the external fuel tanks on the rear panel of the T34/122 in etched brass! I am half way there having constructed the cradle itself and just need to mount the plastic tanks on them and then use etched straps to fasten the tanks to the cradle. I fear a contribution to the swear jar coming up but I live in hope that things will go well. My affection for the Ryefield guys was partly restored when I did the rear engine panel. There is a choice of parts for a start. If you don't want to use the etch mesh then there is a part that has it moulded as part of the panel. I did opt for the etched part to mount in the panel and after a slight bend to conform to the bend in the panel itself it just fitted. No fuss, no issues, no problems! Nice! 

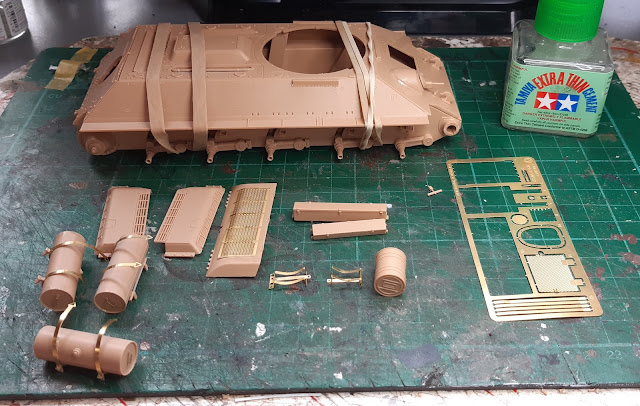
I have also glued the upper hull to the lower hull as although the instructions leave this to the end of the build I could foresee potential problems. The two panels did not fit exactly without putting pressure in certain places. As you can see from the photo I have used elastic bands to pull the two parts together whilst the glue dries. Try doing that with a fully detailed upper hull and it is likely that you will be doing some repair work afterwards. I cannot see any reason not to put the two parts together at this stage but I have been caught out before!

Whilst it may not look as though much has progressed from yesterday there are a couple of hours worth of work (don't tell Mrs. Woody) since the last photo - most of it being consumed in dealing with my arch Nemesis etched brass parts! However not much of that left now - Brilliant! 

Ryefield Models T34 122


Sunday, September 4, 2022

That special day - 18 'til I die!

Another year gone by! However as the great Bryan Adams sung - 18 'til I die! 

It was a great day. Started with a 25 mile bike ride then Mrs. Woody gave me a card (including one from the cats!) and a few presents which included some model railway stock which I will talk about another time but this box of goodies did look ever so inviting....

There are three layers of various chocolate bars - I can already feel the weight gain!

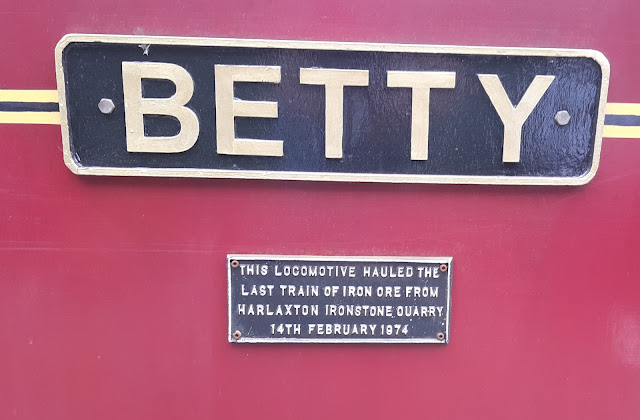
Off to the Rocks by Rail Museum after that where I visited as a guest and did a Driver for a Fiver getting to be at the controls of Betty whilst Mrs. W watched me! We did not crash!

Rocks by Rail Museum

Rocks by Rail Museum

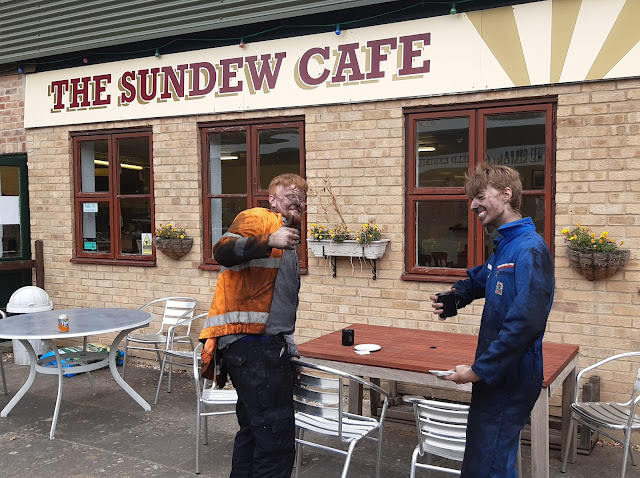
There aws lots going on with some of the volunteers cleaning the fire box of one of the steam locos or trying out for an audition as a chimney sweep!

Rocks by Rail Museum

Not sure if Mrs. W would allow me back in the house if I came home looking like that! They were enjoying it though!

It was then off to the Ropsley Heath Light Railway which doesn't open to the public very often so being my Birthday I thought it must be specially for me! They had a great deal there with Alpacas...

Ropsley Heath Light Railway

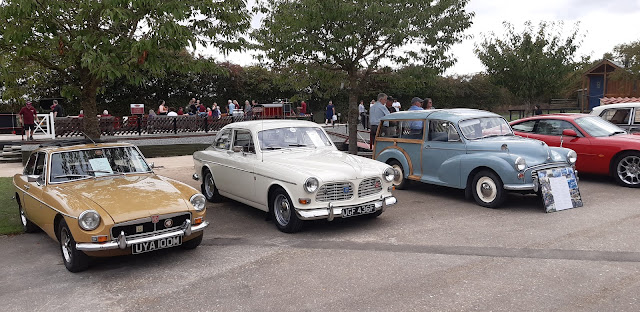
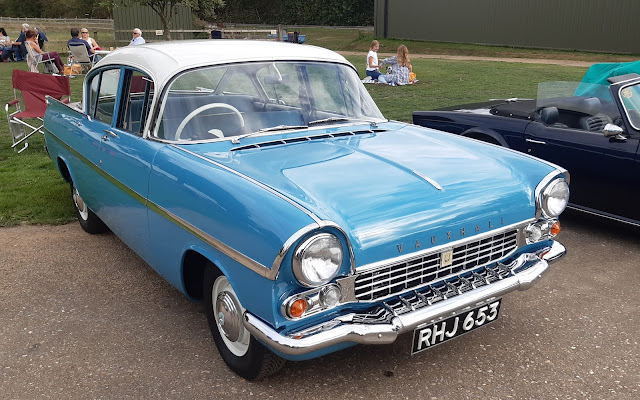
Classic cars....

Ropsley Heath Light Railway

Ropsley Heath Light Railway

Ropsley Heath Light Railway

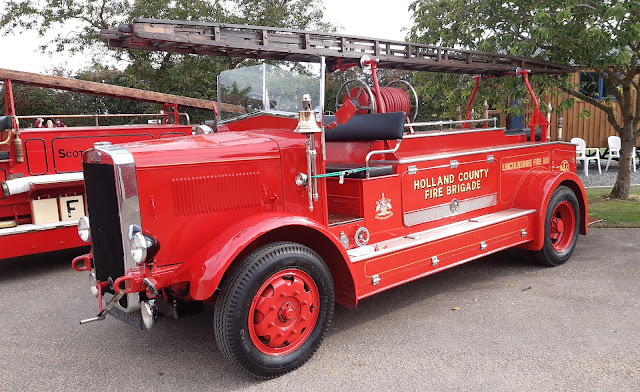
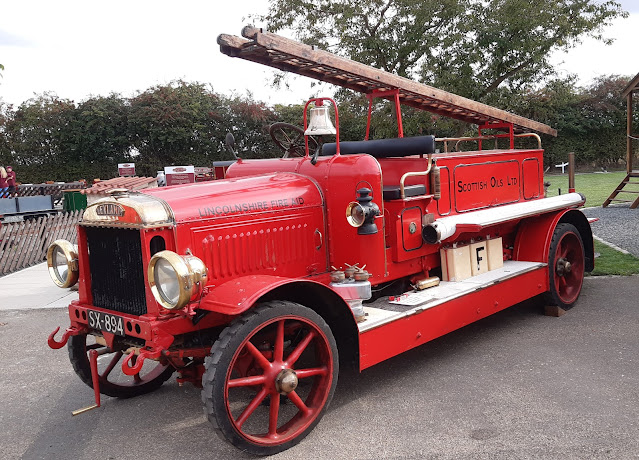
Classic fire engines

Ropsley Heath Light Railway

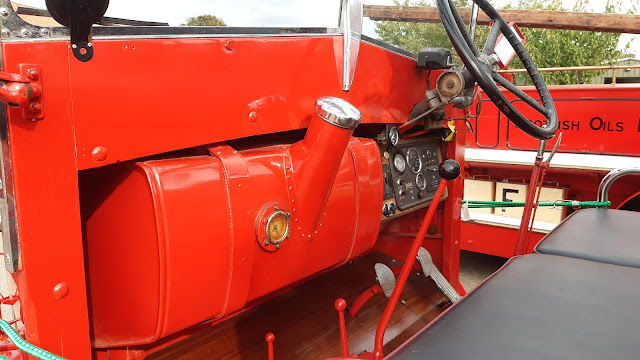
would you want to ride this with the petrol tank right in front of you?


Ropsley Heath Light Railway

Ropsley Heath Light Railway

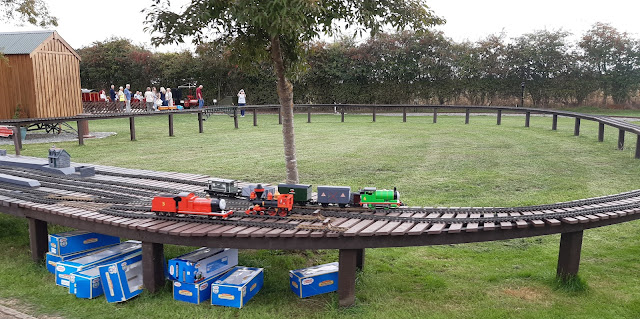
There was a garden railway...

Ropsley Heath Light Railway

Then there was the main attraction - the 10 1/2 inch gauge line which runs a half mile lap. There is a diesel and a steam engine and we managed to ride on both! 

Ropsley Heath Light Railway

Ropsley Heath Light Railway

Back at WMD HQ Mrs. W cooked me a great birthday meal and I then even had time for an hour on the Ryefield T34/122 where the external fuel tanks are coming along!

Ryefield Models T34 122

A really great day - Thanks Mrs. W! 

Saturday, September 3, 2022

Surprising!

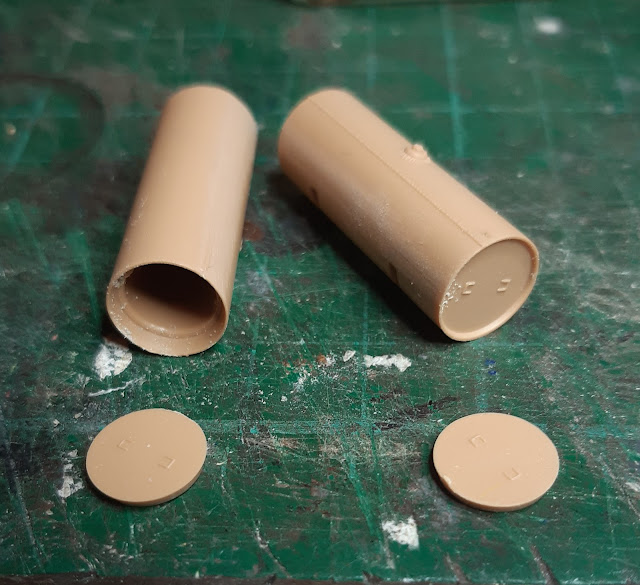
As I continue the build of the Ryefield Models Egyptian T34 122 I have been surprised - pleasantly! Having built the MiniArt and Italeri kits of T34s I am used to having to glue the various external fuel tanks together with the tank being made of two halves and two ends. Once dry the joints between the two parts of the tank have to be sanded to make them invisible - a job which I never relish and to be frank one where some problem usually manifests itself with the circular tank becoming more oval in shape as a result of the sanding! I was therefore pleasantly surprised when starting the fuel tanks on this model to find the tank just consisted of two parts.

Ryefield Models T34 122

Brilliant! However the joy was short lived when I found that the grab handles on each end of the tanks were made of my arch nemesis material - etched brass!

Ryefield Models T34 122

However, maybe because of my experience gained from the recently built MiniArt kit where etched brass parts abounded or maybe because the brass appears a little thicker and therefore stronger or indeed a combination of both, things worked out quiet well. I glued the brass to the plastic tanks with Tamiya cement which in effect softens the plastic and the brass then bonds to it. May not be the right way but it works for me!

Ryefield Models T34 122

With a few more additions to the upper hull, surprisingly, this build is still progressing well!
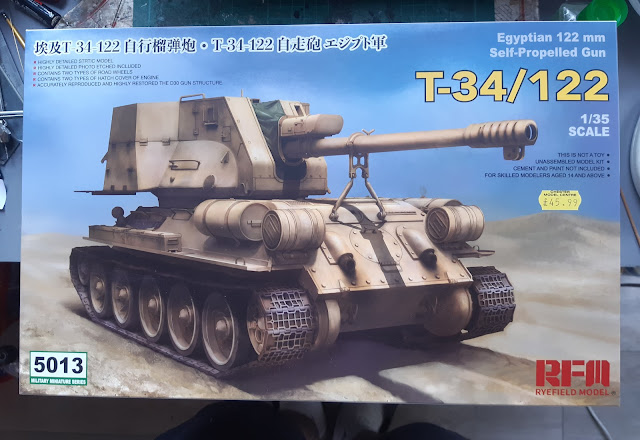
Ryefield Models T34 122

Not sure if anything will get done tomorrow as it is that once in a year day for me with another year added to my age. Woody is getting old in body but not in mind which is not surprising to Mrs. Woody who says I am a child at heart!

Friday, September 2, 2022

Good progress!

Some good progress on the T34/122 kit with all the wheels now prepared and ready for painting and work now focused on the upper hull.

Ryefield Models T34 122

Rapid progress perhaps reflects the relative simplicity of the kit but the details are there and present when you compare the hull to the Italeri and MiniArt kits I have previously built. This kit has more of the feel of a Tamiya kit where there is good detail but you don't need the skills and dexterity of a brain surgeon to build it. Hopefully I have not made my opinion too early on this kit and that it continues in the same vein as assembly moves on.

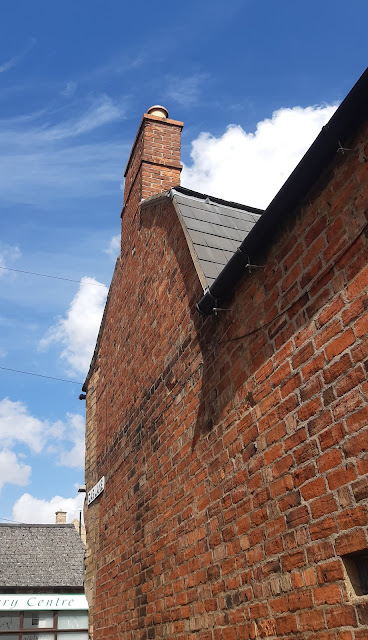
As an aside I was looking back on some photos I took yesterday whilst out with Mrs. Woody in Stamford, Lincolnshire. As modellers we sometimes get too focused and even obsessive on ensuring that everything is built in a straight line and is true and even. This is not always reflective of true life and I did spot this chimney on a building near to the town centre.

Stamford

Its not the cameras focus. The chimney really is leaning that much. The pointing on the brickwork looks good so I can only assume that it is structurally safe but in a gale I would rather not be sleeping in the room directly below!

Thursday, September 1, 2022

Unusual!
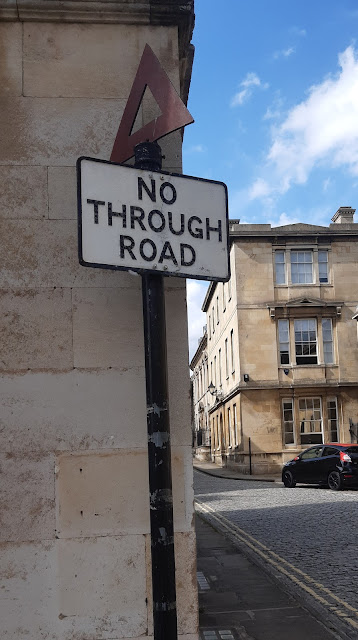
Mrs. Woody is off work for the next few days so we had a day in Stamford. The town is unusual in that it is a very historic town with much of its Georgian character retained to the extent that it is a sought after back drop to historical film and TV productions. However on our walk around some of the back streets I did come across this rather unusual road sign that dates back to the pre 1960s and should no longer be in place on the public highway. However it does now have that historic charm so it survives and rightly so in my view! Looks far more in character with the surroundings then the modern high visibility signs do.

Stamford

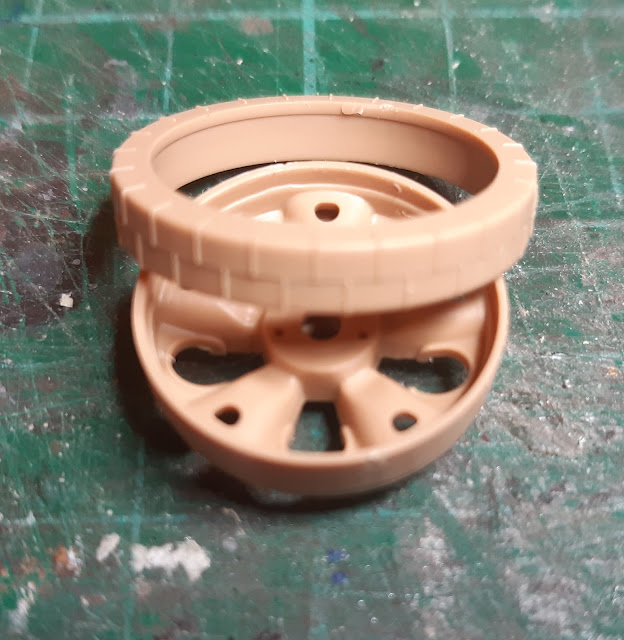
On another unusual matter I managed a bit more on the Ryefield Models T34 122. The front panel to the hull along with its various tow hooks is in place and attention is now on the wheels. I have built a lot of tank kits over the years and it is always a fiddle to paint the rubber tyres on the wheels. However Ryefield have adopted an unusual way of moulding the wheel which I have not seen on other kits. The rubber tyre and steel wheel are separate items.

Ryefield Models T34 122

This means that I can paint the wheels and tyres seperately before gluing them together which will be so much easier. Something going easier for me? How unusual!

Ryefield Models T34 122

Although a bit fiddly to cut away cleanly from the sprue I have managed to get the parts ready for 10 of the 24 wheels. I might finish them by the weekend - that rate of progress would be unusual for me!


Ryefield Models T34 122


Wednesday, August 31, 2022

Watching planes and a new project starts!

After an early morning of cleaning the house (hope you read this Mrs. Woody) it was off for the last bike ride of August. I had a plan of where I was going but just like most of my plans it changed! I ended up, having climbed a couple of 11% hills (and my legs are still feeling that) at the side of a Royal Air Force base where they do flying training. Today they were flying and a gap in the hedge alongside the base gave me a great view of the planes waiting clearance to takeoff once others had landed and then gracefully taking off. I know nothing of the aircraft that were being used other than they were trainers (Mr. Beecham with his encyclopedic of aircraft will no doubt be able to educate me on this matter) and have a distinct fear of flying but somehow found it fascinating watching what was going on. So much so that 45 minutes went by before I moved on.

Aircraft

Taking advantage of gravity taking me down the previously crawled up hills and a with a following wind WMD HQ was reached far quicker on the return journey then on the outbound one. Mileage wise the 27 miles took my total for this month to 690 with a total for this year of 4220. I have racked a lot of miles, for me anyway, in the last two months with 680 in July so the target of 5200 for the year is looking feasible.

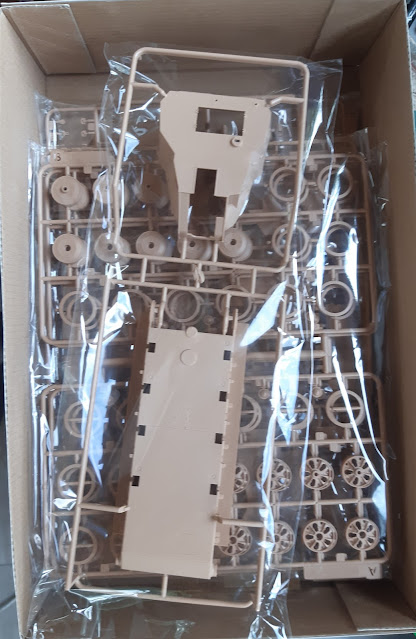
Back at WMD HQ the Italeri Scania cab has been put to one side as I leave it for a few days before looking at the paint issue with a fresher and clearer mind. So what do I do whilst that project is on hold? Well in true Woody style I start another kit! No not an aircraft following my earlier observations, although in true Woody style there are some aircraft kits in my yet to be built collection of kits.

Border Models T34 122

I thought I would complete my trilogy of T34 tanks. I built the Russian WW2 one last year where it represents the tank in its early incarnation, then the Egyptian 1950's one this year which shows the tank as a 'second hand' tank in new ownership. This last model shows the tank in effect repurposed with the chassis being used to mount a new turret with a 122mm artillery gun in it. 

The kit is certainly not as complex as the MiniArt Egyptian version or indeed the Italeri kit of the Russian version where the interior was included. Whether that equates to an easier build is yet to be determined! The kit is well packed and all the sprues are in plastic bags so parts loss is unlikely.

Border Models T34 122
Todays assembly saw so rapid progress for the short time available with the running gear almost in place. Certainly the complexities of the MiniArt kit are not missed by me so far and the one piece hull certainly means it less likely that I will get a twisted hull!  More progress soon unless I am cleaning or watching aircraft with the former more likely than the latter if Mrs. W has any involvement in this matter!

Border Models T34 122


Tuesday, August 30, 2022

That sinking feeling!

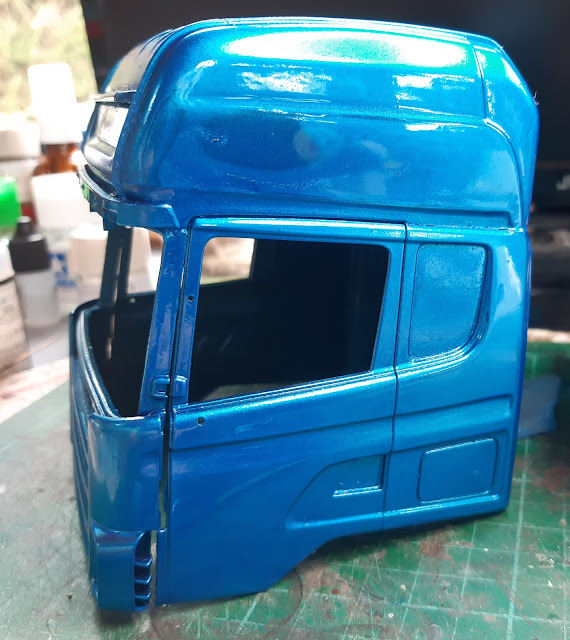
Not that I have been on any water borne mode of transport that has failed and sunk but a quick update on the Scania. I rubbed down the various imperfections that I talked about a couple of days ago and resprayed the areas. It did not go well and I had that sinking feeling when things keep going wrong! 

Italeri 799 Scania with Cool Fruits trailer,

Italeri 799 Scania with Cool Fruits trailer,

Obviously things are not going to plan so I am going to do the wise thing and put it to one side and leave it for a few days and review whether I strip it and start again or try something else! Stay tuned!