Search this blog

Monday, December 18, 2023

Spitfire, Land Rovers and hedges - a typical day in the life of Woody!

A visit from that great modeller Mr. Beecham today. Always good to see him and have a chat and see his latest proliferation of models. Top of the bill is this 1/24th scale Airfix Spitfire.

Airfix Spitfire 1.24 scale

Airfix Spitfire 1.24 scale

Airfix Spitfire 1.24 scale

At 1/24th scale it is a big model with lots of detail all brought out by the model making skills displayed here. It is certainly a different model to the earlier releases by Airfix in this scale and the removable panels almost feel like etched brass rather then plastic.

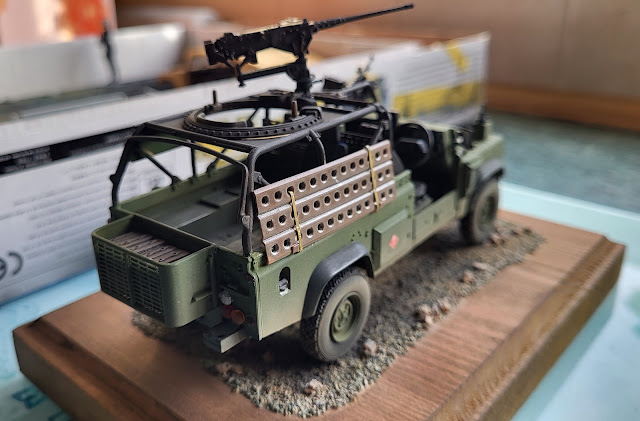
This Land Rover also is superbly built, painted and weathered. It is a 1/35th scale Hobby Boss kit and full of detail particularly with the armament.

Hobby Boss Land Rover

Hobby Boss Land Rover,

Finally a project in the making. Apparently Mr. Beecham was given the figure of a lady 'with attitude', and he decided she needs a vehicle to match, hence the Italeri Hummer! He did say it will be painted black. My suggestion of pink did not seem to strike a chord! I will wait to see the final outcome.

Italeri Hummer

Meanwhile, back in the mediocre World of my model making, I have been hedging my bets by continuing to try to finish off Chalkdon my 009 layout with, hedge making! 

As my duties include washing up Mrs. Woody has not noticed this scouring pad missing.

009 gauge layout

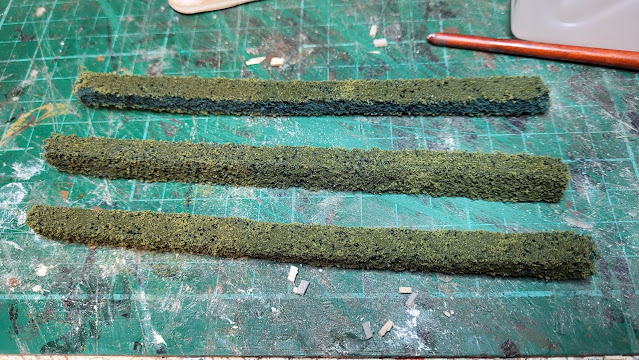
Scouring pads can make excellent model hedges and I cut off 3 strips about 1cm wide.

009 gauge layout

These were then coated with PVA glue.

009 gauge layout

With a coating of PVA the Woodlands Scenics Fine Turf was brought ut.

009 gauge layout

The fine turf was sprinkled on to the wet PVA.

009 gauge layout

Once finished and allowed to dry I had 3 strips looking hedge like!

009 gauge layout

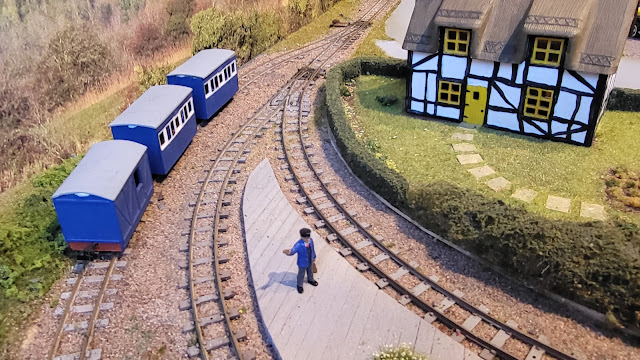
They were then cut to length and glued around part of the thatched cottage garden.

009 gauge layout

I think it looks good!

Sunday, December 17, 2023

Hiding the join!

 Hiding the join is something that model makers usually spend a great deal of time on as it adds to the realism of the model. Sometimes it is easier than others but for me the hiding of the joint between the garage forecourt and the road surface on Chalkdon my 009 gauge layout was a reasonably easy job. Originally made of two pieces of card butted together the join between the two has always been evident but as I seem to be in the right mood to tackle all these small jobs at the moment I thought it time to take care of that. All it took was some PVA glue carefully applied to the join and a sprinkling of kiln dried sand to match the forecourt and all was well!

009 gauge layout

009 gauge layout

Whilst the sand was out I also ballasted the point leading into the wharf. Another job done!

009 gauge layout


Saturday, December 16, 2023

Red sky at night!

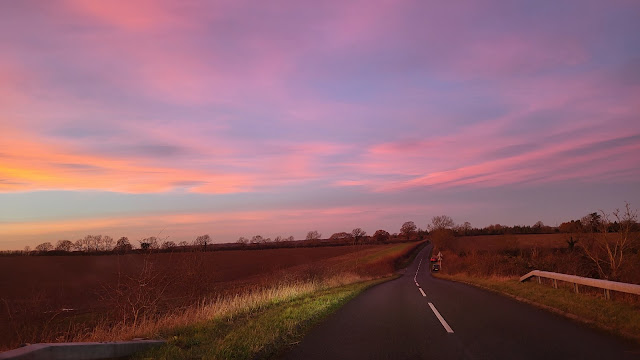
I am not a shepherd but as the old saying goes, 'Red sky at night, Shepherds delight!' So hopefully tomorrow will be a good day weather wise if these pictures are anything to go by as I brought Mrs. Woody back from a no shopping no spend afternoon out!

Sunset

Sunset

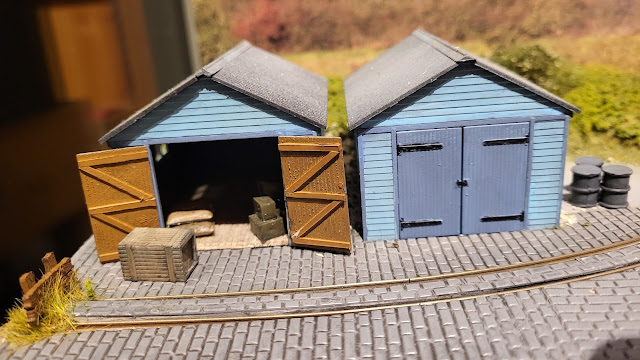
Back at WMD with my wallet happily resting from a quiet day out and having got the buffer stops in place and added vegetation to the hill on Chalkdon, it seemed like a good idea to actually permeantly fix the two sheds of Two Shed Fred Trading in place! As one of the sheds has open doors and it is supposed to represent a trading company it seemed only sensible to add the various crates and sacks I had prepared months ago. Miraculously, I managed to find those items relatively easily! 

009 gauge layout

When I built the sheds, which was last year, I did leave the doors of one open just for the purpose of posing some activity. The crates, boxes, sacks and drums were randomly glued on the shed floor and outside of it. I think that looks good!

009 gauge layout

Another job done so hopefully with the promised good weather of tomorrow I may get on with some more of these finishing off jobs or then again Mrs. W may want to go shopping! 

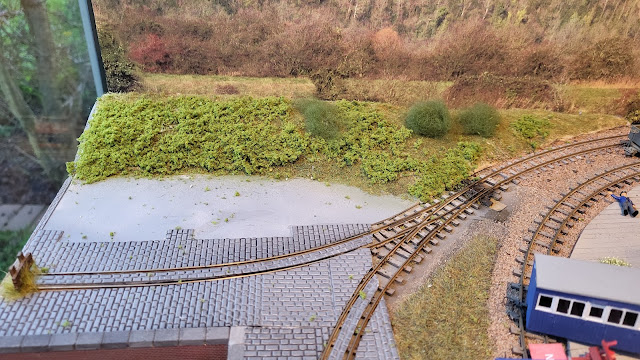
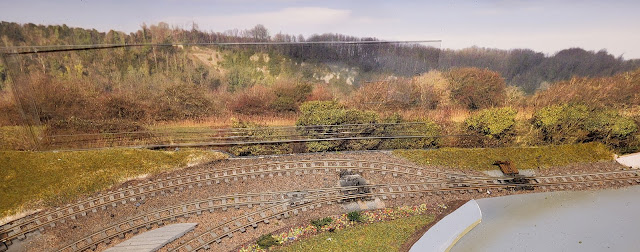
With all these jobs going on there are some interesting wider shot images which begin to take on that 'finished' look like this one - I like that!

009 gauge layout,


Friday, December 15, 2023

More buffer stops!

Following on from yesterdays buffer stop bodgery, the other siding has now had similar treatment to fit a buffer stop. As you may see the cobbles needed gluing back down in certain areas anyway. 

009 gauge layout

With some further butchery and brutality to the track similar to yesterdays adventure, the buffer stop was fitted. Whilst I was working on this part of the layout I decided to add some more vegetation to the hill behind the shed as there were a few bald parts which had been missed with my initial application of static grass. Wanting a bit more colour and texture variation, I used PVA glue, applied randomly but to hide the bald spots. This was covered with Woodlands Scenics medium turf mix as well as some of their poly fiber onto which flock powder was then spread once more PVA had been applied. The whole lot was then treated to a soaking of dilute PVA applied with a syringe. It certainly looks more in keeping with the other parts of the layout's greenery as well as the background scene.

009 gauge layout

Well, that is all the buffer stops now installed so the sheds can go back in place once the greenery is dry!


Thursday, December 14, 2023

A buffer in place saves a fall!

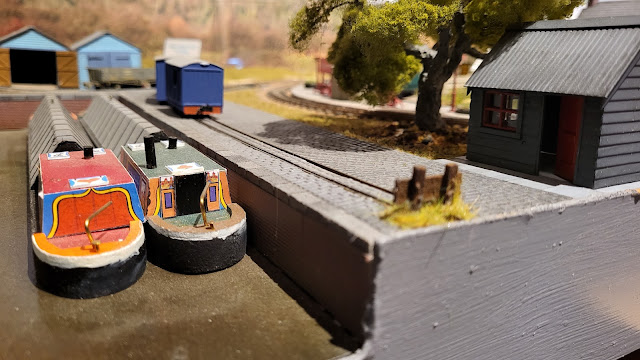
Time to put a buffer stop on the wharf siding on Chalkdon my 009 layout. Up until now nothing has been in place to prevent rolling stock running off the edge of the layout and taking a near scale 250 foot drop down to ground. Like Elon Musk's recent rocket launches, this would be a 'Rapid Unscheduled Disassembly'! However unlike Mr. Musk's seemingly bottomless wallet which appears unharmed by such unscheduled events my wallet, especially after yesterdays tyre expenditure, cannot afford to see a rapid unscheduled disassembly of rolling stock so the installation of a robust buffer stop is advised!

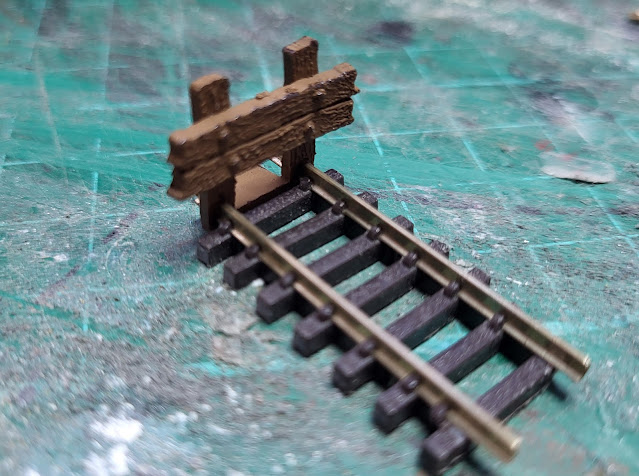
The Peco buffer stop is ideal as it is robust and the rails actually thread through the uprights, as shown in the photo below, which together with a solid base means that once installed it should be almost immovable unless hit by a 00 scale Musk rocket!

009 gauge layout,

Fitting it to an already built up area was not going to be easy despite part of the cobble surface having bent up and needing gluing down.

009 gauge layout,

However, some brutality with various tools saw parts of the cobbles cut back ready for the installation. I did also need to cut part of the sleeper base away from the rails. It may not look pretty at the moment but that can be sorted out in my usual manner of bodgery!
 
009 gauge layout,

With the necessary cutting done the buffer could be installed and glued in place with superglue just to make it extra secure.

009 gauge layout

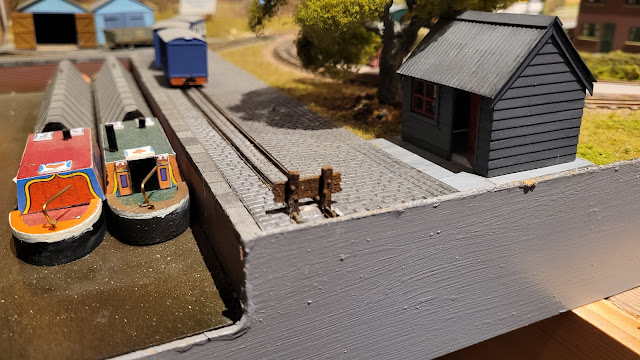
It doesn't look to bad but standby for bodgery! As in real life where weeds and grass grow around things in a hard surface because detritus usually accumulates over the years allowing such growth, my model takes the same approach with grass growing around the buffer and hiding what lurks under it! I think that works well! At least my rolling stock cannot rapidly disassemble by plunging off the edge anymore! 

009 gauge layout

One down, one to go with the siding up by the two blue sheds in the background of the photo needing a buffer stop too! A bodge job for tomorrow!

Wednesday, December 13, 2023

Punctured!

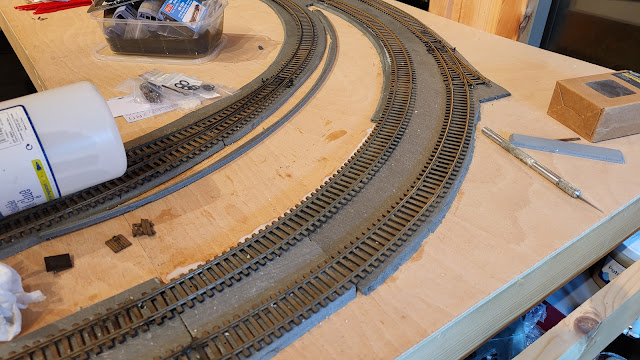
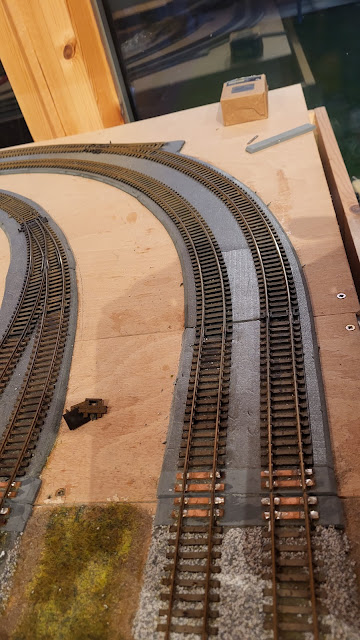
My hopes of getting into the Man Cave for long today were deflated by the slow puncture on one of the rear tyres of my car. I didn't know until the dashboard display told me the tyre pressure was low. Stopping to look at the suspect tyre revealed that it was a slow puncture so after an interim inflation with a pump it was off to the garage for hopefully a not to expensive repair. Not quite the case though as on the ramp there were about 15 pieces of metal in it which condemned it to being replaced. Luckily, none of the other tyres were affected.  Anyway having paid a sum of money that has severely dented my model making budget I was back on the road and back to WMD HQ. There was a  chance for some time in the Man Cave and so not having time to do what I wanted to Chalkdon my 009 layout, I did some tidying up of the underlay to the track on my Last Great Project 00 gauge layout. Much the same as other parts prior to ballasting, I cut the underlay back to the edge of the sleepers and then added a precut and chamfered strip of underlay to give a more consistent profile that will make the finished ballast look better.

As you can see from the photo below the right edge of the underlay was looking a bit rough. You can also see the left side has already been trimmed and a new strip of underlay has begun to be glued in place.

My Last Great Project

With both sides complete it looks far better. Just need to go the track on the far left side now. At least underlay cannot be punctured!

My Last Great Project

Tuesday, December 12, 2023

One of the good things about having a Man Cave which Mrs. Woody rarely visits is that I can be as untidy as I want without repercussions! However there comes a time when even the convenience of having tools and materials close to hand is overcome by that fact that I can't find them because they are hidden under even more materials and tools. So today it was a time for a clear out and the recycling bin was recipient of a fair amount of stuff. Apart from wondering why I had kept hold of certain things I was a bit shocked at how dirty my door mat had become. It is a carpet sample but does the job. There was a piece of tape over one corner of the mat which was wearing through so I pulled it off to reveal the original colour.

Man Cave

Think I need to clean that in the Spring once the mud from the garden dries up!

A number of kit boxes were sent to the recycling bin. The strange ritual I have is to take a photo of the kit box top. Don't know why but it is perhaps just to remind me that I have  built the model which is equally strange as I have the built kit on a shelf!

Italeri SU-100 assault gun

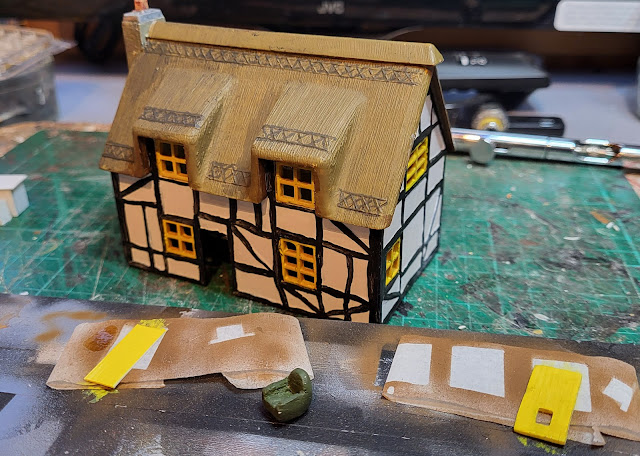
I did have some time to progress with the work on the buildings for Chalkdon with the doors now fitted to the thatched cottage and the furniture for the garage sprayed up.

009 gauge layout,

009 gauge layout,

Hopefully I can still find what I need to carry on progress with the buildings after all this cleaning up!


Monday, December 11, 2023

Chocolate Box picture.

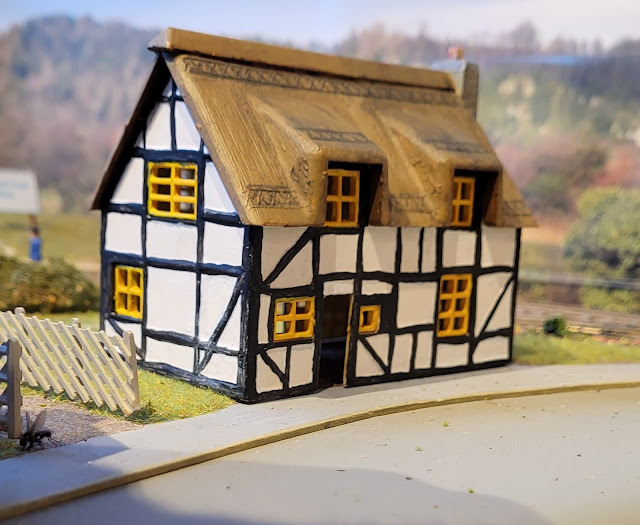
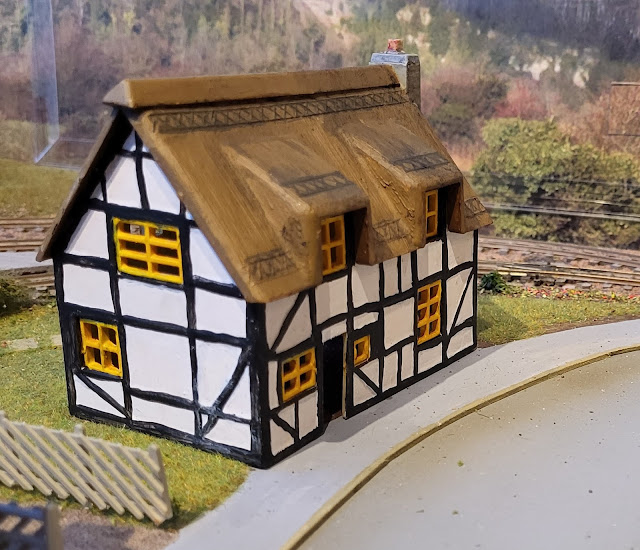
Well, perhaps not the picture you would find on a quality box of chocolates but thatched cottages do frequently feature on the box covers of some but not the ones I buy for Mrs. Woody! So here is my rendition with the thatched cottage that I am repainting for my 009 layout Chalkdon.

009 gauge layout

009 gauge layout

It still needs the doors fitting so at the moment it may look a bit derelict so might actually feature on the box of chocolates that I buy Mrs. W!

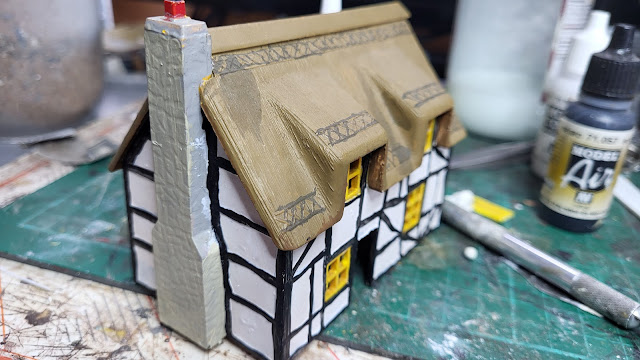
The stone chimney was repainted and various shades of a stone coloured paint was applied to random stones followed by a wash of dilute black paint that was also applied to the thatched roof.

009 gauge layout

I have cut out a new door to replace the missing one and once these are attached I think I will call it a day. The armchair for the garage is painted up ready to go into the building along with the other bits constructed a few days ago.

009 gauge layout

009 gauge layout

Now, where are those chocolates?

Sunday, December 10, 2023

Butterfly!

If you have read this blog at various stages throughout its life you will know that I tend to have a number of projects on the go at any time and tend to wander and drift from one to another, much like a butterfly, without much planning and indeed introduce new ones on a random basis. That does tend to be my way of operating and no doubt some people find it strange and could not work like that themselves. For me though, it general does work. If I loose interest in a project or need to put it to one side whilst I come up with a solution for a problem I will. Nothing worse then having to do something that you are not in the right frame of mind to do - there is enough of that in real life money earning work not to have to do that in the spare time! Usually an old project comes back on the bench because something has happened to reinterest me like going to a model show, some form of media article or just talking to people which suddenly reignites that desire to get on with it. 

The above probably explains why Chalkdon my 009 gauge layout is suddenly getting attention again. It has stood over the Summer basically untouched but not forgotten. Going to the Sleaford Model Makers Show last month sparked off my desire to work on it again having bought some 3D printed models for it. The building of a couple of those has led to a rekindled interest with other things such as the level crossing gates featured a few posts ago, the ballasting and furniture making that were in yesterdays post. Today a few more things done which interestingly is bringing the model very close to being technically finished. I say technically as there are always details that can be added but the basic infrastructure is just about done with track laid, wired and apart from about 6 inches of track ballasted as well. Just about all the landscaping is done and all the buildings have been constructed and just need some detailing. Whether my current blast of work on the layout will see these final jobs complete before I divert onto another project is one of those big unknown factors especially for me! However I will make the most of it because in April of next year the layout will be four years old. If it is complete by then that will be a record for me!

In the meantime several tasks have been underway. First off is the ballasting which saw the line leading to the wharf sidings ballasted apart from around the points which still needs doing. However it has tidied up that area.

009 gauge layout

009 gauge layout

The thatched cottage was given to me and dates back to the Airfix range back probably in the 60s or 70s.. It is not a brilliantly painted building so I have decided to at least try and tidy it up which started by repainting the white. No need to avoid the black wooden structure as I would be repainting this too. The first two pictures are the before and the third is the white repaint. Listening to some music whilst I repaint the timber will hopefully sooth me to do a reasonable job!

009 gauge layout

009 gauge layout

009 gauge layout

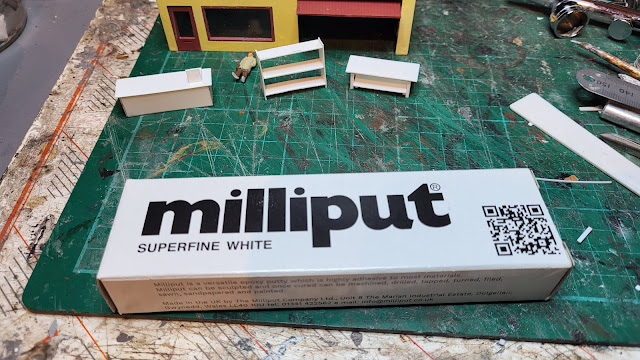
Lastly I got some new Milliput. My three packs in the WMD stores being over 5 years old have now dried out, hardened and become unusable so I had to renew! 

009 gauge layout

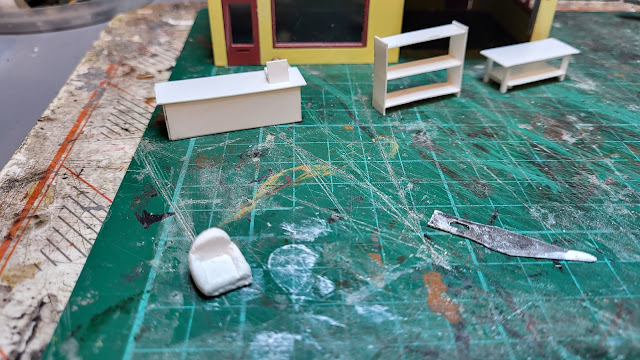
Milliput is a two part expoxy paste that is mixed and can then be used for many things including making beat up old armchairs to go in model garage offices!

009 gauge layout

It may look rough but once painted and hidden away inside the garage it will be fine. There may even be a butterfly or two living in it!

Saturday, December 9, 2023

Ballasting and the art of furnishing!
An unusual title but it does describe activities at WMD HQ well! Ballasting, in as much as I am beginning to finish off the unballasted sections of Chalkdon , my 009 gauge layout starting with the area near to the newly installed level crossing gates. All that was needed was some kiln dried sand and some dilute PVA glue to get that job finished.

009 gauge layout,

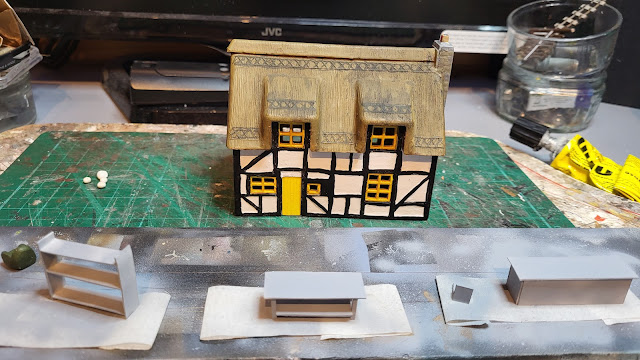
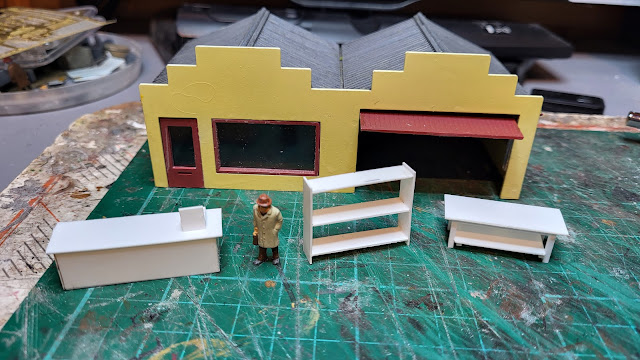
In relation to the furnishing, this is about 1/76th scale items for my buildings on Chalkdon. With such large windows in the garage shop, an empty interior and for the workshop with its large up and over door an empty working space are not that realistic. Whilst my attempts to add suitable furnishings are not precise works of art that you may find in a quality dolls house, they are something that at least gives a feeling of the spaces being furnished and used which is all I need.

009 gauge layout,

Small pieces of plastic card were cut to size and glued together and just need painting now. On the left is a shop counter with a cash register on top and on the right are a set of shelves and a work bench for the workshop. There are still a few more things to make like a chair for customers to sit in when they get their car repair bill! Then there is also the shop with its large windows that needs some shop like furnishings. Should keep me busy for a day or so!