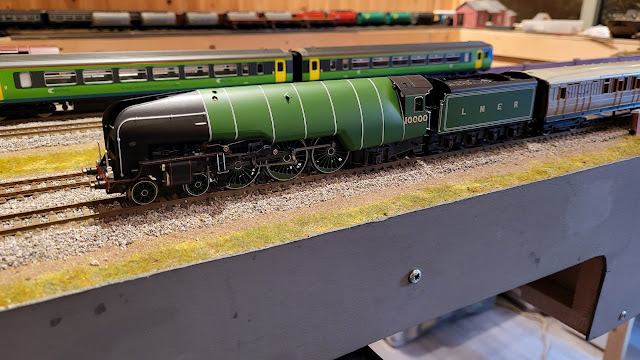
As ballasting model railway track is not the most exciting thing to write about I thought that I would do a YouTube video on it! There is a bit more to it then that including some trains running so if you fancy seeing WMD's latest epic blockbuster film here it is!
Recording my progress, or usually the lack of it, in building kits, creating model railways and other related and sometimes unrelated matters!
Search this blog
Wednesday, March 27, 2024
Tuesday, March 26, 2024
Back to the ballasting!
Yes! With the track glued onto the underlay its time to start ballasting again. Not the most exciting job but it has to be done! There is a few days worth of work so I better get stuck in! just hope the ballast is stuck when I finish!
Monday, March 25, 2024
Seeing more progress!
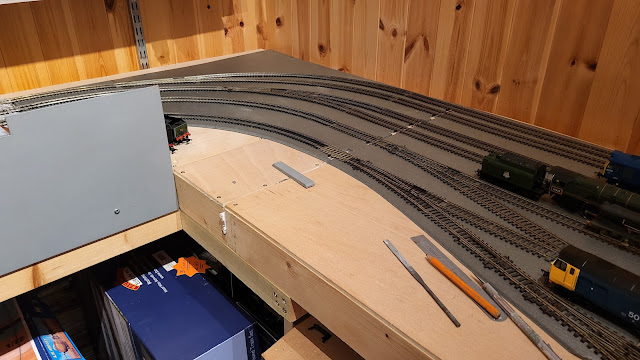
Having had a good weekend playing operating trains on my Last Great Project 00 gauge layout, especially my bargain DCC sound fitted Class 47, it is time to make some more progress on building it! To that end the far corner has seen the track underlay glued in place, the track and points wired with power feeds and the track weathered before being glued down ready for ballasting.
The underside of the track underlay had a good coating of PVA glue.
Sunday, March 24, 2024
It certainly was a bargain - much more than I thought possible!
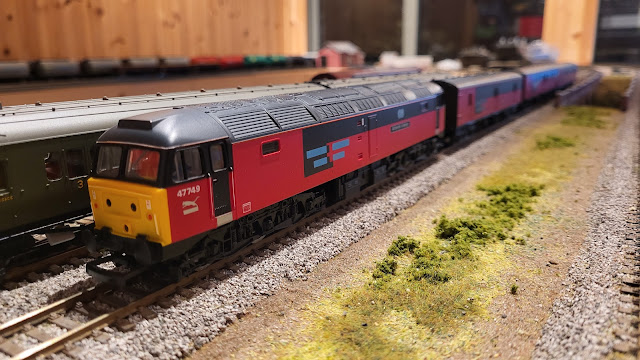
In yesterdays post I was rather intrigued to find that the 30 year old or so Lima train pack that I bought for what I though was a bargain price of £72 had what appeared to be a Hornby chassis under the loco body with the words 'DCC Fitted' printed on it. Now if it was a DCC fitted loco then the price I paid for it together with the three coaches would indeed be an even better bargain. The only way to tell if it was actually DCC fitted was to take the body off.
Taking the body off gave me quite a shock! I thought that I might be lucky to find a DCC chip fitted but I found this!
Yes - that is a fully DCC sound installation! And it works as this video clip shows!
Don't know if Mrs. Woody feels the same way but I can just turn the loco volume up if she complains!
Hope she doesn't read this!
Saturday, March 23, 2024
Something a bit strange or is it more of a bargain than I thought!
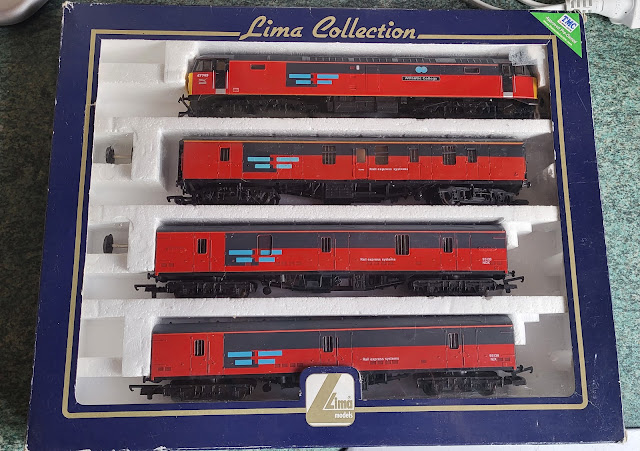
Well it wasn't my fault! I was just idly surfing the internet when I came across this on the TMC website.
Now there are some railway modellers who will highlight that these models are probably now over 30 years old, not the most detailed and don't run as smoothly as modern locos and to a greater degree they are right. However Hornby, who now own the Lima brand still use the original mouldings on much of their RailRoad range of models and to be honest, when seen from a few feet away, it is difficult to tell the detail differences that these have with more modern models. Running wise, the old Lima pancake motors can be serviced and made to run reasonably well although they will never crawl silently like the modern can motor with dual flywheels. You may prefer the modern version of the loco and indeed the coaches in this train pack. The modern version of the loco will set you back about £175 to £225 depending on make or you can buy the current Hornby RailRoad version which is the same body moulding just with an updated chassis ready for DCC for about £90 to £120. Coaches are available at about £45 to £60. If you went for the cheapest buying option you could put a modern version of the this train pack together for about £225 but more likely it would cost more like £350. I paid £72.
Opening the box saw some very encouraging signs. You don't often find the original instructions and other paperwork with something like this. It does point to it having been loved by its previous owner.
Friday, March 22, 2024
Oil is well or maybe not!
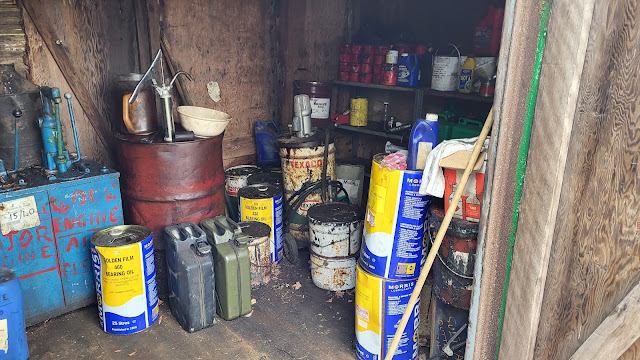
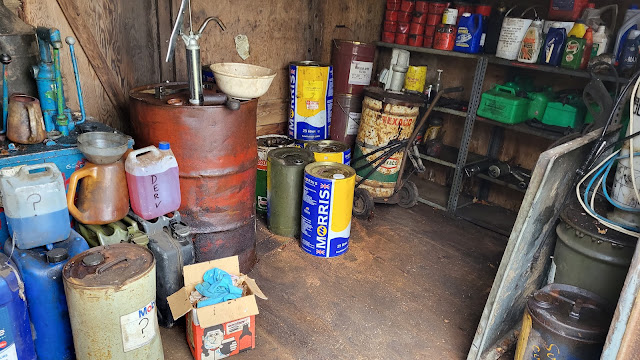
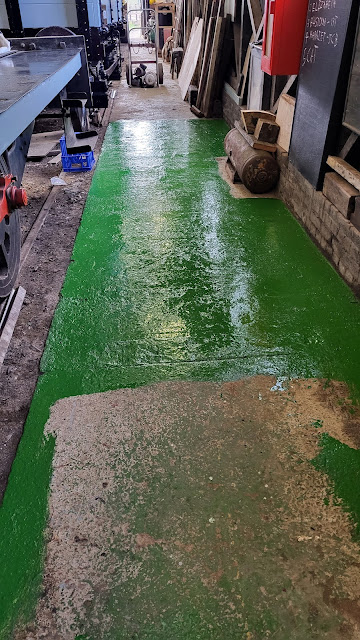
One of my play on words titles but it refers to a day at the Rocks By Rail Museum where I volunteer. I get involved in anything and everything which is great as you learn so much about things you would never normally come across. Take my latest visit. Rob had decided that the oil store really needed a tidy out and I agreed with him!
Not a pretty sight! Rob had already cast out a load of empty containers before I arrived.
Thursday, March 21, 2024
Getting to the point when you can actually see progress!
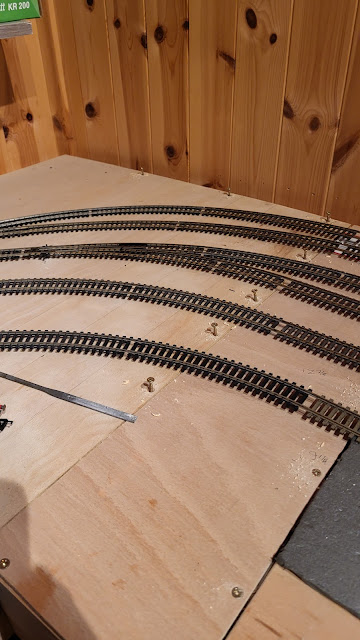
With the baseboards joined and baseboards screwed down I can start work on getting the track permanently laid. That means more wires and soldering! Never my most liked job but it has to be done so I started simple to get my brain back in the zone as it were. The inner most curve was wired up by taking it to the bench.

Wednesday, March 20, 2024
Working smarter not harder as I get older 2!
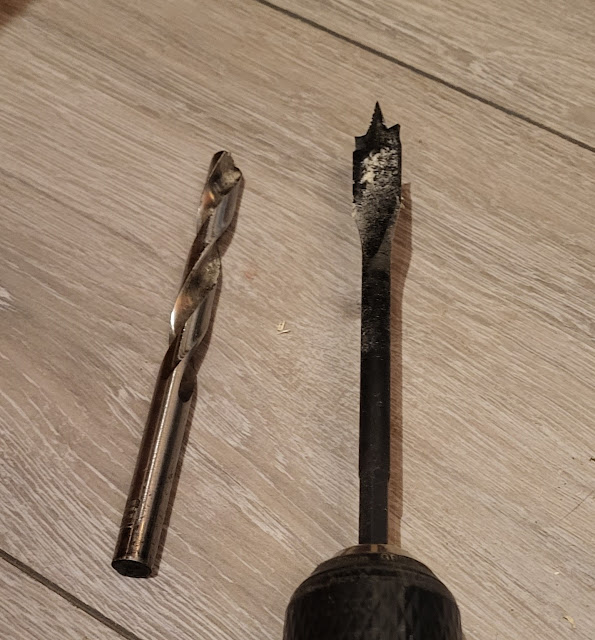
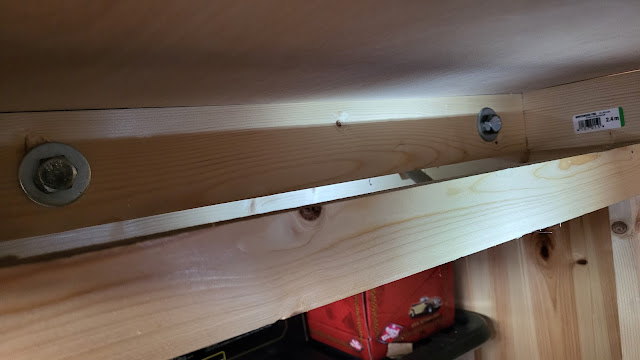
Further to yesterdays, working smarter as I get older, I have to admit to yet another failure to adhere to that phrase! I had been struggling with the drill bit which was slightly undersize for the bolt I was using. I used the drill itself as a sort of grinding tool and a round file to open out the hole. Then it struck me! Why wasn't I using the flat drill bit that was staring me in the face? I fitted it and found because the shank was longer the drill was easier to use and it opened the hole up in seconds! The other hole also took seconds to open up and the third and fourth holes less then five minutes to drill and fit the bolts! Dooh!
Anyway, lesson learnt - think harder!!!!
With the boards joined I also need to screw down the base board tops which were still loosed in places! Again, another job I put off! However at least it was not the struggle I had yesterday unbder the baseboards!
Tuesday, March 19, 2024
Working smarter not harder as I get older!
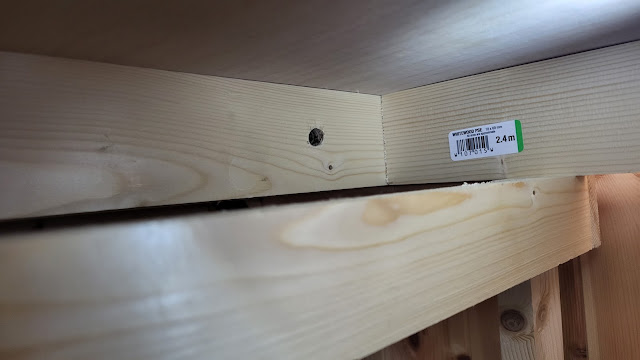
I often highlight thing n this blog with the phrase 'Working smarter not harder as I get older!,. And as you get older you learn by experience - usually! I say usually because what should have been a half hour job to bolt two baseboards together on my Last Great Project Layout ended up taking two hours just to do half the job! If I had been smarter I would have bolted the baseboards together when I built them. It would have been easy with nothing in the way. Instead, and for reasons I cannot recall, I left it at the time thinking that I would do it later. Well a year and a half later I am doing it and its hard! I had to clear stuff from under the baseboard just to get access. Even then with the way the boards are supported I had limited access.
Eventually I got the first hole drilled.
Two hours later the first two bolts are in and my back is out! Ouch!
Just the other two at the other end of the board to do and hopefully my back lasts!
Monday, March 18, 2024
Hush, hush 2!
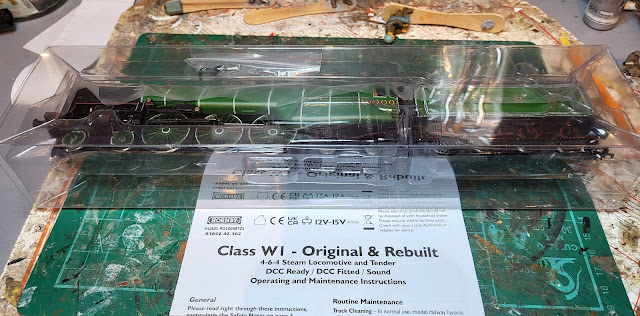
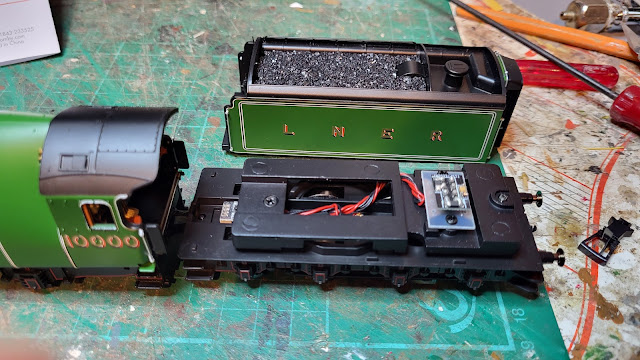
Life is full of all sorts of non model making matters at the moment, many of them related to items on Mrs. Woody's list of chores for me! That list must be like the universe - ever expanding! Anyway, what time I have I am doing small, accomplishable in an hour or so type jobs. So another loco came out to be DCC fitted. I thought that I had this for about a year but looking back through the blog |I found that Woody's memory was not that good as it was 19th January 2021 that I blogged about getting this! Gosh! Where does time go when you have so many Mrs. W chores to do!
With box out of store it was onto the workbench.


