Search this blog

Monday, September 11, 2023

Trunking and ducting!

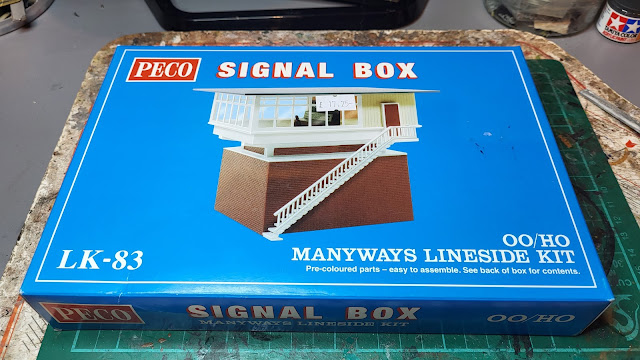
Moving on with the progress on my 00 gauge layout it is time to start incorporating those small details that add a little to the realism I mentioned in the last post. In this case the 'dummy' point motors that are to be added to the points to recreate the real life situation require power and control cables from the signal box. I am some way off adding a signal box yet but have a model in stock!

PECO Signal Box Kit

Not your traditional looking signal box but it actually dates from the 1960s and is based upon the one at Potters Bar. I look forward to building it to see just how it will fit in with my imagined scene!

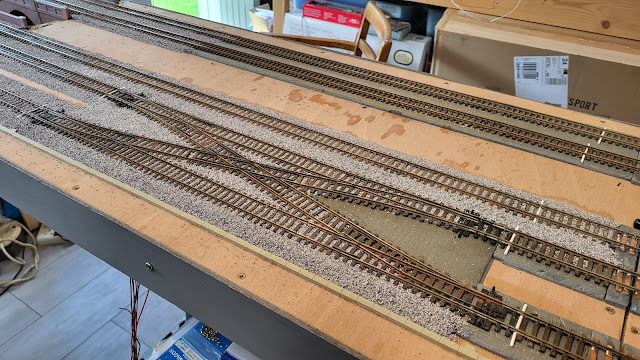
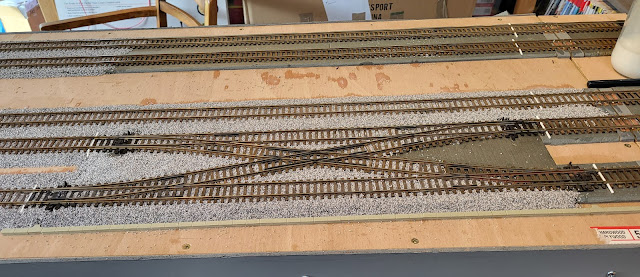
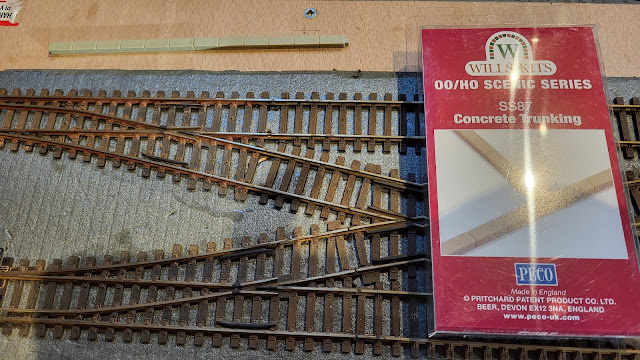
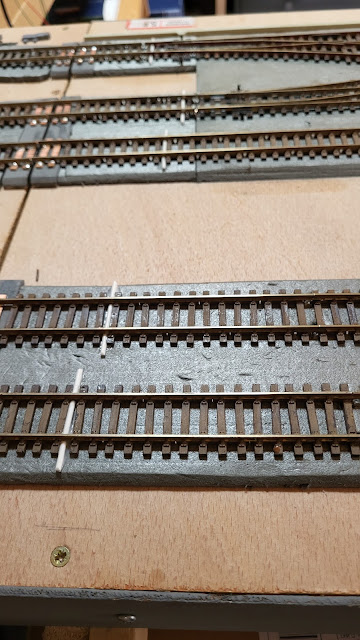
Back to the power and control cables, these need to come from the signal box to the point motors and when I fit them the signals. To that end I have added some concrete cable trunking running at the side of the track within which the cables would be protected and easy to maintain. These come from a Wills kit. The ducts that would take the cables under the track and protect them as well as allowing easy installation as the cable is simply fed through them avoiding digging up the track! I just used some plastic rod cut to size and laid across the track. They need to painted orange after I have finished ballasting.

My Last Great Project,

With the trunking and ducting in place I could get on with the job of ballasting. A time consuming job which needs to be done right to look right. Just the area around the points and crossing has taken me over two hours to lay and glue but I have done most of the board now so hopefully a few more hours should see that finished.

My Last Great Project,

You can see the cable trunking running along the lower level of the tracks.

My Last Great Project,

My Last Great Project,

Hopefully the hot weather will mean the glue dries quickly!


Sunday, September 10, 2023

Mugginess and back to School?

It was a muggy night leading into a muggy day and even after the rain it feels even more muggy! Being the mug for not going shopping yesterday when it was a bit fresher Mrs. Woody and myself had to go out in the mugginess to restock a very empty looking fridge! With that job done at least I could head to the mugginess of the Man Cave.

I was hoping to do many jobs in there but on a day like today that was a mug's game so I was happy enough just to get one done.

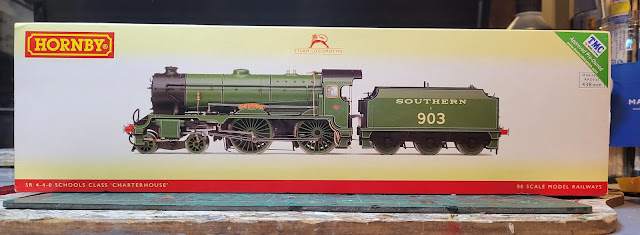
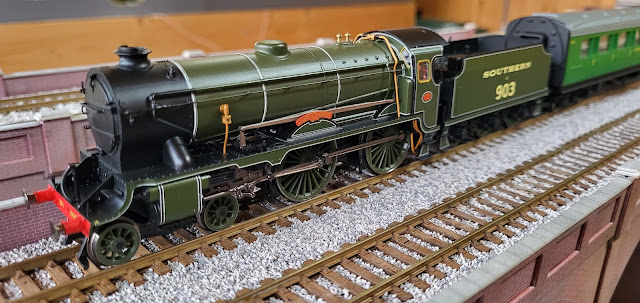
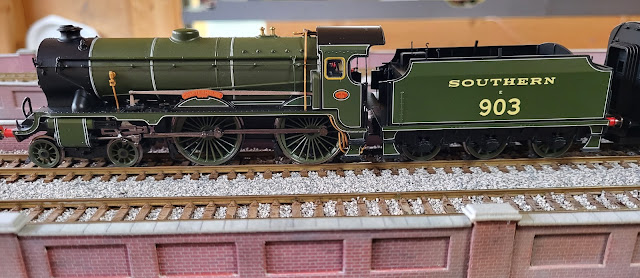
That was to get back to school and add a DCC chip to the Hornby Schools class locomotive that Mrs. W gave me for my birthday. It was fortunately, as stated on the box, DCC ready which makes life easier with just having to find out how to get the relevant body part off to allow access to the socket. To begin with though I had to get into the box!

Hornby Schools Class

It may sound a simple job but with all the packaging that is used on these models it sometimes takes a bit of detective work to dismantle it all and get to the contents.

Hornby Schools Class

What was obvious was that although second hand the loco had been very well looked after. It even came with its transit holders in place which was a nice touch.

Hornby Schools Class

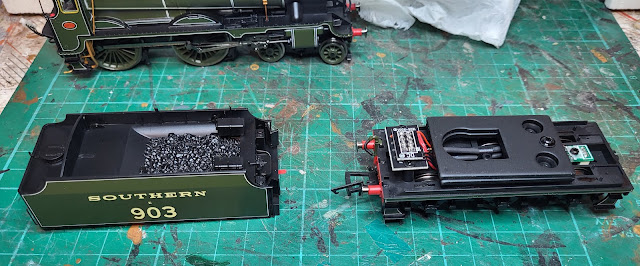
I did read the instruction leaflet strangely enough for me as I usually only get that out in a last measure of desperation if I cannot get something to work. Luckily it informed me of the right way to remove the transit holders rather then the way I thought that it should be done! Equally the instructions usefully told me that the DCC chip socket was in the tender and where the two screws were to take the tender body off. These instruction things are quite good! Must read more of them!

Hornby Schools Class

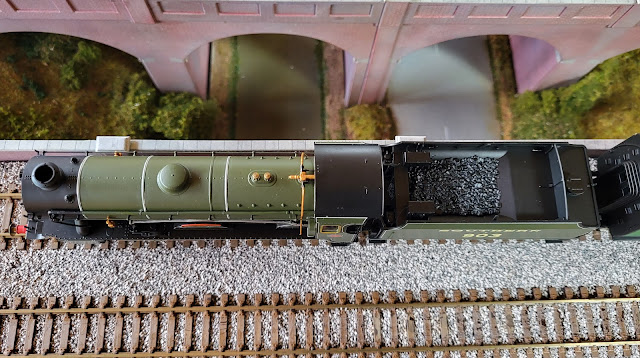
In the excitement of things going well I forgot to take a picture of the chip fitted but it is in there and the loco now runs and is hauling a pair if Southern Railway coaches in these pictures. I think it is one of the smartest looking locos in that Southern Railway olive livery and it just looks 'right'! I like it!

Hornby Schools Class

Hornby Schools Class

Hornby Schools Class

Hornby Schools Class

I need t get on with my 00 gauge layout and next on the agenda is to complete the scenery on the removable baseboard section. To that end need to fit a few accessories such as this cable trunking which is now being prepared for placement.

My Last Great Project,

Need to think carefully how I fit these. Maybe these details are a mugs game?


Saturday, September 9, 2023

Glad that is over - for now anyway!

I am glad that is over for now anyway and the 'that' I am talking about is the under board wiring for track and points on the removable baseboard of my 00 gauge Last Great Project layout. For those who wonder - yes it does all work! I just need to make a box for the control switches for the points and I am then fully done - on that board anyway. Just another three larger ones to do! 

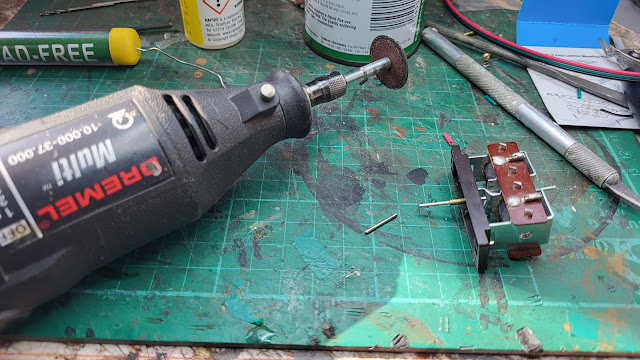
To get to this stage I had to do a few jobs first. The actuation pins needed cutting down as they stuck up above the point itself and would have stopped trains running! I had already mounted the point motors to the baseboard using the PECO mounting plates but I had deliberately left the wiring off to make that job a bit easier. I could have used a cutting disc in my Dremel to cut the actuation pin to length whilst the point motor was in position but I have done that before and learnt my lesson! The heat generated from cutting the pin with a cutting disc can end up melting the plastic part of the point through which the pin goes. This is not a good thing! The easiest thing was to mark the pin with a Sharpie pen and then cut the pin at the workbench.

My Last Great Project

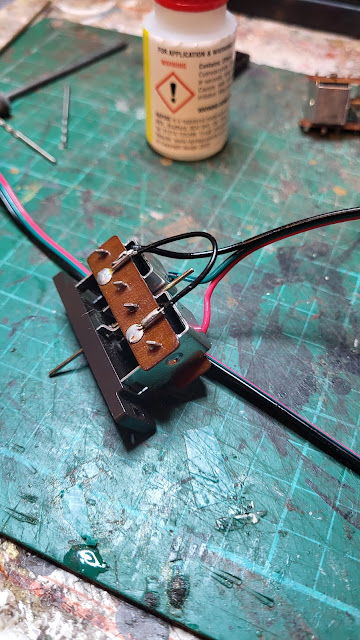
With the pin cut to length - miraculously despite my normal ham-fisted ways they were all the right length - it was time for wiring. The point motor has four tags for wires to be attached to. One side becomes a common return and the other side has two separate power wires attached. Luckily I had spotted that Gaugemaster do a three core wire specifically for point motor wiring and so I had some in stock. The black wire is the common return, the red wire is for the straight ahead direction and the green for the diverging line. As long as all the points are wired the same it makes life easy when you connect them up to switches. Again, doing this on the bench made life much easier - working smarter as I get older!

My Last Great Project

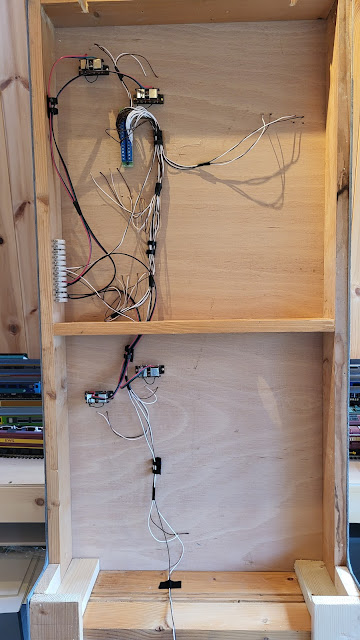
With the pins cut and wiring completed the motors were remounted to the baseboard. As explained in yesterdays post I had to move the connector for the track wiring to make space for one of the point motors. With all the wiring done it looks like this under the board neat - for me anyway! 
 
My Last Great Project

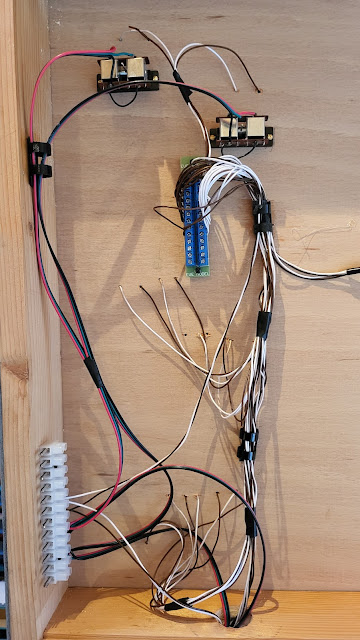
Getting closer in you can see the point motor wiring contrasting with the track wiring. Colour coding everything makes wiring simpler and any future fault finding a lot simpler! I did hot glue some cable holders to the baseboards which are the plastic binders that are used to hold the pages of manuals or reports together. The white connector block in the bottom left of the photo will connect to the point control switches and track power supply.

My Last Great Project

A close up of the point wiring and the cable holders.

My Last Great Project

Think after all that I will run some trains now!


Friday, September 8, 2023

Should I do crochet making rather then model making especially with point motor problems?

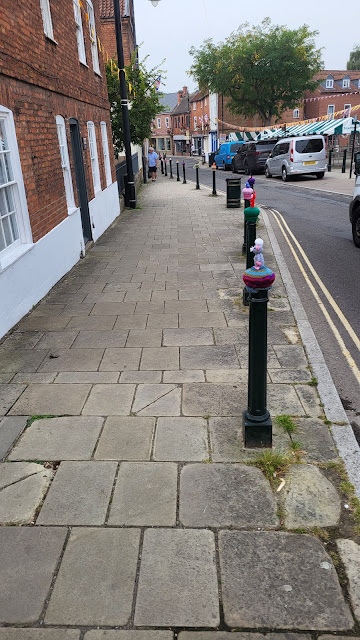
Given the problems I usually come across building models and at present the point motor installation on my 00 gauge layout I was set wondering if I should take up crochet making as I wondered down this road. 

Crochet

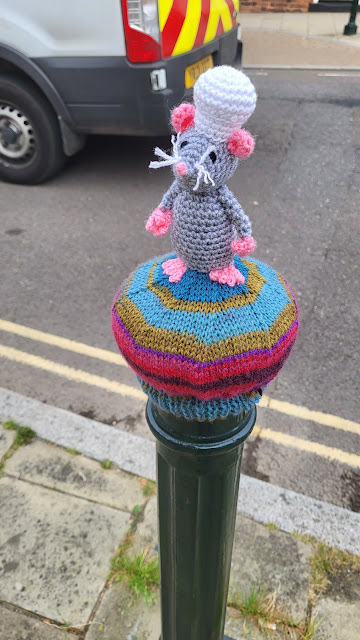
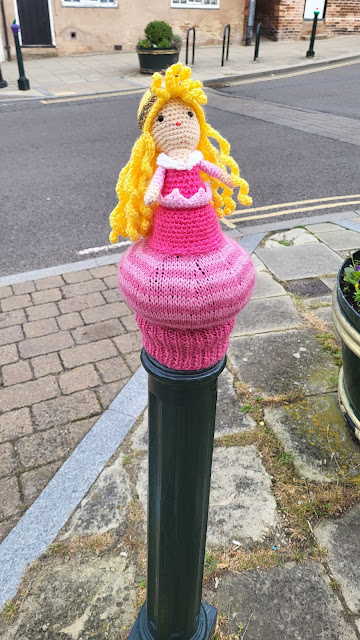
I have been here before back in May when these bollards had crochet coronation themed tops and there was a blog post about it available here.. Today there were just various different items but all looked good and what could go wrong if I took up crocheting?

Crochet

Crochet

Crochet

Well all sorts of unexpected problems would probably inflict my attempts at this creative art and as I have no bollards to cover the whole thing could be pointless anyway! So back to my point problems!

Yesterday I outlined that the point motor actuation pin required an extension and I had bought some ready made but expensive extension pins to make life easy! Wrong! The brass collar to join the point motor pin to the extension pin was too small to fit over the PECO pin! I tried heating it to expand it, drilling it out but no! However not to be put off I went into the depths of WMD HQ stores to find the brass tube I had used years ago to make my own extension pin collars. Ten minutes later I found it which was something I expected to take days to achieve! Anyway, with it found I cut suitable lengths off and used the bought in extension pins and some superglue to fit all the parts together.
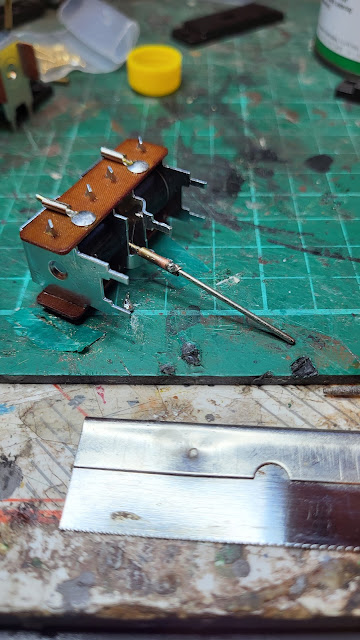
My Last Great Project

Next problem was that the slot through which the pin goes in the PECO mounting plate was too narrow to allow the brass collar through. Out came a file and the slot was widened to allow the collar to go through without touching. With that sorted the point motor was mounted to the plate and the tags on the motor body bent over to secure it to the plate.

My Last Great Project

With that done I could begin mounting the motors to the underside of the baseboard. First job is to get the pin through the appropriate hole in the point operating arm - not the easiest job to do when you can only see one side of the board. Once done and the point motor maneuvered so that the point switched smoothly holes were drilled and the plate fastened to the baseboard.

My Last Great Project

I had to do some work with the track wiring to allow the point motor to be fitted. Basically with the wiring connector mounted to the baseboard edge there was insufficient flex in some of the wiring to clear the point motor. In the end I had to move the connector and it will be mounted to the baseboard as in the photo below.

My Last Great Project

I am sure crocheting does not have problems like the above but giving it more thought I should stick to what I know and I like model making!
Thursday, September 7, 2023

Point time!

Well it is back to some model making activity. This time back with my 00 gauge Last Great Project Layout. It is point time and I need to fit point motors to the four points on the removable baseboard section. Unfortunately due to me not getting the planning of the baseboard quite right when I built it there was a cross member under one of the points making fitting an underboard motor impossible. Luckily I tend to use screws to fasten things together so it was reasonably easy to move it although I had to undo a lot of screws to take the profile boards off first!

Original wrong position!

My Last Great Project,

New right position!

My Last Great Project,

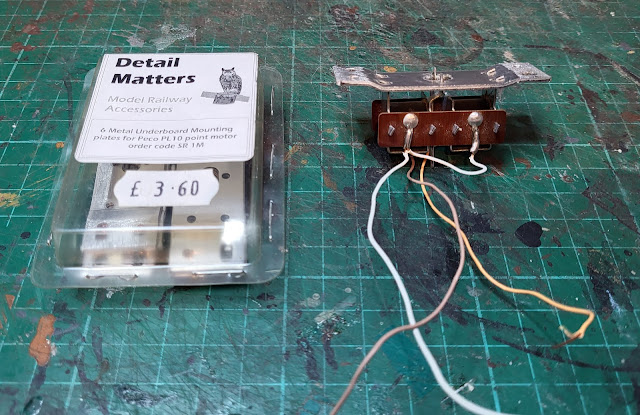
Point motors themselves will be the Peco solenoid type. Old fashioned these day s but so am I! You can bend the tags on the motor to create a fastening point to screw to the baseboard but I prefer a proper mounting plate.

I used to use these aluminum plates as shown below but unfortunately I cannot find a supply of these anymore.

My Last Great Project,

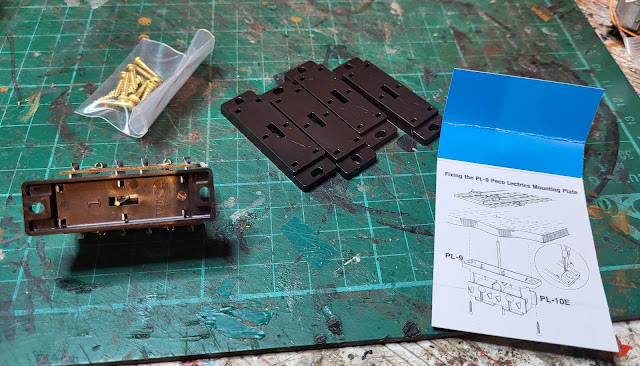
An alternative is produced by PECO in plastic. Even I should be able to follow those instructions on the packaging!

My Last Great Project,

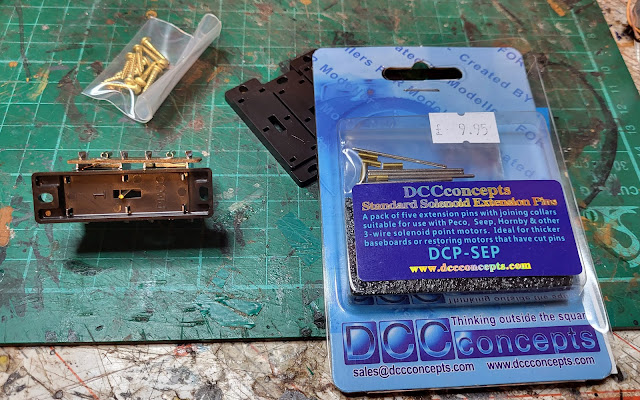
Because the PECO point motor is designed to fasten directly to the bottom of the point, the activation pin to operate the point needs to be extended if you are going to mount the motor under the baseboard. I usually end up using some brass tube and steel wire to make an extension if the point itself is not one of the longer pin types but I decided to try these DCC Cocept ready made extensions for ease and speed.

My Last Great Project,

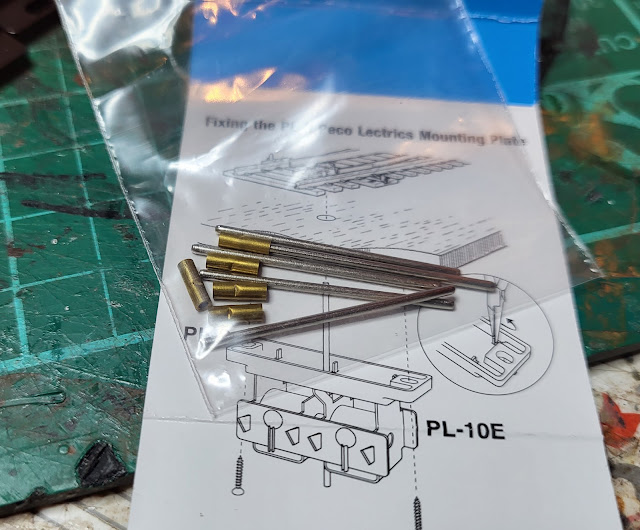
These are what you get which I must admit is not a lot for nearly £10 but I will see how good they are in the next day or so.

My Last Great Project,

With the hot weather having turned the Man Cave into a sauna I have abandoned it until it is a bit cooler to be in!


Wednesday, September 6, 2023

All about sheds!

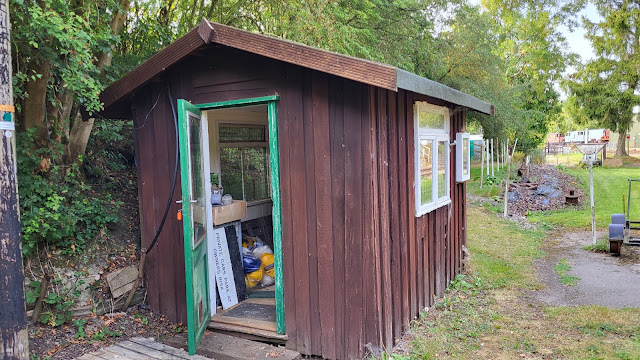
As they use to say on TV after an unscheduled interruption - normal service is resumed! That is what it felt like today after my extended birthday weekend! Rocks By Rail Museum was graced with my presence and as you will see it was a shed day! However firstly my skills with the mower were tested with grass that still thinks it is Spring. Interestingly John had asked me to see if I could do something about inside the roofless shed that we started constructing last year. I did not quite know what he meant until I opened the door and found that it was almost jungle like!

Rocks by Rail Museum,

A careful scout round with the mower at least lets you into the place but I do wonder how many sheds have a mown floor?
Rocks by Rail Museum,

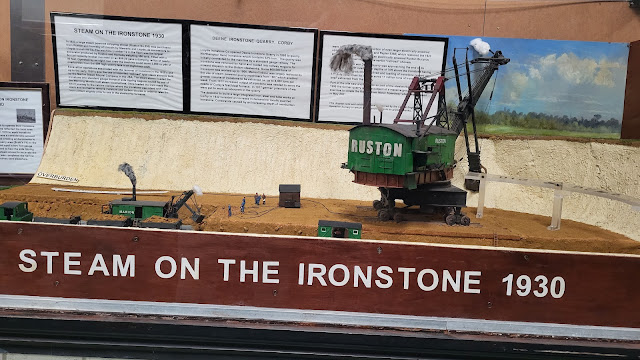
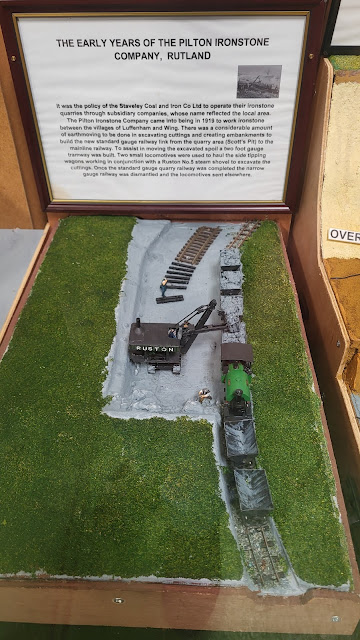
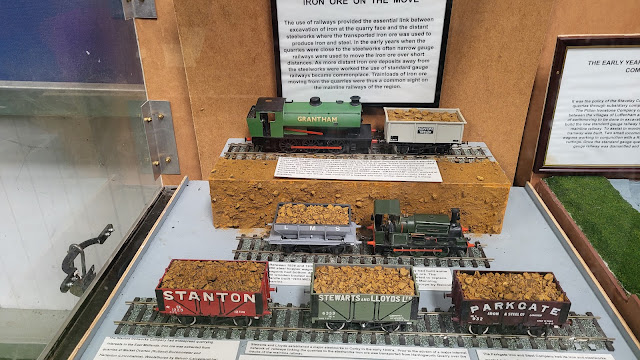
Having butchered as much as I was in the 30C heat I ventured into the relative cool of the Exhibition Center. strange how you you walk through a place following a certain path all the time even though there are other options. Today I remembered that there were other options and I surprised my self in that I had  forgotten about some of the exhibits in there including these very nice models.

Rocks by Rail Museum,

Rocks by Rail Museum,

Rocks by Rail Museum,

Then there is this very nice original poster for the Rapier company front loading shovel.

Rocks by Rail Museum,

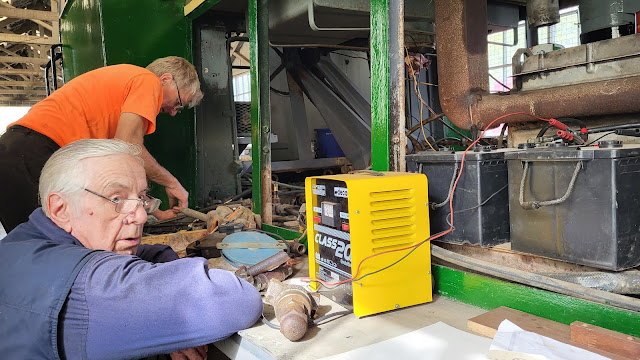
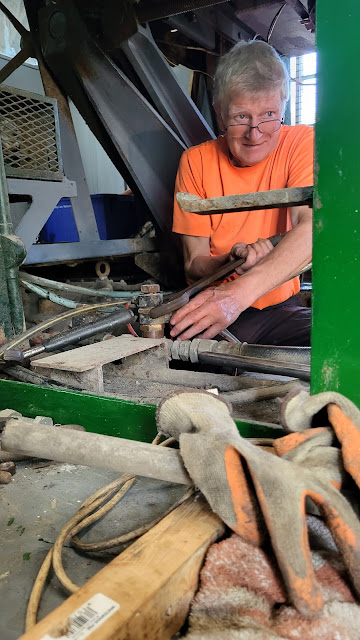
Having walked through the coolness of the Exhibition Center I then headed for the coolness of the Restoration Shed where John and Derek where working on Ketton No1 which apparently has started. They are now working on the air system which as it includes the brakes is a must do project if the loco is to ever get back on the track!

Rocks by Rail Museum,

John has that expression of now I am in here will I ever get out?

Rocks by Rail Museum,

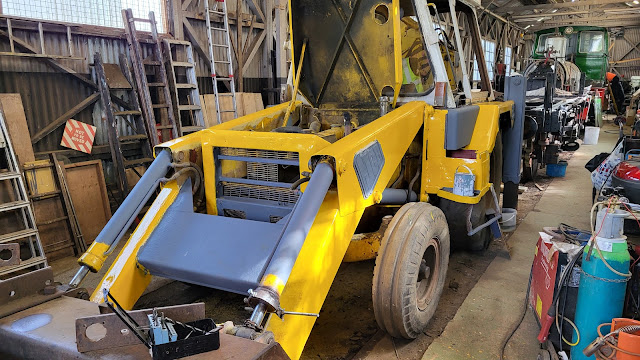
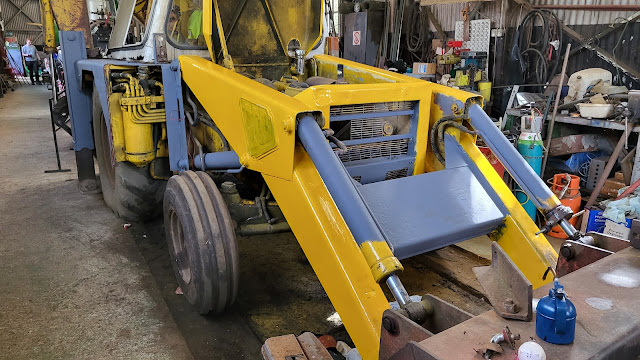
Harriot the JCB is looking.... well more like a JCB as the bright yellow paint slowly covers the grey primer.

Rocks by Rail Museum,

Rocks by Rail Museum,

Out of the Restoration Shed and onto the Weighbridge shed! That is four sheds all in all!

Rocks by Rail Museum,

Inside will be a weigh head that was used as part of the weighing system for wagons on the railway. 

Rocks by Rail Museum,

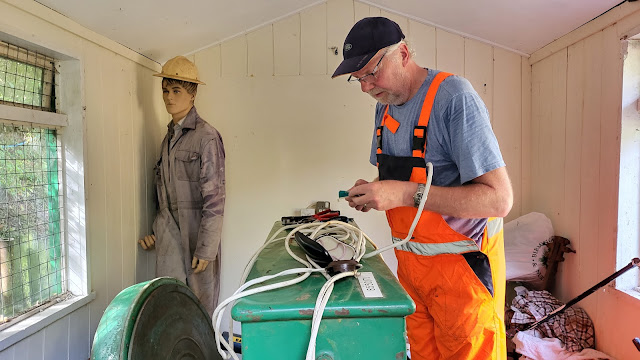
It will need illumination so Steve is wiring up a suitable light. Unfortunately this shed was not as cool as the last two as Steve can testify!

Rocks by Rail Museum,

Well that is four sheds and by tonight it may be five that I have visited if I get out to my Man Cave if Mrs. Woody has something she wants to watch on TV! It certainly is all about the sheds!

Tuesday, September 5, 2023

A day at the seaside and that is a strange looking tool!

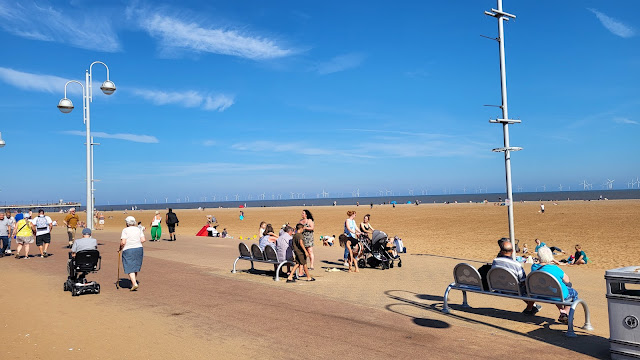
The past few days have been a bit of an extended birthday holiday for me with quite a few trips out with Mrs. Woody but little time for model making. Things return to the more hum drum tomorrow but we did have a great day out today at the seaside at Skegness or as it is sometimes known Skeg Vegas!


Whilst it may not be Las Vagas it was certainly hot and sunny today and this is September in the UK!

Skegness

Hot weather calls for ice-cream which was enjoyed by both Mrs. W and me but I have never seen dog ice-cream before now!

Skegness

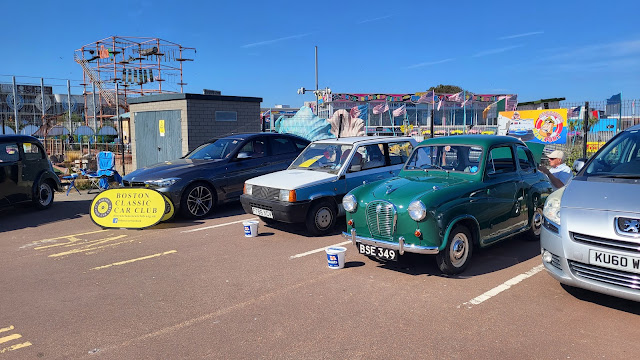
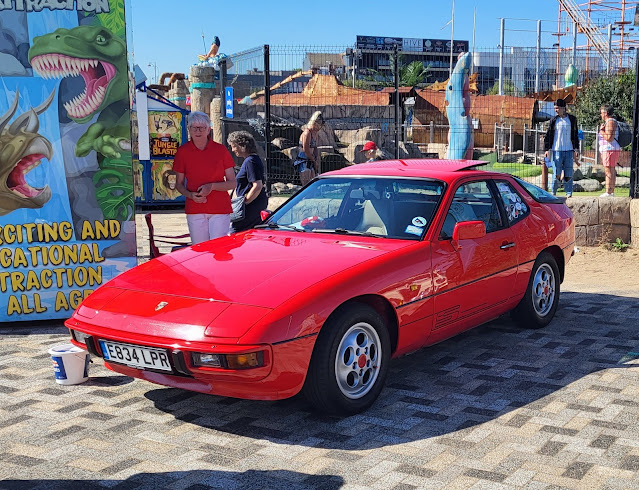
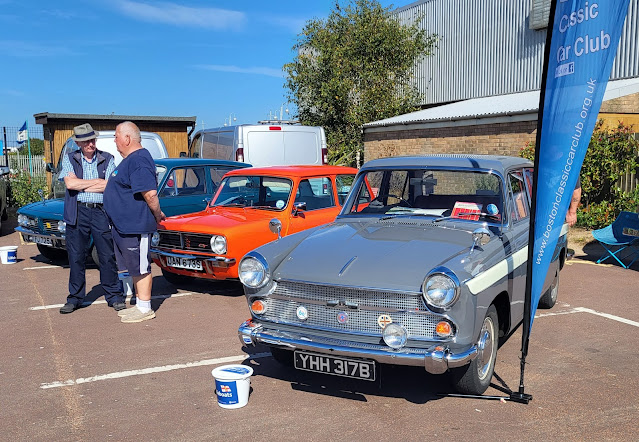
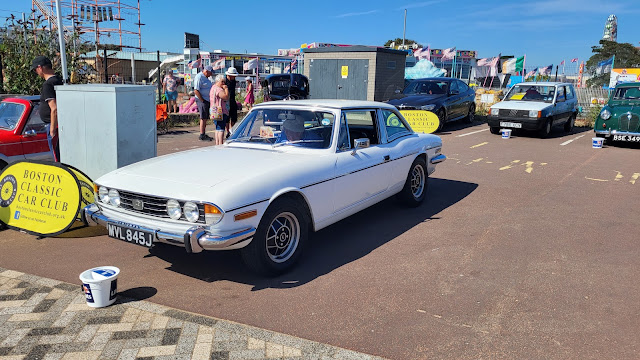
Before heading back to WMD HQ we came across this small classic car show. A real mixture with an old Austin and a more modern Porsche at either end of the spectrum! Nice to see though although I think Mrs. W thought I had spent too much time looking!
Skegness

Skegness

Skegness

Skegness

I did have time to have venture out to the Man Cave and unpack this rather strange looking tool which was a birthday present to myself

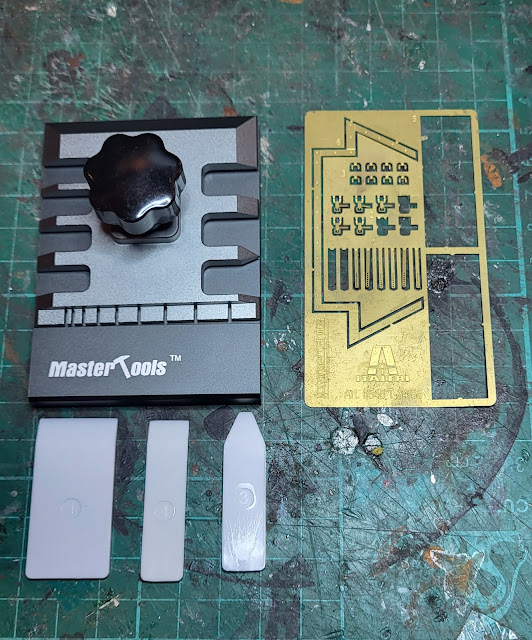
Etch Bender

The description on the packaging gives it away but this is something I have been meaning to buy for some while now. For anyone reading my posts on building military vehicles they will have gathered I have a love hate relationship with etched parts for these kits. On the one hand they can look very fine and detailed but in the other they are incredibly difficult to bend to the right shapes. This tool should make that easier.

Etch Bender

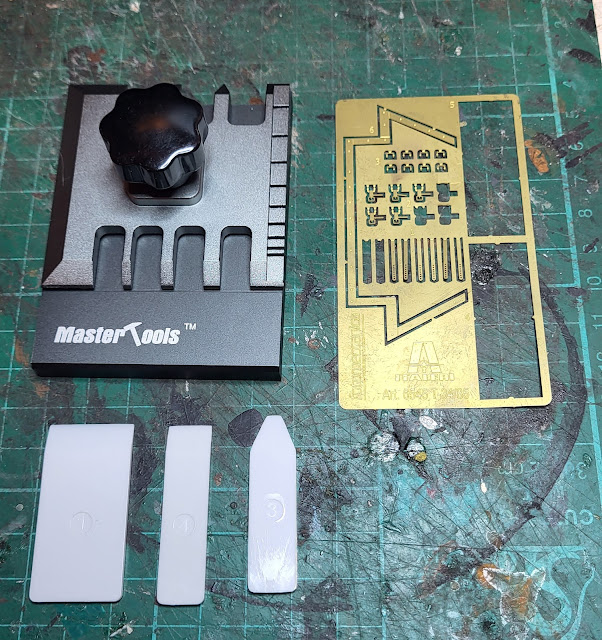
The light grey part is held to the darker coloured base by the black knob. The light grey part has various cut outs and shaped 'fingers' that allow the etched brass parts to be held firm at the point where they are to be bent once inserted between the light grey part and the base - the black knob tightens the two together. The white coloured parts are thin plastic shims that slip under the fastened etch part and enable the part to be levered up so that it bends. 

Probably not the best description of how it is used so when I use it for real, rather then just posing some etched parts at the side of it, I will photo the process. 

The photo below just shows that the top part of the tool can be rotated four ways making it very versatile. 

Etch Bender

There are some etched parts on the Panzer Ferry that will need bending so this tool may well be seeing action soon!