Search this blog

Showing posts with label Italeri Kangaroo APC. Show all posts

Wednesday, January 17, 2024

The big build starts!

As I eluded to yesterday this is a big kit for a 1/35th scale military vehicle and one which I have started. It is the, to give it the full title from the Trumpeter kit box, a Grille30 30.5cm(Grw) L/15 Mörser "Bär", Basically a prototype that never went into production of an anti- tank gun firing a 30.5cm shell or a one foot diameter shell for those like me who are old school! Basically a shell of that size hitting a tank even without exploding is going to do some serious damage. 

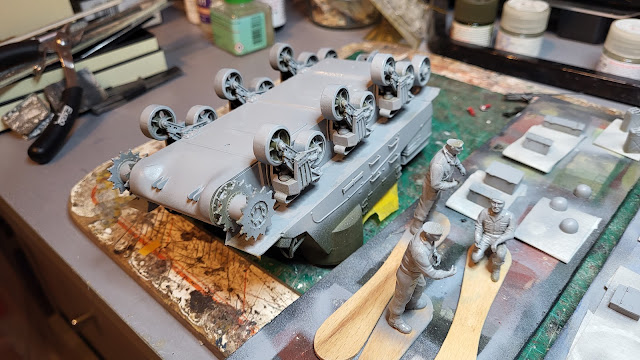
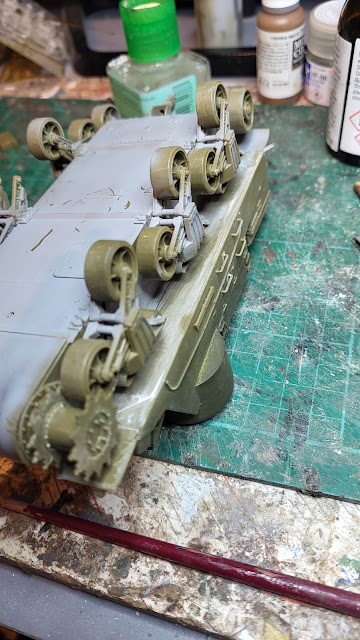
Anyway the finished model won't be firing any shells but is never the less an interesting build even at these early stages. I have started with the lower hull, as per the instructions, and constructed what I presume is some sort of stabilising/recoil absorbing  device that was fitted to the hull.

Trumpeter Grille30 30.5cm(Grw) L/15 Mörser "Bär",

Trumpeter Grille30 30.5cm(Grw) L/15 Mörser "Bär",

It will be interesting to see how this develops. Only 300 plus parts to build of which I have so far done 27 so a fair way to go yet!

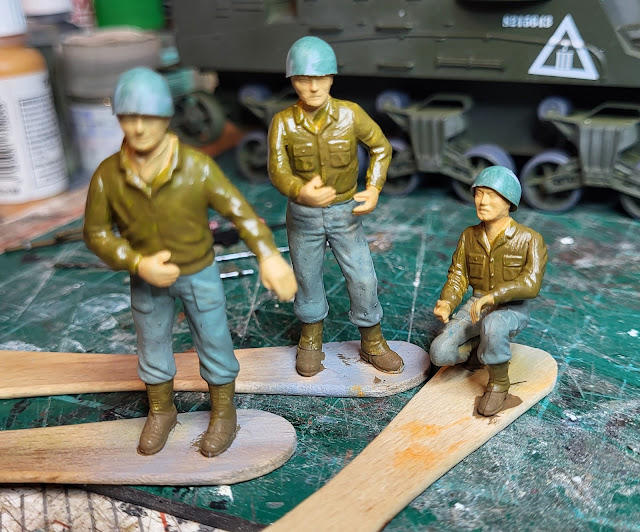
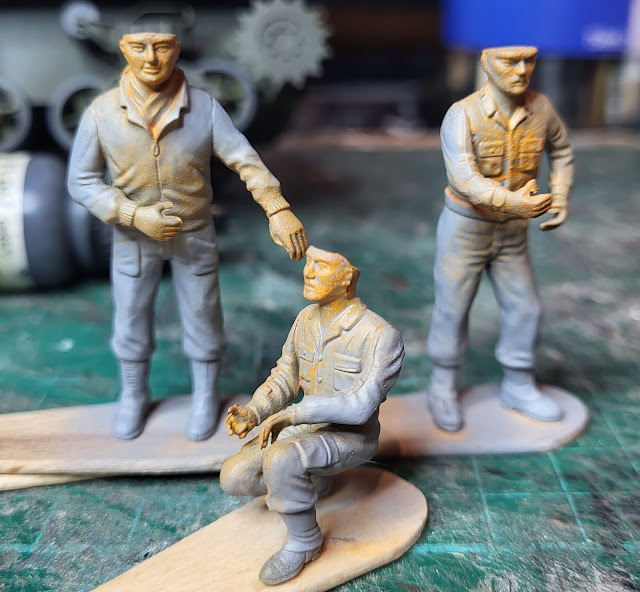
I am still working away on finishing weathering the Italeri Kangaroo APC and the three figures. I did find two rifles on the sprue from which the figures came so two of the figures will gain these and look as though their postures are a little more meaningful. Their uniforms have certainly toned down with a couple of washes of dilute black paint and with the helments now attached to their heads they do look a bit less SiFi Horror. My figure painting skills are such that these are models best looked at from a distance but I am pleased with how they are coming out.

,Italeri Kangaroo APC,


Tuesday, January 16, 2024

Now that is big!

Withe the Italeri Kangaroo APC nearly finished my mind has turned to building this kit that I got at the Newark Train and Toy Fair. You can see from the box art with the figures that this was a monster of a vehicle.

Trumpeter Grille30 30.5cm(Grw) L/15 Mörser "Bär",

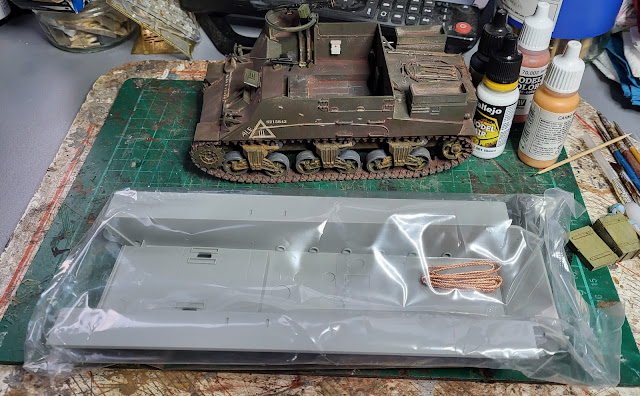
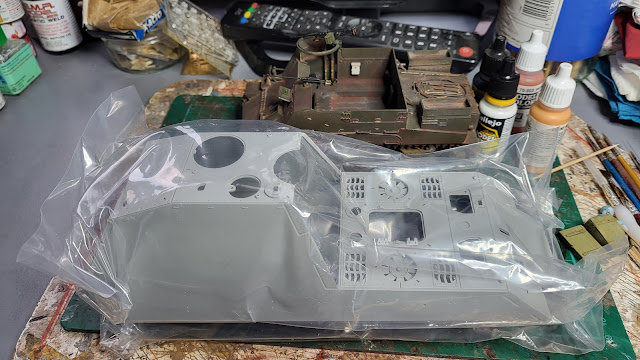
Out of interest I got the upper and lower hull parts out of the box to compare with the Kangaroo.

Trumpeter Grille30 30.5cm(Grw) L/15 Mörser "Bär",

Trumpeter Grille30 30.5cm(Grw) L/15 Mörser "Bär",

It is almost double the length - now that is big! Certainly will take a lot of paint to get this sprayed up!

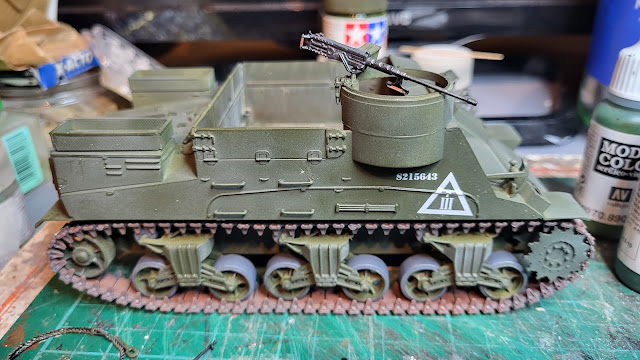
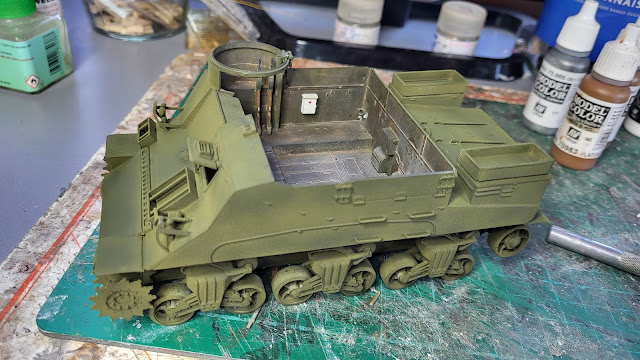
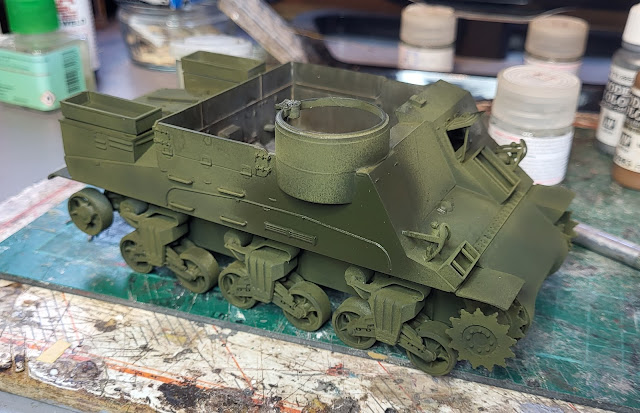
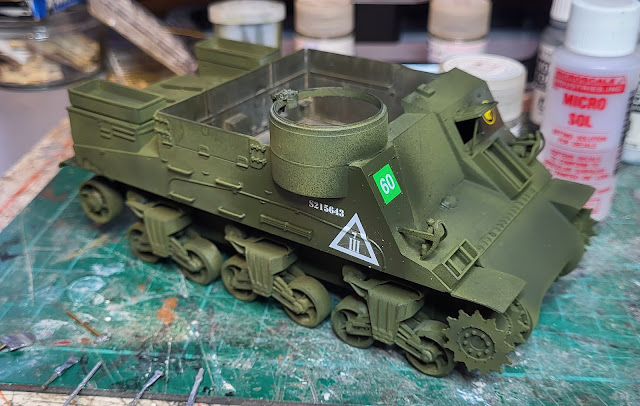
Anyway back to finishing the Kngaroo. Although most of the weathering is done there are still areas which require a little more attention including the running gear. I have used a dilute wash of Vallejo Earth Brown paint, just literally brushed on and left to the effects of gravity. The pigment of the paint tends to accumulate in the recesses and gives a great impression of how dust and mud would accumulate on a real vehicle. Still some more areas to do but getting there!

Italeri Kangaroo APC

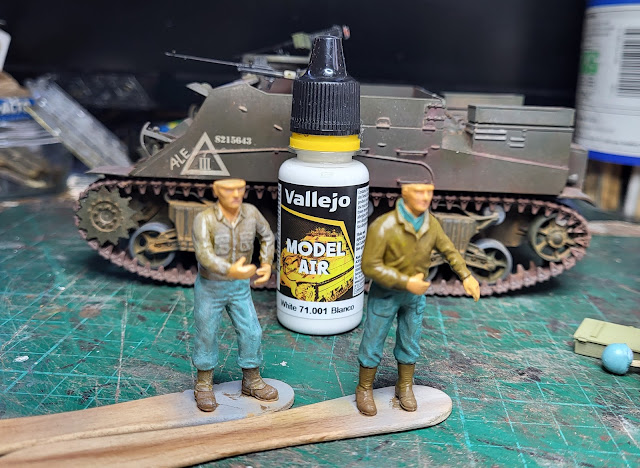
Meanwhile, the three figures included in the 'figures not included' kit have received further attention from the paint brush. To tone down the clothing I have used a dry brushing of white paint, It may sound strange to say that the white paint tones the colours down but it certainly provided highlights to the creases of the clothes as in real life.You can see the difference it makes in the picture below.

Italeri Kangaroo APC

I have also painted the eyes and lips in. The eyes are a dab of white paint with the eyeball dabbed in with some black paint on the point of a cocktail stick. I have also applied a wash of Vallejo black paint to further tone down the uniform colours as well as providing some shadows to the depths of the creases. 

Italeri Kangaroo APC

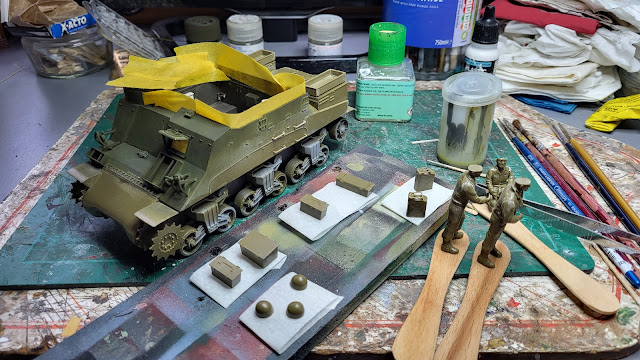
The two crates are destined to go somewhere on the Kangaroo as well as some other items that came with the kit. I will have to see if the snow holds off long enough to allow me to get to the Man Cave and finish these off! Snow? Now that will get Mrs. Woody's attention - she only likes it if she is inside in the warm!

Monday, January 15, 2024

Weathered!

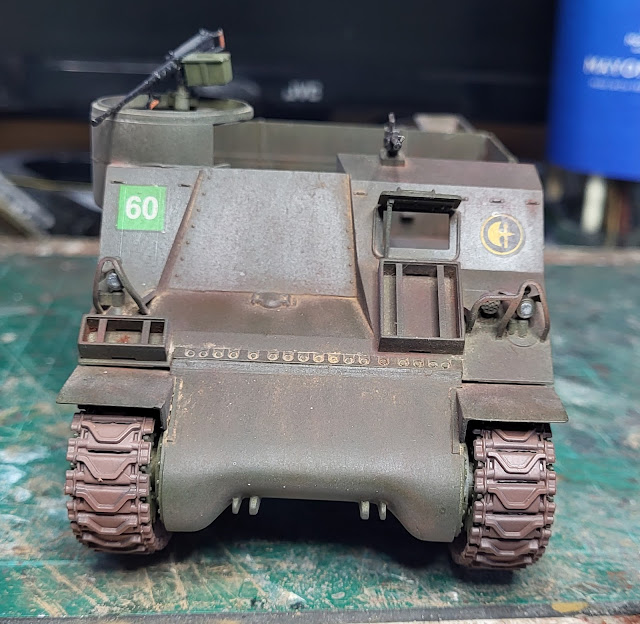
Well, according to Mrs. Woody, I am well weathered. I just think I had a hard paper round as a kid! Anyway whether I am weathered or not, the Italeri Kangaroo APC is now looking decidedly as though it too had a hard paper round and has been subjected to a dose of weathering using a variety of weathering powders similar to those I used on the interior. 

With both tracks now on, the fire extinguishers in place and the two machine guns mounted the Kangaroo is now complete construction wise. The weathering is just about done but just needs a bit of additional work to finish it off completely but overall I am pleased how this has all come together. The pictures perhaps show this better than I can describe!

Italeri Kangaroo APC

Italeri Kangaroo APC

Italeri Kangaroo APC

Italeri Kangaroo APC

Italeri Kangaroo APC

Italeri Kangaroo APC


Sunday, January 14, 2024

All tooled up!

At one time the phrase 'All tooled up' was one that you would hear in a 1970s TV crime show when the villains would check and confirm that they had all they required to carry out the planned crime. Those were simple days - much like me! These days however things have got a bit more complex, there even appears to be a DIY tool shop called All Tooled Up as well as various other retailers using variations of the words. 

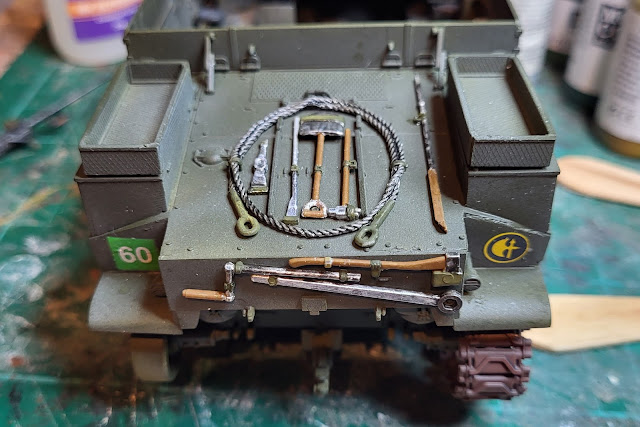
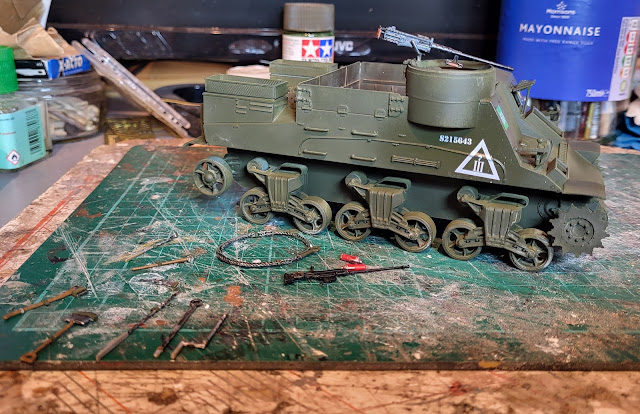
Getting back to the point about all tooled up in my World (at the moment anyway) and it refers to the Italeri Kangaroo APC which has now had its compliment of tools stowed on the hull. Shovel, pick axe, sledge hammer and various other pieces of kit that would no doubt be useful to the crew.

Italeri Kangaroo APC

They all need to be weathered down a bit but that will happen when I do the rest of the vehicle. In the meantime I am getting very close to the point of finishing this kit. Finishing??? Most unusual for me! I must have been tooled up to get this far!

Saturday, January 13, 2024

Helmets on!

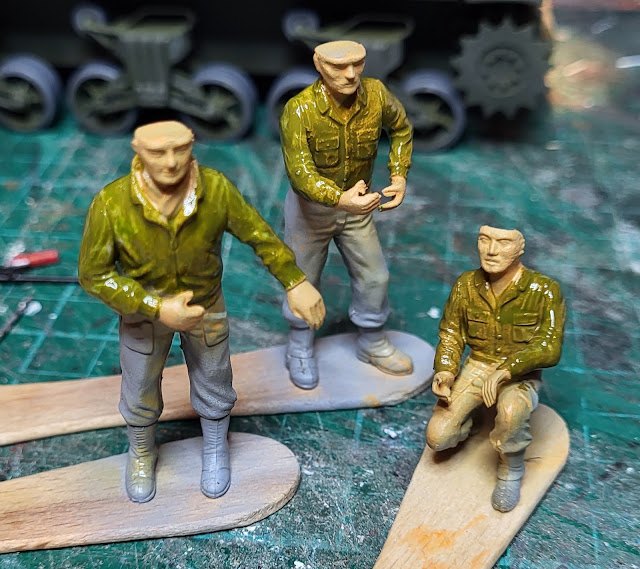
Not much time to do anything too creative in the Man Cave today but I have done some more painting on the 3 figures from the 'figures not included' Italeri Kangaroo APC kit! As they are 'not included' there are no instructions for them and having searched on line I cannot trace which kit these figures were officially included in so that I could perhaps find an instruction sheet. There are a number of things such as rifles and back packs also included which I think are part of the overall figures. I will just have to make it up as I go along! However, in the meantime some more painting and the temporary placement of their helmets on their heads make them look a little less ScFi horror!

Italeri Kangaroo APC

I also had a few moments to temporarily fit one of the tracks onto the Kangaroo which I thought was going to be a battle but it actually went on fairly easily - nice!

Italeri Kangaroo APC

I am hoping for a bit more time tomorrow unless Mrs. Woody and her chore list have other ideas for my time!  

Friday, January 12, 2024

See no evil, hear no evil, speak no evil!

I had to look twice at the WMD HQ fish tank last night. Never seen the three fish lined up like this just resting on the gravel on the bottom of the tank being still and looking just like a fish based illustration of the three monkeys, see no evil, hear no evil, speak no evil! They were probably just observing the World outside of their watery home just to make sure that there are no cats about and perhaps reminding me that the tank glass needs cleaning just like Mrs. Woody does! Made me smile anyway - the fish not Mrs. W! Maybe I shouldn't have written that bit as Mrs. W does indeed make me smile!

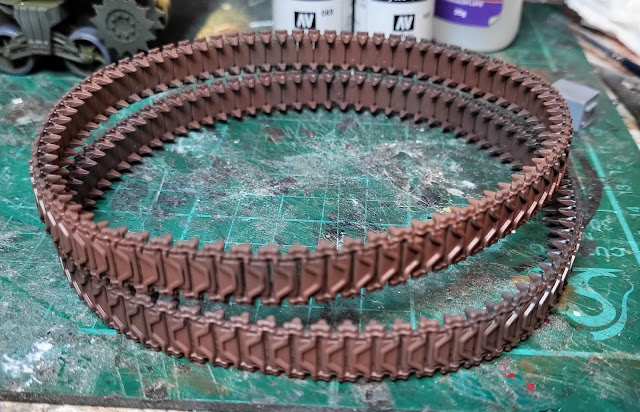
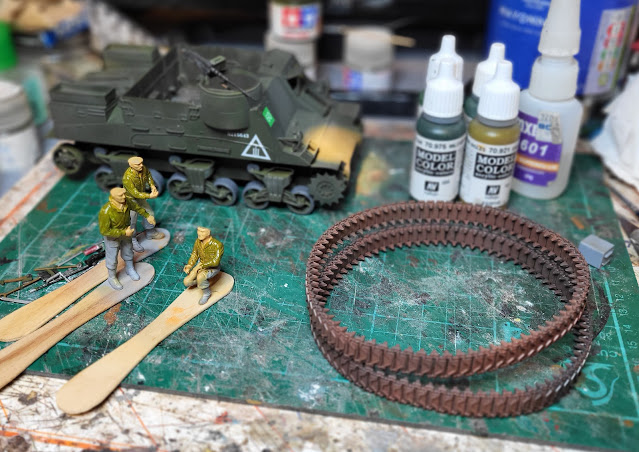
Talking of the bottom of the tank, my attention turned to the bottom of the Italeri Kangaroo APC and specifically the tracks. These are the rubber type that require gluing together and stretching across the wheels to fit. Never my favorite but they will have to do. Firstly I had to glue the ends together and Italeri recommended using superglue and just as I do with Mrs. Woody's recommendations I followed it to the letter! With the tracks glued and dry I then undercoated them with some Vallejo grey paint.


Italeri Kangaroo APC

Once dry a coat of Vallejo Rust paint was lightly airbrushed over the grey. It makes a great base for further weathering.

Italeri Kangaroo APC

Talking of, See no evil, hear no evil, speak no evil, the three, not included in box, kit figures had some further flesh tone airbrushed on and a first coat of karki paint which looks glossy as it is still wet in the picture. It probably would be evn wetter if they were in the fish tank. However, why upset the fish with these somewhat creepy looking characters. I am looking forward to being able to put their helmets on and get away from the ScFi Horror looking flat heads!

Italeri Kangaroo APC

With things waiting to dry I think I will go and see if dinner is ready with my best See no evil, hear no evil, speak no evil look!

Italeri Kangaroo APC

Thursday, January 11, 2024

Wheel painting.

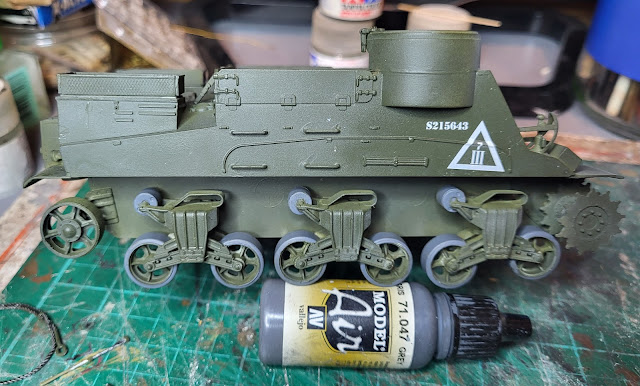
Not much time to disappear into the Man Cave today but just enough to get some wheel painting done on the Italeri Kangaroo. Specifically the rubber tyres on the running wheels and the top rollers were painted with a grey paint. I avoid black as any rubber that has been exposed to the elements will oxidise and turn to a dark grey unless you apply tyre black - not something a tank crew would so in the heat of battle! I used the airbrush ready version of Vallejo's grey paint which for small areas such as these wheels was ideal.

Italeri Kangaroo APC

I just had time to experiment a little by airbrushing a flesh tone onto the faces and hands of the three figures included in the kit (despite the box saying 'figures not included'). It needs a some further airbrushing and possibly the paint needs to be less thinned but the thinness of the paint applied by airbrush over paint brush means the detail, especially on the faces, is maintained. Looks like this experiment may be a success! 

Italeri Kangaroo APC

They really do need their helmets put on to get rid of the flat head but that will have to wait until the painting is complete!


Wednesday, January 10, 2024

Time for some coaching.

With the Italeri Kangaroo airbrushed in matt varnish and the various tools being painted ready to be mounted I am having to wait for things to dry before I can progress.

Italeri Kangaroo APC

Italeri Kangaroo APC

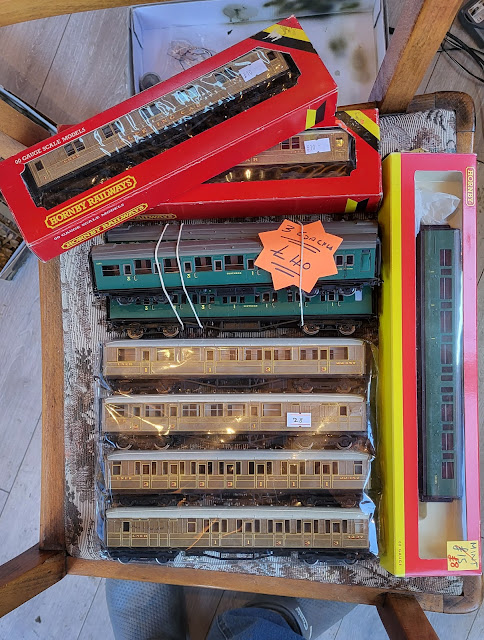
Given the opportunity I thought it time to unpack the coaches I had bought at the Newark Train and Toy fair on New Years Day.

Hornby coaches

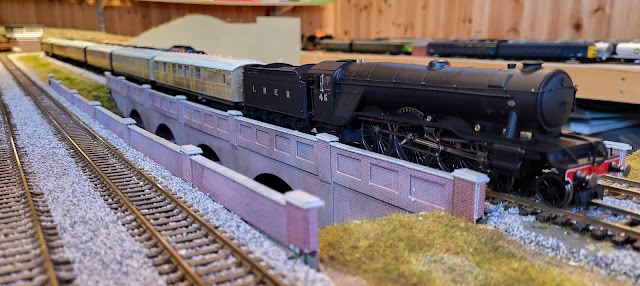
There are 4 Southern Railway and 6 LNER coaches. I put together the rake of LNER coaches behind Limberg and it does look an impressive train.

Hornby A3 Steam Loco Limberg

Hornby A3 Steam Loco Limberg

Included in the rake are two of these sleeper coaches.

Hornby coaches

I do like these teak coaches, they look classy - unlike me!


Tuesday, January 9, 2024

That Kangaroo is coming along in leaps and bounds!

I have to blame Mr. Beecham, he of model making skills and cycling prowess, for the title to this post! I sent him a picture of progress on the build of this Italeri kit and that was the response I got!

Anyway, The external parts of the Kangaroo have now been painted with Tamiya Olive Drab. For some reason the paint has come out in various patches of differing greens which looks quite good!

Italeri Kangaroo APC

With the paint dry I applied some gloss varnish to the areas that the decals were going to be applied to. This avoids a white frost forming under the decal if applied to a matt surface which is what the Olive Drab is.

Italeri Kangaroo APC

With the varnish dry the decals were applied using some MircoSol to soften then to conform to the moulded undulations.

Italeri Kangaroo APC

Once the decals are dry I will apply some matt varnish to seal the decals and provide a base for some weathering. Yes, the Kamgarro is certainly coming on in leaps and bounds Mr. Beecham!

Monday, January 8, 2024

A grey day!

It was a grey day both with the chilly weather as well as with the Italeri Kangaroo APC which along with many parts received a coat of grey undercoat. Having already painted and weathered the internal part of the upper hull some basic masking tape around the edges enabled me to hold the model upside down so that any spray missed the already finished areas. The three figures were superglued to icecream sticks - luckily in stock as its too cold to eat icecreams!

Italeri Kangaroo APC

With the masking done the grey was airbrushed on which will give a good base for the Olive Drab top coat. You can see the large number of seperate parts that also require painting and mounting on the vehicle. Did I say this was going to be a simple build?

Italeri Kangaroo APC

Italeri Kangaroo APC

By tomorrow the paint will have dried ready for the top coat and the weather may not be as grey but hopefully not Olive Drab in colour - that is just for the Kangaroo!

Sunday, January 7, 2024

I take Mrs. Woody for a train trip in a freezer!

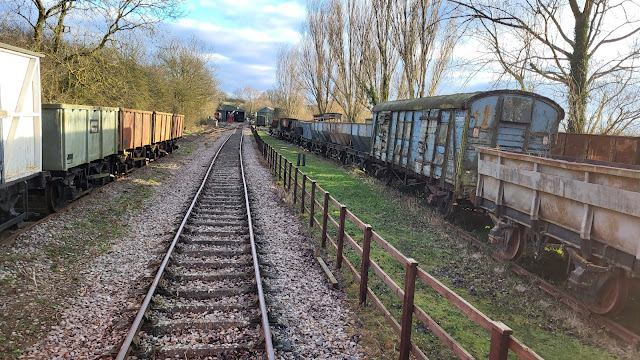
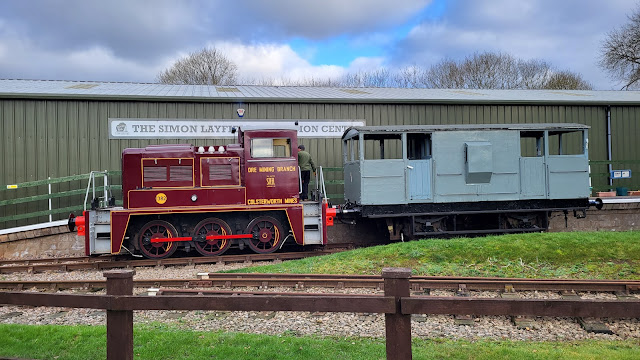
It doesn't seem like it but a year ago I was at the Rocks By Rail members day with Mrs. Woody (Click here to read about that) but that is where we were again this year! It was like last year just colder, in fact almost freezer like and the steam engine had apparently broken with something having fell off the boiler (I was no where near it so you cannot blame me!) so the brake van rides were diesel powered. Great to see friends again and a chat over cake and mince pies went down well before a ride in the fridge brake van down to the end of the line and back.

Rocks by Rail Museum

The problem of being on the open verandah of a brake van being pushed back into the wind is that the fridge like conditions on the way down suddenly get turned down several notches to deep freeze! I don't think Mrs. W was that impressed but I enjoyed it.

Rocks by Rail Museum

There can be no doubt that there are plenty of projects to be going at for volunteers over the next few years!

Rocks by Rail Museum

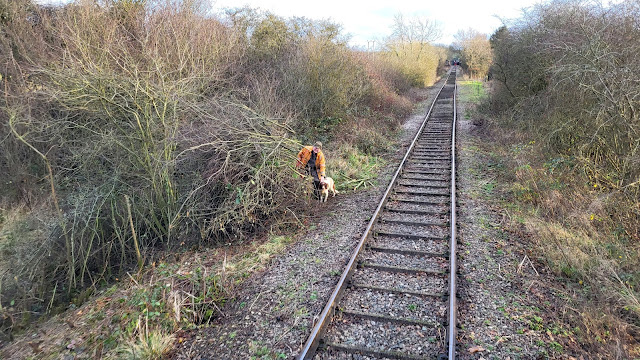
Even on a members day Richard and Riley the dog are working cutting back vegetation!

Rocks by Rail Museum

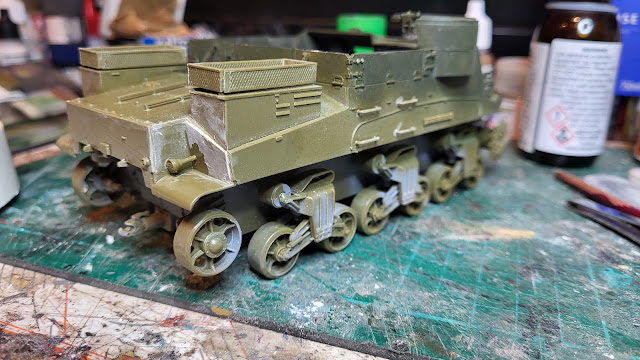
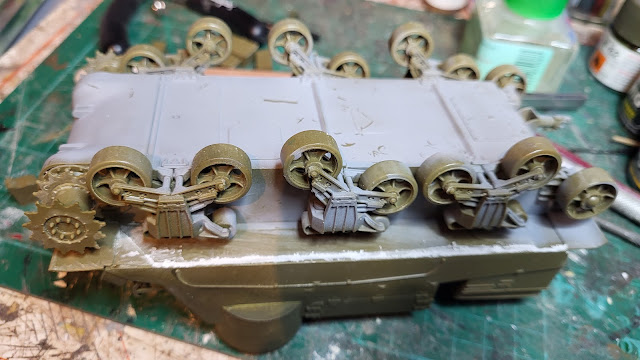
Back in the land of model making some small progress with the Italeri Kangaroo APC with the joint between lower and upper hulls now glued, filled and smoothed as well as the side climbing handles and rear lights being fitted. Just about ready for some paint.

Italeri Kangaroo APC

Italeri Kangaroo APC

Hopefully when I apply the paint it won't be in freezer like conditions!


Saturday, January 6, 2024

Getting a hand on waiting for glue to dry!

One of those inevitable events in building a model making in that there will be a time when you have to wait for the glue to dry. Usually not a problem as there are always other things to do like the jobs on Mrs. Woody's list for me to do! However, in gluing the upper and lower hull parts together of the Italeri Kangaroo APC, due to the slight bow in the lower hull, I couldn't just glue and leave it to set. I had to actually hold it together with my hands in the right place until the joint was strong enough to allow the two parts to be joined together as they should without resorting to the original bowed shape. The shape of the parts was such that clamps, elastic bands, tape or indeed weighty objects were of no use in holding the parts together so I just had to sit there for an hour or so listened to the radio whilst the glue did its job. 

I must admit that the join was actually better then I thought it would be but I have spatulared some filler over the join which once set and sanded back should provide a seamless join!

Italeri Kangaroo APC

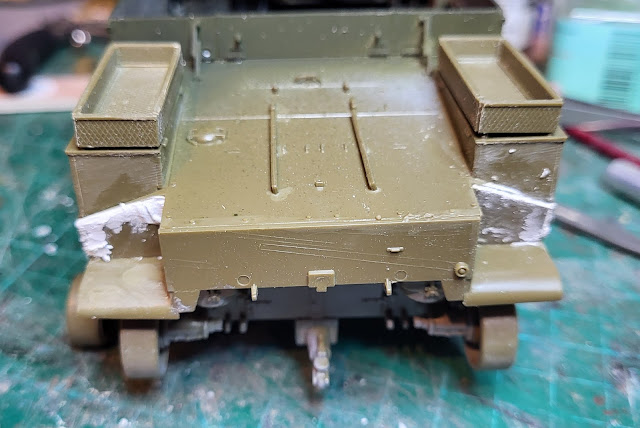
At the rear of the hull I had to layer on the filler a bit thicker as the join between the two parts was not that great. It could be down to the jit design or more likely my poor abilities! Never the less, once dry and sanded it will all look a lot better.

Italeri Kangaroo APC

Better get my hand in at sanding now!

Friday, January 5, 2024

Weathering or petina?

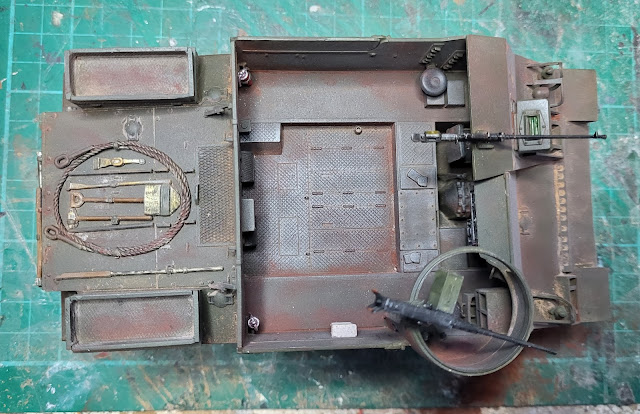
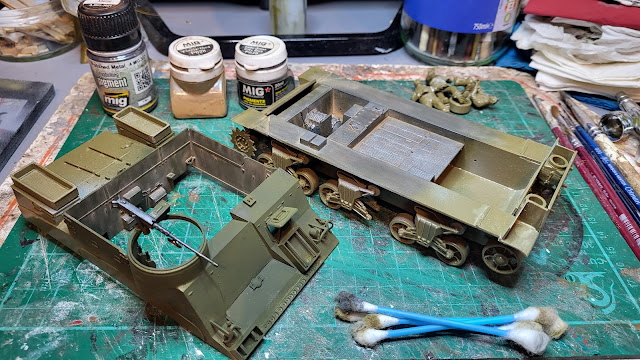
Much as Mrs. Woody says I am weathered as I grow older, I like to think of it more as gaining a patina as they seem to say on many of the restoration programes on TV these days! In the case of the Italeri Kangaroo APC build the interior didn't have any patina or weathering following my earlier painting so I had to add some before I finally glue the upper and lower hull parts together. I could have done the work with the two halves glued together but it was just easier to access everything with them apart. Working smarter not harder as I get older even if I am weathered!

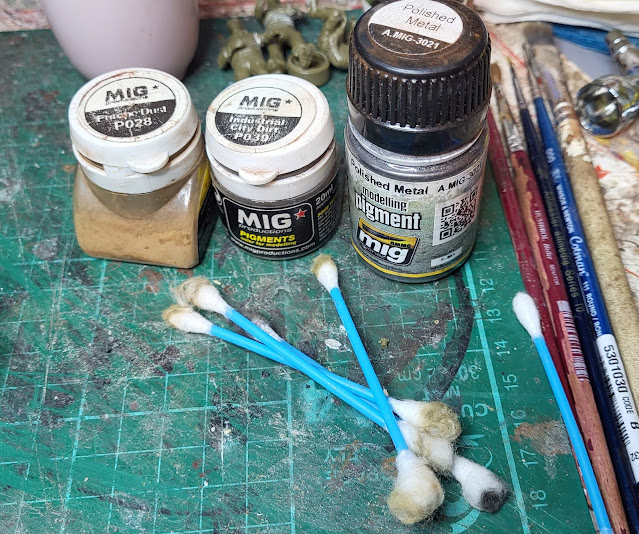
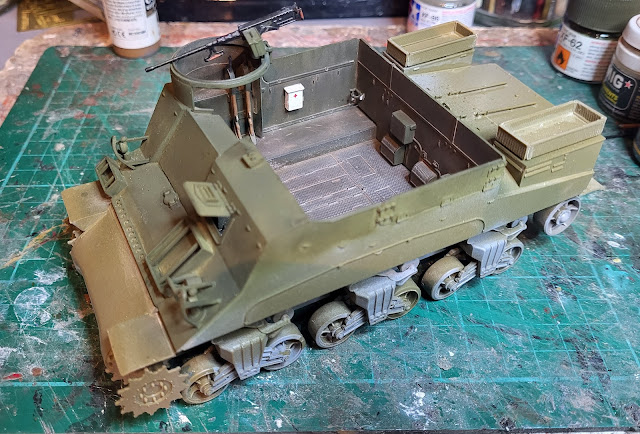
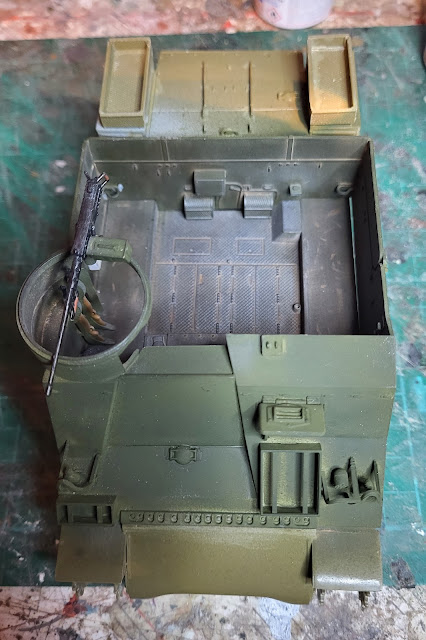
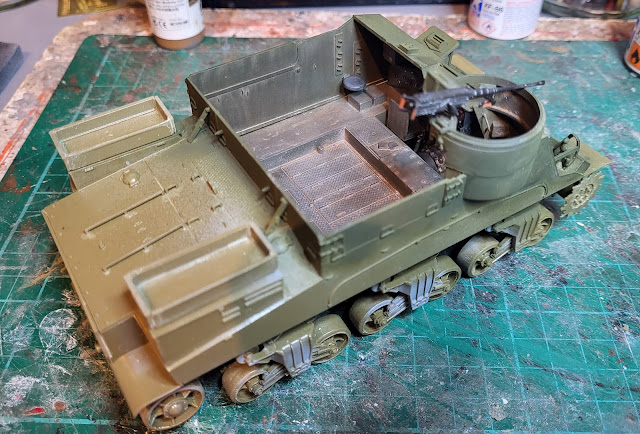
My weathering/patina creating was down to these powders applied with a soft brush and then streaked by using the cotton buds in a downward motion on the vertical surfaces and in  random circular pattern on the floor. The polished metal pigment was used on the floor areas as the material used in the vehicle is a chequered plate. The upper parts of the chequer pattern would have the paint worn off by being walked on and a polished surface would result unless left for a long period when rust would form. However, lets not get too complicated! 

Italeri Kangaroo APC

After a couple of hours this is what the two parts looked like.

Italeri Kangaroo APC

With the application of a coat of matt varnish to seal in the powders the interior is looking ....weathered or patinaed depending on your preference!

Italeri Kangaroo APC

Italeri Kangaroo APC

Italeri Kangaroo APC

Italeri Kangaroo APC

Once permeantly glued together the exterior can be painted, decaled and then weathered/patinaed!