Search this blog

Friday, May 13, 2022

Do you want to see my etchings?

Not some crude line from a 1970s comedy TV show but in this case the MiniArt Egyptian T34/85 tank has some parts made up from etched brass contained in a sheet of etchings.

MiniArt Egyptian T34/85 tank

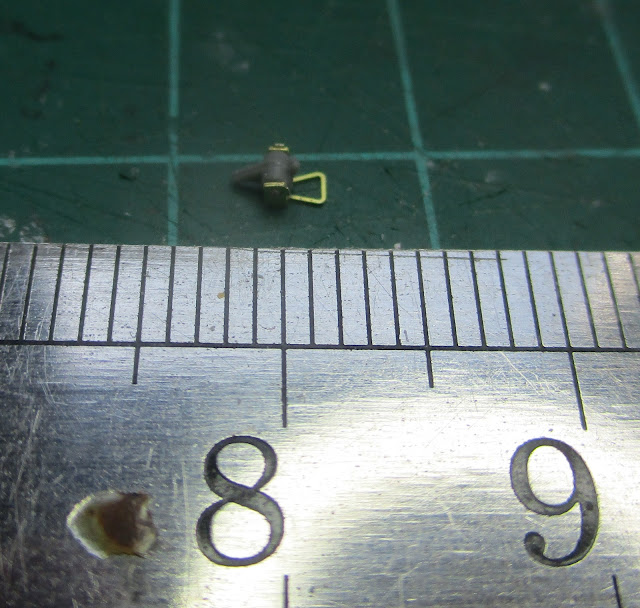
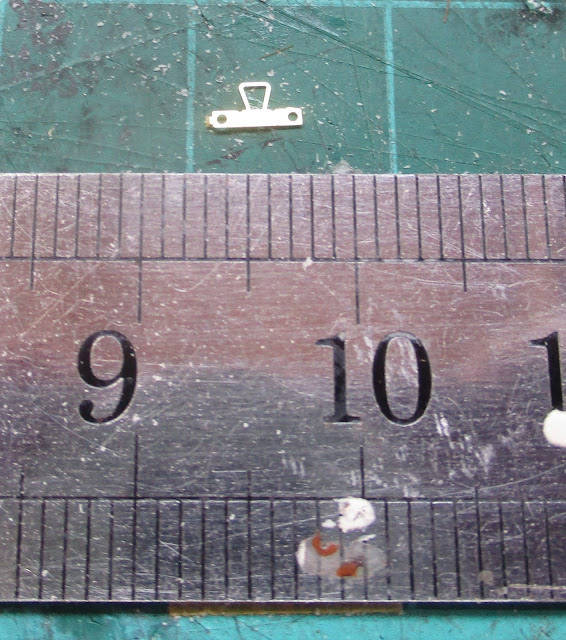
I am now working on the front panel of the tank body and two of the parts are brackets that are made up of an etched frame and plastic swivel part. The size of what I am dealing with is perhaps best shown in a photograph.

MiniArt Egyptian T34/85 tank

This then needed folding into a U shape and the plastic part inserted. Good test of your eyesight and finger dexterity!

MiniArt Egyptian T34/85 tank

Two of these joined some other parts on the front panel. This is not going to be a quick build as this bit of modelling took an hour and a half!

MiniArt Egyptian T34/85 tank


Thursday, May 12, 2022

Swan song!

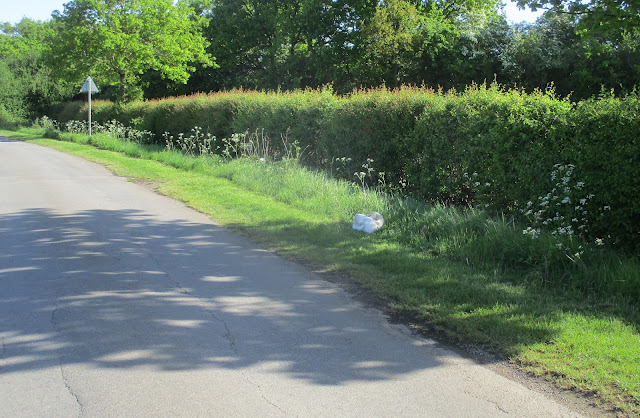
Well not quiet my swan song but whilst out this morning on the bike I came across this.

Swan

Looks a bit strange but getting closer it was a young swan having a kip! It looked up at me as I took the photos and stretched before going back to sleep. An hour later as I headed home it had moved a bit further down the road but was enjoying the morning sun.

Swan

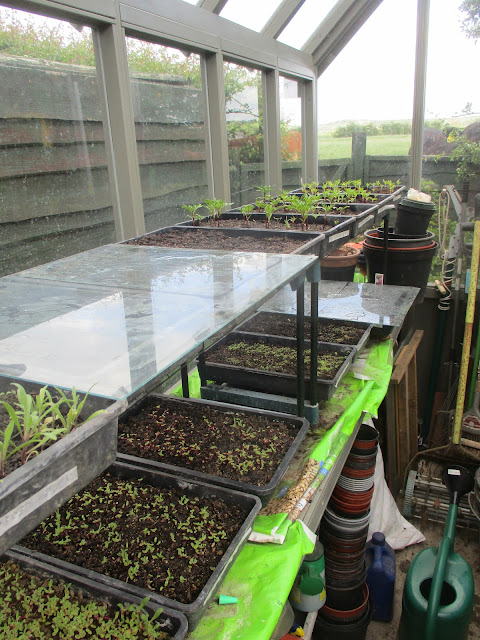
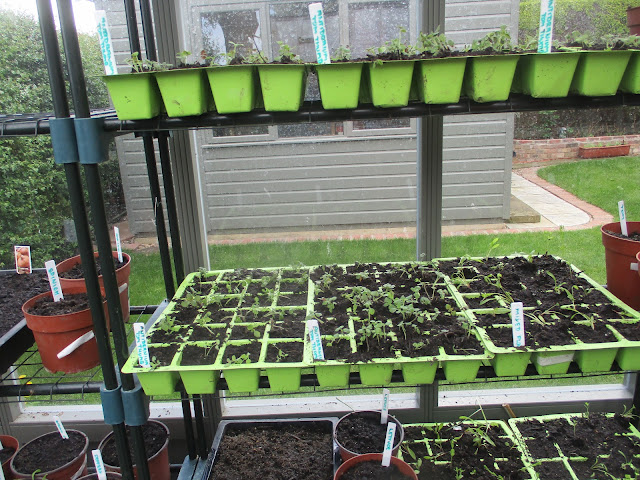
Back at WMD HQ it was time for some green house work and I spent a pleasant few hours pricking out seedlings into pots. I will be in good books with Mrs. Woody - I hope anyway! Still more to do but it is nice to see nature at work.

Greenhouse

Greenhouse

I even had time for a bit of model making. The two T34 Egyptian tank kits have been sitting in my Man Cave shouting out to be made and I have given into one of them! So in my usual grass hopper way of jumping from projects another now joins the list.

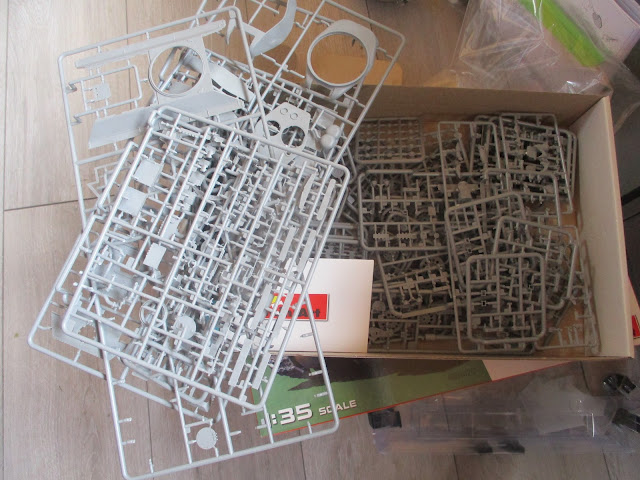
There are a lot of parts in the kit which is worrying.

MiniArt Egyptian T34/85 tank,

So far I have managed about 30 or so of these parts which has got me a basic chassis so far.

MiniArt Egyptian T34/85 tank,

MiniArt Egyptian T34/85 tank,

|Having built the Italeri kit of the Russian version of this tank a couple of years ago this one is light years ahead of it in detail. However more detail can mean a harder and more likely to go wrong build so I will see how I go. I just hope this kit is not my Swan Song!

Wednesday, May 11, 2022

Time for a Western.

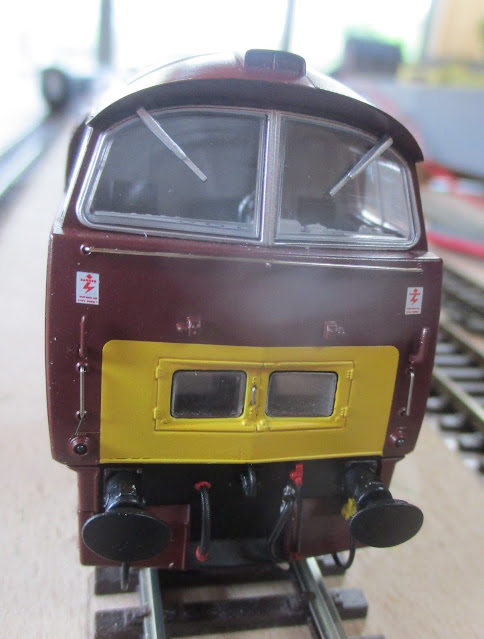
I don't get to operate the TV remote control here at WMD HQ. That is very much a Mrs. Woody job for some reason I have yet to work out! Therefore the likelihood of a John Wayne western film on the TV is as remote as the remote control itself! However for my purposes the Western I am interested in at the moment is the Dapol 00 gauge Class 52 Western locomotive. Built in the early 1960's as part of the railway modernisation plan, 74 of them operated mainly in the western regions. They were a diesel hydraulic design and as well as the distinctive engine sound they also looked distinctive and that is one of the things that attracted me to this model. If you want more information the Wiki page, click here will explain the technical details far better than I can.

I have had my model for some time now - purchased during the start of the pandemic - it now needs to exercise its motor! 

Dapol 00 gauge Class 52 Western

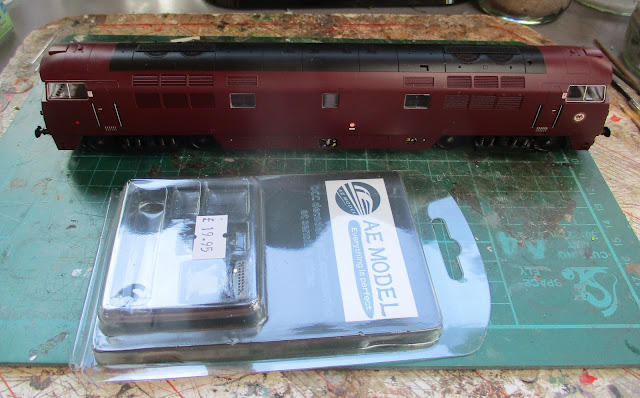
For my model I needed to add a DCC 21 pin chip. Having recently done the Dapol Class 73 I am happy to say it was as simple as that especially as I managed to fit the DCC chip the right way round this time!

The loco and the DCC chip in its packaging.


Dapol 00 gauge Class 52 Western

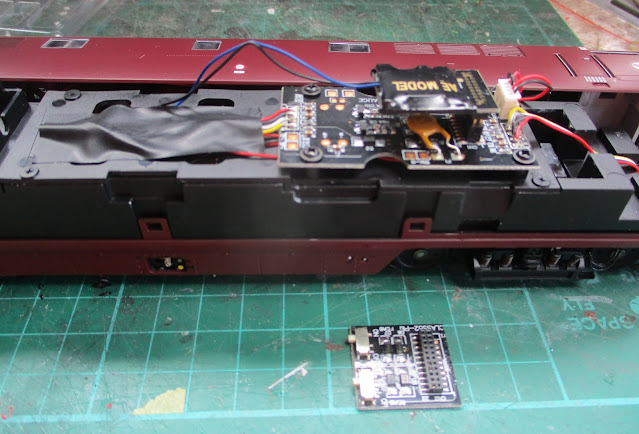
Four screws, one at each corner, allow the body to be lifted off.

Dapol 00 gauge Class 52 Western

With the body off the circuit board is revealed with the blanking plug on top.

Dapol 00 gauge Class 52 Western

Blanking plug removed and DCC chip plugged in - the right way round!

Dapol 00 gauge Class 52 Western

There is a pack of detail parts to fit including some headboard inserts and a very nice set of etched name plates for Western Dragoon. I will fit these later once the loco is run in.

Dapol 00 gauge Class 52 Western

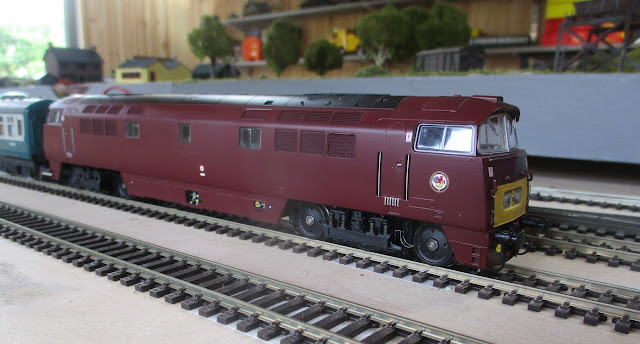
Once I programmed the DCC chip it was time to run it in so onto the layout it was. Looks great and runs superbly. Certainly not a cowboy loco! Now, if I can get hold of that TV remote control there could well be another Western.....

Dapol 00 gauge Class 52 Western

Dapol 00 gauge Class 52 Western

Dapol 00 gauge Class 52 Western


Tuesday, May 10, 2022

Ground Hog Day and a white stripe!

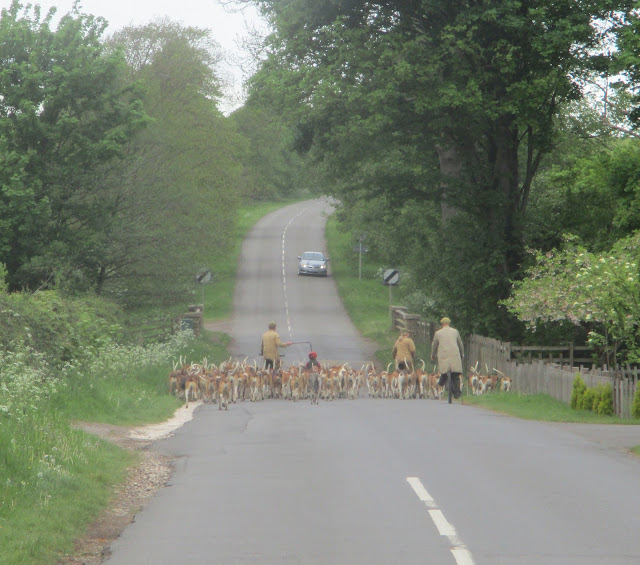
Out on an early morning bike ride this morning it was like Ground Hog Day as I came across the pack of dogs that I encountered out on my ride yesterday morning. Either they had been on a very long walk or our paths crossed as they went out on another walk. Either way it was an unusual event and in less than 24 hours - Ground Hog Day!

Hunt dogs

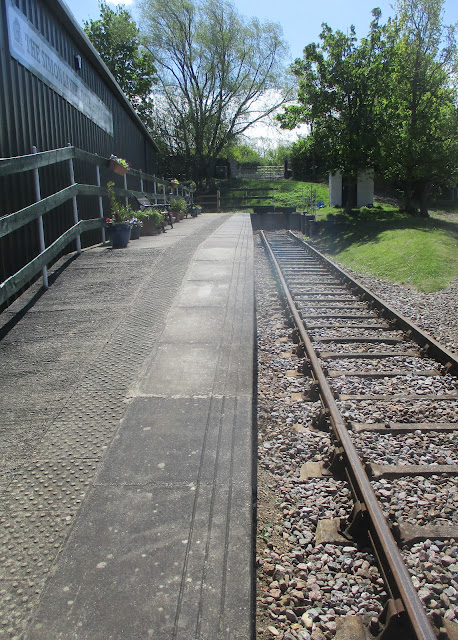
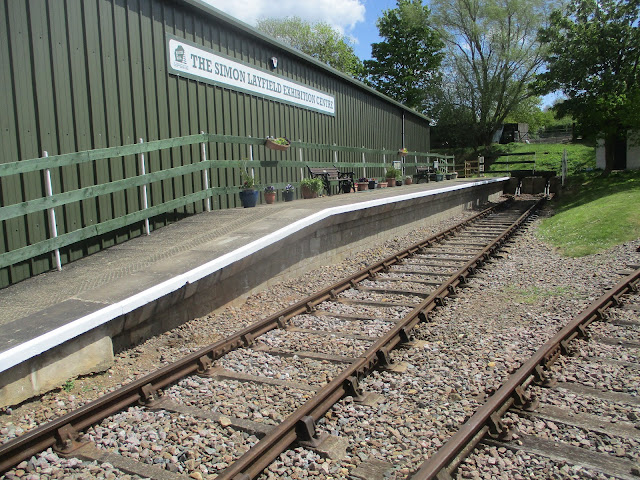
The reason for the early morning bike ride was that it was another day at the Rocks by Rail Museum. In my last post I highlighted that variety was the spice of life and today was no different. My morning job was to paint a white stripe along the edge of the platform to clearly define the edge to passengers. 

Start of the morning.

Rocks by Rail Museum

Mid morning....

Rocks by Rail Museum

End of the morning and looking good!

Rocks by Rail Museum

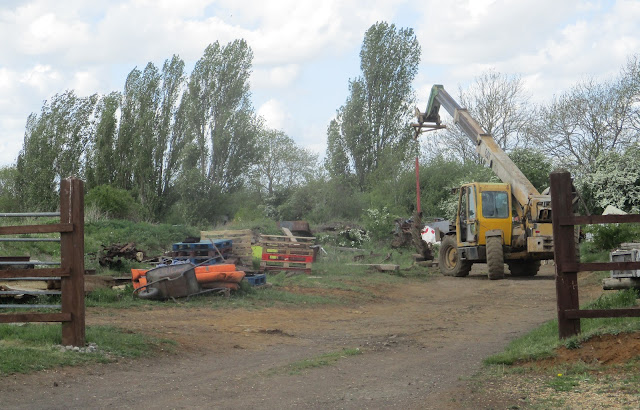
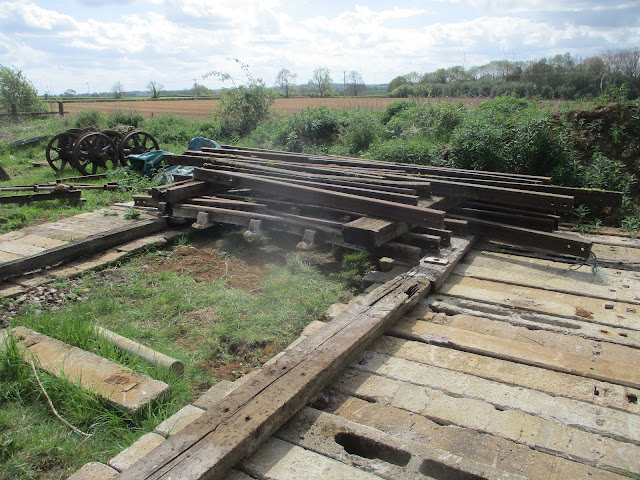
After lunch a bit of work with others in tyding and sorting the 'bone yard' of parts which revealed some interesting discoveries such as this pile of parts for several sets of points! It may just look like a pile of junk but it all has a use at the Museum just like my pile of junk useful things that Mrs. Woody calls on an almost daily basis junk! Now that is another Ground Hog Day!

Rocks by Rail Museum

Rocks by Rail Museum


Monday, May 9, 2022

Just about done!

I was just about done having finished going up a series of hills on my bike when I was able to take a well required breather having caught up with this pack of dogs out for some exercise! I was not going to take on the cycling prowess of the accompanying staff so as they turned left at the top of the hill I turned right!

Hunt dog exercise

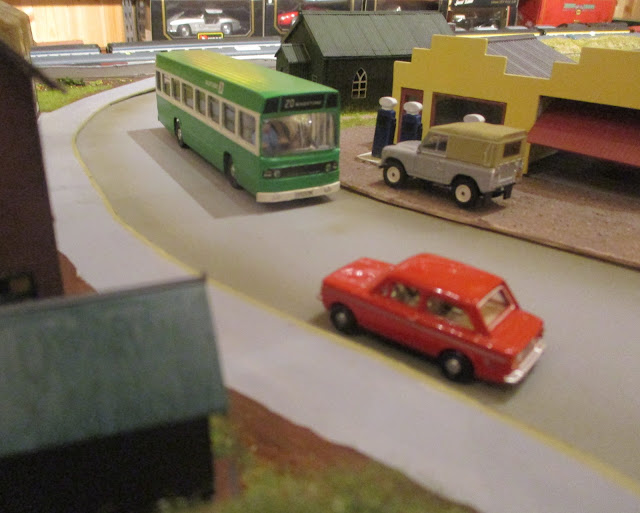
Back at the comfort of WMD HQ the Peco Leyland National Bus is just about done too! The closeness of the digital camera shows up flaws but put it in the setting of the layout and it looks at home. It will probably make any bus enthusiast weep in frustration at what is wrong with it but I am happy with it and that is what matters! Sometimes you can to concerned with getting everything spot on when in actual fact as long as it looks right in its final setting from normal viewing distance and you are happy with it then it is actually right. I will let you decide if my philosophy is right from the photos.

Peco National Bus Kit

Peco National Bus Kit

Peco National Bus Kit


Sunday, May 8, 2022

The bus has windows.

In between bike rides, cleaning bikes, fixing punctures, grass cutting and the other things that make a day of relaxation not so relaxing I did manage to fit the windows into the Peco Leyland National Bus. The front windscreen took some filing down to get it to fit and I did paint the moulded in windscreen wipers to add a bit of detail. I also managed to paint in the lights and attach the main front lights as well as adding some of the decals. Things are looking good unless you are an expert in buses in which case my build will no doubt grate! However in my World anything is possible!

Peco National Bus Kit

Peco National Bus Kit

Peco National Bus Kit


Saturday, May 7, 2022

The wheels on the bus go round and round - well not quiet yet!

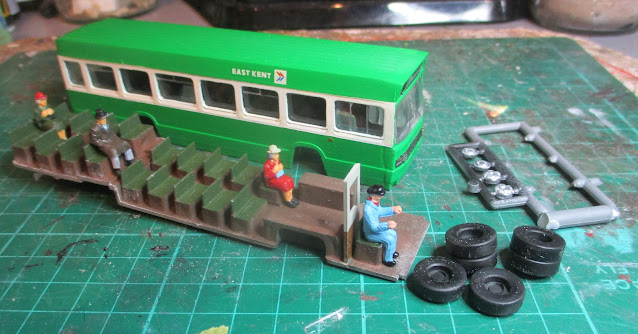
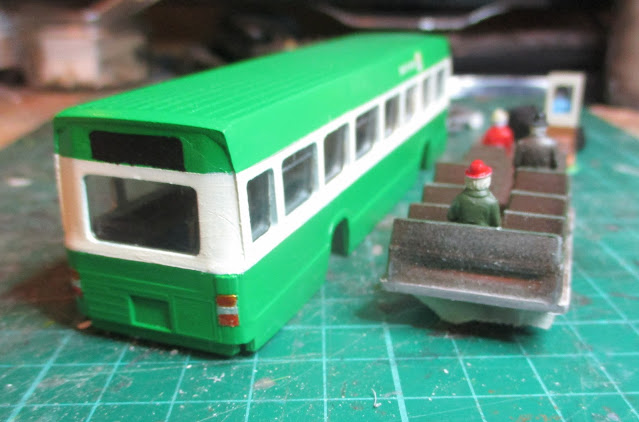
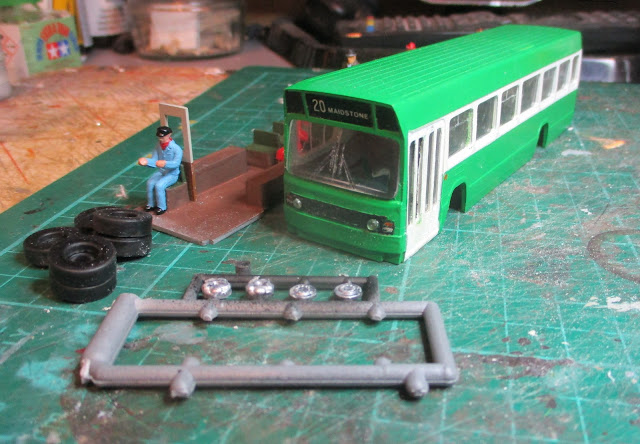
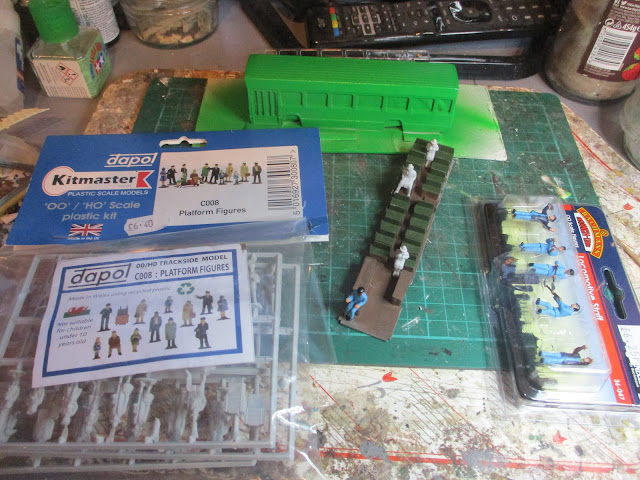
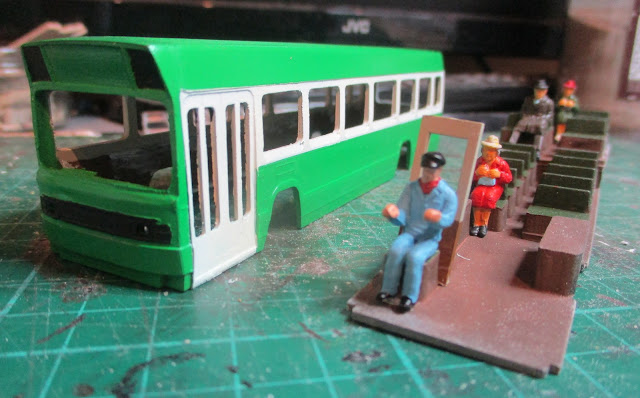
The wheels on the Peco Leyland National Bus would go round and round if they were fitted but I am getting there! The bus now has a driver and passengers. Having searched through the WMD stores I came across some Bachmann engine crew figures which had a suitable already painted member in a seated with arms looking as though they would hold a steering wheel pose which was liberated from the pack. No driving the Flying Scotsman for him - just a bus. Oh the indignity! Apologies to any bus drivers reading this! I also came across a pack of Dapol platform passengers which had two seated people that were duplicated across the three sprues that the pack contained. Two ladies and a gent were taken from the pack and they were painted in my vision of fashionable attire for the go getting bus passenger of the time. They will not be on the front page of Vouge! 

Peco National Bus Kit

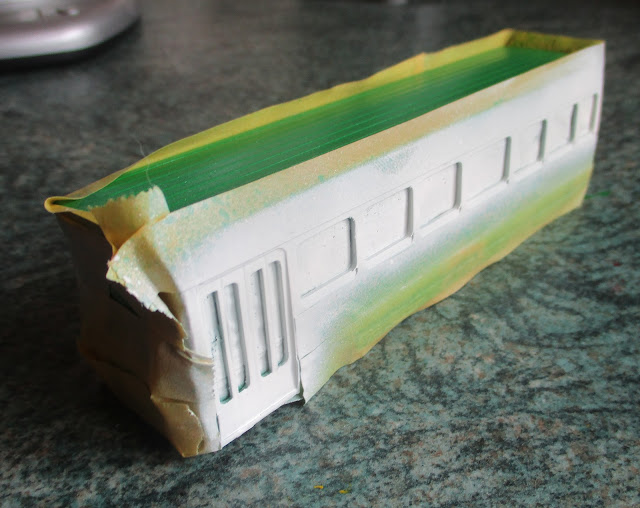
The bus body has had a white stripe applied over the windows despite my fears of things going wrong. Firstly Tamiya masking tape was applied and the edges sealed by airbrushing a coat of the green paint around the tape edges. The theory is that if the masking tape leaks it will not show once removed as the same coloured paint wont show and will also seal the edges of the tape before the final colour is applied - well that is the theory!

Peco National Bus Kit

Peco National Bus Kit

So lets see how the theory works out.....

Peco National Bus Kit

Peco National Bus Kit

Not bad! A few odd places where there has been a bit of bleed through but it looks remarkably good - to me anyway! Some touching in will sort out the paintwork and there is a need to paint in a few details like the lights and apply the decals yet so more to do but this is where I am up to.

Peco National Bus Kit

Peco National Bus Kit

Should look good with the wheels fitted!

Friday, May 6, 2022

Chip day and the Leyland National bus turns green - with envy?

For many people Friday is chip day with a visit to the local chippy. However the chip I am referring to is more about electronics and model railways but more on that later.

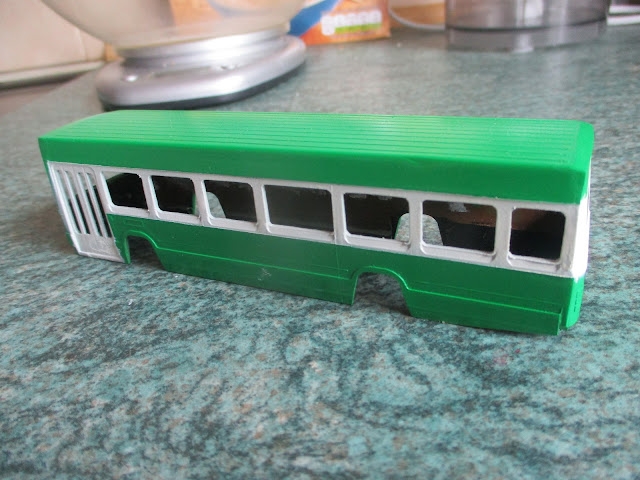
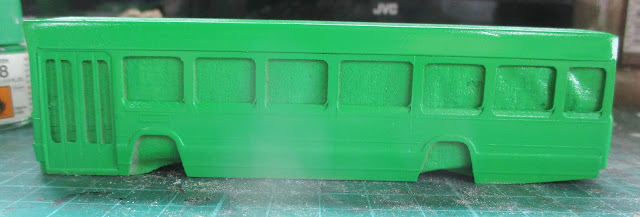
The Peco Leyland National bus probably is not envious of the electronic chip but has now been painted green following some more work on getting the joints smoothed.

Peco National Bus Kit

Peco National Bus Kit

Peco National Bus Kit

The paint is Tamiya Park Green and was airbrushed following thinning. It probably needs another coat but I will let this one dry overnight.

Peco National Bus Kit

There is probably going to be a white or cream strip along it unless I see sense and realise the issues of masking to airbrush the strip. Once the paint job is done then I can fit the glazing and floor pan. I do think I need a driver and passengers so I will need to see what is in the WMD stores which will probably mean more work and painting.

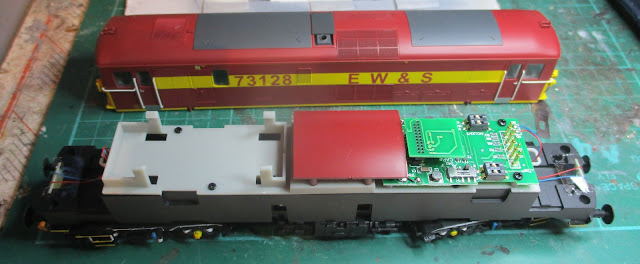
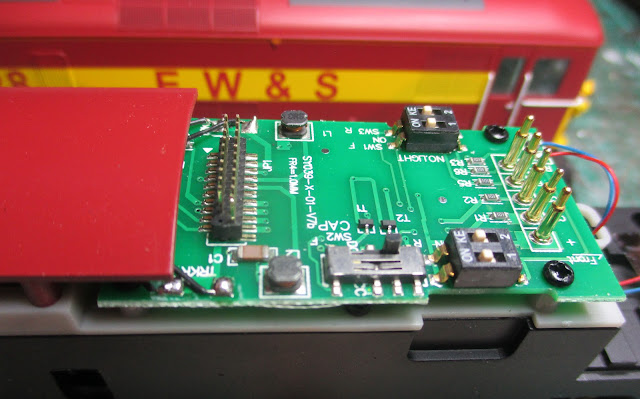
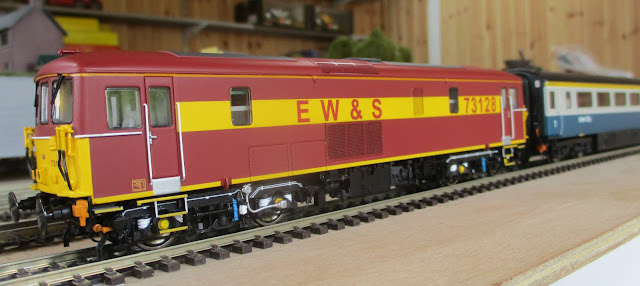
Moving onto the chip part of this post I have had for some time (and if Mrs. Woody is reading this that some time is a very long time) an 00 gauge Dapol Class 73 in EW&S livery. It goes with my other similar liveried locos. I had not run it yet so as in a frenzy of tidying up that revealed its presence I decided to put a DCC chip in it and get it running. The job entails taking the body off which is held onto the chassis with 4 small screws. Having done that the circuit board for the DCC chip and the various lighting sockets is revealed. 

Dapol EW&S Class 73

There is what is termed as a blanking plug on top of the circuit board which enbales the loco to operate on DC. The blanking pug is taken off allowing access to fit the 21 pin DCC chip.

Dapol EW&S Class 73

Dapol EW&S Class 73

I did not photo the DCC chip in place as I forgot due to spending a frustrating hour trying to get it to work. I even went to the extreme of dismantling the circuit board to see if there was a detached or broken wire. What actually was wrong was that I fitted the chip upside down - Doh! However with the chip the right way round it worked fine! It is a beauty of a model and runs superbly. I had it run in hauling a rake of Mk3 coaches as I did some more tidying up. Maybe the bus is green with envy at this loco?

Dapol EW&S Class 73

Dapol EW&S Class 73

Dapol EW&S Class 73