Recording my progress, or usually the lack of it, in building kits, creating model railways and other related and sometimes unrelated matters!
Search this blog
Thursday, February 16, 2023
Castellated Hedge!
Wednesday, February 15, 2023
Tires or just tired?
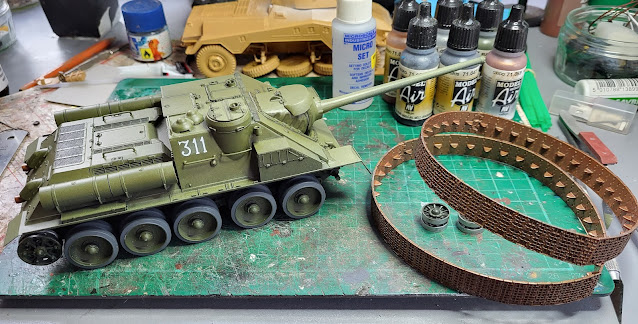
Starting off with an update on the Italeri SU-100 assault gun. The tyres on the wheels are now painted in grey. They are rubber in real life but unless you have a brand new tyre or you have treated the tyre with some of those tyre dressing products that seem so popular and make them look as though they are a gloss black, tyres once worn begin to turn grey. I also gloss varnished the areas where the decals are to be applied. If you do not do this there is a danger that the decals with 'silver' once applied. This is where air trapped under the decal on a matt surface looks as though it is frosted. The gloss varnish should provide a smooth surface that does bot trap air - that is the theory! It usually works for me but not always. The kit itself is some years old and decals over a couple of years old tend to degenerate. The outcome is that when you soak them in water to release them from the backing paper the decal can literally break up into many small buts. To try to combat that I also sprayed some varnish on the decal sheet which will hopefully keep the decals together. Again another 'that's the theory' but I will soon find out!
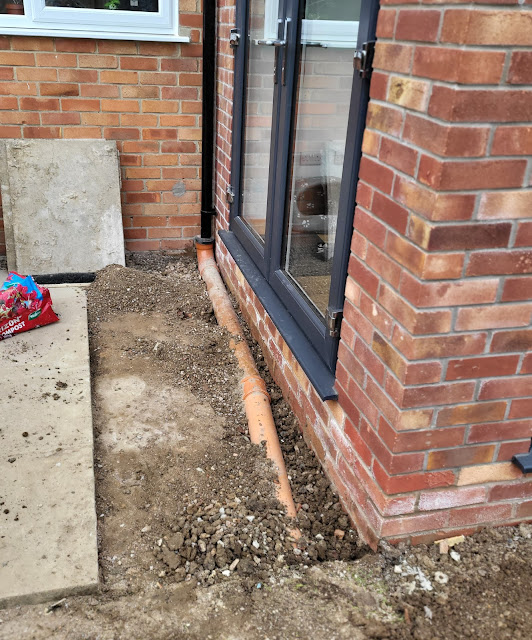
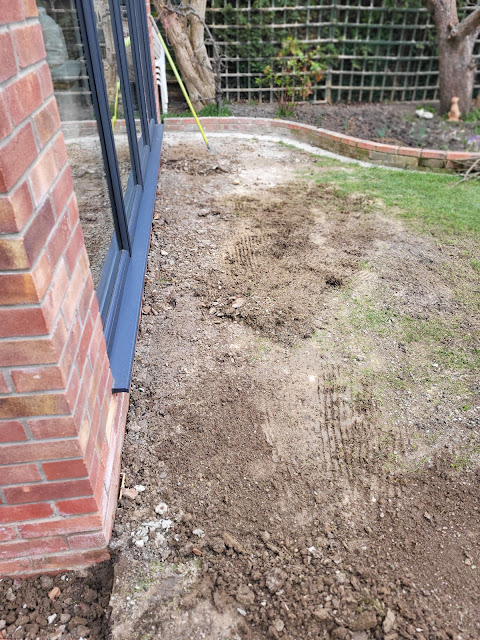
Having got into the swing of clearing up yesterday at the Rocks By Rail Museum I continued closer to home in the WMD HQ garden. The rebuilt conservatory needs a step to be built which means that I have to clear the area of the rubble left and then probably lower the drainage pipe before putting a foundation in for the step.
I have also started trying to claim my lawn back but that is a long job!
Just to prove to Mrs. Woody that I have been busy I lined the 10 bags of rubble up in a spot where she can see them! I am, after all that, just tired now! Strange that - didn't I start this blog taking about tires?
Tuesday, February 14, 2023
A journey of discovery?
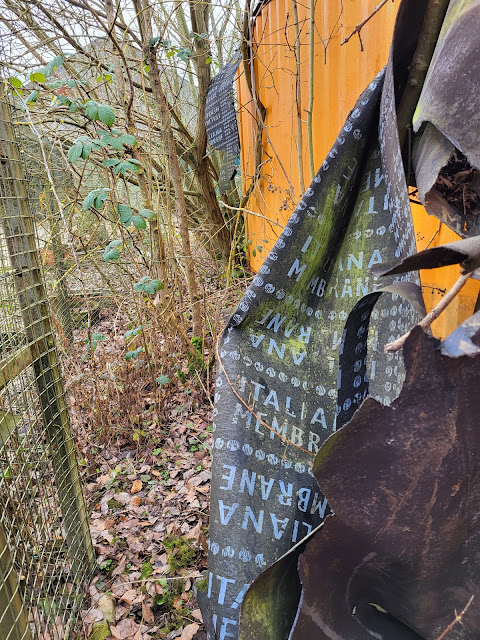
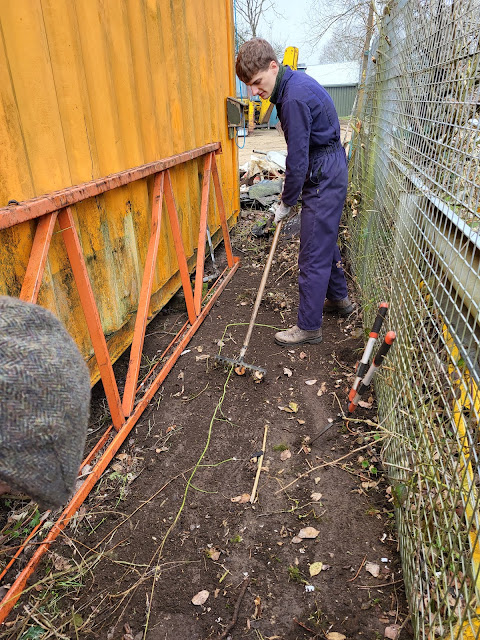
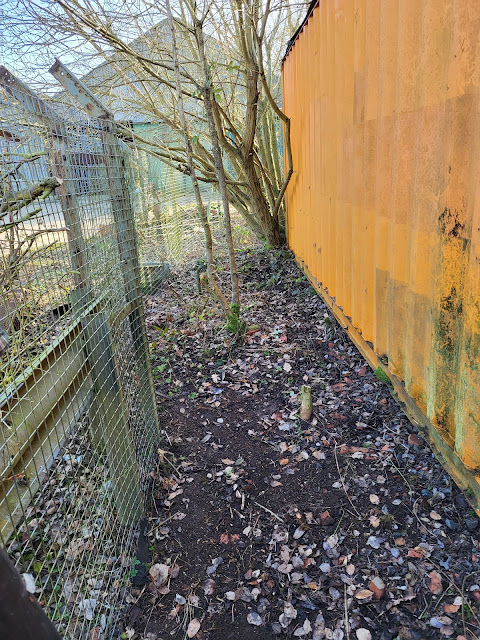
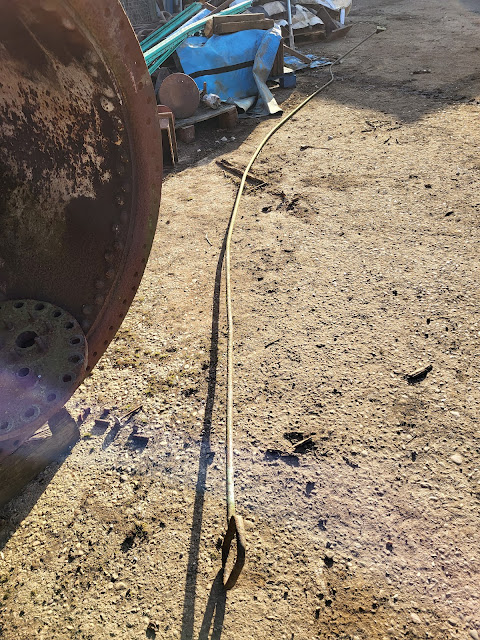
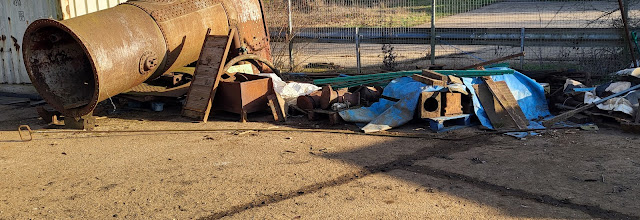
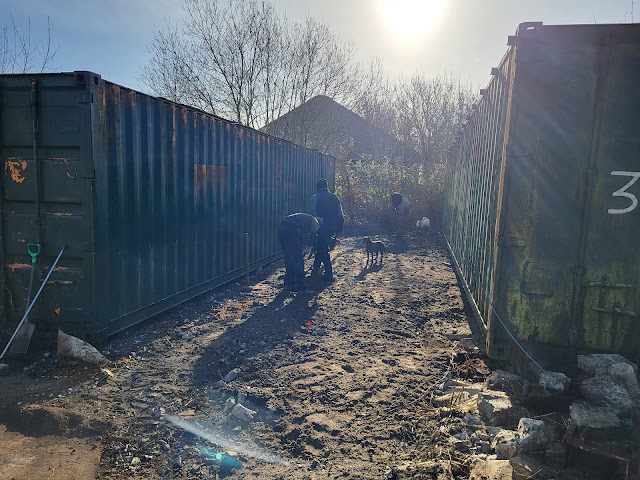
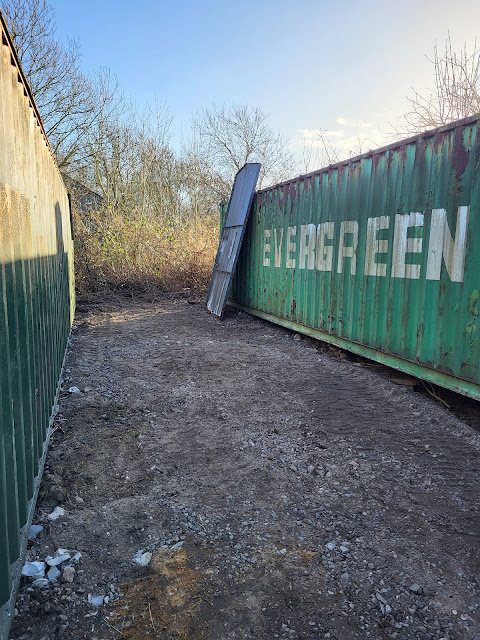
A great day at the Rocks By Rail Museum today. The day started foggy and cold but the sun came out to warm things up and it felt as though Spring is just around the corner. Today was a day to venture into a place unseen for many years - a journey of discovery! The gap between one of the storage containers and the boundary fence had been used as a dumping area for many things but it was impossible to tell what as it was all covered in vegetation with saplings growing through various items and so dense it was impossible to get through. Three of us battled through the vegetation on our journey of discovery.
Clearing out the various items engulfed by vegetation.
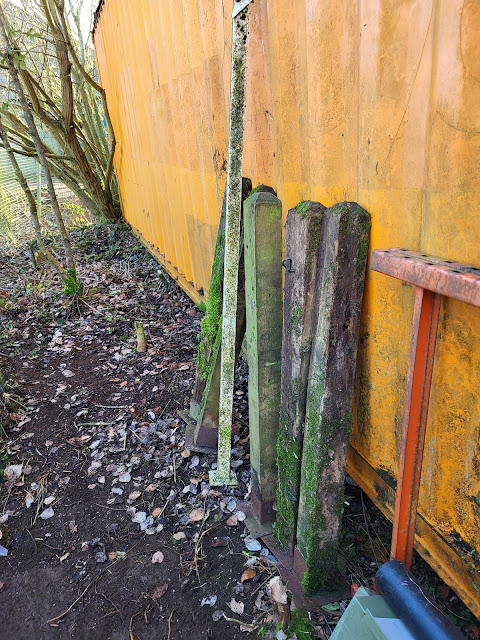
So what did we find? An interesting metal sign face and post that could well be useful in the Museum.
Monday, February 13, 2023
Catching up!
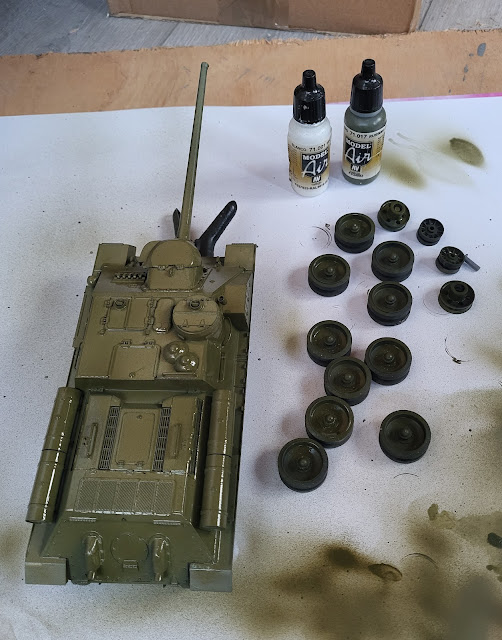
Anyone who has read this blog over time will probably understand that in Woody's life projects start and then take a long time to finish as other projects are started for reasons that seem credible at the time or Mrs. Woody has a 'must do now' chore or five for me! Today was a day to revisit one of those projects started some time ago. It is the Italeri SU-100 assault gun that Mr. Beecham gave me for Christmas. Construction of the kit was at lightning speed for me and then other things got in the way. So it has sat half painted for a month or so but it received a further dose of paint today. The backs of the wheels and underside were finally painted in Vallejo Russian Green using my airbrush.
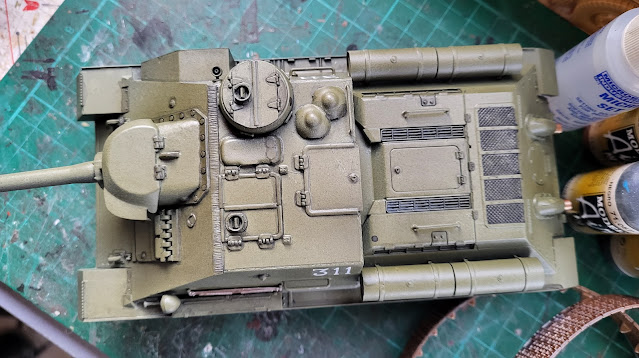
Then I decided it all looked ..... well just too uniform in colour. Weathering will provide some interest but I decided to in effect two tone the tank! This did not involve some form of custom paint job that you might find on a 1950's classic American car! It does however involve recognising that upper facing panels of tank where day light affects the perceived viewed colour our eyes see look lighter than those in shadow which are darker. To achieve this a few drops of Vallejo white paint were mixed into the Russian Green to lighten it. The the tank was held such that the airbrush was at right angles to the upper part of the tank. Airbrushing at this angle meant that only those upper facing parts of the tank were painted in this lighter tone of paint. Although the weather is warmer than of late the paint is still taking some time to dry but the picture below when compared to the one above shows the effect I wanted. The wet look will go as the paint dries.
Once dry and when I start weathering it the paint will take on a darker look but it certainly gives some contrast. Progress but I still have a lot of catching up to do!
Sunday, February 12, 2023
It has a name!
I have a small and very amateur YouTube channel. It is something I started at the beginning of the year as a bit of an experiment. I just use a phone camera and have no script so it is not a slick channel. However I have no desires to be a YouTube star/influencer/idiot so it is there just as a further record of my mishap model making activities and various things connected - or even not connected! If viewers are entertained that is brilliant but more likely my content will be prescribed as a cure for insomnia!
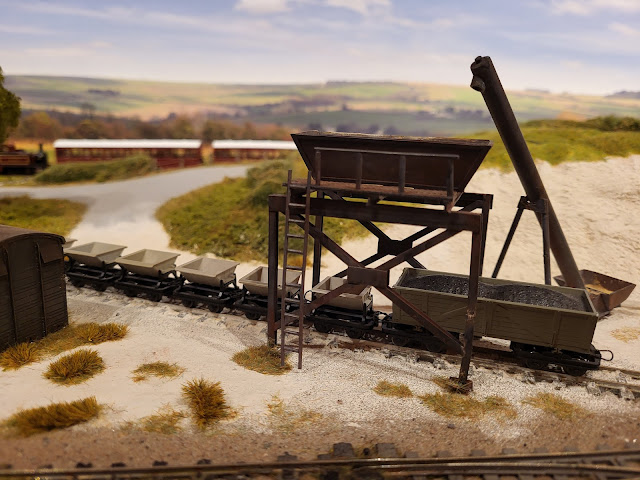
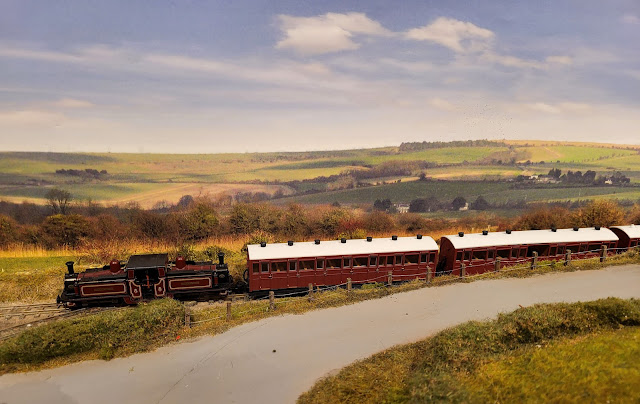
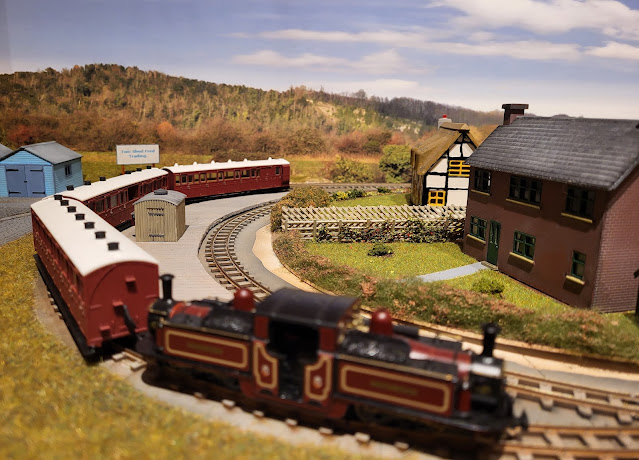
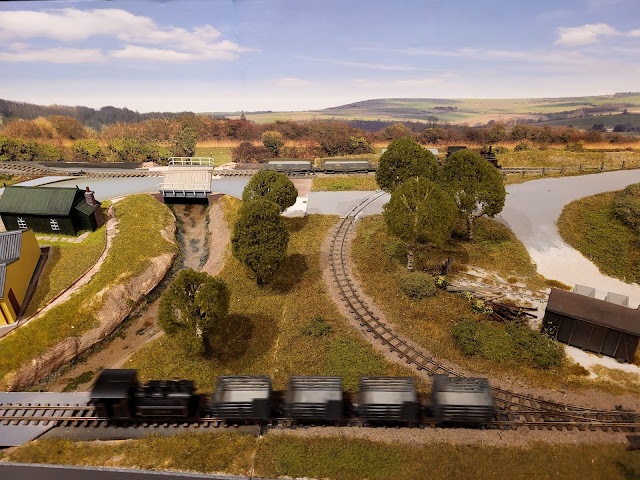
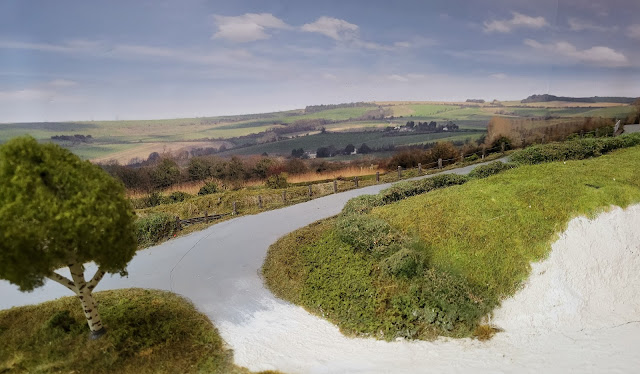
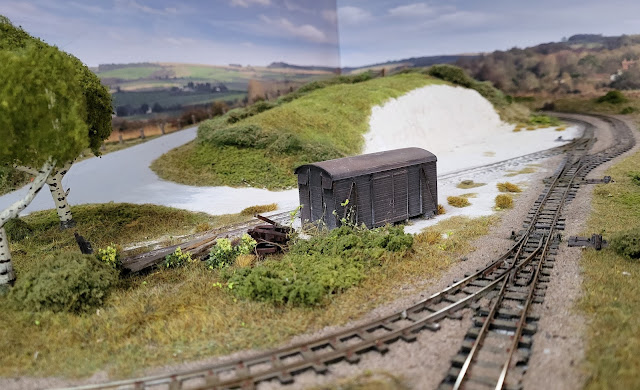
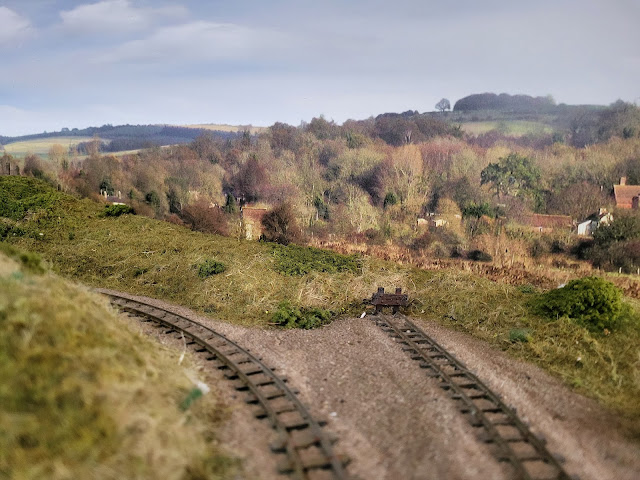
Anyway, enough of that but there is a connection. I have made a short video about my 009 narrow gauge layout. It really made me think it is time I named the layout so on the spur of the moment whilst filming it the name Chalkdon came into my mind. There is a quarry which looks as though it mines 'chalk' and it is in a hill which in Celtic days a hill was known as a 'don'. It seems good to me so that is what it is called. Having had a few moments to establish which residents of the World I have offended by naming my layout after their village/town/city it appears that there is nowhere called Chalkdon! I even got this message in Google Maps - Google Maps can't find place name "chalkdon" Amazing! Hopefully that means letters of a legal nature will not be coming my way over this!
Now the layout has a name and it also has a video about it available here....
Saturday, February 11, 2023
Putting things back.
Friday, February 10, 2023
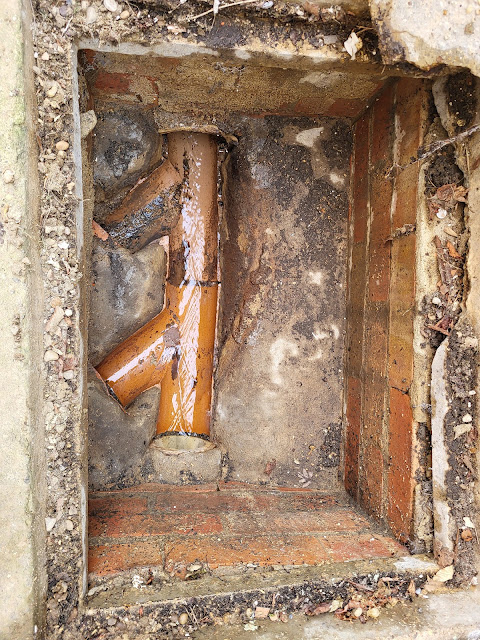
The landscape is .....blocked drains!
Thursday, February 9, 2023
Oversized jigsaw puzzle!
A day at the Rocks By Rail Museum today which is always something to look forward to. Sometimes the day is planned out and I know what I am going to be doing and other times it can be a total surprise. Today was one of those surprise days! Last week I thought that the project to create a shed between two containers to store Harriot the JCB and the CAT was well underway and I could get on with other things. Due to a shortage of bodies at the Museum today I got pulled back into this project. We finished levelling off the hardcore to form the floor of the shed.
It was nice that the work area was a sun trap!
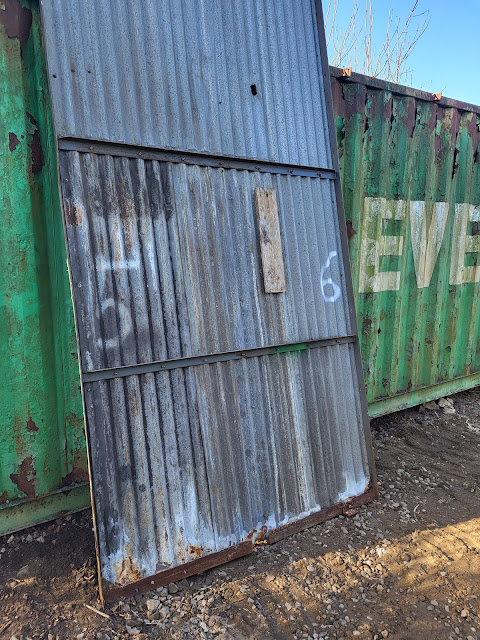
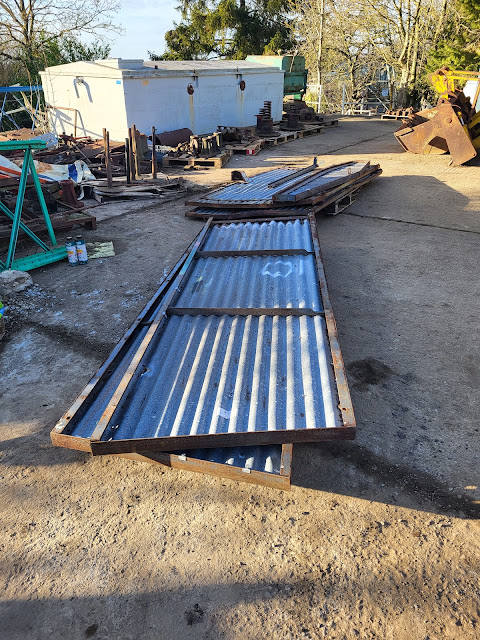
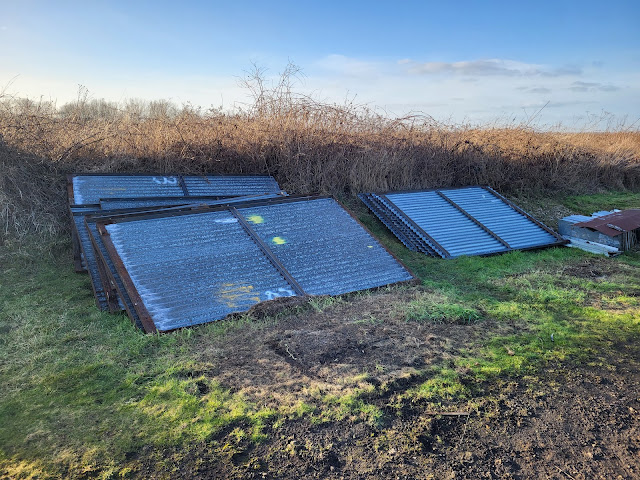
Then it was time to move onto the shed part of this project. We have a head start - or do we? We have a corrugated shed in modular dismantled form that has come from Scunthorpe. The problem is that there is no plan or picture of the erected shed. Therefore we are trying to build a jigsaw with no picture or as I said building an Airfix Lancaster bomber with the instructions from a Spitfire kit. Either way this is a problem. We thought that we had it figured out with the spray painted numbers which should provide some clue as to what parts match up with each other.
Wednesday, February 8, 2023
I am a Rocket Man!
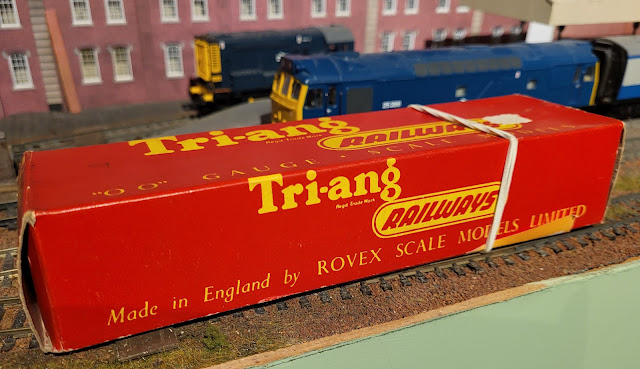
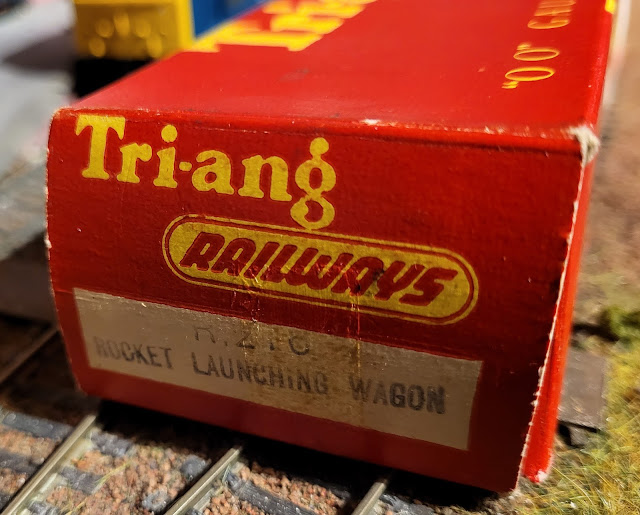
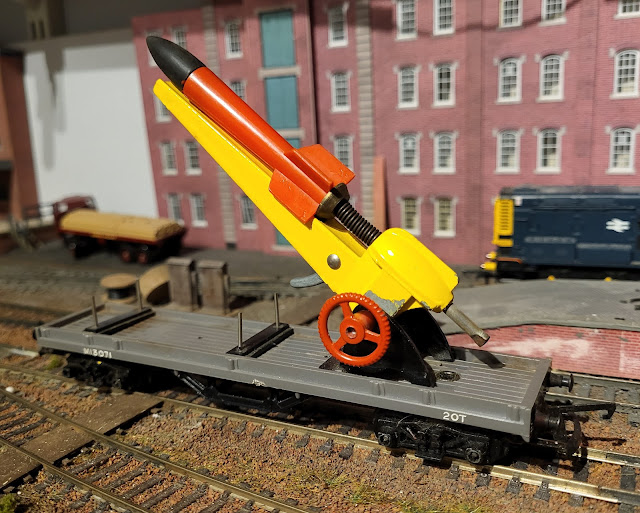
I have not tried to emulate Elton John with that great song of his but today I was out with Mrs. Woody taking her for some lunch. I diverted, as you do in such cases, to a close by model shop. I knew they had this in stock at a very reasonable price.
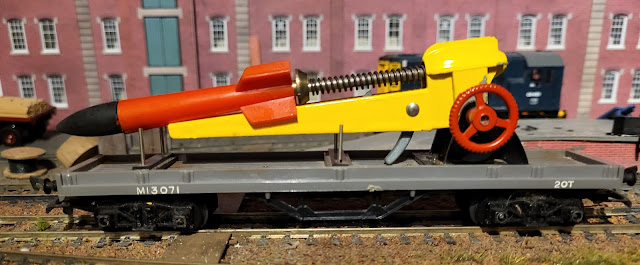
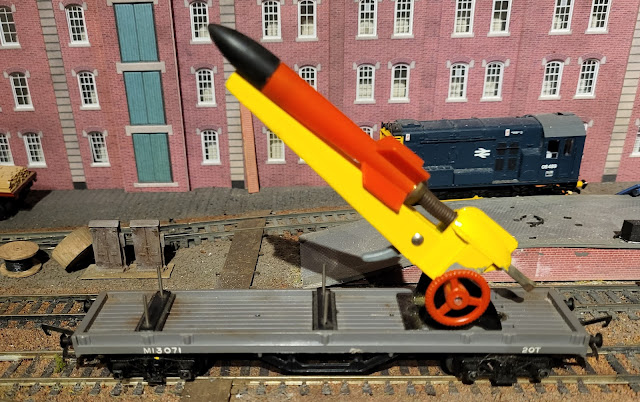
That's right - it is a rocket launching wagon! Inside the box is this very good condition item....
Tuesday, February 7, 2023
Time for a hobby?
Mrs. Woody and myself spent today out and about. Mrs. W wants some form of lounging chair for the rebuilt conservatory in which she can relax and watch me do the garden! There are some nice chairs out there which are positively very loungeable (is that a word?) but I can tell this is going to be something that takes its time to decide on. Well for me anyway, although I think Mrs. W may have different ideas!
In the meantime I have not been able to progress with the backscene on my 009 narrow gauge layout today. Given I need to be outside to spray some glue to hold the backscene to the backboard, I probably won't be able to do anything now until Friday or the weekend due to other day time commitments. As anyone who may have dipped into this blog before will probably have gathered I possibly have far too many projects on the go and progress on them is usually measured in geological terms! Still, better to have too many projects going then to sit in a lounging chair all day! Oops! Hope Mrs. W is not reading that!
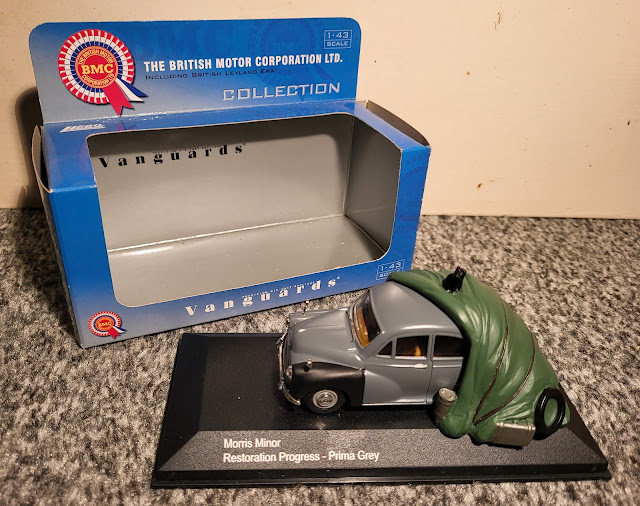
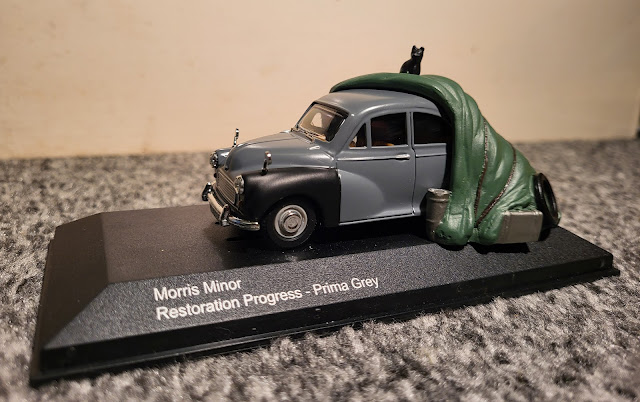
Talking of projects on the go, my eye was drawn to a die cast model by Vanguard that Mrs. W bought for me some years ago. In some ways it sums up my world of model making with half finished projects on the go and feline friends assisting hindering and limited time.
We all have stages in life where your hobby or hobbies take a bit of a hit from a lack of time or pressures from other things going on in life. However hobbies are to be enjoyed in your spare time. If you do them full time they are no longer likely to be a hobby and become a job which probably is not enjoyable either! Anyway that is what I tell myself!
