Search this blog

Friday, October 13, 2023

New stock !

And if Mrs. Woody is reading this new stock means I have it for ages! I have taken a break from bridge building today and took the opportunity to change some rolling stock on my 00 gauge layout. It is great having different rolling stock but it is a pain and takes time packing items away into their boxes given the amount of packaging that comes with model trains these days. However it keeps them safe which is important especially in my Man Cave with my clumsiness! 

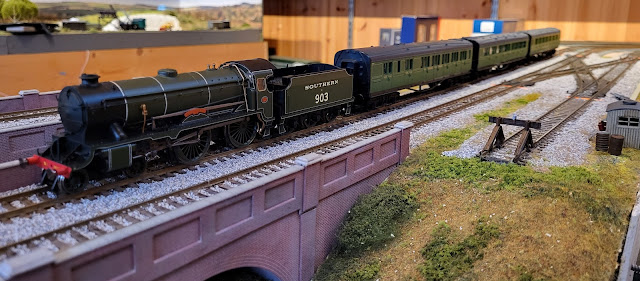
New rolling stock comes in the form of three Southern Railway coaches that I found on eBay for a very reasonable £25. They match the Southern Railway Schools Class locomotive that I got from Mrs. Woody. So if she questions me about the coaches I can justify them being necessary to adorn her gift to me! Does that work???

Hornby Southern Railway Coaches

Hornby Southern Railway Coaches

Hornby Southern Railway Coaches

Hornby Southern Railway Coaches

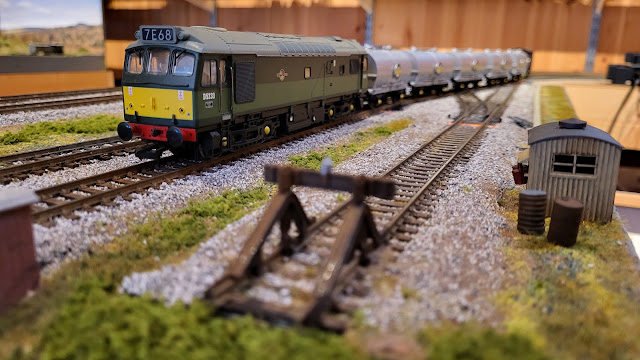
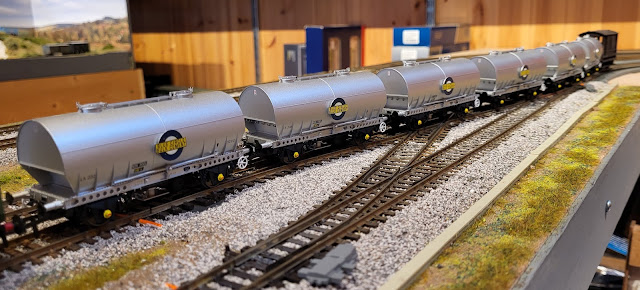
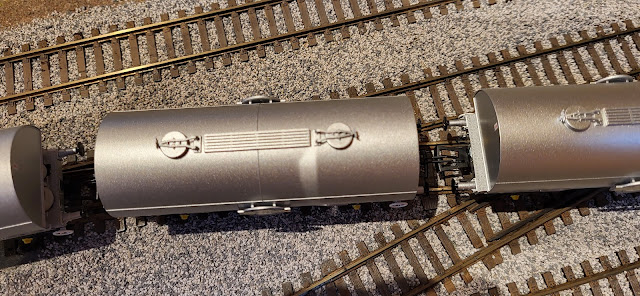
The other rolling stock is new on the layout but I have had the wagons for some time, regrettably forgetting about this pandemic purchase and having never run them! Well that has changed today and these Accurascale cement wagons do look good.

Accurascale Blue Circle Cement Wagon

Accurascale Blue Circle Cement Wagon

Accurascale Blue Circle Cement Wagon

Accurascale Blue Circle Cement Wagon

I also took the opportunity to do some videoing for another YouTube video. I will link it here when done.
Thursday, October 12, 2023

Anthracite tiles!

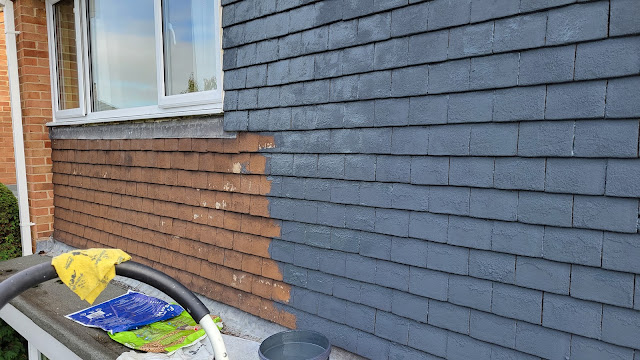
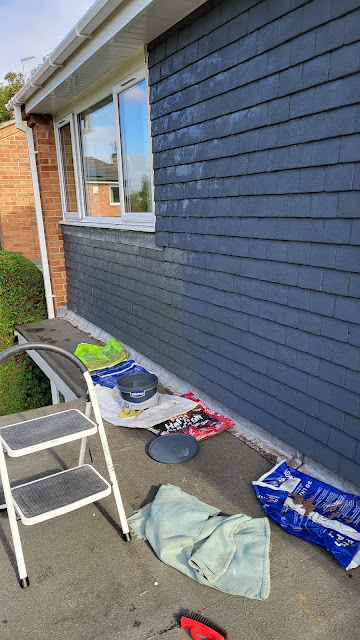
One of those jobs on Mrs. Woody's list that I have put off for sometime was actually completed today. That job was paint the tiles on the front of the house. Originally a textured sand finish when the house was built in the 1970s the tiles have lost much of their texture over the years with the weather. I did paint them some years ago but even that has weathered. Having changed the front door at the beginning of the year to an Anthracite coloured one meant it made sense to change the colour of the tiles to anthracite to match. At least I could tell which tiles I had painted. Five hours saw the job done and it does look a lot better but my back does ache!

House painting

House painting

Hopefully I will be in Mrs. W's good books - for once!

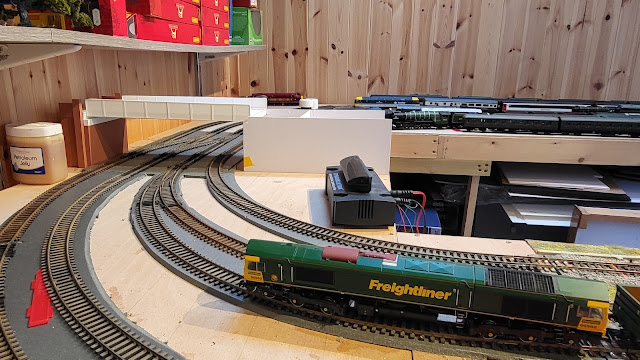
Back in the Man Cave not a lot of time to continue work on the girder bridge but the second abutment is coming on and I did have the chance to pose all parts on the layout and I think it looks right - well I would!

My Last Great Project,

My Last Great Project,

Its certainly a lot easier building this then painting those tiles!


Wednesday, October 11, 2023

Two thirds done?

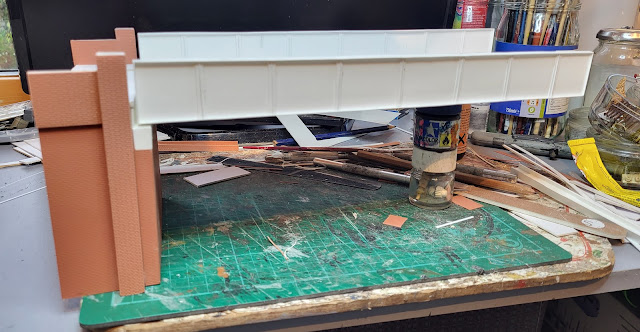
Two thirds done - well nearly! The bridge deck is just about finished as is one of the abutments. Just the other side to do now. 

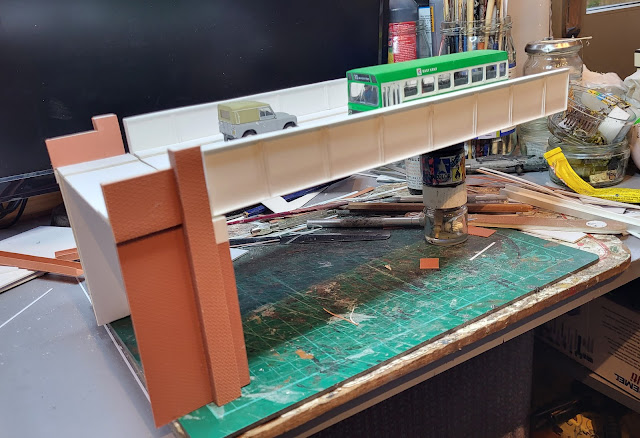
The abutment now has its supporting pillars attached along with side wall and road/footway surfaces.

My Last Great Project

I had to 'test' how the two parts fitted.

My Last Great Project

And why not add a couple of vehicles just to see!

My Last Great Project

Hopefully once the other abutment is done and it is all painted I am hoping it will measure up to what I originally envisaged! Only time will tell!

Tuesday, October 10, 2023

Parapet!

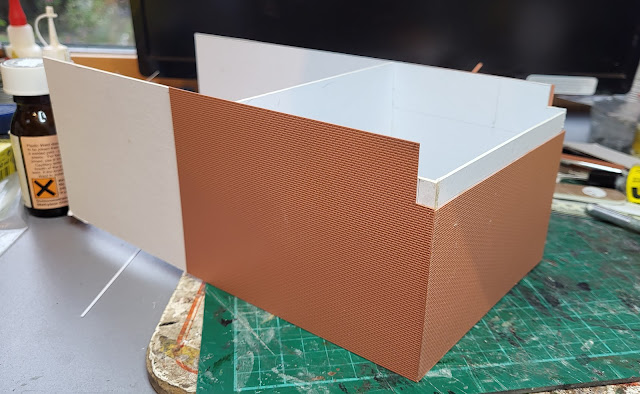
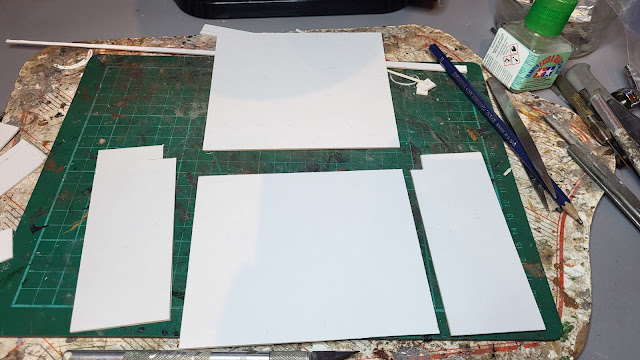
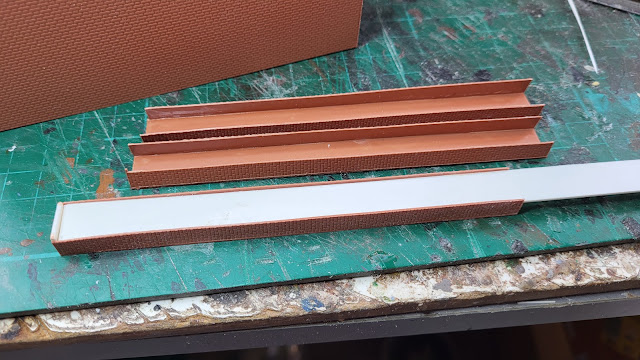
Having discovered my money saving stock of embossed plastic sheet that Mrs. woody would have classed as junk, it was time to construct the first of the two bridge parapets. First off a card substructure was constructed out of mounting board.

My Last Great Project

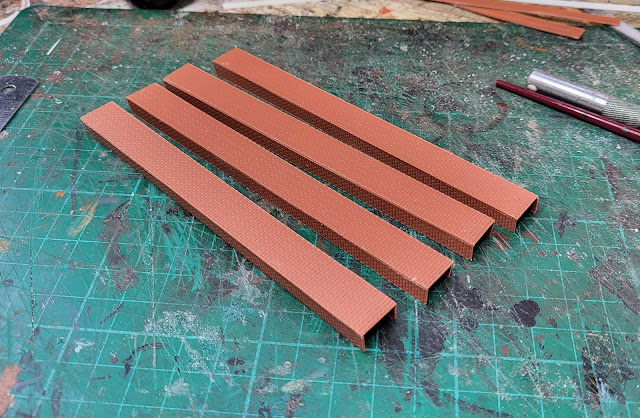
Next I needed some supporting columns that were cut from the embossed sheet. With care the brick courses line up which does make a difference if you look closely.

My Last Great Project

I built four of these as I will need two for the other parapet.

My Last Great Project

I have added internal bracing as the embossed sheet is not that thick and does bow.

My Last Great Project

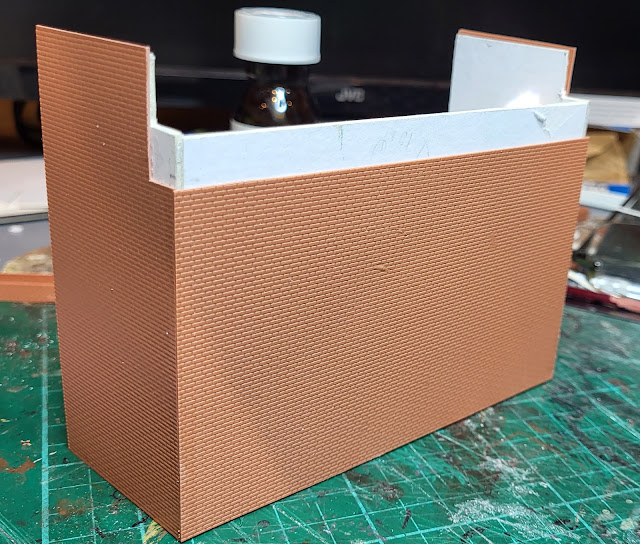
The card substructure was encased in embossed sheet.

My Last Great Project

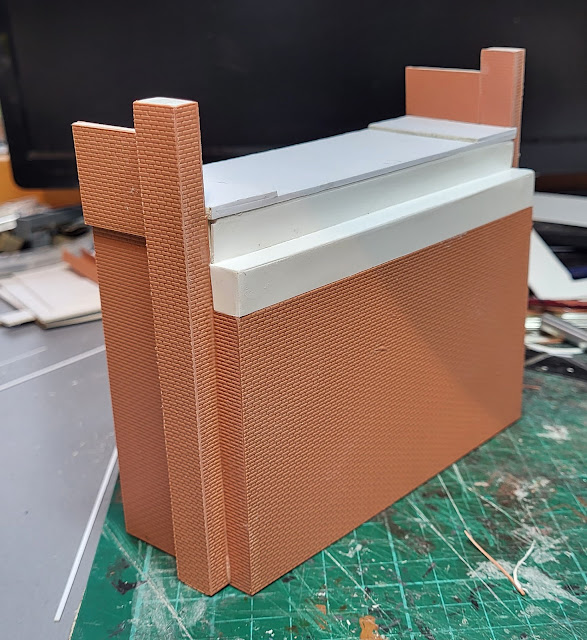
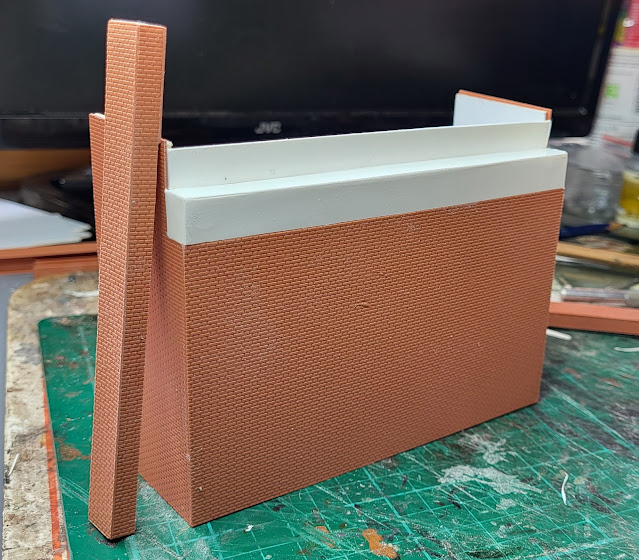
Where the bridge deck and girders sit on the parapet i added what is supposed to be a stone or concrete bed using plain plastic card. Once painted it will stand out from the brick. I have leant one of the supporting columns roughly where it will finally be placed.

My Last Great Project

Building this first parapet has taken some time as I have had to work out how it all goes together and the dimensions of the various parts. The second parapet should take a lot less time - famous last words!

Monday, October 9, 2023

Saving money!

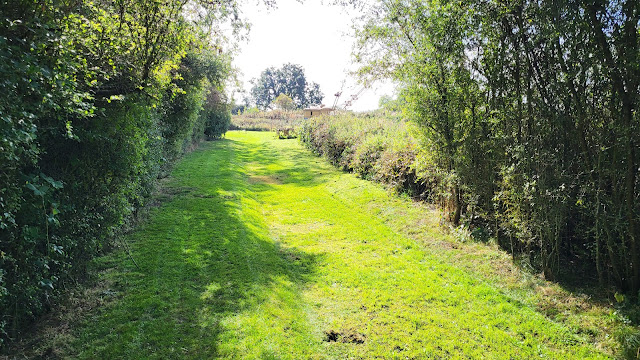
I will talk about saving money later but first off with the weather being more like it should have been in June, I ventured to the Rocks By Rail Museum. The event of the year is on Sunday and the grass areas where visitors walk has not seen my attention for three weeks or so! Therefore, after a couple of weeks of fun with the dragline excavator it was back to the more mundane mower! The grass had certainly grown but at least it is now looking a bit more cultivated then before after several hours of work! The temptation of getting on that dragline in the background was hard to resist but I did!

Rocks by Rail Museum

Rocks by Rail Museum

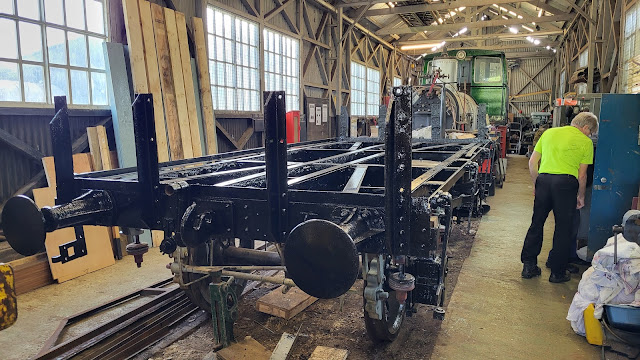
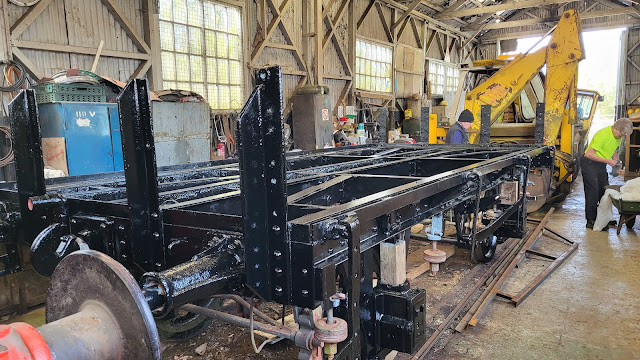
Meanwhile in the restoration shed John has been busy painting the chassis of the to be 3 plank wagon. It certainly looks smart. It is now waiting the return of the refurbished springs that should be back this week so it mat soon be finished - probably much to John's relief!

Rocks by Rail Museum

Rocks by Rail Museum

Meanwhile back at Man Cave the WMD HQ Stores have been searched and the stock of brick embossed plastic card uncovered ready for making bridge abutments. These were obviously purchased some time ago as the £1 price sticker evidences. As I say to Mrs. Woody when she rolls her eyes as more items are purchased - it will only cost more later on so I am actually saving money! I don't think she understands my logic!

My Last Great Project


Sunday, October 8, 2023

Underside detail.

Well the steel girder bridge, which is actually card and plastic sheet but as it is a model we won't worry about that, has really come along. The outside jointing strips on the plate have been added which gives some interest to what was otherwise a featureless surface.

My Last Great Project

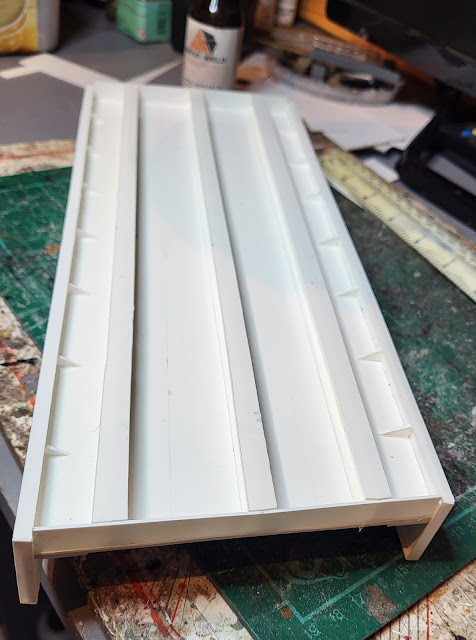
With the top side just about finished it was time to turn attention to the underside. Firstly I needed to make some triangular strengthening fillets to secure the side plates to the underside of the bridge deck. Whilst as a model the plates had already been glued to the deck so these fillets play no role in providing strength to the model, they do replicate what happens on a real bridge - so far as I can tell!

My Last Great Project

With the fillets in place the girders were cut to size. Originally I was going to put four girders in but it looked too crowded and unrealistic so I settled on the three that are now glued in place. As I said before I am no bridge engineer so I may have created a unstable structure but I am sure the weight of my 00 gauge vehicles will not bring it crashing down!

My Last Great Project

My Last Great Project

I think I need to turn my attention to the bridge abutments next.

Saturday, October 7, 2023

Bridge deck!

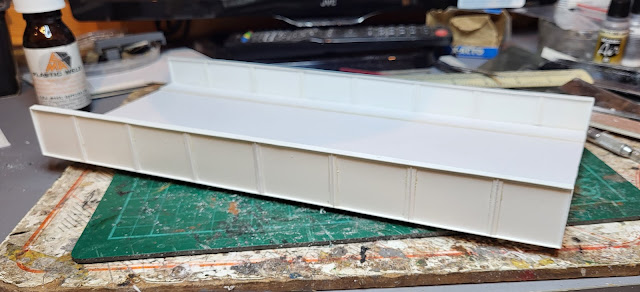
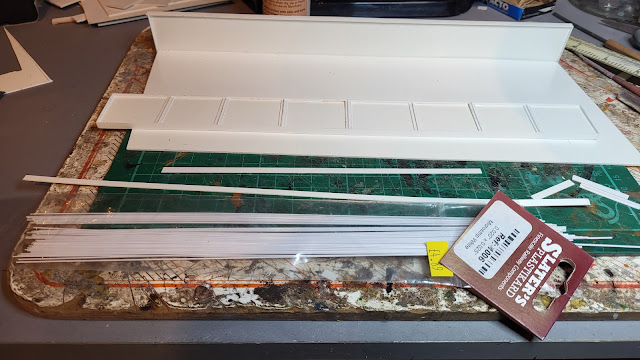
The steel girder bridge for my 00 gauge My Last Great Project Layout is coming on to the point that the bridge deck actually looks like a bridge deck! I added a card road surface to the plastic card bridge deck. Onto that I added footways either side cut to a suitably narrow width - footpaths across older bridges were never that wide! Before adding the footways I used the back of a scalpel blade to emboss the kerbs. You can just about make the detail out in the second photo. It should show a lot better once painted. I have also started detailing the bridge plates with jointing strips made up of a cut strip of plastic card and then some Slaters strip added along the middle. From a distance it looks OK!

My Last Great Project

My Last Great Project


Friday, October 6, 2023

Plates!

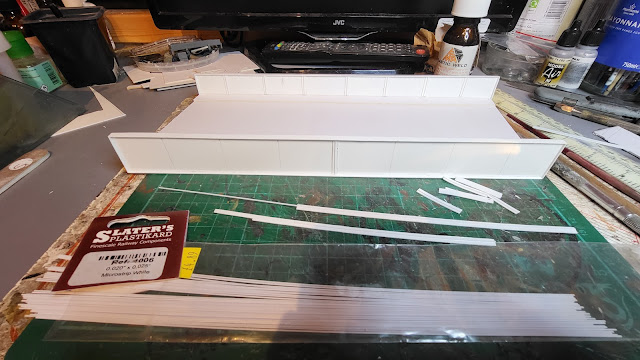
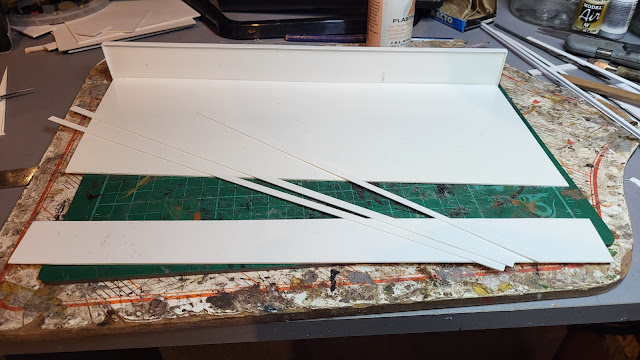
Whilst I know a lot about plates, especially washing them if Mrs. Woody is reading this, the plates I am talking about here are the steel plate ones that form the sides of certain bridges.

For my model bridge it will have steel plate sides so having cut the floor of the bridge from plastic card I was then able to cut the sides to size. Replicating the construction of such plates I cut 4mm strips to fit around the edges of the plate to give the reinforcing strip that runs around such plates. In addition I then started to make some joining strips to fit along the plate. Its all a bit fiddly but somehow therapeutic! The photos probably illustrate better then I can write!

My Last Great Project

My Last Great Project

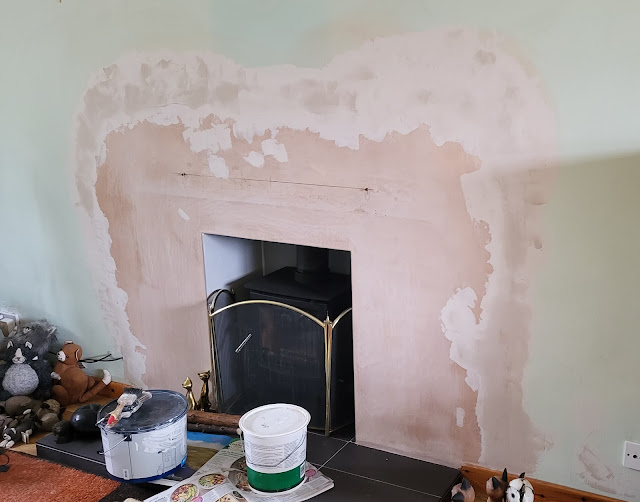
Going back to washing plates I may have earned my way out of this chore for a day or so at least as one of Mrs. Woody's jobs on her list for me to do is now done. I managed to turn this....
Fire Place

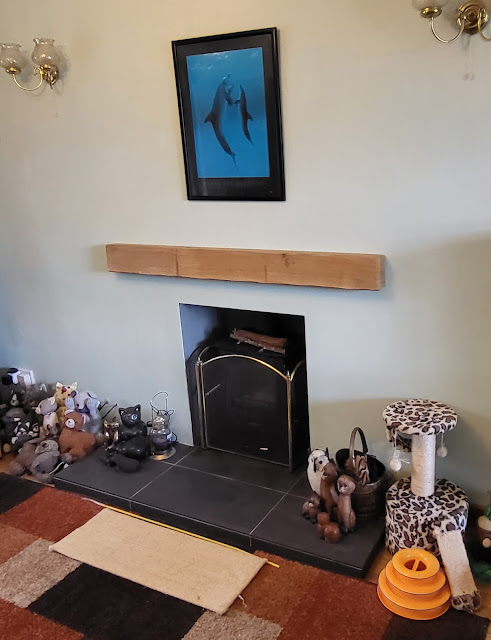
into this....

Fire Place

Even Mrs. Woody is moderately impressed! As you will no doubt note the WMD HQ fleet of cats is not just made up of the live ones but also the various novelty cats accumulated over the years. 

Thursday, October 5, 2023

Building girders!

Back on the 30th September I pictured the beginning of a bridge over the tracks of my 00 gauge layout. I have started some more serious construction of this - it is the only way I will really see if it works visually on the layout.

Some of the main components of the bridge are the girders that support the road deck above the railway. To make these I had to make some judgement as to the size they should be. I am not a bridge engineer although I have worked with some in the past so my judgement is based upon a little knowledge and as it is a model if it is wrong it cannot hurt!
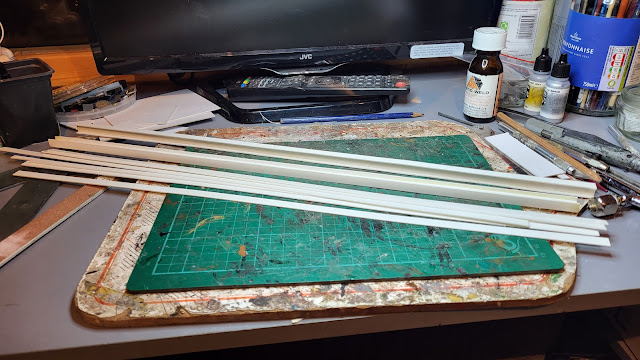
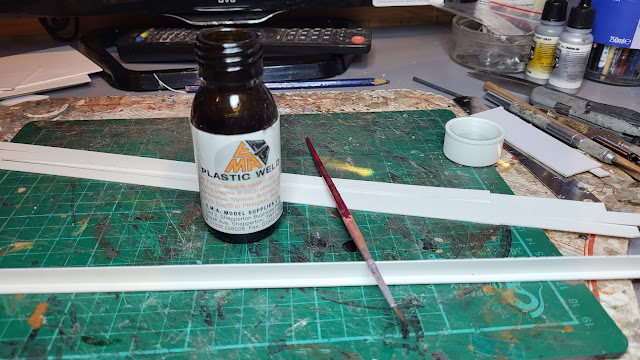
I started off getting a nice large sheet of 1mm thick plastic card from the WMD HQ Stores That was cut into 8mm strips about 18 inches long. I had decided that a scale 2 foot 6 inch deep by 2 foot wide girder would be the right dimensions. I had to get the strong solvent out to glue the plastic sheet as it is a robust plastic.
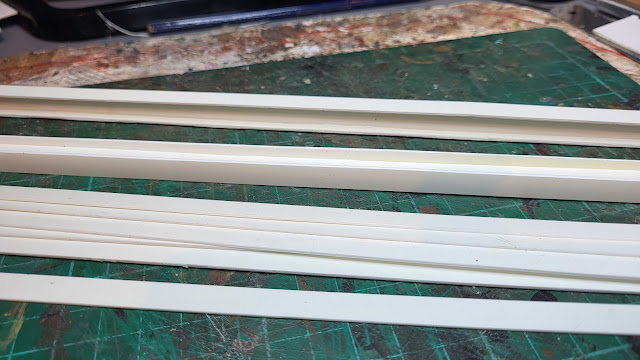
My Last Great Project

Three strips per girder.

My Last Great Project

My Last Great Project

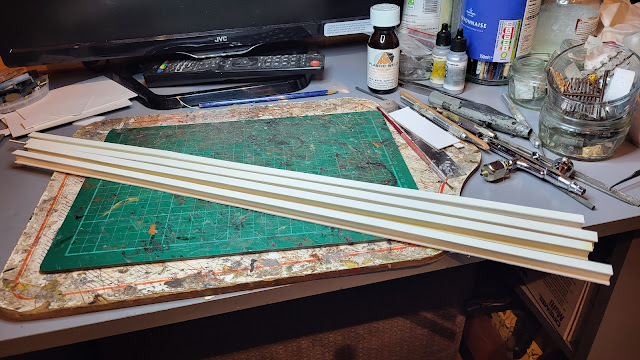
Twelve strips soon had four girders made up. They certainly look beefy!

My Last Great Project

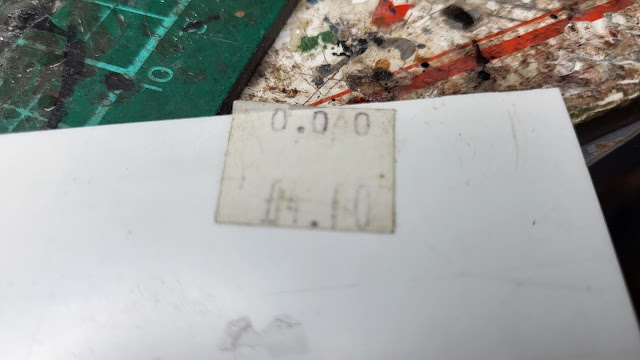
One thing that surprised me with the sheet of plastic card that is about 70cm b 70cm is that it cost me £4 according to the price ticket. I remember buying it many years ago and thinking it was a bargain then - you pay almost £4 now just for a A4 sized sheet. I always tell Mrs. Woody that I am saving money by spending now! She never sees it quite like that!

My Last Great Project


Wednesday, October 4, 2023

Tracks back on!

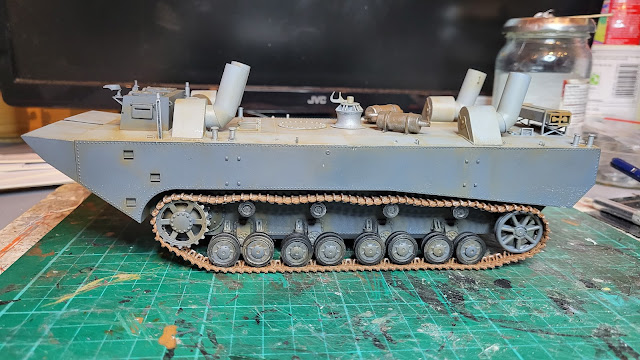
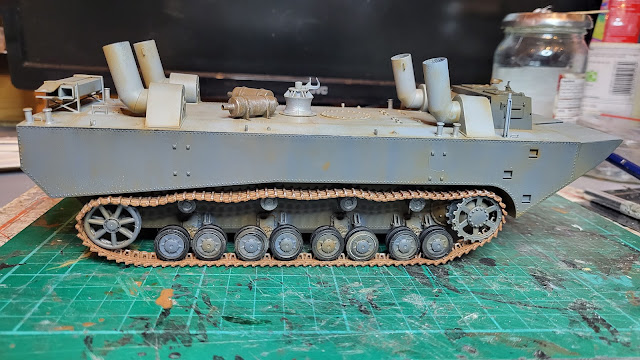
Well the tracks, suitably rusted and polished metalised where necessary, have been put back on the hull of the second amphibious vehicle.


Dragon  Kit 6625 Panzer Ferry

Dragon  Kit 6625 Panzer Ferry

Putting all three parts of the Panzer Ferry together now and it just gets more interesting - in my eyes anyway!

Dragon  Kit 6625 Panzer Ferry

Dragon  Kit 6625 Panzer Ferry

I still have a selection of smaller parts to add including the chains that fasten the two amphibious tanks to the pontoon. I fear getting those to fit may see the swear jar grow with a few contributions whilst I do that job!