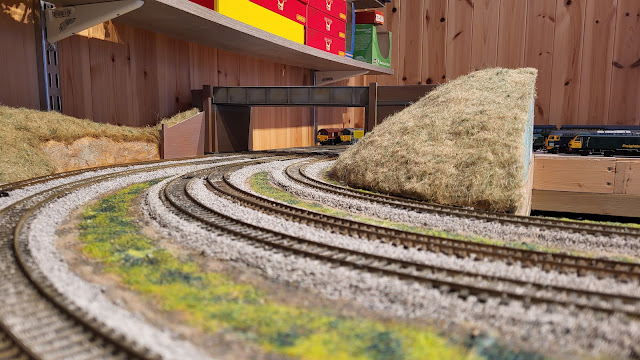
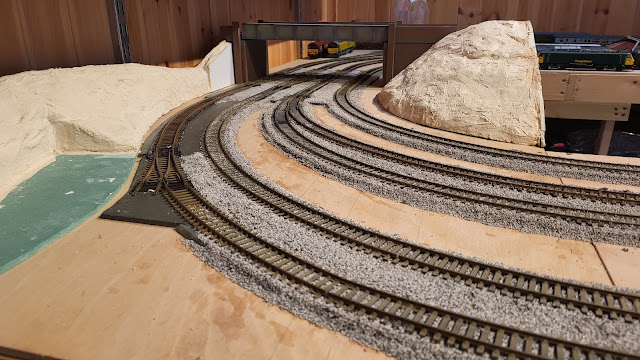
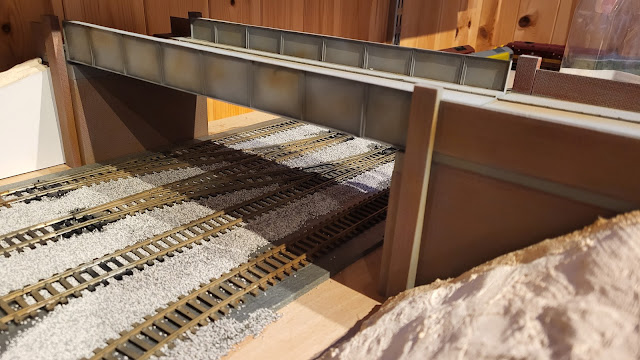
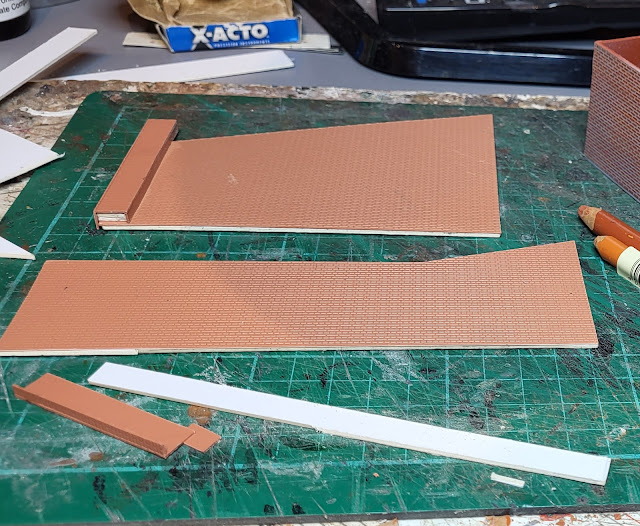
Yes, it is that time of year when the Spalding Model Railway Exhibition takes place. I have been going, accompanied by Mrs. W, for well over two decades and have seen it grow in stature. This year was no different. Even better than last time with some great layouts on show and I will talk about that tomorrow once I have recovered! In the meantime there is a new video up on my YouTube channel which brings together the recent work I have been carrying out on My Last Great Project 00 gauge layout as well as having some trains running. If you have a need to fill 1 minutes or so then this is for you!!!!
Recording my progress, or usually the lack of it, in building kits, creating model railways and other related and sometimes unrelated matters!
Search this blog
Saturday, November 4, 2023
Friday, November 3, 2023
Coping well!
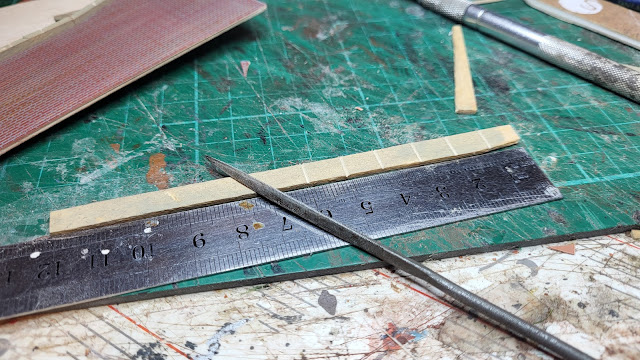
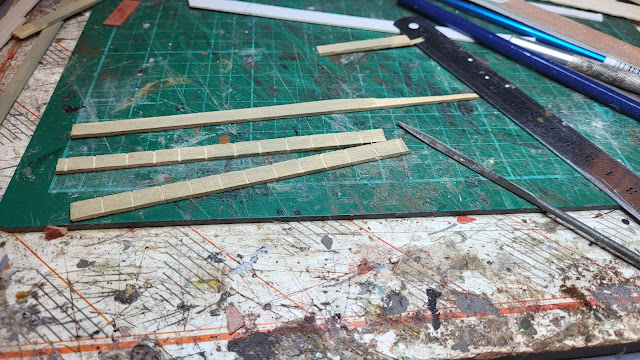
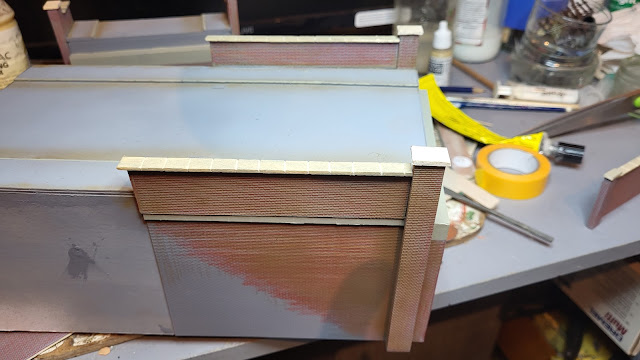
Given the ever growing Mrs. Woody task list for me I am pleased to report that I am coping well! However if Mrs. W is reading this then I am not! However, as well as I may be coping with the task list I have also been coping on the various walls of the bridge abutments. In this case the coping is the coping stones that grace the top of most external brick walls to provide some protection from adverse weather to the otherwise exposed top surfaces of bricks.
I have used strips of balsa to make mine. To highlight the gaps between stones I have used a triangular file, pointy side down, to 'cut' the gaps in the stones.
Thursday, November 2, 2023
CAT window cleaning!
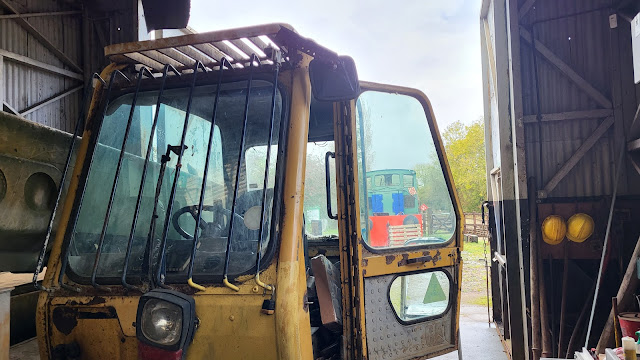
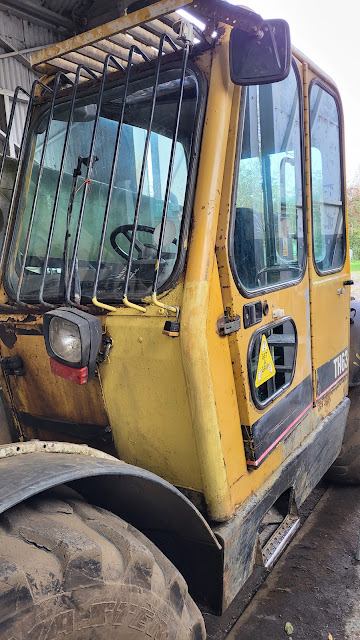
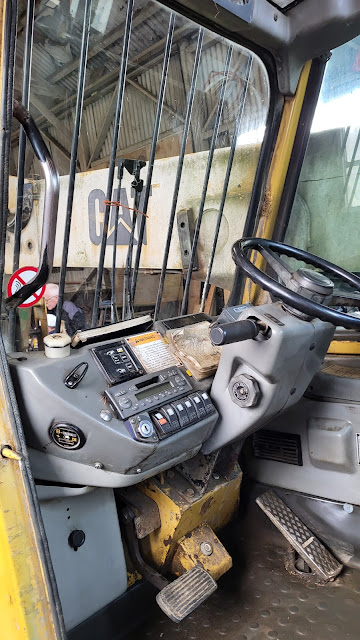
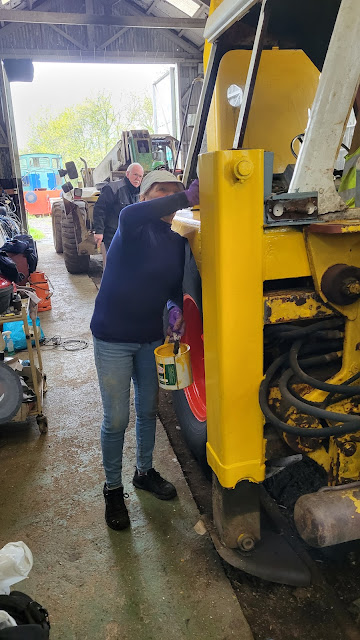
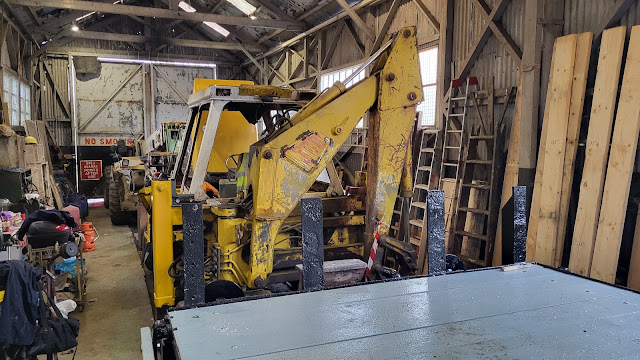
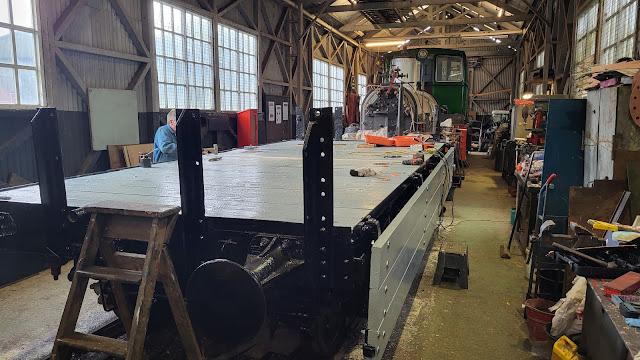
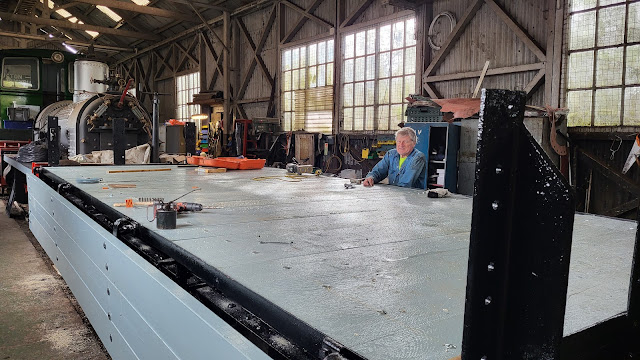
Despite the latest storm in the UK I ventured off to the Rocks By Rail Museum where I safely ensconced myself in the Restoration Shed where a few other volunteers were getting on with things. Rob had said that the last time he operated the CAT teleporter the windows were that dirty in the cab it made it difficult to see which is not the best thing when trying to maneuver the vehicle. In view of my recent window cleaning ventures at WMD HQ I therefore took on the job of making the CAT a more pleasurable vehicle to drive!
Dirty!
I even tried to give the cab interior a bit of a clean. It still looks.....well worn but is better then before - honest!
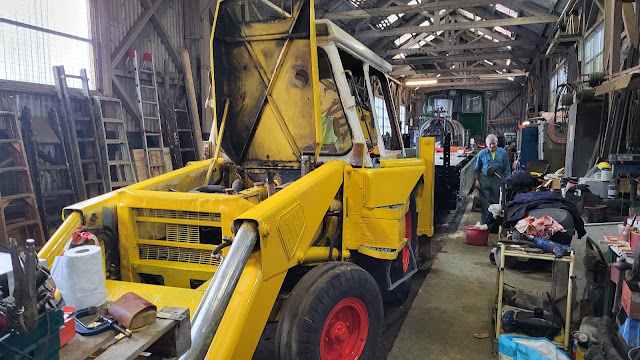
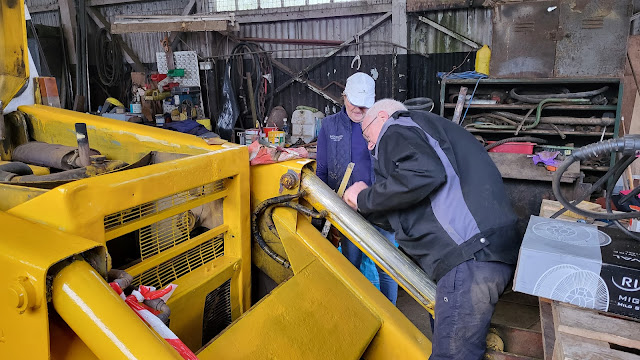
Pete and Pam were busy on the continuing painting of Harriot the JCB. It is like painting the Fourth Bridge. However it is looking a lot better than a few months ago.
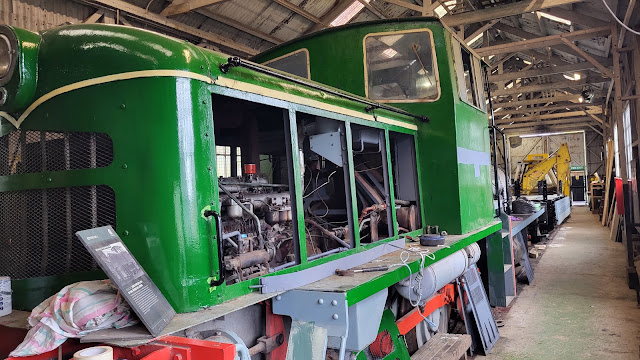
Meanwhile Ketton No3 is still moving on. It starts and apparently has brakes that work which is an important operating feature!
Although it did not look as though much was going on I followed the noise of the vacuum cleaner to find Alex deep under the cab floor cleaning the chassis and components of cement dust which had gathered whilst the loco operated at Ketton Cement Works.
Wednesday, November 1, 2023
Profiles!
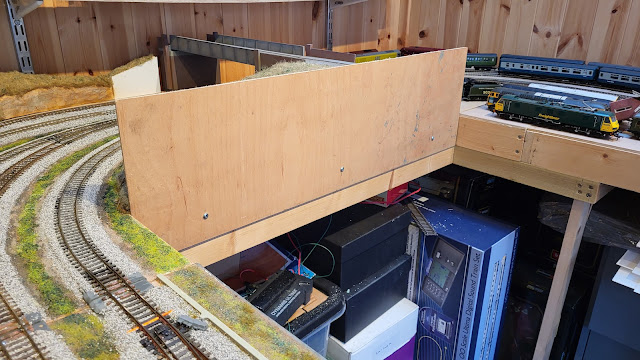
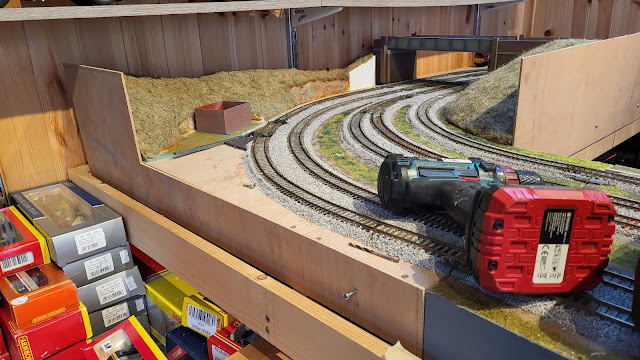
With the profiles in place I was able to mark around them with a pencil the shape of the hills. Taking them off again a jig saw was used to cut the hill shapes. As I don't know what exactly I am going to do to the right of the bridge I have left the board at full size. Once decided, and with me that could take some time, that part of the profile will be cut to shape.
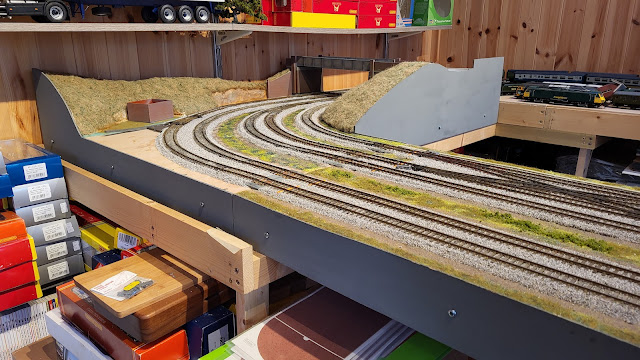
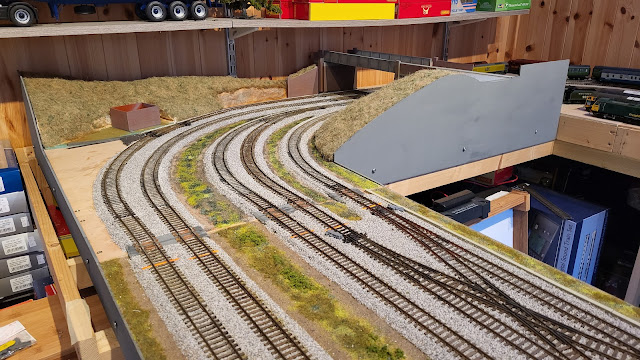
With the boards cut to shape they were painted both sides with the Slate Grey paint I used on the other profile boards and then reattached to the baseboards. Although there is still much to do around the girder bridge area the profile boards do bring some harmony to the layout.
Tuesday, October 31, 2023
Woody gives the hill a haircut!
Well that title should at least make you think that Woody may have lost it but I will clarify as we go along.
A fair amount of progress today. I had much of the day in the Man Cave - just don't tell Mrs. Woody. It was a wet, cold day so I was not inclined to do much outdoors although I did take advantage of a small break in the rain to go on a bike ride. It was a small break in the rain and the bike ride was cut short after 8 miles as I was getting soaked from the rain which had come back with vengeance. Bad weather appears to be the story of my cycling this year. Last year at this time I had well over 500 miles done whereas this year its 3684 miles. Never mind, November and December could be good!
Anyway, back in the dryness of the WMD HQ Man Cave I was able to review the morning's ballasting operations which had been assisted in drying by Mrs. W's hair drier which had been reliberated from her dressing table!
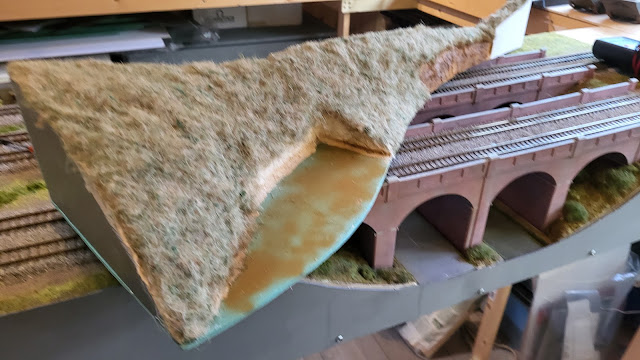
It was then time to think about getting some greenery on the bare hills. Most people would reach for static grass or flock powders but I wanted a more wild unkempt look so I naturally turned to hanging basket liner! Not what you would think of to model grass but its use has been described before in the model rail press and I have used it before too. Both hills had full strength PVA brushed on them to which pieces of hanging basket liner were pressed into.
It was taken inside to dry and then transported back into the cold Man Cave where Woody took to his haircutting skills! A suede shoe brush was used to tease the fibers up.
It was then down to scissors and hair trimmer to bring about some uniformity yet unkemptness! I certainly would not make a barber and I don't think Mrs. W will ever let me loose on her hair! However as the before and after pictures show of both hills I managed something close to what I wanted!
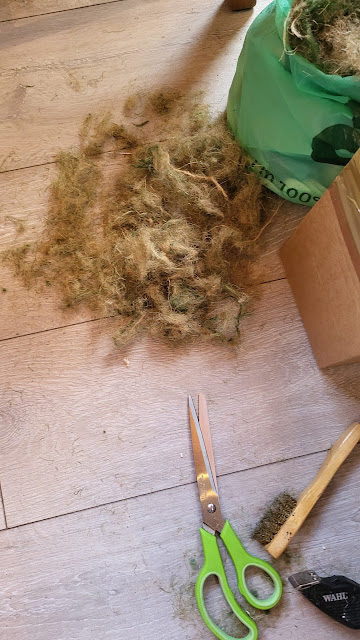
Just like the barbers there was a fair amount of sweeping up to do afterwards!
I also took the opportunity to add some green to between the tracks. Still more to add but this is a good base.
Putting everything in place temporarily it is looking very much as I hoped for!
Monday, October 30, 2023
The scene takes on some colour!
A good time in the Man Cave as more ballasting has been done and the bridge and abutments have seen some colour added.
The diluted PVA glue is taking some time to dry in the coolness of the Man Cave so I have liberated Mrs. Woody's hairdryer to aid the drying process. I have replaced it so unless she reads this I will be in the clear!
The girder bridge itself has been airbrushed with a variety of greys and browns to give it that weathered and aged look. It may be mainly grey but the variations give it some colour - if that makes sense? The abutments have been coloured in with more work using my coloured pencil collection and it has made a big difference.
Still much to do but this corner of the layout is coming together
Sunday, October 29, 2023
When I'm cleaning windows!
Today , in a bid to earn some much needed bonus points from Mrs. Woody, I cleaned the windows. Nothing extraordinary in that but she is able to see what I am up to outside more easily now. However, whilst I had bucket, sponge and squeezy out I did clean my Man Cave windows forgetting that Mrs. W would be able to see even more clearly what I was doing in there! However it is done but interestingly I discovered something that I had read about but not directly experienced. Chris Leigh of Model Rail described a couple of months ago how his Bachmann Pullman 6 car train had developed cloudy windows where the sun caught them. He had the train on his layout for a number of years but had not noticed this issue until recently. I duly noted what he had written but I was not expecting issues with anything I had until, as washing one of the windows of the Man Cave, I peered through the now crystal clear glass to spy the shunting engine on my USA switching layout now with cloudy side windows! Getting the loco off the layout showed that the clouding was only affecting the side facing the window of the Man Cave and hence the sun.
Sun side and cloudy!

Saturday, October 28, 2023
Colouring in!
Not a great deal of time for any model making today but at least there is a bit of brightness now with the bricks on the base of the signal box having been coloured in! By coloured in, I do mean exactly that as my collection of red/brown/orangish coloured pencils came out so that I could have a peaceful half hour just randomly rubbing them over the raised bricks in the plastic casting and finally creating a random coloured brick effect. Just like being back at primary school! It may be unconventional but it works!
I also had time to start making a couple of retaining walls. One will go to the side of the bridge abutment on the edge of the layout and the other behind the signal box. That will mean I will need to do even more colouring in once they are finished! I might need to get some more colouring pencils!
Friday, October 27, 2023
More greyness!
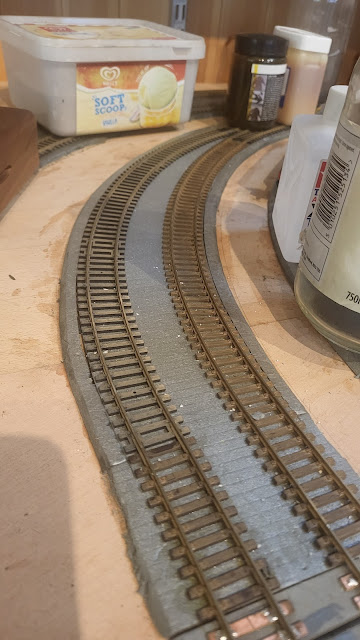
After yesterdays day of greyness with the weather and activities in the Man Cave at WMD HQ it was yet another day of the greyness. The weather was not brilliant and in the Man Cave the grey ballast came out! It is that time again to ballast track. One of those jobs that takes time but it is necessary to do so to avoid it looking as though it has been subject to an earthquake! My usual method of spreading the ballast with a soft paint brush and then syringing on dilute PVA with just a dash of washing up liquid to make it flow between the bits of ballast more easily. In the colder weather it will take a few days to dry fully unless Mrs. Woody's hair drier mysteriously manages to find its way to the Man Cave!
Thursday, October 26, 2023
Just like the weather it turns grey at WMD HQ!
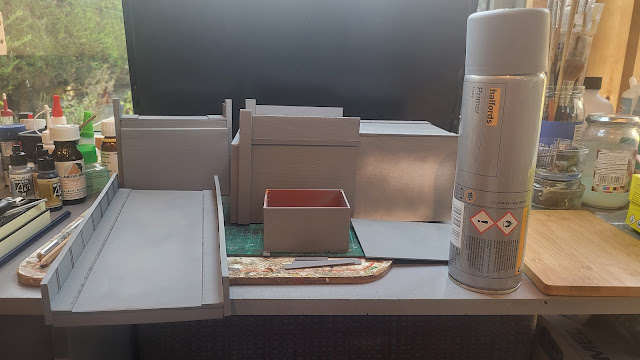
Spraying the grey primer onto the girder bridge, the abutments and the brick parts of the signal box matched the greyness of the weather today! However just like the weather these parts will get brighter as I add colour!
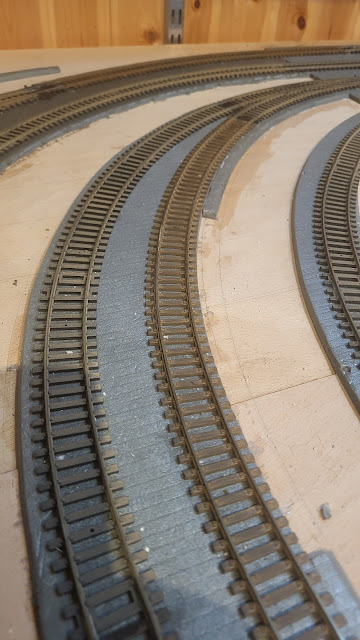
I will be ballasting more track soon so I tidied up the shoulders of the underlay which in places I had not cut particularly accurately. Lesson learnt! However all I did was cut the glued down ballast back to the track sleepers and scraped it off. I had cut a thin strip of the underlay material which in my working smarter not harder philosophy I pre sanded to a 45 degree angle before gluing it to the edge of the existing underlay. Being a thin strip it did bend easily enough.
Things will hopefully be brighter tomorrow!
