Recording my progress, or usually the lack of it, in building kits, creating model railways and other related and sometimes unrelated matters!
Search this blog
Thursday, July 13, 2023
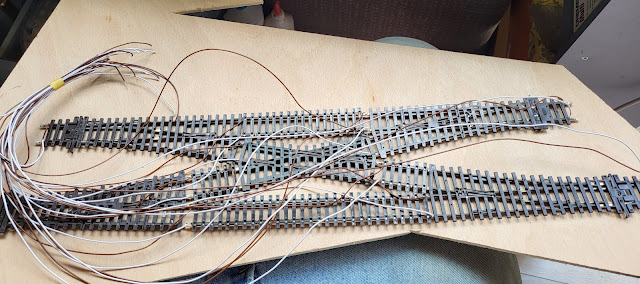
24 wires from crossing!
Wednesday, July 12, 2023
Fine tuning!
Fine tuning might be taken that I have some form of musical instrument that I have spent some time tuning to optimum musical performance. Well there is a drum kit or two or WMD HQ much to the concern of Mrs. Woody. One is an acoustic kit that never sees the light of day these days due to noise considerations and whilst the other is a neighbour and wife friendly electric kit that only I can hear through headphones when I play it, neither has ever had me fine tune them. Instead the fine tuning I am currently involved in is related to my last great project 00 gauge layout.
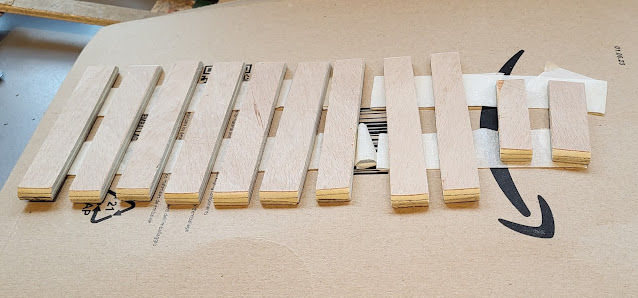
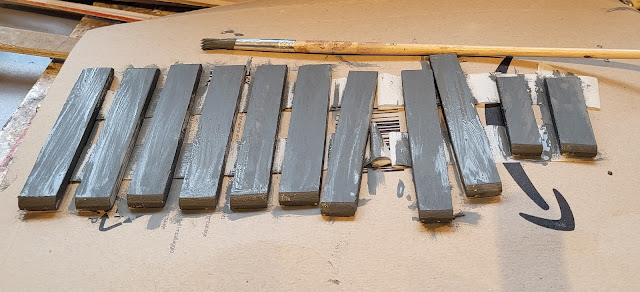
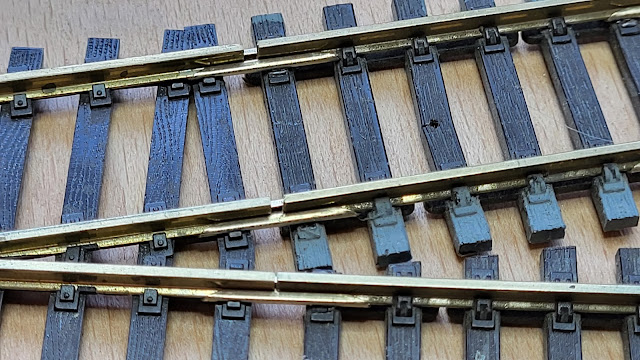
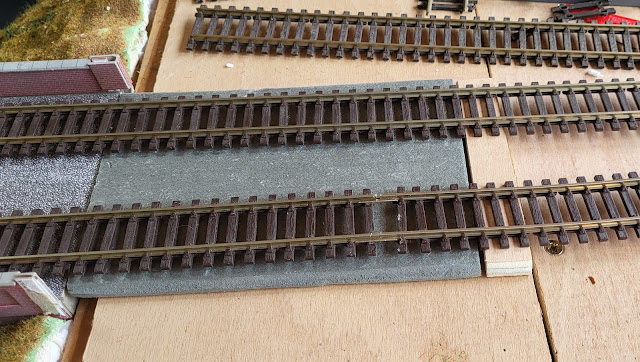
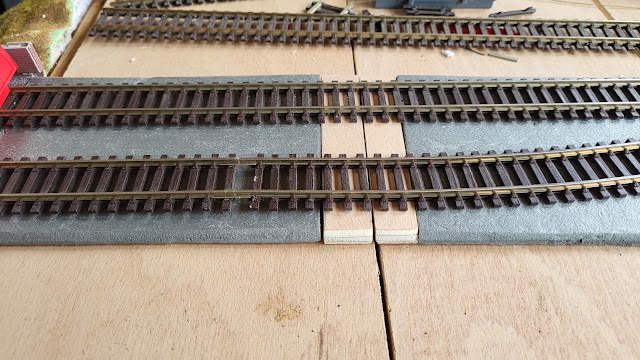
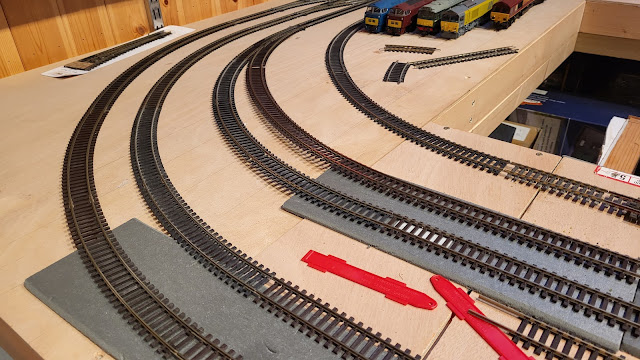
As outlined back on Monday I am currently working on track joints at the baseboard joints and I had cut some plywood pieces that would be located at the baseboard joins to which copper clad sleepers would be attached to which the rail would be soldered. Well the plywood has been cut and painted. Giving it a coat of grey paint seals it against any moisture from the glue when I eventually ballast the track and will also ensure any parts not fully covered by ballast will not stand out as they would if I left the plywood in its natural state.
Luckily Mrs. W had a recent Amazon delivery (not an unusual situation!) and I diverted the discarded packaging from the recycling bin in order to attach the plywood ready for painting.
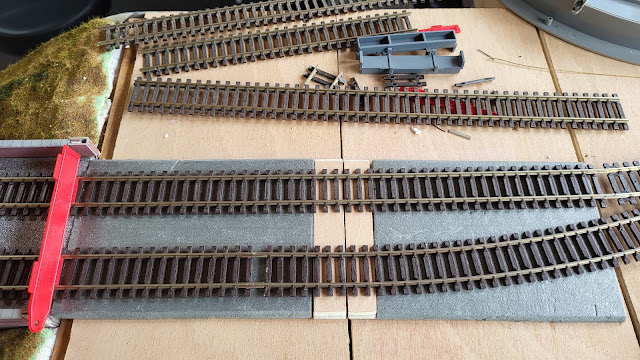
Now back to the fine tuning. To get the best from a model railway the track needs to be level and well laid. Whilst I have a general layout of track, non of it is fine tuned and it shows at some of the joints and the general alignment. Trains run but there are occasional issues which I want to avoid once the track is secured and ballasted. Using Set Track pieces to build a layout at least means that with the set sized pieces and the geometry used it should fit together reasonably well. Mix Set Track and flexitrack and you really have a bit of a nightmare in getting it all to fit properly. Now with my skills, or lack of them, getting track to fit is a challenge! However that fine tuning has to be so I have started.
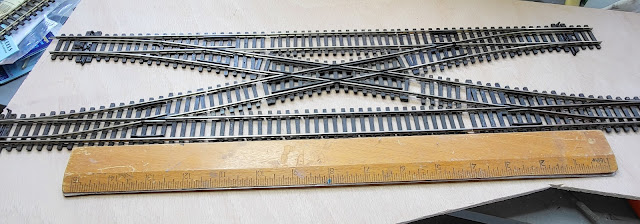
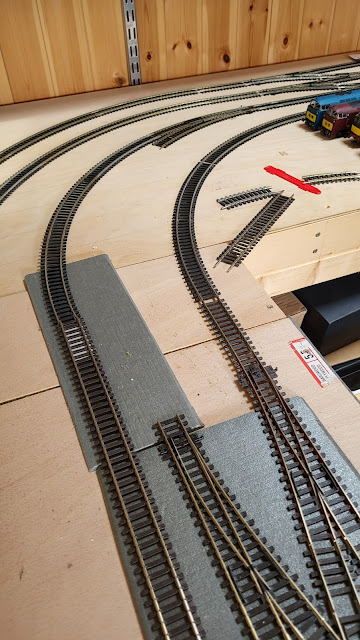
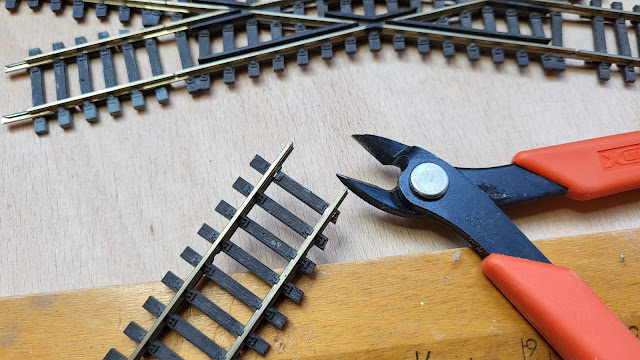
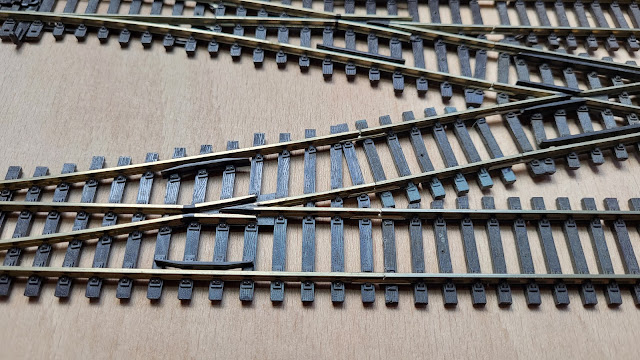
First off is this crossing with four points and a diamond crossing. I have, for ease of doing things, taken it off the layout. Looks reasonable from a distance.
Tuesday, July 11, 2023
WWW - Warm Wet Weather!
Tuesday and a day at the Rocks by Rail Museum and with the www - warm wet weather - yet more grass cutting and a bit of weeding for added variety!
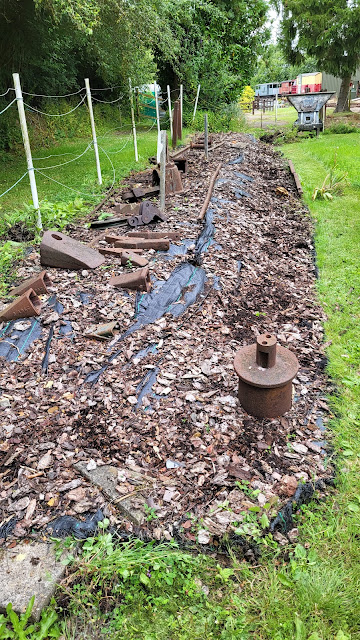
Weeding consisted of picking out the weeds from the display of narrow gauge equipment. There is a layer of terrane under the woodchips which is supposed to suppress weeds but is that old now it has broken up.
Meanwhile that red and cream wagon had to be hastily returned back inside but it is progressing.
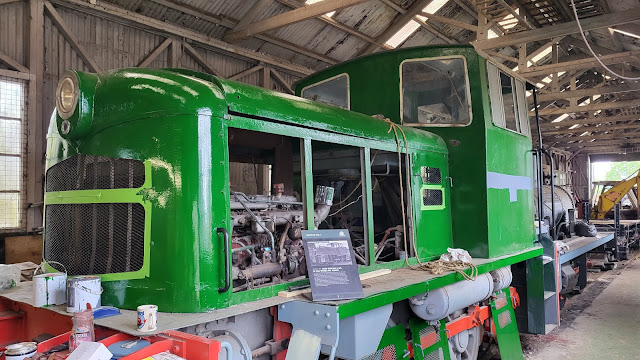
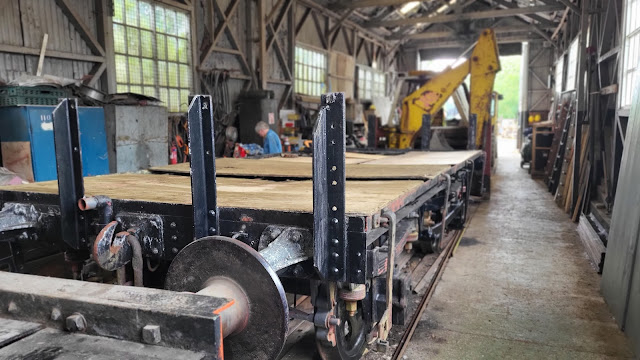
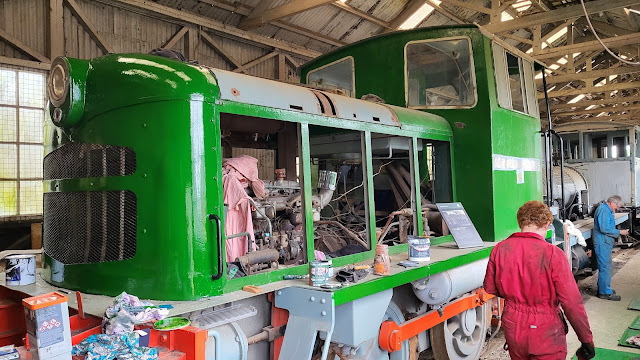
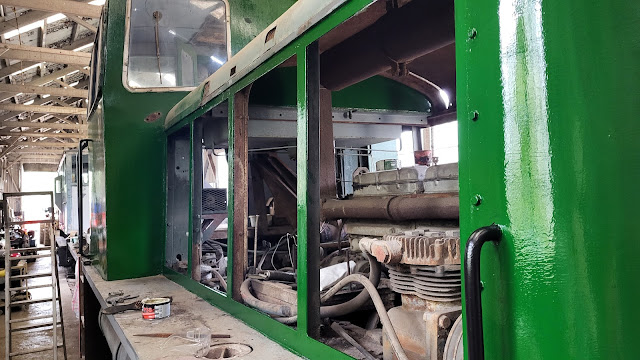
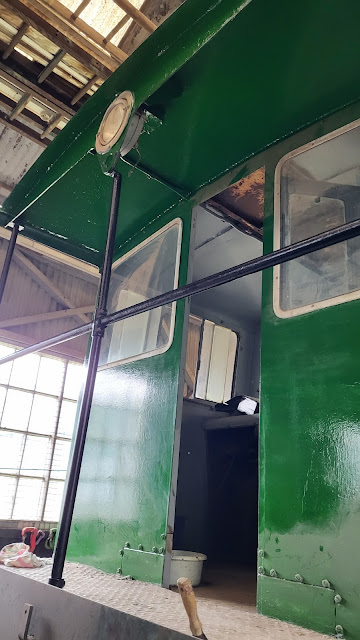
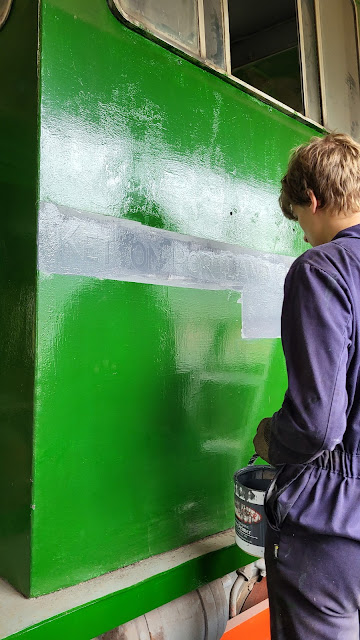
In the restoration shed Ketton No1 has progressed. The new bonnet is on and it is beginning to look smart in its Racing Green livery.Meanwhile the brake van has come out of the shed to be replaced with this wagon chassis which will be a wooden sided wagon.
Monday, July 10, 2023
Slow ahead!
As the captain of a ship or indeed the Star Ship Enterprise would say when entering unchartered waters - Slow ahead! That is exactly what I am having to do with my Last Great Project 00 gauge layout. When I started building the layout over two years ago I decided to make it movable. The idea was that the baseboards could be separated and the layout moved out of the Man Cave. Now this involves having breaks in the scenery - relatively simple to do - and breaks in the track - not so easy. I have built layouts before with breaks in the track. Chalkdon, my 009 narrow gauge layout is one of them, so I know the basics. However with Chalkdon there were just two breaks in the track. With the 00 gauge layout there are about 26! So the method I use to make the joints has to be robust and easy to replicate.
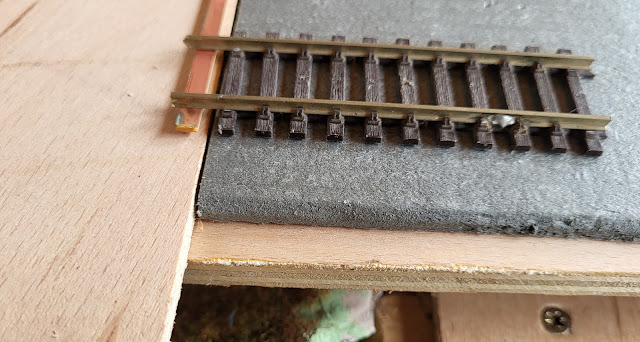
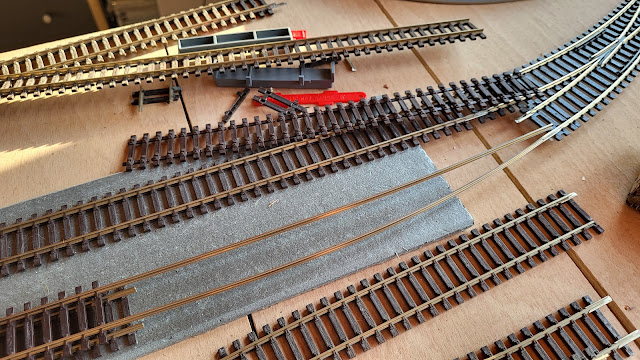
At the baseboard joints I will be replacing two of the plastic track sleepers either side of the join with some copper clad fiber sleepers. The rail can be soldered to the copper clad sleepers making a strong joint - certainly stronger than the plastic sleepers. I am laying the track on a 6mm foam underlay and the track will be glued to that. However the foam underlay will not be suitable to fasten the copper clad sleepers to so I will need to substitute the underlay with some 6mm plywood cut to size. The photo below shows the basic principal.
Sunday, July 9, 2023
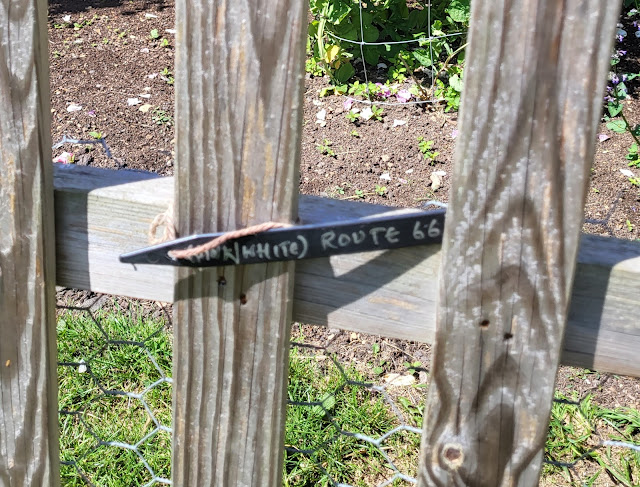
Getting closer to nature on Route 66?
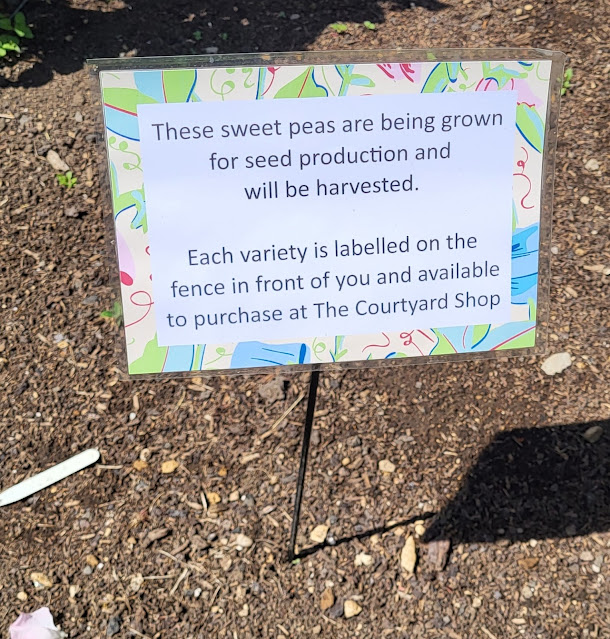
I always enjoy Summer with the general growth of things, the bright colours that plants and flowers provide and the activity of wildlife as they bring their off spring up. The older I have become seemingly the more Summer means to me. I guess it is a getting old thing! So, today, when Mrs. Woody announced she wanted to go to a local country house to have a look around the house and gardens I was not going to argue - I never disagree with what Mrs. W says anyway! We arrived at the country house to find that it was holding a car show. Now some decades ago I would have thought that this sheer coincidence must make it my lucky day and have driven straight in. However Mrs. W and myself agreed (now that is an unusual occurrence) that it just looked too crowded and we drove off. We did end up back at the tranquility of Easton Walled Gardens where we visited a few weeks ago.
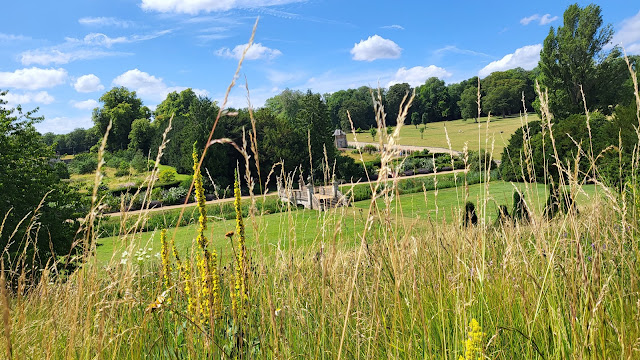
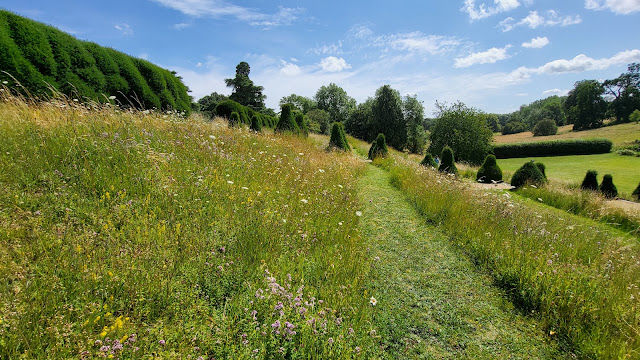
One of the nice things about the garden is that it is always changing as nature goes through the seasons and that you always find something new to look at. The other thing is that the gardens are large enough to leave some areas uncultivated so that nature can take over and the results can be stunning with grasses and wild flowers providing an oasis.
There were a lot of bees, butterflies and wasps and I stretched the capabilities of my camera phone to try to catch a bee and wasp as they hunted for nectar.
It just hits you that this simple activity by these insects, repeated trillions of times around the World, is the basis of how we all keep alive. Amazing!
There are of course the more cultivated areas where form and order are displayed such as the universe garden where the galaxy and planets are represented in a mix of plant and sculpture form .
Anyway a great afternoon and time spent sitting lazily in the sun for me and Mrs. W as well as this robotic lawn mower which had decided to call it a day and had parked up!
There is another reason I like to get close to nature at the walled gardens - they sell amazing cakes some of which came back to WMD HQ!
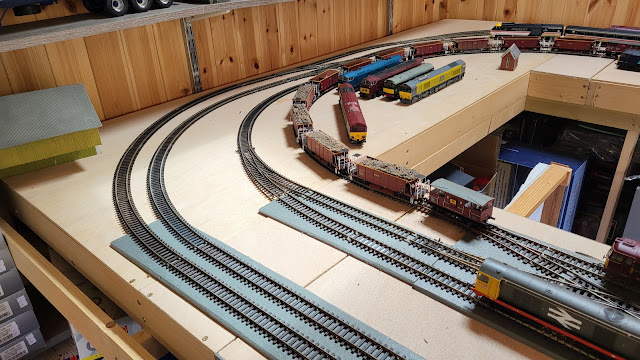
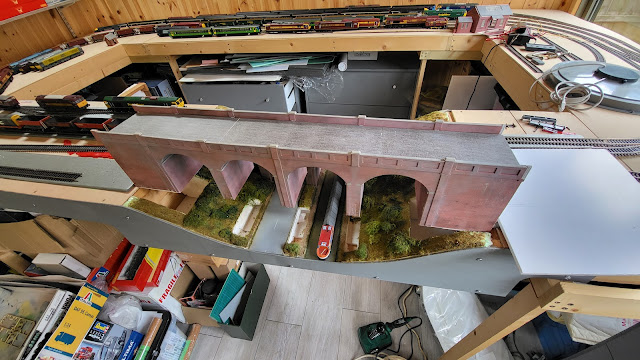
Back at WMD HQ work on my Last Great Project 00 gauge layout is progressing but would easily be taken over by nature if allowed! I have now finished the track work to extend the loop over the viaduct.
I am now in a position where I can start to fasten track down permanently as well as wiring it up and ballasting it. Or should I just let nature do it?
Saturday, July 8, 2023
Doing things twice!
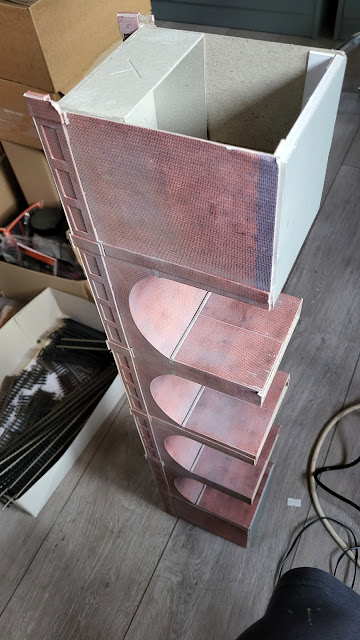
Having got back to trying to make some progress on my Last Great Project 00 gauge layout I was somewhat frustrated with myself that I have ended up doing some things twice. Now whilst Mrs. Woody will confirm that I do some things twice, like a visit to a place where the second visit is to apologise for the first visit, I try to avoid this where unnecessary. So it was a bit concerning to find I had to rebuild parts of the viaducts because they had warped. This was a major issue at either end of the viaducts but some carefully inserted foam board and card has both dealt with the warping issue and brought the railbed level of the viaduct to inline with that on the baseboard.
Hopefully once I find the missing capping stones to the piers I can say that the viaducts are finished - both of them!
Friday, July 7, 2023
Sometimes I should try and remember!
Thursday, July 6, 2023
Don't do this at home!
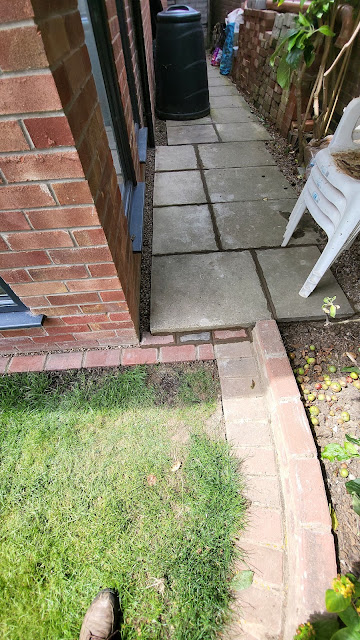
Well I think I can just about say, after seven months, that the conservatory rebuild exterior work is now complete! Mrs. Woody will be pleased to cross that off her list of jobs for me to do. It is indeed a rare occasion that she can tick a job off so it may be time to have a slice of lemon drizzle cake to celebrate!
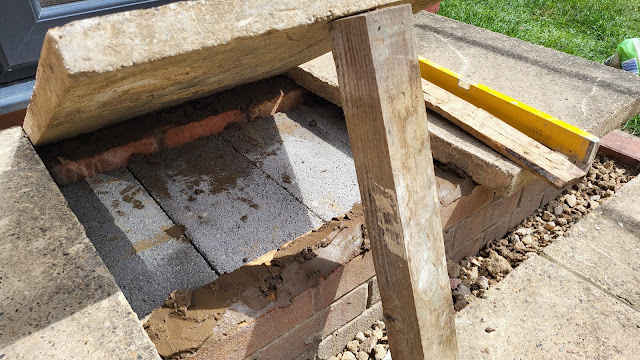
The job that brought it all to a completion was the setting of the step slabs on a bed of cement and then the final gravel surround. The slabs weigh a lot. I used to be able, many years ago, to lift and carry these but these days I am more limited to lifting a slice of lemon drizzle cake and carrying it to the lounge to eat! I really did not fancy trying to give myself a bad back by lifting the slabs on and off the bricks so my ingenious if somewhat safety challenged solution was to raise one end of the slab and hold it up with a stout piece of timber whilst I put the mortar on the bricks. With careful and consistent application of the mortar the slab should, when lowered be level. It was whilst putting the mortar to the back of the slab that my mind kept worrying about the slab falling on my arms and whether this ingenious idea was indeed as ingenious as I thought.
To celebrate I cut the grass and then had an hour in my Man Cave where I did some more work on finishing one of the viaducts. The job required the end brick piers to be fitted which I left off when I first built the viaducts as I needed to adjust the height of the viaduct in relation to the track level. Now this is where another don't do this at home warning comes in. When I built the viaduct back in November last year I made up the stone capping stones to go on top of the piers. I put them somewhere safe awaiting the moment that I would need them. Where that place is is beyond me! So, if you do stop building something to come back to it later make sure you put the remaining parts somewhere safe but leave a note of where that is with whatever you are building!
However I have replaced the first viaduct which is now level with the track following the addition of some card to the foundations and has the end piers are fitted. I will find the capping stones sometime!
Next up is the second viaduct.
Wednesday, July 5, 2023
Woody's mad cap idea actually works!
Tuesday, July 4, 2023
Mr. D and the torque converter - much more interesting then my vegetational butchery!
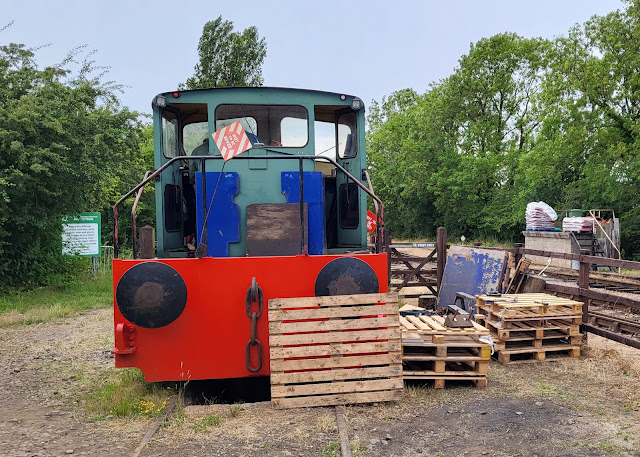
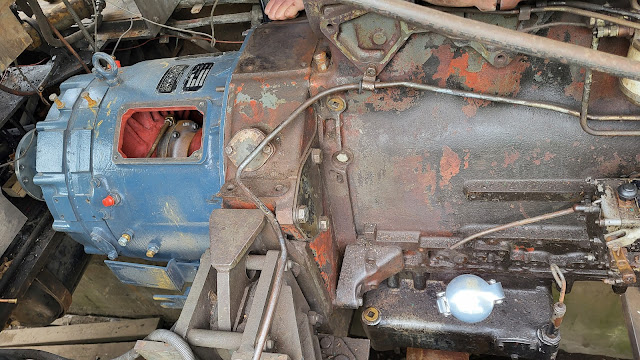
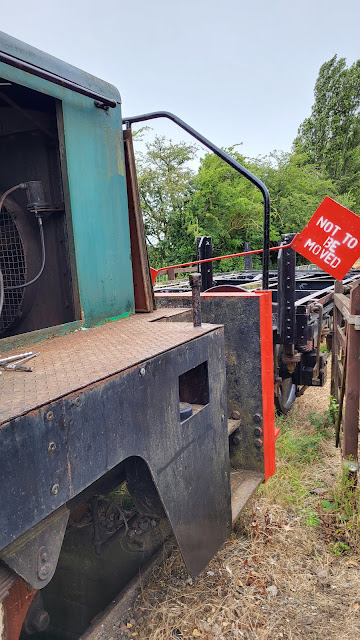
A day at the Rocks By Rail Museum where Mr. D has had his reconditioned torque converter fitted! Now to put things into context Mr. D is not someone like the muscular Mr. T from the A Team TV series but is a small 0-4-0 loco. A torque converter is a little like an automatic gearbox in a car, just that it has one gear.
The clean grey looking part on the left of the photo is the torque converter which is fastened to the end of the engine. You can see inside through the inspection panel that still needs to be fitted.
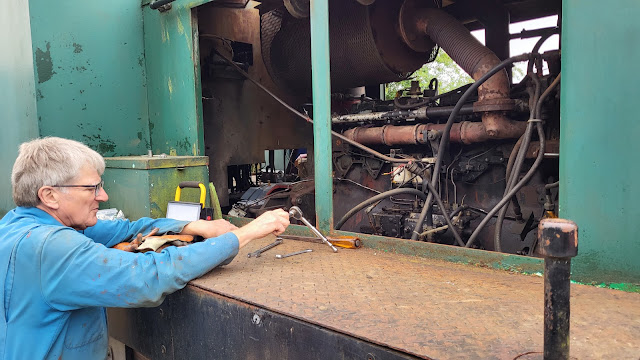
The ever skillful John has had a major part in refitting this part. Here though he is searching for that inspection panel referenced in the photo above. It is about somewhere - someone put it in a safe place so that it would not get lost!
Missing inspection panel apart, it should not be too long before that 'Not to be moved' sign can be taken off and the loco moved under its own power.
Meanwhile back in the Restoration shed things on Ketton No1 have moved on with Thomas and Alex making great progress on the welding and body repaint.
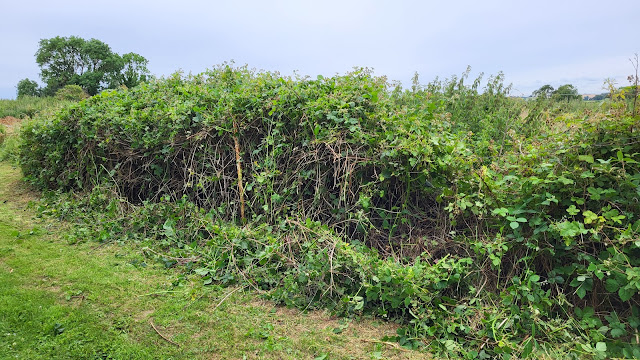
So what was I up to? Well the usual vegetational butchery on hedges and grass! I cut back so much vegetation that I discovered there is a wire fence in the overgrowth!
