Search this blog

Showing posts with label 009. Show all posts

Thursday, March 11, 2021

'Jab Done' and a good few days!

 A welcome trip away from WMD HQ on Monday as being of a certain age I got my Covid jab. A very slick operation by all concerned at the jab centre and my heartfelt thanks to them all.

Monday also saw the arrival of some post in the form of two MiniArt kits. I broke my New Years Resolution of no more kits but couldn't resist when an email popped up from Jadlem Models with the US bulldozer and a perusal of their site for some 1/35 Russian tankers to go with my recently finished T34 found me looking at paying about £13 or buying the T-80 light tank kit with a crew kit for £22. It was a no brainer! In effect the 1/35 MiniArt tank kit for £12! As a satisfied customer only, I will say it was good service from Jadlem - well packed and arrived in three days and no postage charge. Upon arrival at WND HQ unpacking was soon undertaken with the help of Sammy the cat who probably thought his food was in there somewhere!


Never built a MiniArt kit before but it has been started and I will update on progress and thoughts another time.

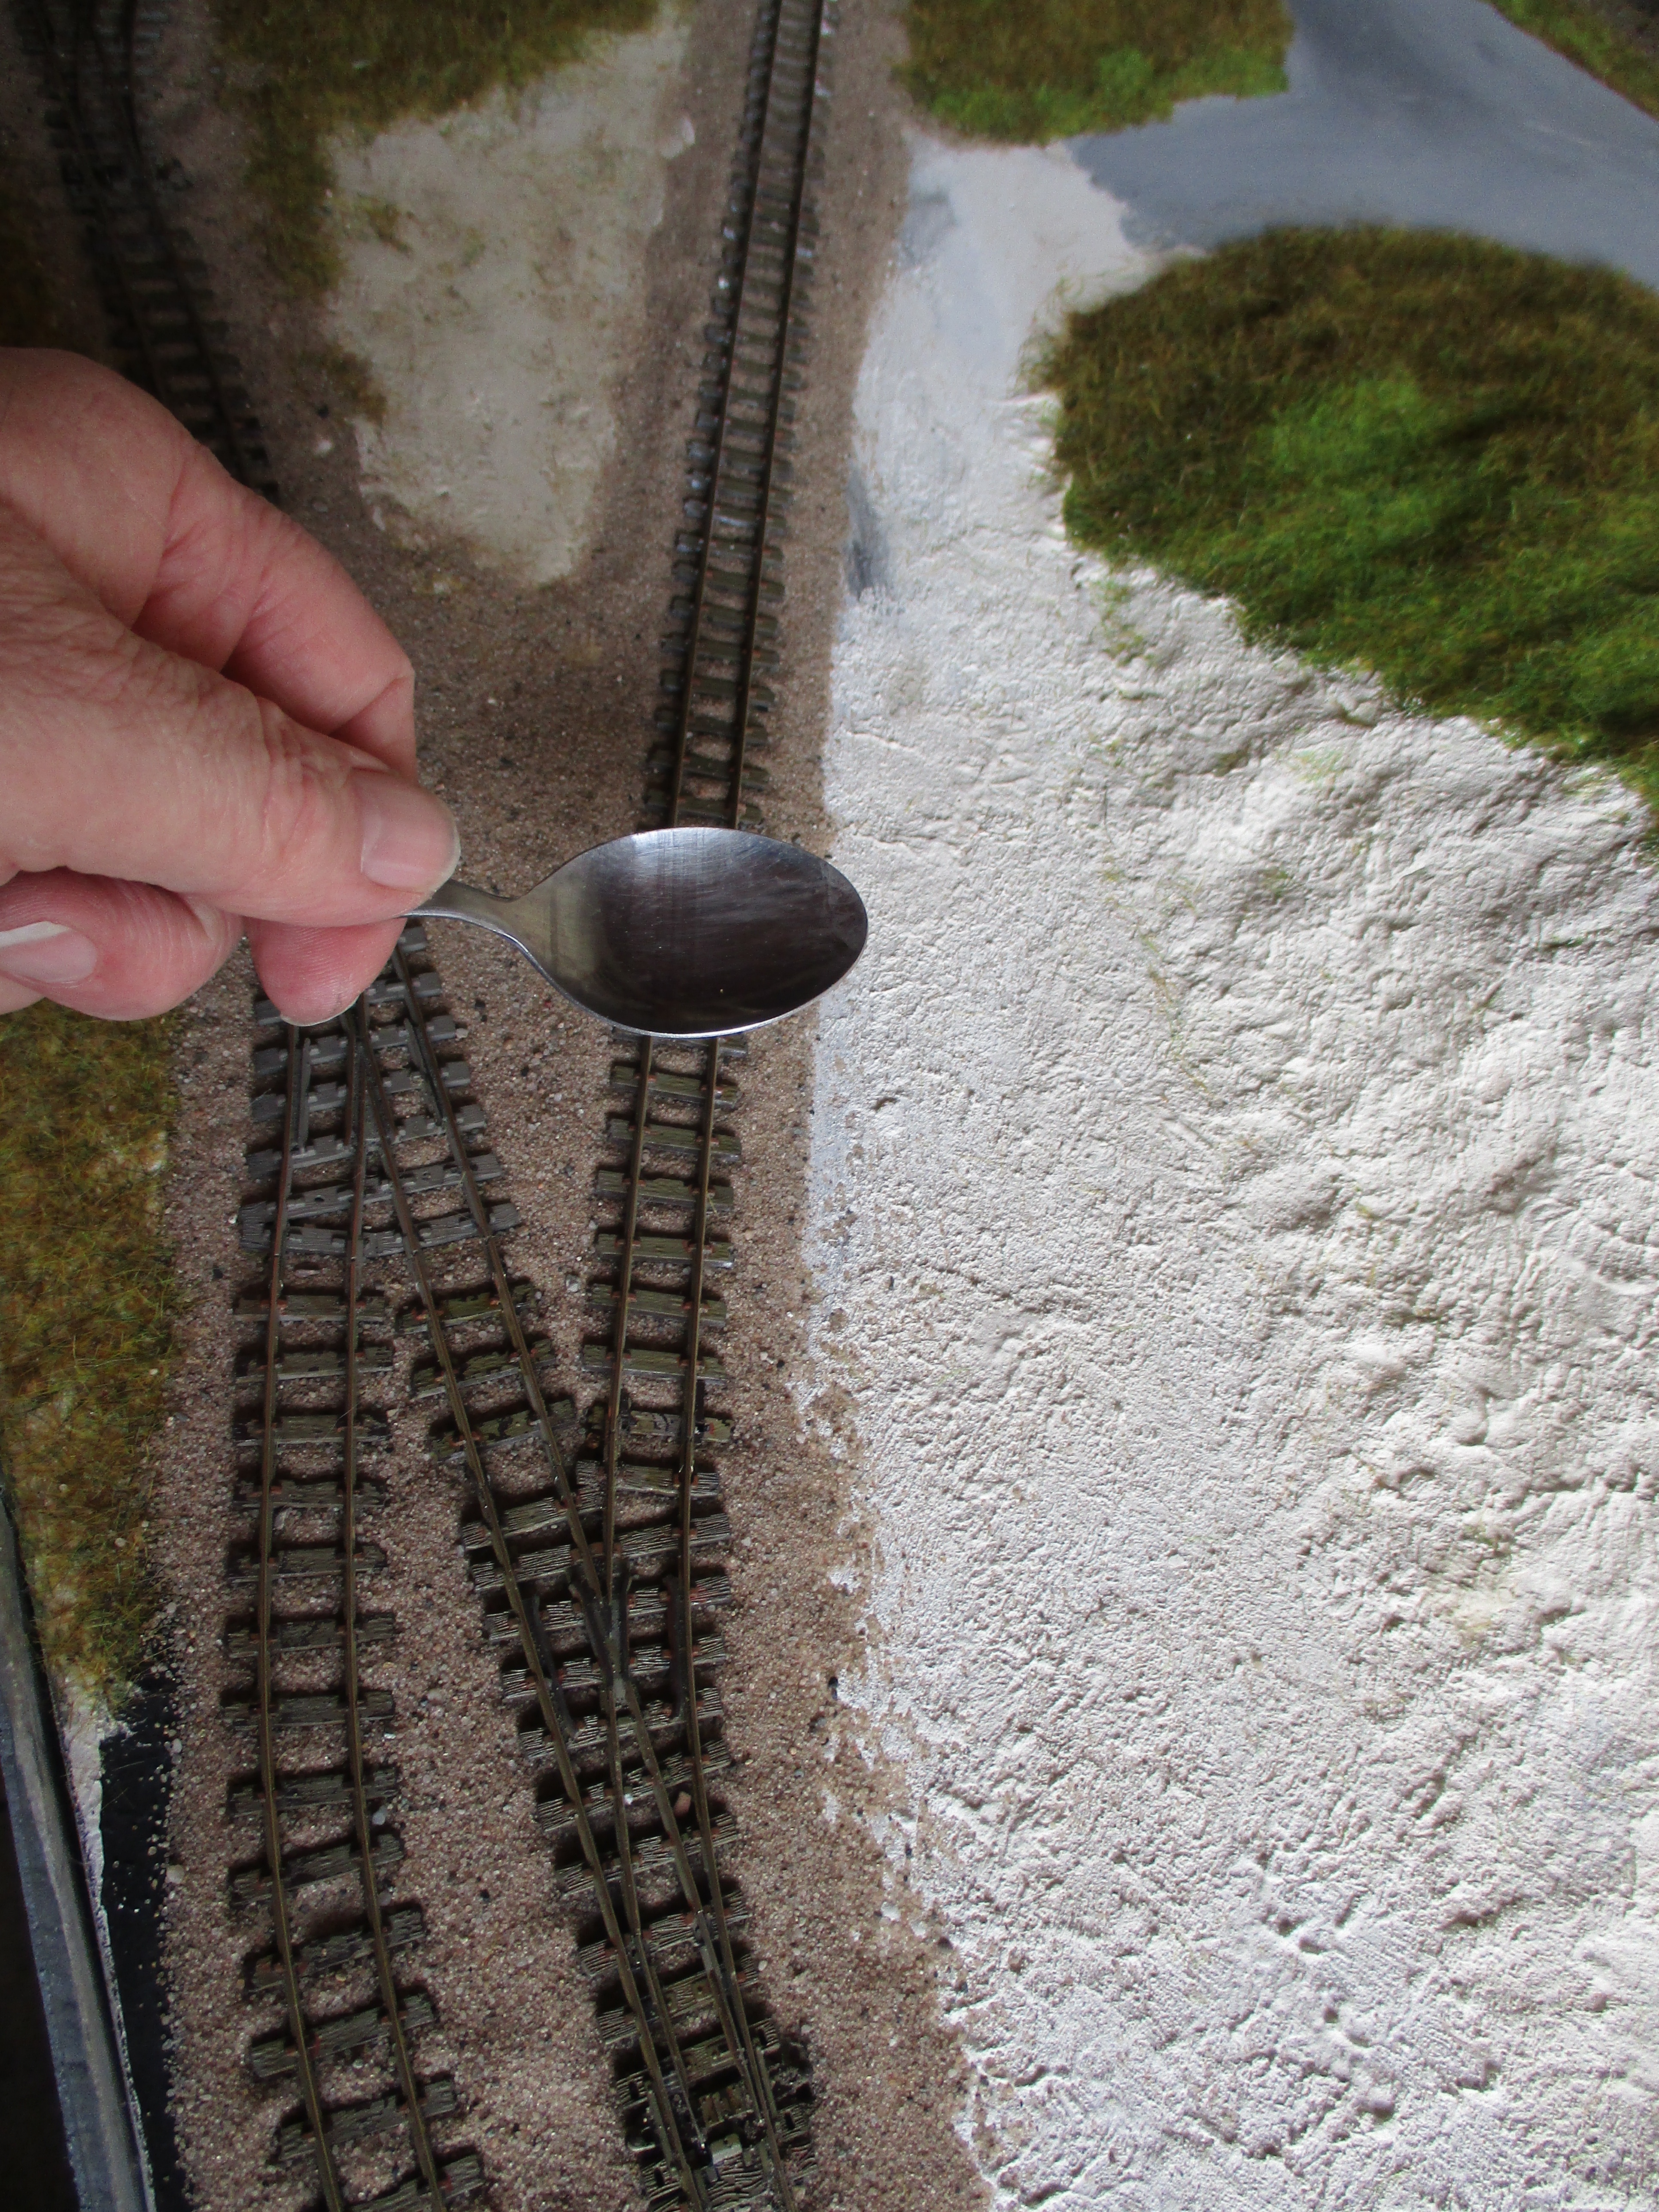
I have made progress with the narrow gauge 009 model railway. Most of the posts so far about this have been about various aspects such as baseboards, ballasting, landscaping and other such things. Today has seen a lot of progress on the scenics. Although some work has already been done a lot came together over the past few days. So here are some pictures that give a bit more of an insight into the layout. You can get a larger picture by clicking on them if you want to see more detail.

First off from the drone an aerial view showing the whole thing.


View looking down the road with a scratch built field gate, hedge and post and wire fence now installed.

Coming under the bridge the Baldwin hauling a goods train.


A bit further round the curve the crewless Baldwin (must sort that out as it looks most odd!) heads towards the quarry.


Passing the quarry the start of the loading facilities can be seen - again scratch built.


A closer look at the loading facilities and the grounded van store. All need a lot more work but gives a sense of what it will be like. I was aiming for something that if you watch Gold Rush you would think Tony Beets had constructed!


The train crosses the level crossing to head back up the cutting to continue its round and round journey!


I'll give a little more detail about some of the scenics and the structures in a later post but in the meantime I better feed that cat who looks as though he is about to open the boxes thinking his dinner is inside!


Wednesday, February 24, 2021

Ballasting Time!

Any railway needs firm foundations for their track and the ballast provides a lot of that. The stones that usually form the ballast are angular and when compacted lock together holding the sleepers and rail allowing the trains to pass over without deflection that could derail them. Ballast also provides drainage preventing water ponding and soaking into wooden sleepers and rotting them. Modern concrete and steel sleepers still need drainage even though they are less susceptible to deterioration from water than wood is. 

In model form ballast can take many forms. Usually crushed granite ballast is used or one of the other custom products from manufactures such as Woodland Scenics. You can even get underlay sheets such as those made by Hornby and Peco. Here at WMD and being tight fisted sand is the choice of ballast for this 009 gauge railway. Not ordinary sand but kiln dried sand. It is about the right scale for ballast in 4mm scale and it is cheap! What's more WMD HQ stores has a large bag in stock bought many years ago for about £3. 

So the material for the ballast is chosen. What happens next? Well before ballasting I should say that before laying the track I did weather it with a spray brush and picked out the spikes holding the rail to the sleepers with a rust colour so that was one job already done! Talk to many people about ballasting and they talk of problems with points. You do have to be careful but my dodge to try to minimise issues is to apply petroleum jelly to the moving parts. That way any glue used to fasten the ballast is unlikely to glue the point up and any stray ballast is therefore also unlikely to end up glued solid to the moving parts. Have a look at the phots below.


Applying the sand was done with a tea spoon (note to self; do not admit to Mrs. Woody use of kitchen utensils!) and a small soft flat brush was used to brush the sand into place. A handy tip is that when you have the ballast roughly as you want it use the spoon to tap the track or baseboard to in effect 'vibrate' the sand off the sleeper tops and into where it should be.


Once happy with the placing of the ballast it was time to fasten it down. The long used mix of diluted PVA glue with a few drops of washing up liquid was mixed ala James Bond style (shaken but not stirred) by putting the ingredients in a jam jar, remembering to securely put the lid on and shaking for a few minutes. The drops of washing up liquid will cause a froth but the main liquid is what is needed. Using an old syringe, (having cats means that you do end up with syringes from the vets to administer various lotions and potions) the glue mix was syringed onto the ballast. It looked a right mess as the pictures show, but as with any process where you have to let things dry, it takes on a whole different look once the glue sets.


Without admitting to Mrs Woody, the glue was given an encouragement to dry from her hairdrier!


Once the glue was set the track looked like this.


I think it looks good but then I would! With a bit of cleaning trains were soon testing their newly ballasted track. 


Tuesday, February 23, 2021

More Bridges and Roads

 With the road in place and painted it was time to start some detailing. I find I work best by doing a small amount and coming back on several occasions to add to the overall effect. For the road I first misted a very fine earth brown along the edges where the road surface meets the verge usually referred to as the gutter. If you look at any road the gutter will be full of dust, litter, nuts, bolts and many other things that commonly get called detritus and have either washes into the gutter or been dumped. For a country road like the one modelled I have assumed the locals are proud of their area and don't drop litter so the dust and other natural materials is the only things that accumulate in the gutter. On bends you tend to see an additional accumulation of detritus. My rendition of all of this so far and still more to do, looks like this -


With the road in place the bridge structure could also be added. This is the Wills SS28 Occupation Bridge and in an earlier posting I detailed how I had to make new abutments. I have painted the railings white and then have given both the bridge griders and the railings some rust weathering which I ma pleased with.


You'll notice that track ballasting and scenic work has also taken place but more of that another time. In the meantime I will await the first 00 gauge vehicle to cross the bridge and test its strength!  

Monday, February 22, 2021

We're on a Road to Nowhere!

Roads are a strange thing. They take you to places and most of us use them everyday. Lots of songs have been written about them including that classic by Talking Heads - We're on a Road to Nowhere - Youtube video. However in model form they usually go nowhere apart from in our minds and despite using real roads every day our modelling interpretations of them can be far off the mark. The main thing is that tarmac roads are not black apart from a few days after they have been laid. They weather and organically dry out so that the oils in the binder that holds the stones together become less effective. That is in essence how potholes start with the small stones becoming loose in the surface as the binder dries out forming a depression and allowing moisture into the structure. Anyway this is a modelling blog and not a highway maintenance tutorial! 

As we use roads so much it is interesting to still see the number of model railways where the road is modelled black. Have a look at some of the roads around where you live and you will see all sorts of shades of grey tarmac and chippings. On my 009 layout I do have a road which goes to nowhere and is of shades of grey. From one of my earlier posts you'll see in the picture below that the road just went along two thirds of the layout. 


Thinking of my plans to extend in the future I decided to run the road off the end of the board across the track. Some mounting card and some filler saw the road installed and then it was time to paint it all. The original part of the road had been given a random spray of Halfords (other brands are available but it was what was in the WMD HQ stores at the time ) grey primer just to seal the surface and I never saw this as the finished road surface. The grey for the road was mixed by putting some acrylic white paint into an old ice-cream tub (raspberry ripple if you are interested and no doubt there is a website somewhere that tells you what sort of person you are by the type of ice-cream you eat but I'm not going to look....yet!) and then putting blobs of black acrylic into it. Mixing the two colours in different parts of the tub gave slightly different hues of grey as you can see from the picture. 


You will also notice from the picture above a stranger to modelling materials - Talcum Powder! Strange as it may seem talcum powder mixed into paint gives it some texture. Roads are not smooth otherwise it would be like driving on a skating rink so they have some texture to allow tires and shoes to grip. Very difficult to achieve in 4mm scale but the talcum powder gives a good impression of it. In case you are wondering I have purloined this tin from Mrs Woody who informs that talcum powder is now out of fashion these days for various reasons so I have given it a good home and the road smells fragrantly lovely! Or is it my aftershave???!!!

Anyway the painting of the road continues and this road to no where will get finished!


Saturday, February 13, 2021

Lets get plastered!

It maybe time for a drink but in this case the plastering I am referring to is part of the landscaping process. I had a rough idea in my head of what I wanted to do and although there are some modelers out there who have the skills and mindset to plan and draw out their layouts in incredible detail before they start to build it I am unfortunately not blessed with such skills. If you want to see someone who has theses skills, I would suggest having a look at James Hilton's Blog and this post as an example.

In the meantime my method is very much one of physically putting things on the baseboard and seeing how they look and making alterations as necessary. With this layout, there is a quarry face with a hill and a bridge taking the road across the railway. Having already built the bridge that at least set up a reference point for the rest and I had already shaped the profile boards on the edge of the baseboard when I built it so that gave further reference points to work to. So in true Blue Peter fashion out came the mount card that I luckily had in stock and I built a contoured set of formers to get the basic shape. Hacking bits off and adding bits eventually gave me the shape I wanted complete with the road in place. I infilled the contours with some styrene packaging that I had and carved this to shape with a bread knief. All very messy but great fun!


With the contours set and the styrene in place it was time to give a surface to it all. For this I used paper towel cut into strips roughly 8 inches long by about 2 inches wide and used a thin mix of wall filler type plaster to coat and soak these as I laid them over the contours. Two or three layers of paper towel were laid to eventually give a firm shell over the card formers and styrene. It takes about a day to dry fully in a warmish house. If you are doing a similar job it can be messy so make sure you cover what you don't want plastered. How do I know........!


Next time it will be time for some scenics.


Friday, February 12, 2021

The wonders of wiring!

The track plan for this layout is fairly simple and was shown in this post. Happy with the fit of the various track pieces wires were soldered to the fishplates strategic points. This is a neat way of in effect hiding wires and avoiding that soldered blob on the side of the rail. You do learn over the years and I do now wire power cables at each point so that both the entry and both exits have power to them rather than relying on the point itself. It may seem over the top but better safe than sorry as I have learnt over the years!, In addition as I was going to use both DC and DCC on the layout it made sense at this early stage to take this approach. The picture below shows the initial wiring in place. It needs tidying but it works. As I was going to use DCC, a tip I think I saw on a British Railway Modelling DVD was to twist the wires together to minimise electrical interference. I have no idea of the science behind it but that is what I did and it also avoids loose wires flapping about so even if the science doesn't work there is something to be said for doing it! In addition, although not doing it at this stage, holes were cut under the points to allow point motors to be retro fitted should I want to in the future - as I get older I think smarter! The track was fastened down to the baseboard using small blobs of superglue on the sleeper base. Track pins are a normal choice for most but gluing avoids those unsightly mushroom heads of the pin tops in the sleepers. You can also lift the track fairly easily if you only use small blobs of superglue by sliding a thin bladed screwdriver under the sleeper base and breaking the bond if an alteration to the track is needed. Eventually the ballast that will be applied will provide the final bond of the track to the baseboard.


Next on the agenda is getting some landscaping done.


Thursday, February 11, 2021

What's the point!

As this layout was started during the first Lock Down of 2020, it was hard getting materials. The Lock Down saw many people suddenly with time on their hands. Things like model railways and other similar hobbies got a much needed boost as they became popular once more and it seems that their popularity has continued which is great! However, with a sudden surge in interest and shops shut, getting hold of materials such as track became a major problem. I recall points for all gauges simply disappearing from the on-line retailers. Luckily I had some 009 track in stock for this project. I had specifically bought the Peco ST-412 First Radius curves as I find with tight radius curves a set track curve gives a far better curve than trying to make flexi track do things that it really doesn't want to and was probably never envisaged by the designers as being able to. I also had some flexi track and some points. What I did not have was an 009 left hand set track point. Searching through the WMD HQ stock pile of things I never throw away I came across an N gauge left hand set track point. It looked a bit worn and dirty but testing with a multi meter showed electrically it worked which was a big relief. 

Whilst I know N gauge track has been used by modelers to depict a narrow gauge track, with all my other track being 009 an N gauge pint would stick out. I therefore got a small saw balade and cut alternate sleepers out of the plastic base of the point. I took care not to weaken the overall structure and I ended up with this.


 The white blobs on the sleepers to the left are filler where I filled in the holes for track pins as I would not be using these. Overall it looks more 009 then N gauge which is what I wanted. We will see how this fitted in later on but sometimes when a problem comes up rather than thinking 'What's the point?' thinking outside of the box can provide a solution.

Wednesday, February 10, 2021

Building Bridges!

As part of the landscape for this layout, I needed a road to cross the railway by means of a bridge. Peco, in their - 009/H0e Setrack Planbook show the Wills SS28 Occupation Bridge (Single Track) and Stone Abutments as being suitable. Looking at the character of the bridge it seemed ideal for what I was after for a narrow gauge railway. Having ordered one, it was upon opening the kit and studying the parts that I found that the abutment walls were not high enough to allow a steam 009 gauge type loco under it without a major incident! I guess if you were using very small industrial diesel locos with limited height then it might work. However there are solutions! Liking the bridge structure itself I had some SSMP227 Wills English Bond Brick sheet in stock so measurements were taken, head scratching undertaken, internet searching carried out and after a bit I ended up making these abutments which are 5cm tall which in old measurements is just a tad over 2 inches! 


People either seem to love or hate the Wills sheets. They are thick, can be difficult to cut and need mitered joints on the corners if you want a continuity in the bricks and bond. I have got used to them although I have at times cursed them but as you will note from the photo I still end up with filler on the joints. The coping stones on top of the brickwork are just balsa wood which was cut to size. 

Once happy with things the bridge components were treated to a coat of Halfords grey primer in a rattle can which handily was nearby.


Then it was time for some colouring - literally! As described in my post on the construction of the Dapol Windmill kit the brick work was rubbed over with a selection of  brown, orange and red coloured pencils randomly. Because the mortar lines of the bricks are recessed in the model, the pencils just colour the bricks leaving a great finish. 


More on the bridge and how it fits in the layout in another installment to follow later but I can say my calculations on heights and clearances were right - just!


Monday, January 11, 2021

VW means Volvo Weathered!


No doubt upset some VW fans with the title to this post but yes, whilst the weather may have been cold outside over the weekend the weathering inside was a much warmer affair. The chassis of the Italeri Volvo FH-16 saw some further weathering from the airbrush and the application of some washes to further tone down that bright blue chassis. The fuel tank was also installed having been modified with some new straps and chassis mounting brackets. I never got to the bottom of why the tank as supplied and instructed in the instructions just would not fit. More than likely that it is my ineptitude or misreading or both but the problem has been solved - the fuel tank mounting not my ineptitude or inability to understand instructions. My wife would agree with that last part and probably the first too! Anyway on the chassis front the rear lights and French registered number plate have been added (it is left hand drive so unlikely to be a British truck) and at the front, the lower panel with lights and blank number plate has been added. You may be wondering why the matching number plate has not been added. There lies a tale of old decals! Whilst the first applied yellow backed number plate for the rear went on without issue the front white backed number plate from these ten or so year old decals split into a thousand pieces. I forgot about the fragility of old decals and should have put a coat of varnish on them or some decal save solution before soaking them - lesson learnt - just have to find some more suitable decals in my stock. A few more pictures of the chassis and as with any build the obligatory balancing of other parts on it to see how the whole model will look. As always you can click on the picture to open it up and see it at full size.


That cab will certainly need some toning down!

On the 009 layout some grassing has taken place. With the basic landscape formed its the perfect base to start the scenic activities and there is something very satisfying about turning baron plaster into something that looks (hopefully!) green and lush. Part of the landscape was painted with PVA and then hanging basket liner was pressed into it with the backing side left exposed and left to dry over night. Once torn off the results were mixed. One part had stuck well the other not so well with bald patches resembling a scale representation of my lawn!


I should have painted one coat onto the plaster and left it to dry and seal the surface before applying a second coat and basket liner. Lesson learnt again! However not all was lost as my intention had always been to use some static grass on top of the liner to give that rough grass look of an embankment where it was not mown or cultivated. After trimming the liner (a bit like shaving stubble) and getting rid of the bits of string and other odd fibers that come with it a pleasant hour or so was spent with a mixture of fibers and the static grass applicator. I ended up with this - still more to do but it is getting there and progress is being made. Just hope it continues! 


Sunday, June 7, 2020

A well belated start to this blog!

Well this should have started in January 2018. For all sorts of reasons it didn't, which is probably more down to me putting off until tomorrow!

Why am I doing this? Mostly as a diary. Looking at models I have built over the years I begin that thought process of when did I make that? In my case it is probably more when did I start that - I am a great one for starting projects but not too good at finishing. Too many distractions of new projects! However if anyone is reading this and what comes after I hope it is of some interest? I know I find reading other peoples blogs interesting and in many cases inspirational.

So as an introduction here are some of my current projects.

The 1/24 scale Italeri Volvo FH16 Globetrotter. Retrieved from the loft, I started this in October 2019. Bought as a part built glue bomb on eBay some years ago (can't remember when but do remember it was only £10) the engine and chassis had been built and had to be unpicked and is now at the stage of the chassis and engine almost complete and the cab interior waiting to go into the cab and then the finishing touches. No major modifications apart from trying to put a more accurate cab underside in place. The photos below probably explain better then my words do!


Italeri T34/84 in 1/35 scale. A Christmas present that I started in early January 2020. My Dad died in late January so it has been on one side like most of my projects as I deal with all the usual matters following such an event. The kit itself has an engine and interior and I have got as far as having completed the lower hull with those parts installed and weathered Again pictures explain better.


Lastly for this first post there is my 009 layout. Baseboard built at the start of the lockdown and track laid and initial scenery started. The idea is that there will be a second matching board. The initial board will have some a quarry served by a siding. Not an imaginative design but I do enjoy on occasions just watching trains go round - something very therapeutic! Hopefully this will continue yo progress faster than my normal glacial speed! In the meantime here is a picture.


Today's modelling will be painting the fuel tank for the Volvo and some old Triang fencing that I found in my box of railway bits which will hopefully find a home on the 009 layout - must think!of a name for it!