Search this blog

Sunday, December 10, 2023

Butterfly!

If you have read this blog at various stages throughout its life you will know that I tend to have a number of projects on the go at any time and tend to wander and drift from one to another, much like a butterfly, without much planning and indeed introduce new ones on a random basis. That does tend to be my way of operating and no doubt some people find it strange and could not work like that themselves. For me though, it general does work. If I loose interest in a project or need to put it to one side whilst I come up with a solution for a problem I will. Nothing worse then having to do something that you are not in the right frame of mind to do - there is enough of that in real life money earning work not to have to do that in the spare time! Usually an old project comes back on the bench because something has happened to reinterest me like going to a model show, some form of media article or just talking to people which suddenly reignites that desire to get on with it. 

The above probably explains why Chalkdon my 009 gauge layout is suddenly getting attention again. It has stood over the Summer basically untouched but not forgotten. Going to the Sleaford Model Makers Show last month sparked off my desire to work on it again having bought some 3D printed models for it. The building of a couple of those has led to a rekindled interest with other things such as the level crossing gates featured a few posts ago, the ballasting and furniture making that were in yesterdays post. Today a few more things done which interestingly is bringing the model very close to being technically finished. I say technically as there are always details that can be added but the basic infrastructure is just about done with track laid, wired and apart from about 6 inches of track ballasted as well. Just about all the landscaping is done and all the buildings have been constructed and just need some detailing. Whether my current blast of work on the layout will see these final jobs complete before I divert onto another project is one of those big unknown factors especially for me! However I will make the most of it because in April of next year the layout will be four years old. If it is complete by then that will be a record for me!

In the meantime several tasks have been underway. First off is the ballasting which saw the line leading to the wharf sidings ballasted apart from around the points which still needs doing. However it has tidied up that area.

009 gauge layout

009 gauge layout

The thatched cottage was given to me and dates back to the Airfix range back probably in the 60s or 70s.. It is not a brilliantly painted building so I have decided to at least try and tidy it up which started by repainting the white. No need to avoid the black wooden structure as I would be repainting this too. The first two pictures are the before and the third is the white repaint. Listening to some music whilst I repaint the timber will hopefully sooth me to do a reasonable job!

009 gauge layout

009 gauge layout

009 gauge layout

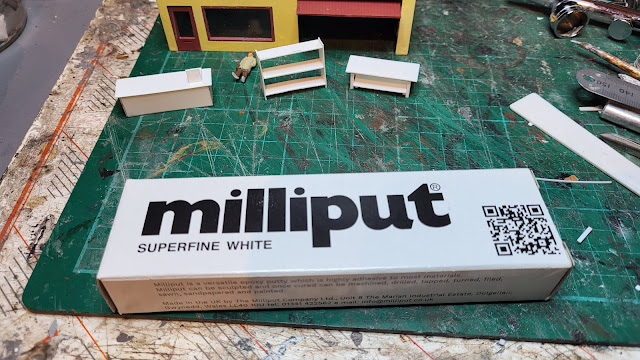
Lastly I got some new Milliput. My three packs in the WMD stores being over 5 years old have now dried out, hardened and become unusable so I had to renew! 

009 gauge layout

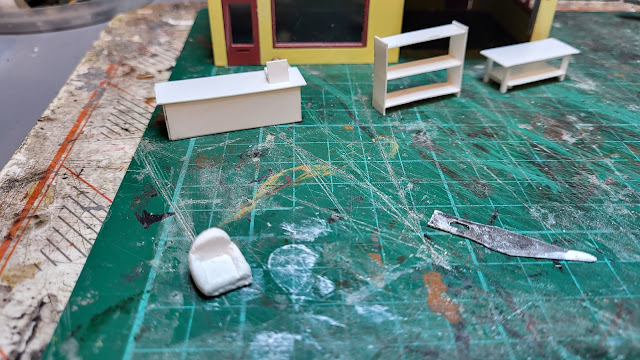
Milliput is a two part expoxy paste that is mixed and can then be used for many things including making beat up old armchairs to go in model garage offices!

009 gauge layout

It may look rough but once painted and hidden away inside the garage it will be fine. There may even be a butterfly or two living in it!

Saturday, December 9, 2023

Ballasting and the art of furnishing!

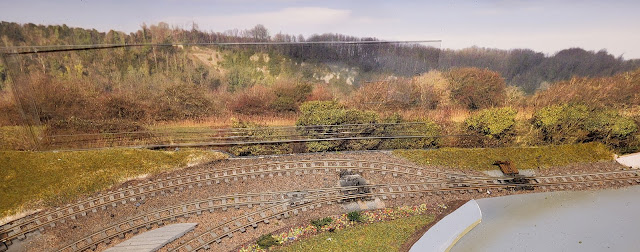
An unusual title but it does describe activities at WMD HQ well! Ballasting, in as much as I am beginning to finish off the unballasted sections of Chalkdon , my 009 gauge layout starting with the area near to the newly installed level crossing gates. All that was needed was some kiln dried sand and some dilute PVA glue to get that job finished.

009 gauge layout,

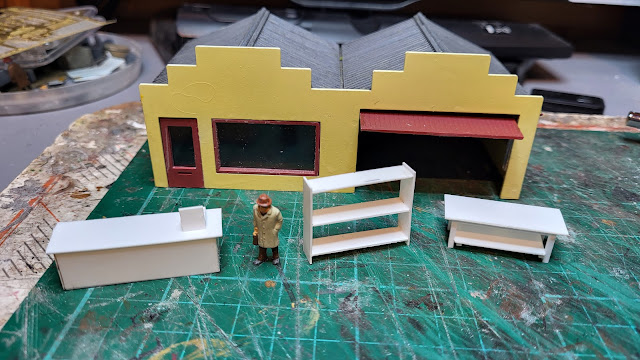
In relation to the furnishing, this is about 1/76th scale items for my buildings on Chalkdon. With such large windows in the garage shop, an empty interior and for the workshop with its large up and over door an empty working space are not that realistic. Whilst my attempts to add suitable furnishings are not precise works of art that you may find in a quality dolls house, they are something that at least gives a feeling of the spaces being furnished and used which is all I need.

009 gauge layout,

Small pieces of plastic card were cut to size and glued together and just need painting now. On the left is a shop counter with a cash register on top and on the right are a set of shelves and a work bench for the workshop. There are still a few more things to make like a chair for customers to sit in when they get their car repair bill! Then there is also the shop with its large windows that needs some shop like furnishings. Should keep me busy for a day or so!

Friday, December 8, 2023

Weld it, paint it!

A day at the Rocks By Rail Museum where it was a day of welding and painting.

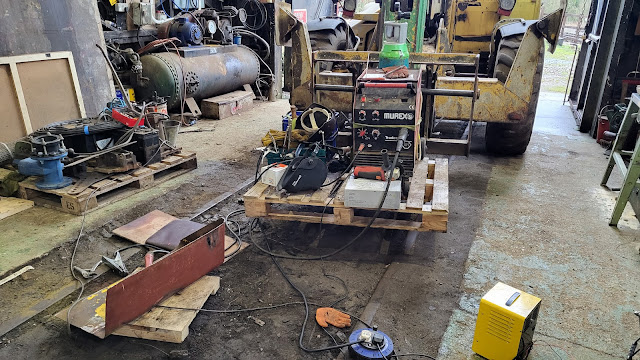
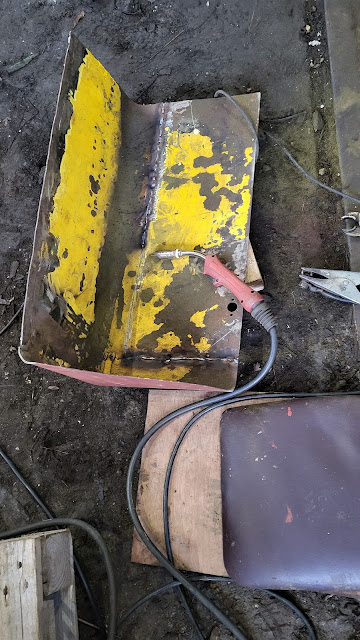
I did some MIG welding for the first time in over 20 years to sew back together the JCB cover to the hydraulic tank that I had battered with a hammer to straighten into something near its original shape. To ease that hammering process I had cut the metal at various points to take some of the stress out of it. As you can see a pallet makes a great welding station but it does work!

Rocks by Rail Museum,

I surprised myself that I did not blow any holes in the metal with my welding which also seemed to have welded the metal together in a strong manner!

Rocks by Rail Museum,

It certainly fits better although it needs some hinges now. A job for later!

Rocks by Rail Museum

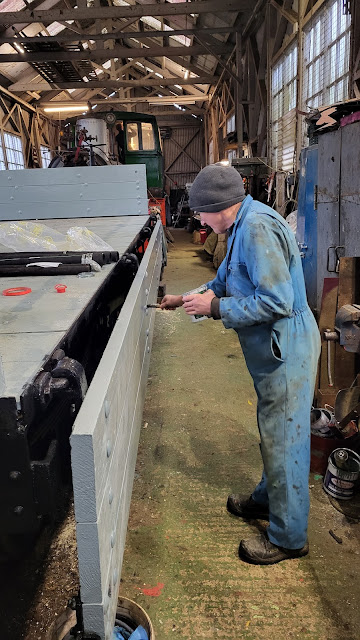
Meanwhile, John who must be getting fed up with the sight of grey paint, was doing some touching in of the three plank wagon before it is deployed into service.

Rocks by Rail Museum

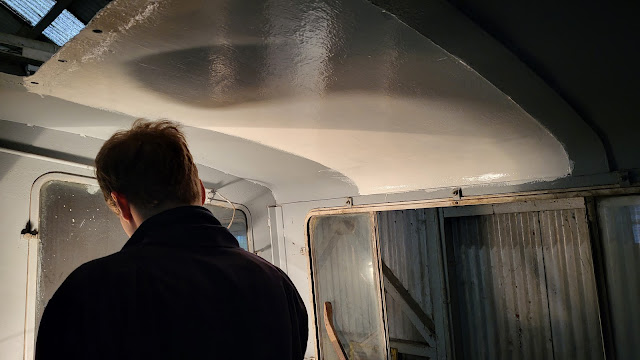
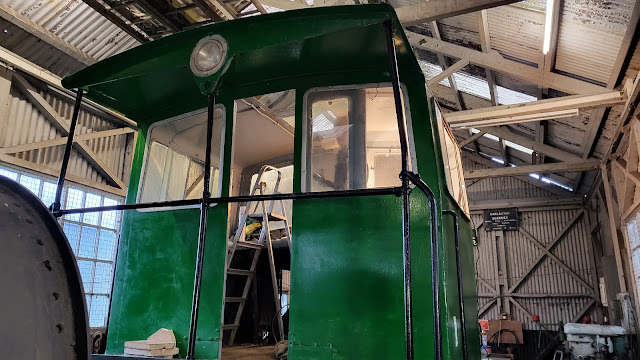
Alex, meantime, was busy painting the internal roof of Ketton No3 - not the easiest job when your hair is so near to wet paint!

Rocks by Rail Museum

It certainly looks a bit brighter in the cab from outside!

Rocks by Rail Museum

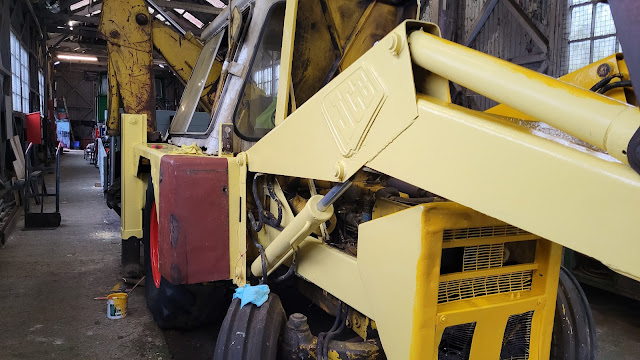
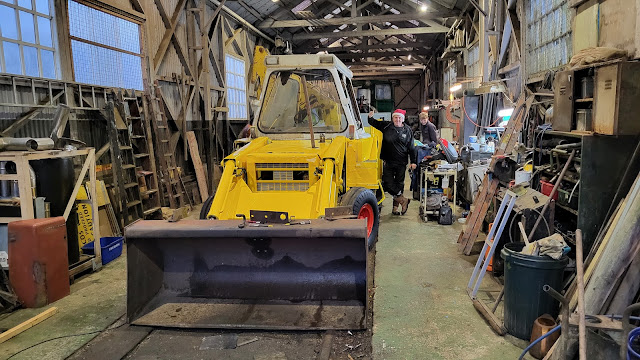
As painting seemed to be the in thing, Rob and I finished much of the JCB, Harriot. From a distance it looks good. I will say going closer can lead to disappointment! However this was never a serious restoration project and Harriot will be back digging things in the new year!

Rocks by Rail Museum

Thursday, December 7, 2023

Greenhouse reflection!

Some posts ago I started the glazing process of the 3D Greenhouse that I bought at the Sleaford Model Makers Show. It has been a slow process but the glazing is now finished and I have placed the greenhouse on Chalkdon my 009 layout.

3D Printed Greenhouse

It looks very much at home although I think on reflection with all that clear view through it that I am now going to have to put some internal detail in it! Oh well another job to the list!
Wednesday, December 6, 2023

A 'Skinhead' joins the fleet!

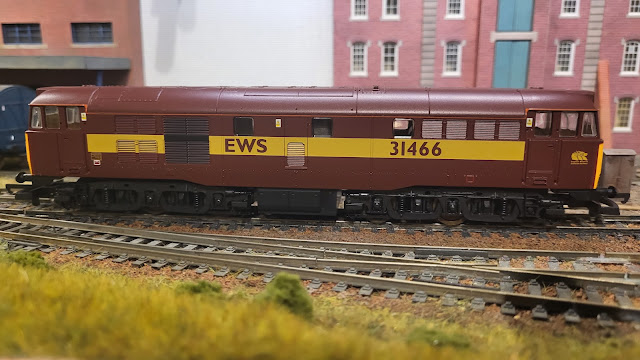
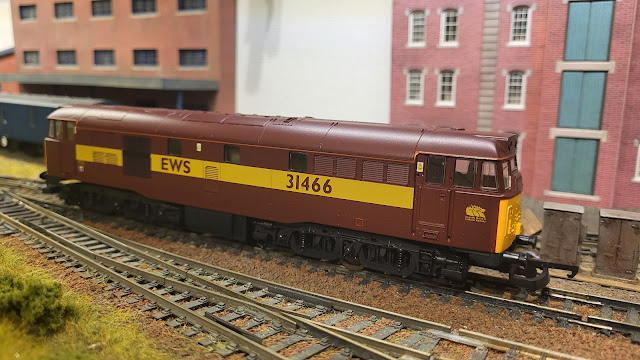
The term 'Skinhead; is applied to the Class 31 loco that were originally built between 1957 and 1962. I believe that the term was applied because of the shape of the roof.

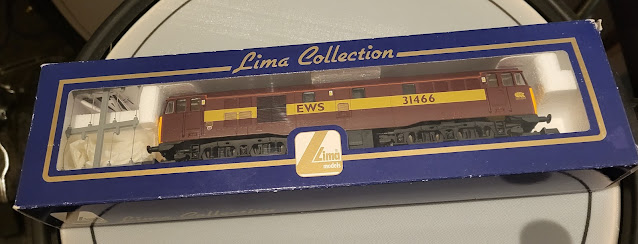
Well with that out of the way all I can say is that I have a bit of a passion for EWS locos and have a fair few in my collection but up until now no Class 31. That changed when in an idle moment (don't tell Mrs. W or she will want to know why I was idle for a moment!) I was surfing eBay and came across this Lima model.

Lima Class 31 31466
 
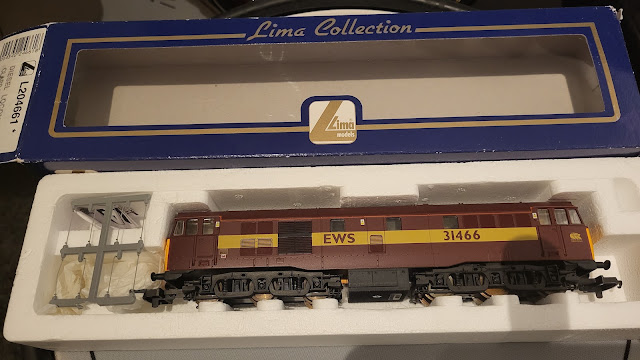
Just over £40 secured this hardly used model - even the handrails are still on their plastic spru awaiting attachment to the loco.

Lima Class 31 31466

It does run! Like any loco from over 30 years ago not to the current standards but never the less it is a nice runner. Body wise, Hornby still use the tooling that made this Lima model for their current RailRoad range and it has stood the test of time well.

Lima Class 31 31466

Lima Class 31 31466

Lima Class 31 31466

A great addition to my EWS fleet and at a bargain price!

Tuesday, December 5, 2023

Open and shut!

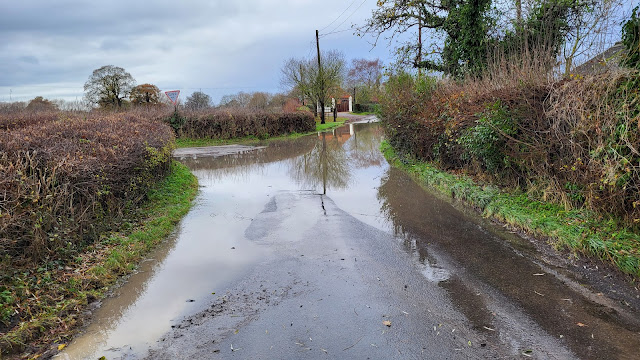
Before doing some more in the Man Cave with the level crossing gates (more on that later on) I managed to get out on a bike ride today - the first time in nearly a week. Rain and snow having provided a good excuse to stay in the warm for the past week I had not seen much of the effect of all this moisture. To be honest I should have just opened the front door looked out and stayed in as the local roads were somewhat damp! This looks like a ford but there is a road under there! I did cycle through as I could see the road surface below avoiding any potholes.

Flooding 2023

However, I was not cycling through this so it was a case of turn round a go a different way! 

Flooding 2023

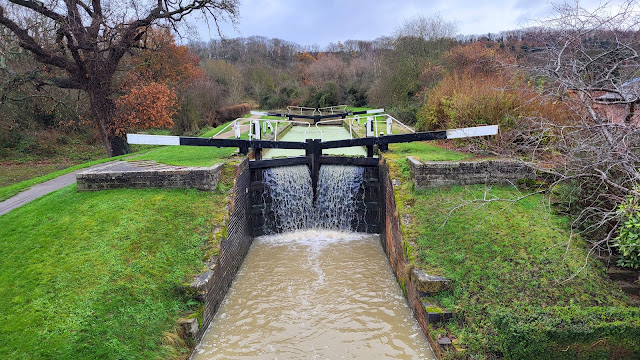
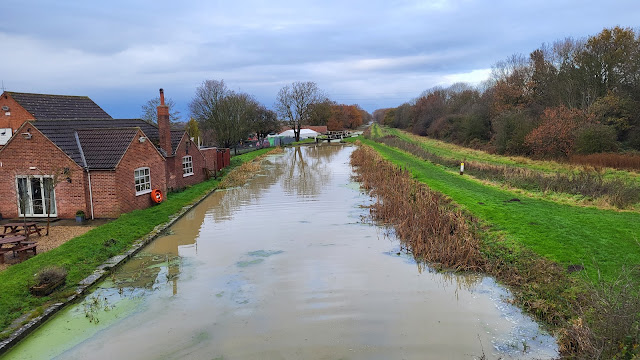
I have never seen this at this canal location with the water flowing over the lock gates. Looks quite spectacular!

Flooding 2023

Just a bit further down this building is so close to being flooded but hopefully will keep dry.

Flooding 2023

Back in the dryness of WMD HQ the level crossing gate project on Chalkdon my 009 gauge layout has progressed well. They have been painted and put in place on the layout.

Level Crossing Gates 009

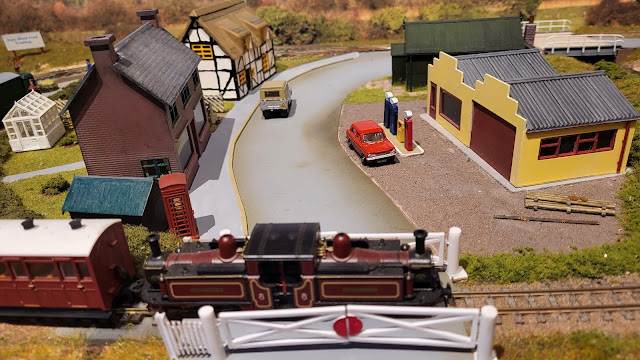
Allowing the safe passage for trains by being closed this rather interesting vehicle goes through - I am  sure I have seen it somewhere before! 

Level Crossing Gates 009

With that loco having gone through this passenger train then had the right of way.

Level Crossing Gates 009

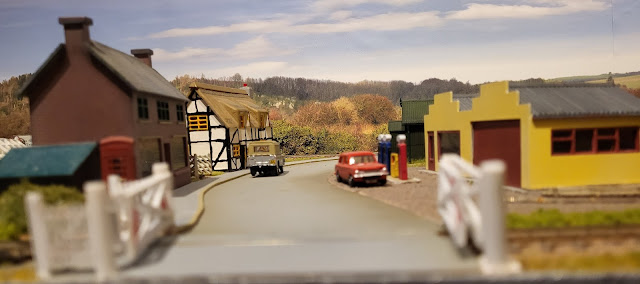
With the trains having gone through it was a case of opening the gates!

Level Crossing Gates 009

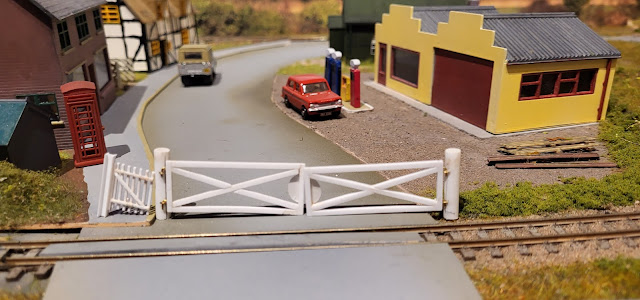
The photo below shows how the gates fold over each other when open - I am almost proud that my measurements worked out!

Level Crossing Gates 009

It may be an open and shut case for the level crossing gates but for this pedestrian the side gates remain firmly closed! He is in for a long wait!
Level Crossing Gates 009,


Monday, December 4, 2023

Test fitting!

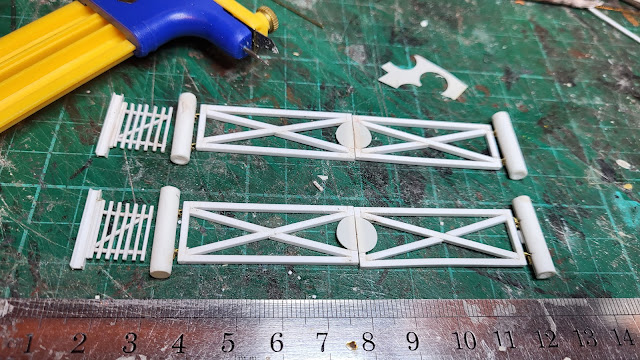
A wet, cold and miserable day - weather wise anyway! In the relative warmth of the Man Cave I made a little progress on the level crossing gates. The posts have been capped to seal off the tube and I have made some pedestrian gates out of plastic strip to go at the side of the main gates. I also cut two circles of plastic card using my circle cutter. I then cut them in half and glued them to either side of the outer edge of the gates so that they form a circle when the gates are closed. Once painted red they will be in line with the normal UK level crossing gate design.

Level Crossing Gates 009

Of course, whilst I have taken some measurements prior to construction, I have yet to put them on the layout to give them a test fitting! With a little trepidation one pair of the gates were temporarily put in place and luckily it shows that it should all fit - hopefully!

Level Crossing Gates 009

Next up is to paint them which will be white so it won't really show much progress but at least that plastic sheen should disappear!

Sunday, December 3, 2023

Its Snow Joke!

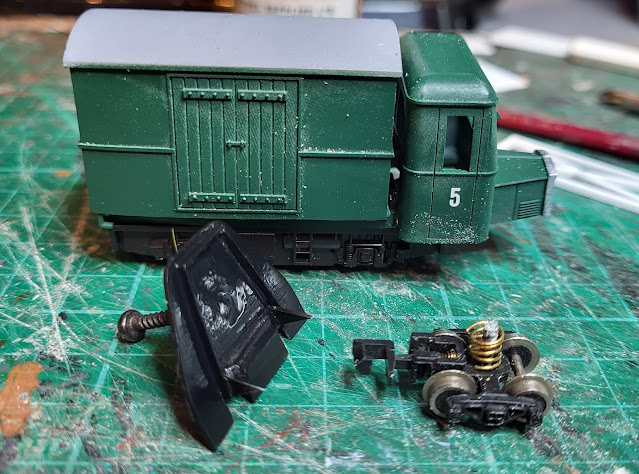
Overnight the snow came! The mere mention of snow even as a joke sends Mrs. Woody into a panic! However I have been brave and gone out through the thin layer that covers the garden into the Man Cave where I managed to do a few things. One was try to keep warm! Secondly was to glue the now painted extension to the Kato chassis for Maintenance Loco No 5. I have used some UHU which offers the ability to take it off again without too much problem should the need arise. Its down side is that it does need some time to fully dry - however I have patience although Mrs. W might disagree with that statement!
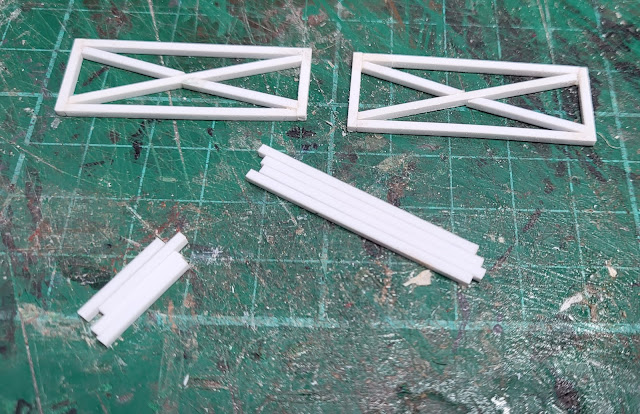
3D Printed Maintenance Loco No 5

The rest of the time was spent putting together some posts and hinges for the level crossing gates that will go on Chalkdon. For some reason I decided I wanted to make the gates capable of being opened and closed. Anyone looking for an easy life would just have modelled them shut to road traffic making the whole job a lot easier. 

To create my opening and closing gates I had to fabricate eight hinges which are a hoop of wire formed from some thin brass rod that I had in stock. These were inserted into pre-drilled holes in the posts and glued with a dab of superglue. The gates themselves had two holes drilled into the uprights on one side and into these an 'L' shaped piece of brass wire was superglued in. My measurements were good in that it all matches up! Amazing! 
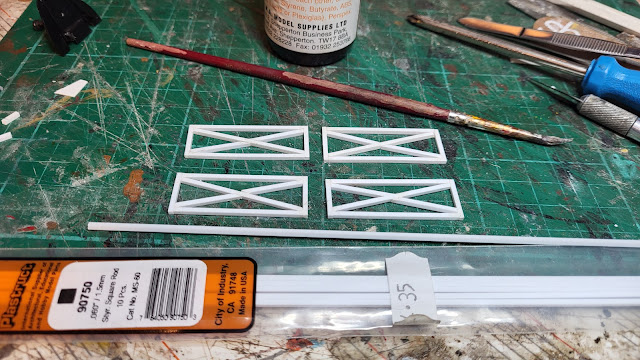
Level Crossing Gates 009

Next stage is to finish the posts off with some capping pieces. After afew other small jobs the gates should be ready to paint and install.

Saturday, December 2, 2023

Gates!

 It is cold and damp here in the UK. May not be as cold as some parts of the World but but it is a shock to the system especially in a cold Man Cave. I have turned on the heater but the cold comes up through the floor. However I did actually manage to brave a couple of hours which moved forwards the 3D Printed Maintenance Loco No 5 forward with the additional chassis part I have made now painted black.

3D Printed Maintenance Loco No 5

Once dry, I can glue it to the chassis and move that project on towards being finished - well as finished as my projects ever are!

This renewed involvement with my 009 layout Chalkdon has highlighted I still have much to do on the layout. One of the things needed is a level crossing and so I have commenced construction with the four gates that will be required.

Level Crossing Gates 009

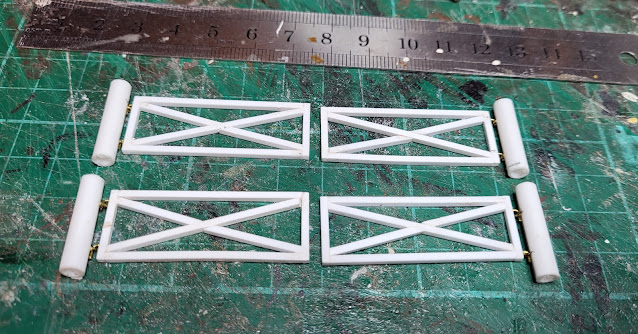
The gates are made up of 1.5mm square plastic cut to size.

Level Crossing Gates 009

Much work still required but hopefully the gates are square and flat!

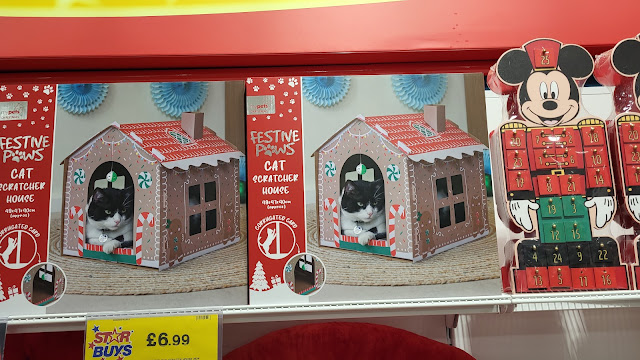
Meanwhile I was reminded by the number of adverts and songs on the radio that Christmas is approaching! Whilst the WMD fleet of cats gets something on the day I had to draw the line at this that Mrs. Woody spotted whilst in a store. The way the WMD cat fleet and indeed most cats that I know of gnaw anything cardboard the chances of this lasting for more than an hour are somewhat remote! You have to wonder why someone would design a cat toy in cardboard! Does look cute though!

Cat house


Friday, December 1, 2023

More wheels but this time on a coach!

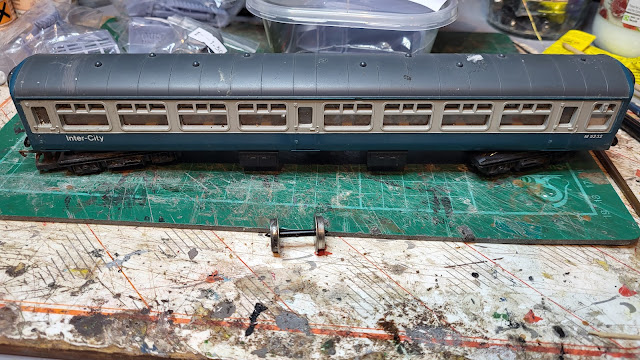
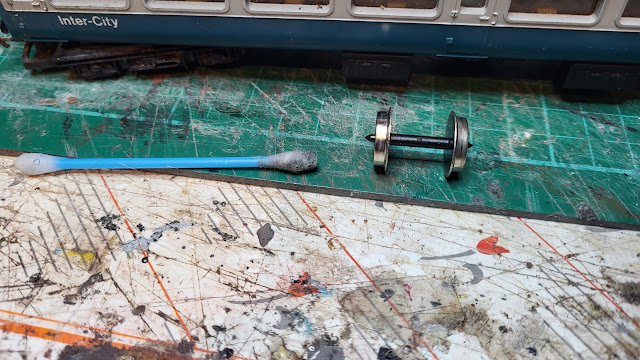
Taking a break from the 3D print loco I ran some trains on my 00 gauge layout and noticed that the rake of Mark 2 BR coaches was not running quite right. Taking one off the track I found that the wheels were filthy. It was an easy job to take the wheelsets out of the bogies.

Coach wheel maintenance

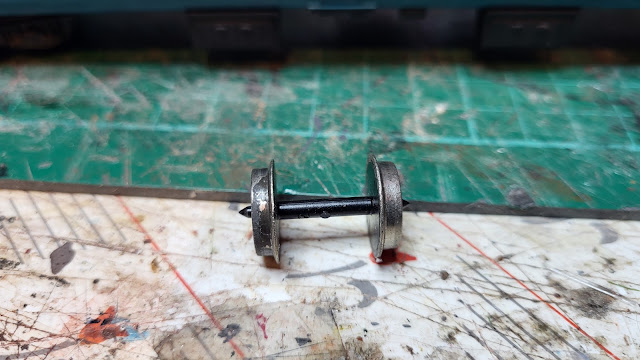
A close up shows the build up of dirt on the wheels which does not give good running on the track.

Coach wheel maintenance

A clean with rubbing alcohol applied with a cotton bud saw the wheels returned to shiny metal and once back in the bogies a much more free running coach resulted. Just another five coaches to do!

Coach wheel maintenance