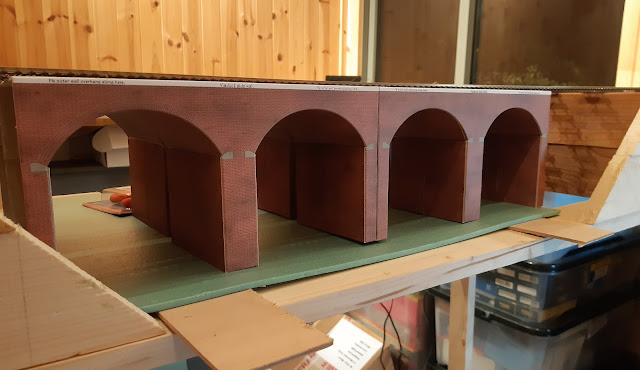
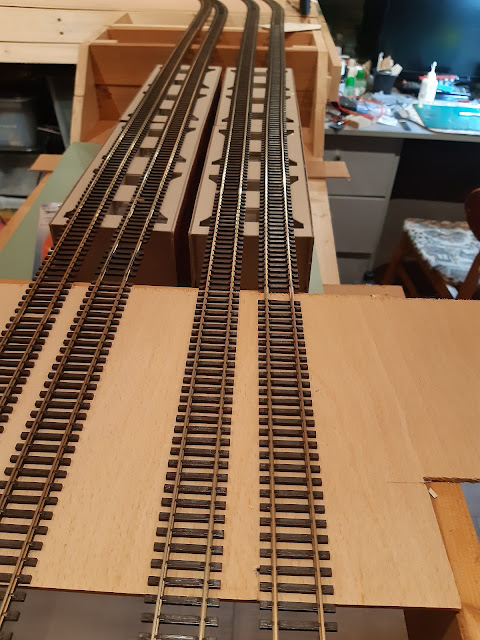
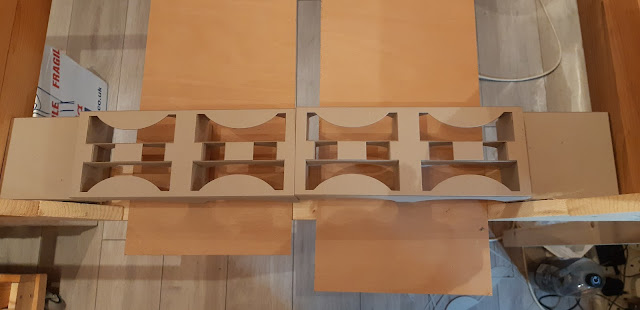
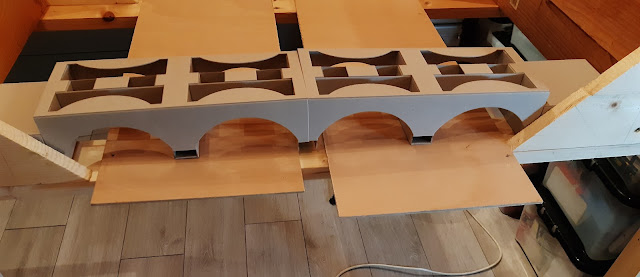
With a bit of work today the arched structure of the second Metcalfe viaduct is built. This means that I can at least run trains without them disappearing into an abyss! More to be done to them yet but things have moved on in the last few days which is unusual for me! Maybe Mrs. Woody's list of jobs to do has not received the attention from me she believes it should, but I have put the time to good use on my to do list!
Recording my progress, or usually the lack of it, in building kits, creating model railways and other related and sometimes unrelated matters!
Search this blog
Saturday, October 22, 2022
Friday, October 21, 2022
That gap needs filling!
Back at the Last Great Project layout the trains are running again but that gap in the baseboards where the dropped section is needs filling with the viaducts before I can go much further or a train decides to make a break for it and meets the floor. I have had trains do an Evil Knievel impression before but unlike the great showman those trains did not make a successful landing! So today the second viaduct has been started which will be side by side with the other. Having done the main structure on one viaduct the construction of the second moved on at twice the speed as I supposedly now knew what I was doing! How true that is, is open to some debate as Mrs. Woody would no doubt have a view. Anyway there is the substructure constructed with the underside brick work in place as well. I like the view I can now get of trains going over the viaduct and I am really looking forward to the final scene coming together.
Tuesday, October 18, 2022
Viaduct progress and the price of shirts!
I should clarify that the price of shirts is not connected to the viaduct build I am currently doing. However given the current economic climate and the squeeze on the cost of living I was slightly taken aback by this 'offer' in Stamford today where Mrs. Woody and myself had lunch out and a look around the town today.
I have no doubt that the shirts are of a quality but just how many people can afford £120 for four? Luckily my wardrobe does not need any further shirts, although, as Mrs. W would claim, most of my shirts could be from the costume department of an 1980s TV program, so my rather thin looking wallet remained shut!
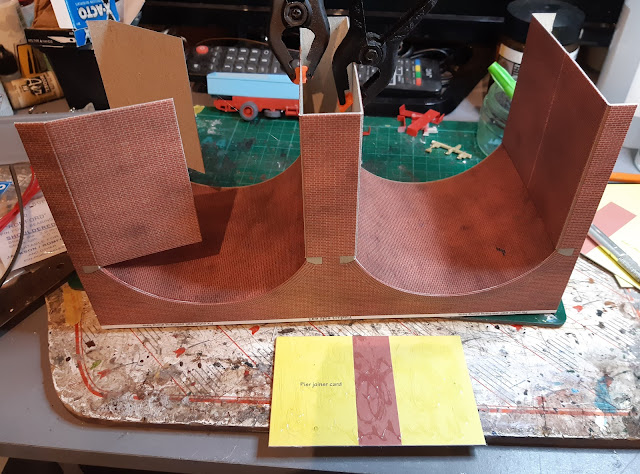
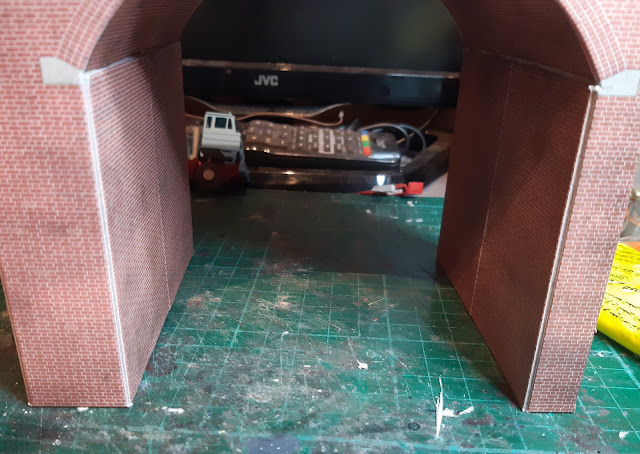
Anyway back in the sanctuary of the WMD HQ Man Cave, further work took place on the Metcalfe viaduct that is currently being built. The brick sheets have been added to the substructure. As with most Metcalfe kits the fit is good and the parts all went together easily.
One of the issues with a card kit is that the edges generally show the white of the card they are made of because the card is scored on the outside to enable a sharp edge to be created. Anything white tends to stick out on a model so the way to hide it is to use an artists pencil in a suitable brick colour and run it along the edges. The 'before' and 'after' photos below show the results.
With a bit of weathering later on those joints will all but disappear. Dropping what is built so far into the dropped baseboard gives me a better idea of how this will eventually look. I'm liking it - certainly more than I would 4 shirts for £120!
Monday, October 17, 2022
Building a viaduct.
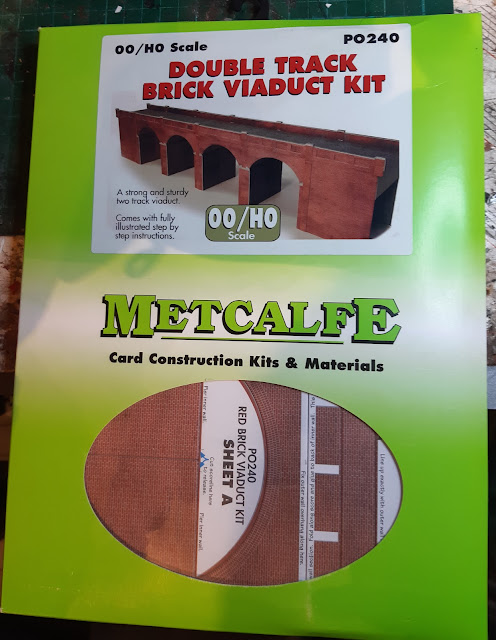
Getting back to My Last Great Project I need to build a couple of viaducts to span the dropped area in one of the baseboards. I had decided to use kits to build these. I have to accept that life is too short to get involved in complex projects that I could actually get a better result from using a readily available kit rather than scratch building. The kits of choice for me in this case are cardboard and produced by Metcalfe.
I have built some of their kits before and always been impressed by the quality and ease of construction. Card kits may not be everyone's choice but with care and some weathering they can make really great structures.
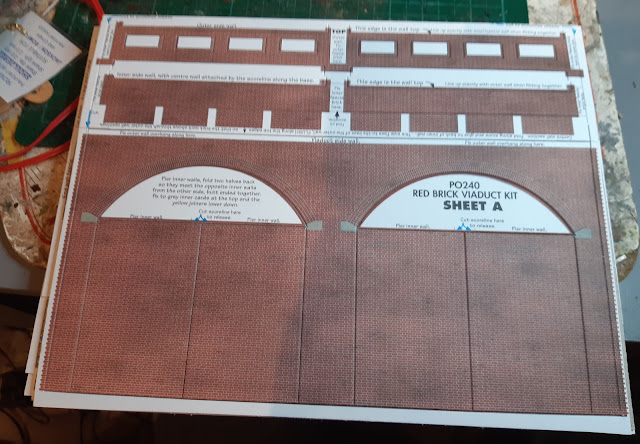
The Metcalfe lit has a plain card core that is then covered with an outer sheeting of brick printed card.
Having built the four sections it was time to see just how accurate or otherwise my baseboard frame measurements and construction were. To my utter surprise the various components slotted into the dropped section with no gaps or tightness! Unbelievable! Maybe I should have more faith in my abilities?
Flushed with success I started the job of cladding the sub-structure with the brickwork. This involved some thin printed card with a series of flaps that are glued to the sub-structure. All very clever and the pictures probably show it better then my words can describe it!
