Search this blog

Saturday, August 13, 2022

Buying Paint!

Today Mrs. Woody and myself went off to buy paint for the bedroom. You can't have a new wardrobe with old paint you know! Well I didn't know that but Mrs. W informs me it is true so who am I to argue! So my job list for next week is to dismantle the old wardrobe on Monday. Paint the walls behind where the fitted wardrobe will go white. Then the wardrobe will get fitted and by the end of next week, once all the dust has been cleared away, it will be my job to paint the rest of the room. Somewhere in that week I also have to fit a day in at the Rocks by Rail Museum. I am hoping for cooler weather!

One thing that did hit me was the price of paint. It does not seem that many years ago I could buy a quality 5lt tin of emulsion for about £18. The last one I bought about three months ago was £40 and this week it has gone up to £42. Apparently had we bought it last week it was still only £40. Just my luck! I didn't think it worth pointing out to Mrs. W just how much model paint £40 would buy. Sometimes it is just safer to remain silent!

So last week was busy and this coming week will be no different! However at least taking a break to do some model making provides a well deserved break! Which brings me onto the Italeri 799 Scania with Cool Fruits trailer. I did actually get some matt black paint onto some more parts for the tractor unit chassis without the paint drying in its short journey between the airbrush and the surfaces to be painted. Yes it was that hot today! The parts were touch dry within about a minute of painting. I even managed to paint the engine cooling fan yellow and add it to the engine.

Italeri 799 Scania with Cool Fruits trailer,

To add a little interest to the engine, rather than it looking like a red blob, I have painted in the rocker covers and various pipes in aluminum and steel. Some parts need a second coat which will hopefully be something for tomorrow. In the meantime I will get over the price of paint and prepare myself gor the joys of the coming week!
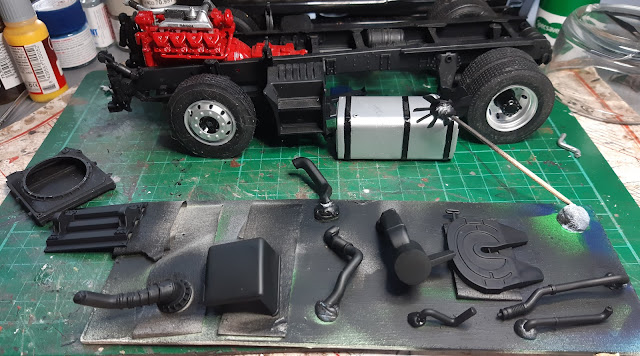
Italeri 799 Scania with Cool Fruits trailer,


Friday, August 12, 2022

A busy week!

In the background to model making I have been spending most of this week sorting out belongings and having a good clear out of rubbish and things no longer of use. Those CD games that work on Windows 95 are perhaps things that should have gone out some years ago but once on a shelf, in a box or in a cupboard they remain forgotten about but adding to the general clutter of WMD HQ! There are a lot of similar things and much as it hurts to dispose of things that still look good I have to accept that most of what I am getting rid of is useless. There is however a sense of well being at seeing the space created and the possibilities of what could fill it! At least Mrs. Woody has not disposed of me yet but if I do add more stuff I could well find myself in a skip! 
Talking of Mrs. W she has decided that a  new fitted wardrobe in our bedroom is the way to go so that arrives in kit form on Monday with 'an expert' fitting it on Wednesday. My claims of also being 'an expert' who could fit wardrobes apparently went unheard as Mrs. Woody at that precise moment suffered from one of her intermittent moments of deafness. How convenient! However my expertise at clearing things has been used to clear out most of what is in the present wardrobe so things are looking good for Monday when I have to dismantle the present wardrobe, dispose of it and paint behind before the new one is fitted. Something nice to look forward to!

Model making has therefore been a nice break from the sweat of sorting stuff out during a week of heat wave and the Italeri 799 Scania with Cool Fruits trailer is progressing well. I have been working on the tractor chassis and taking time to reacquaint myself to where I got to with this kit some 23 years ago. Latest progress has been to paint the wheel centers in black to match the chassis. I have also painted the mounting straps of the fuel tank. Going through the instructions I am able to find the parts still to be fitted so these are being taken off the sprues and prepared for painting. Hopefully this progress will continue but I will have to see just how smoothly the wardrobe job goes or whether I do end up in a skip!

Italeri 799 Scania with Cool Fruits trailer

Italeri 799 Scania with Cool Fruits trailer


Thursday, August 11, 2022

Chassis examination.

Things are moving on with the Italeri Scania with Cool Fruits trailer which is good although if I finish this too quick Mrs. Woody may think I have not been concentrating on her jobs list! 

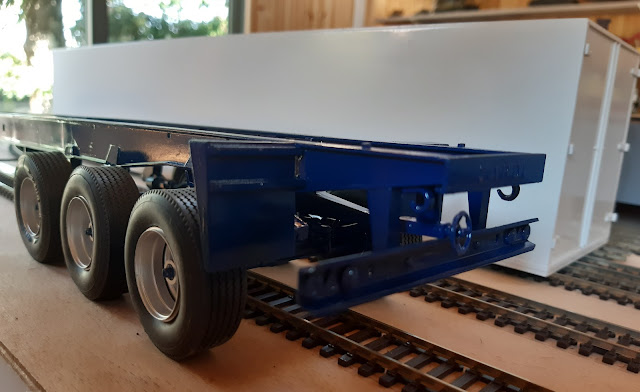
I have painted in the rear lights and the brake wheel on the trailer which has brought some life to the rear. Still got the latches to do.

Italeri 799 Scania with Cool Fruits trailer,

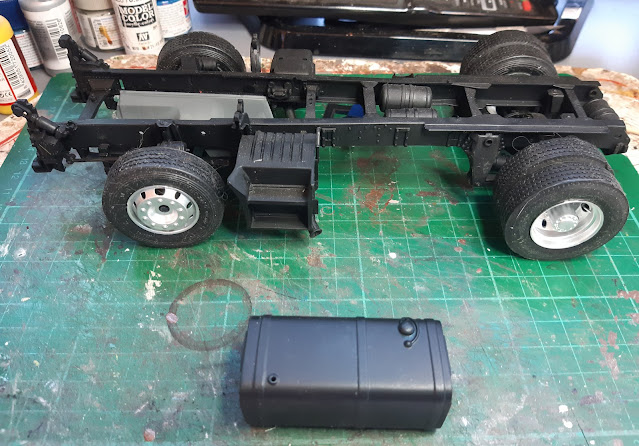
I have now examined the chassis of the tractor unit and it looks reasonable. It is painted in matt black which I might not do nowadays but I am leaving it in that paint as a tribute in this time machine build to how I built models 23 years ago. 

Italeri 799 Scania with Cool Fruits trailer,

Italeri 799 Scania with Cool Fruits trailer,

To move things forward the I found the fuel tank in the box of bits and that requires painting aluminum so that along with the chassis walkway and cab steps were sprayed aluminum. I think I may have to respray the cab though but that is for another time - I need to finish the chassis first.

Italeri 799 Scania with Cool Fruits trailer,

Italeri 799 Scania with Cool Fruits trailer,


Wednesday, August 10, 2022

Trailer Tales!

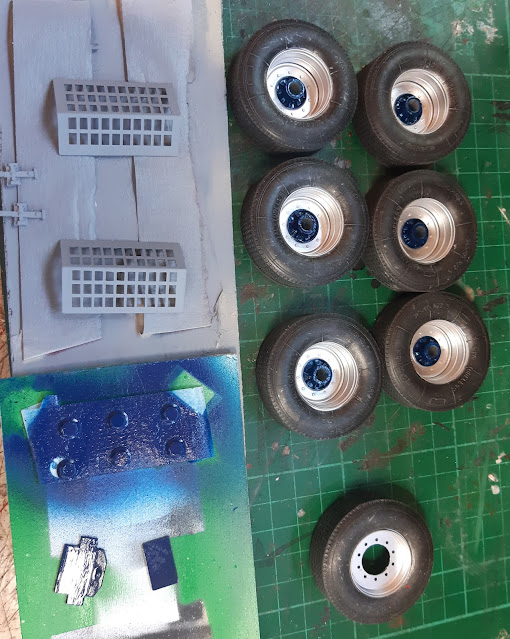
For me this build is advancing quickly - if you discount the work I did 23 years and 2 years ago! The wheels have had their centers painted in chassis colour and added to the axles with their end caps. 

Italeri 799 Scania with Cool Fruits trailer

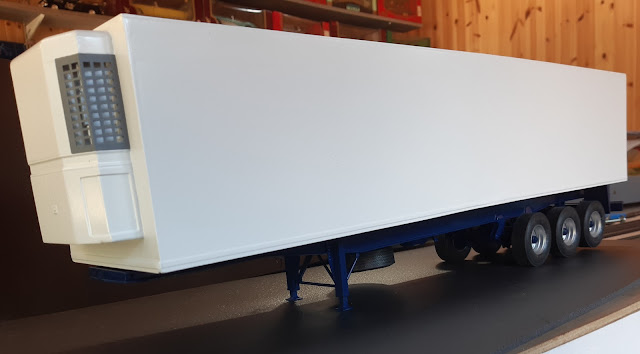
Whilst painting the wheel centers I also painted the axle end caps, the number plate mount, the grills for the refrigeration unit on the trailer body and the door latches. 
Italeri 799 Scania with Cool Fruits trailer

Italeri 799 Scania with Cool Fruits trailer

The spare wheel has been added to its carrier and the chassis is now mainly finished. There are a few minor jobs to do including fitting the number plate mounting, the king pin that the fifth wheel on the tractor unit engages to pull the trailer and I also need to paint in the rear lights.

Italeri 799 Scania with Cool Fruits trailer,

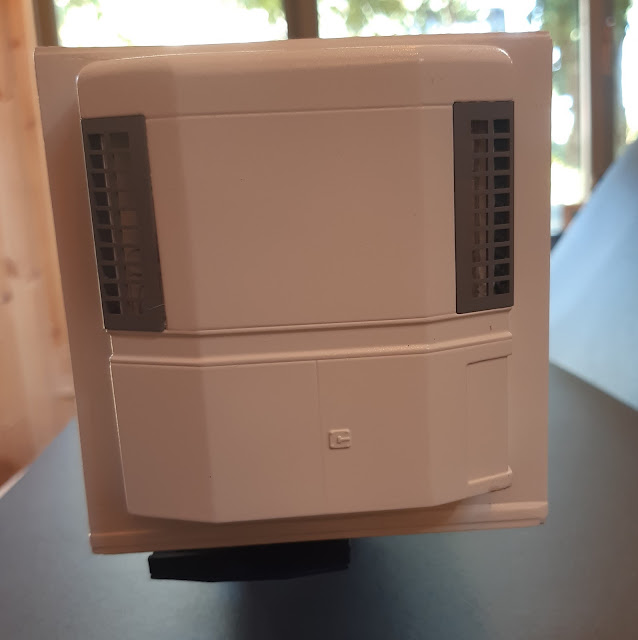
On the body itself, the refrigerator unit and pipes were painted silver before the grills that had been sprayed grey were fitted with a few spots of super glue. 

Italeri 799 Scania with Cool Fruits trailer,

Italeri 799 Scania with Cool Fruits trailer,

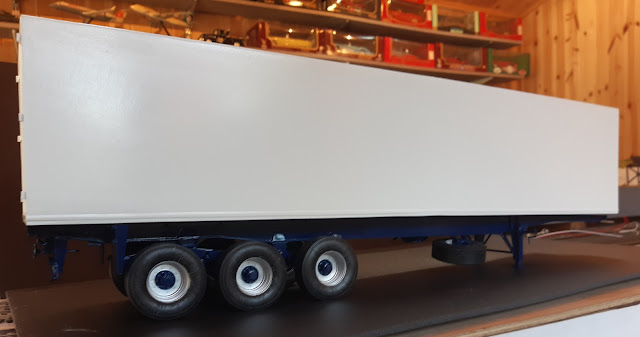
I just need to add the latches to the rear doors and think about whether I risk using the original 23 year old decals that are likely to break up on application as they are so old or do I come up with an alternative decoration? However at this point it is looking good - to me anyway!

Italeri 799 Scania with Cool Fruits trailer,

Italeri 799 Scania with Cool Fruits trailer,

Italeri 799 Scania with Cool Fruits trailer,


Tuesday, August 9, 2022

A lot of paint!

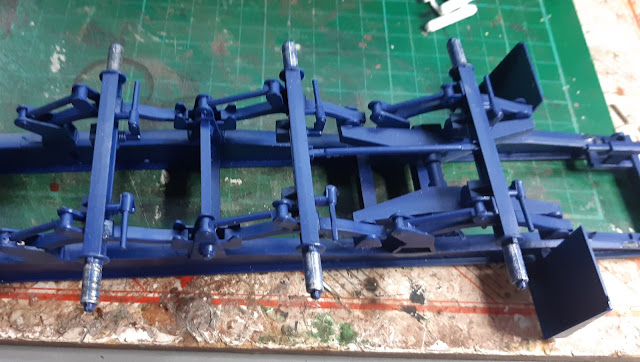
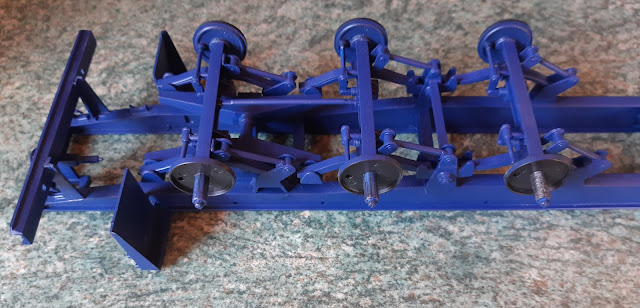
I have started the Italeri Scania Cool Fruits Time Machine build with getting the trailer sorted out. Having had a closer look at the chassis there were a few parts broken off and a few remaining to be attached. Luckily the box had all the necessary parts! Result! The backing plates for the brakes were added together with the rear under-run bar that had broken off. Oddly for now, but I guess not at the time of the kits release, there are no side underrun bars to prevent vehicles from going under the trailer in a side swipe accident. I am not adding any - the kit will be built as intended back in 1999 which makes it nice and simple for me!

Italeri 799 Scania with Cool Fruits trailer,

Italeri 799 Scania with Cool Fruits trailer,

The chassis was sporting a rather matt and somewhat poorly applied coat of blue paint so it needed sorting out. As Mrs. Woody was out the chassis migrated into the kitchen for a pre painting wash to get rid of 23 years of dirt and dust. As Mrs. Woody would no doubt point out it might have been useful if I also cleaned the kitchen but as Mr. Beecham - he of modelling and cycling prowess - called round I had the perfect excuse to leave the kitchen well alone! 

Italeri 799 Scania with Cool Fruits trailer,

On the departure of Mr. B the chassis was taken to the WMD HQ spray shop where I was surprised to use a full jar of Tamiya gloss blue paint to cover the original paint. I guess the trailer chassis being a shape with so many small surfaces means a lot of paint is wasted in over spray. However eventually I got a finish that I was reasonably happy with and I then added a coat of Tamiya clear gloss just to give a bit more shine. 

Italeri 799 Scania with Cool Fruits trailer

Italeri 799 Scania with Cool Fruits trailer

Italeri 799 Scania with Cool Fruits trailer

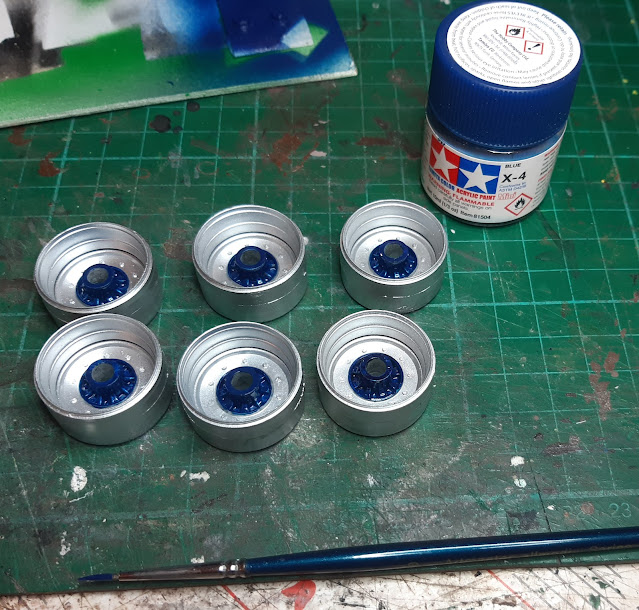
Next step is to paint the wheel centers in blue - luckily I have another jar of paint in stock - and then get them attached to the chassis (although looking at the photos I am not so sure I previously assembled the wheels properly but that will become evident when I look closer tomorrow)  after which it will be time for looking at the body. In the mean time I better at least do some cleaning of the kitchen before Mrs. W gets back.

Monday, August 8, 2022

Back in 1999 the Italeri Scania Cool Fruits!

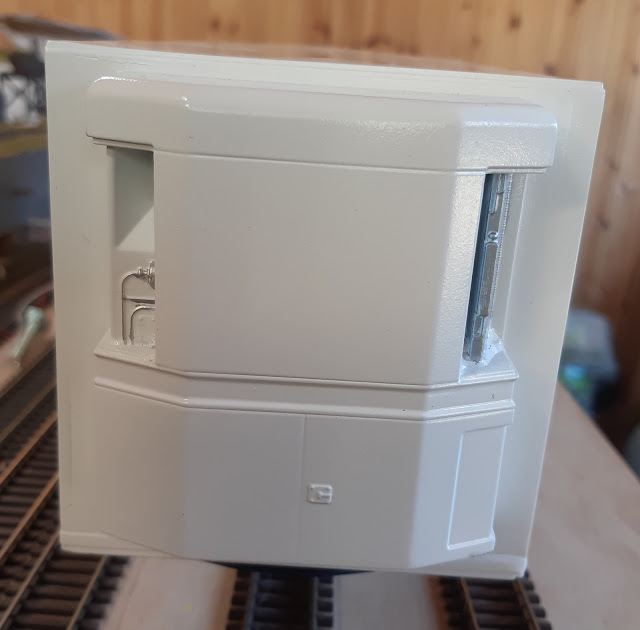
Back in 1999 when I started to get serious about building truck kits I bought this then newly released Italeri kit for what they termed as the Scania tractor unit with Cool Fruits trailer. I started building it but for a number of reasons that must have made sense at the time it got put back in its box partly built. There is a complete engine although in my then engine colour of choice, red - the internet was new then with little information and I had no idea that Scania engines are green! The cab is built and sprayed in Humbrol metallic blue - the only widely available range of paints and the only one that I knew of then with metallic colours in its range. The chassis is mostly built but needs finishing. The trailer - well that is a story! The chassis is just about done. I built the body but for reasons probably related to box size, Italeri make the sides, roof and floor in two parts for each component. That gives a rather awkward joint to smooth in the middle of what, apart from the floor, should be flat panels. I recall having issues getting a smooth join and I also recall the body falling apart, probably because I dropped it. That may well have been the point that the parts were packed together back in the box. Certainly when I ventured in the box a couple of years ago the trailer body was back in its separate two parts for the sides, roof and floor. In 2020 I started to rebuild the body. I got as far as constructing it and getting the joints relatively smooth and some white paint on it. It then sat on a shelf whilst the rest of the kit sat in its box. Well now is the time to finish it some 23 years after starting it! The parts are in the Man Cave so hopefully it will now get the attention it deserves.

Over the next few days I will be uncovering just how bad, or maybe good, my modelling skills were back in 1999 so this build will be a bit of a time machine journey. Hopefully nothing will be so bad as to require a full rebuild but as they say never say never! 

Italeri 799 Scania with Cool Fruits trailer

Italeri 799 Scania with Cool Fruits trailer

Italeri 799 Scania with Cool Fruits trailer


Sunday, August 7, 2022

As far as I am going!

There comes a time in the construction of any model when you have to say that is as far as I am going with it! If not you will up spending hours and hours on something that to put it brutally bluntly, will be land fill at some time in the future. Sounds harsh but the reality is that no matter how good we think a model is, when we leave this mortal World, others left with a room full of models to clear may not think the same! I accept that and I also have a lot of other models I wish to build before I do leave this World so time is important so lets put this kit to bed and move on. 

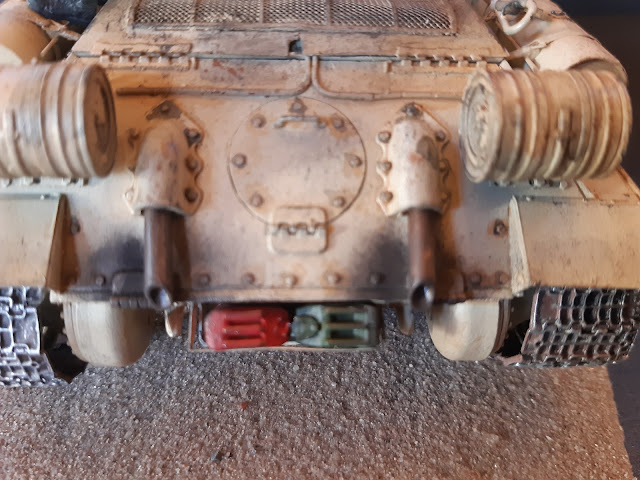
Just before moving on I did finish a few things on the tank. The radio aerial, machine gun and shovel have been mounted to th turret, the tow cables are in place and the rear exhausts have been sooted up along with a bit more weathering around the tank hull and turret.

It has been a an interesting kit to build. Far more complex in areas then it needed to be but never the less it has built up nicely even though I curse the etched brass parts! Things I learnt were that practice does improve your skills as I found with the etched parts. Those became easier the more I did. My figure painting, although still poor, is not as bad as it was when I painted the crew for the Russian T34. 

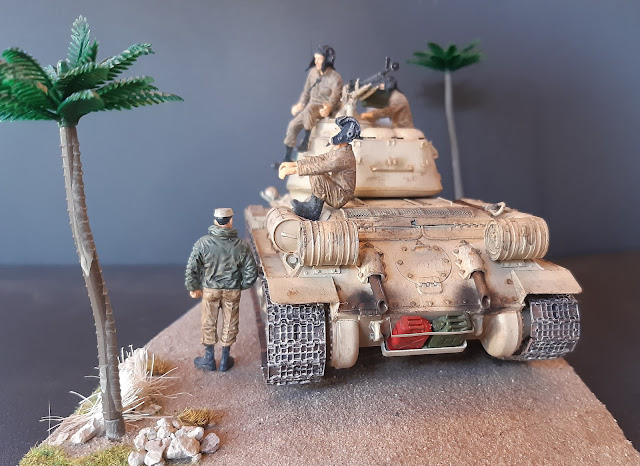
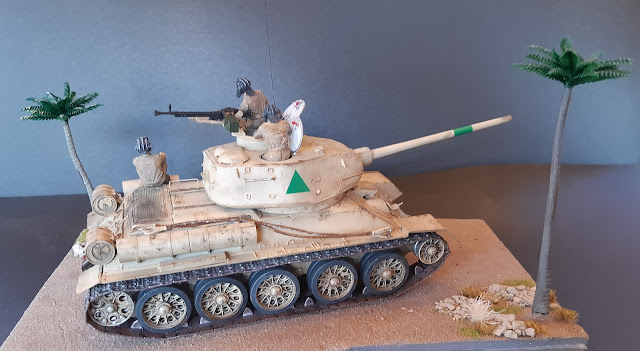
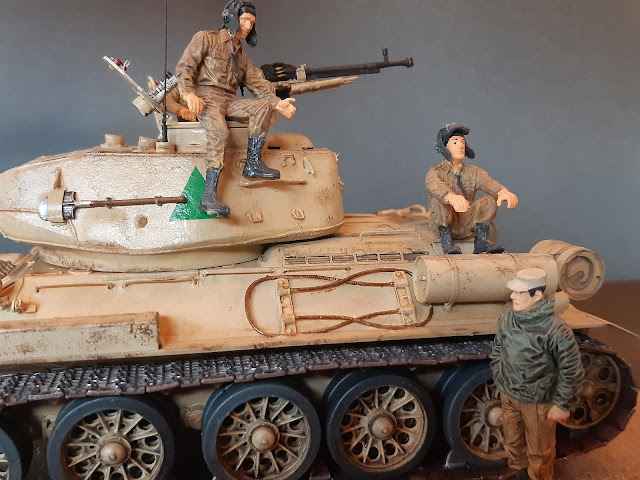
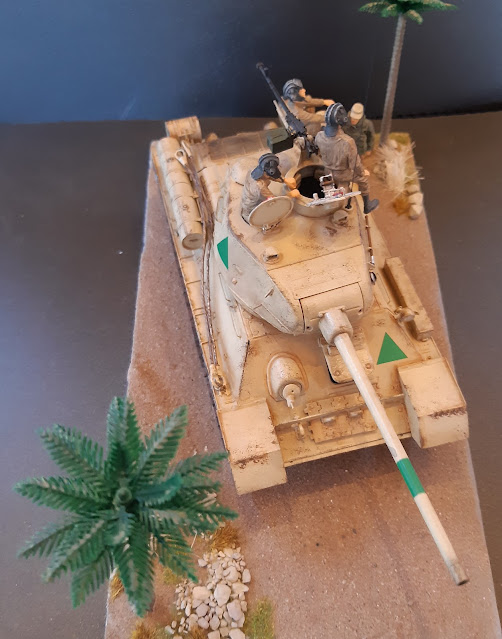
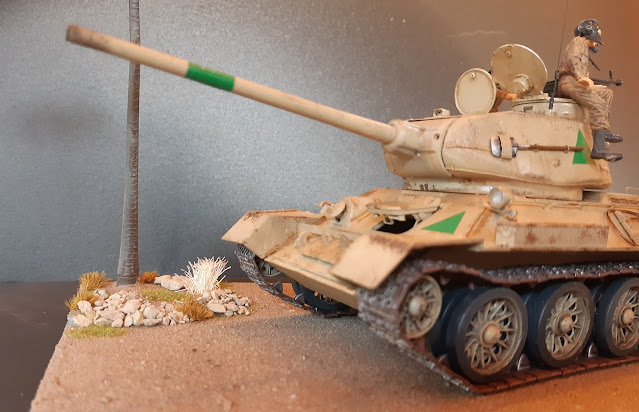
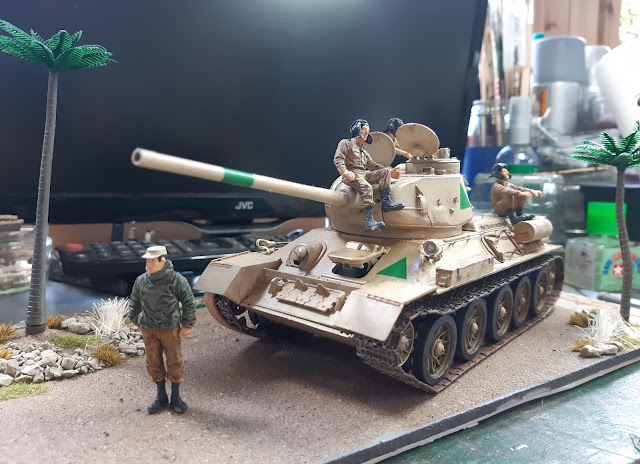
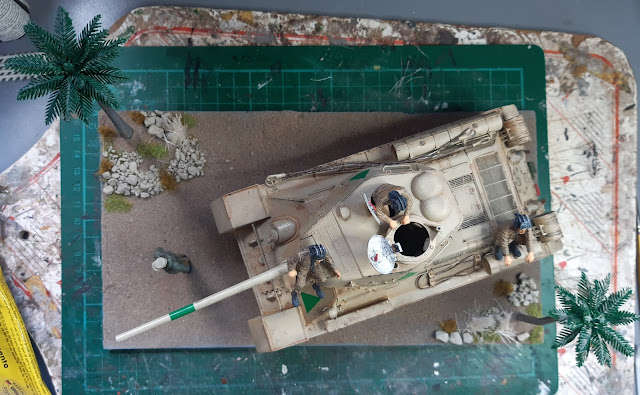
So having rounded up matters here are some pictures of the finished kit and diorama which to be honest I am really pleased with. Now onto the next one - well finishing off some other projects!

MiniArt Egyptian T34/85 tank

MiniArt Egyptian T34/85 tank

MiniArt Egyptian T34/85 tank

MiniArt Egyptian T34/85 tank

MiniArt Egyptian T34/85 tank

MiniArt Egyptian T34/85 tank

MiniArt Egyptian T34/85 tank

MiniArt Egyptian T34/85 tank

MiniArt Egyptian T34/85 tank

MiniArt Egyptian T34/85 tank

MiniArt Egyptian T34/85 tank


Saturday, August 6, 2022

The Muckleborough Collection.

Going back a couple of weeks whilst in Norfolk I told Mrs. Woody we would have a look for a new vehicle for her daily weekday drive to work. I don't think she was fooled by that especially when we arrived at the Muckleborough Collection just outside of Sherringham but she did nether the less followed me in no doubt to keep an eye on me and my wallet! 

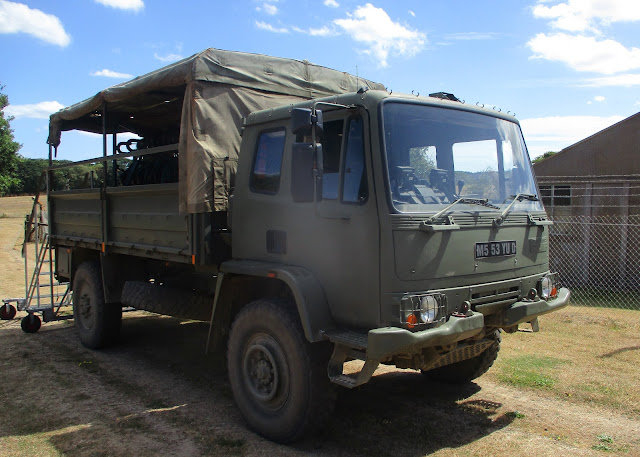
Admission tickets bought we added the ride in the Leyland Daf 4 wheel drive truck which, once everyone was strapped into the four point harness in seats that looked as though they belonged in a theme park ride, took us out onto the tank testing grounds. A magical experience but not quite as exhilarating as the Gamma Goat they used to use and I was lucky enough to go on some years ago. . 

The Muckleborough Tank Museum

The Muckleborough Tank Museum

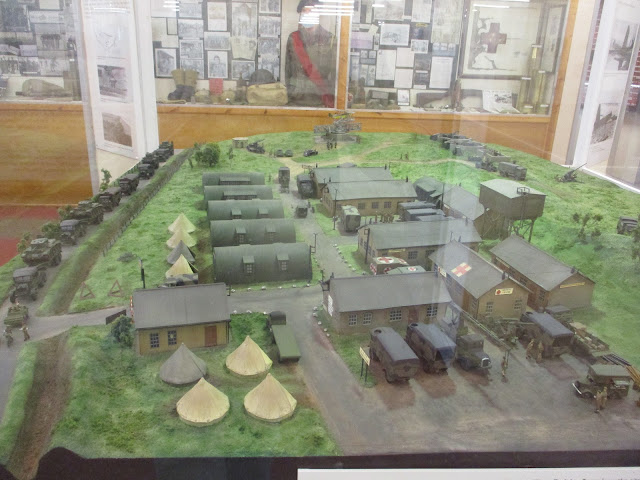
Back in the Museum they have a large model collection with some fantastically made items and dioramas.

The Muckleborough Tank Museum

The Muckleborough Tank Museum

The Muckleborough Tank Museum

The main attractions are the vehicles and this is just a few of them.

The Muckleborough Tank Museum

The Muckleborough Tank Museum

The Muckleborough Tank Museum

The Muckleborough Tank Museum

The Muckleborough Tank Museum

Despite all these vehicles Mrs. Woody didn't fancy any of them! Oh well, no tank on the driveway for me then!

If you want to go and see the museum, and I have been five times now, details are available on their website located here.

Friday, August 5, 2022

No trees but some tracks today and the cats help out with a diorama although they don't know!

After the last two days of tree matters it was nice not to have to deal with any more tree related disasters. It allowed me some time to do a bit more on the Egyptian T34 tank, namely finish the tracks. 

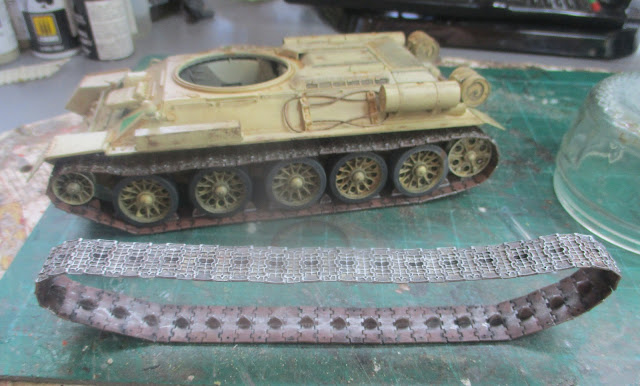
Being metal, tank tracks rust! However because they also run on some metal wheels in the tanks running gear there are also areas where that metal to metal contact leaves a shiny surface on the tracks. In the case of this tank the drive of the powered rear wheels leaves a shiny surface on the track guides as well as on the inside surface of the track links. To replicate this I used some aluminum paint (for some reason the WMD HQ stock of paint did not have a suitable silver in stock) literally dry brushed onto the parts of the track that would be shiny. In addition the outside faces of the track links run on various surfaces which in effect abrade the metal of the tracks and leave a shiny finish on the raised parts of the links. Again I replicated this with some dry brushed paint. 

Track awaiting being 'shined up'.

MiniArt Egyptian T34/85 tank,

Track now with shiny parts!

MiniArt Egyptian T34/85 tank,

Once the tracks were treated it was time to mount them to the tank hull. I had some time ago glued the rear drive wheels in place as I needed them securely in place to construct the multi part track links. The rest of the wheels were left loose until the tracks had been painted. I used some UHU glue to fasten these to their mounting points. I use this glue rather then plastic cement as it allows the wheels to be removed relatively easily and without damage later on if for some reason I end up with a broken track which I need to repair. Working smarter not harder!

MiniArt Egyptian T34/85 tank,
 .
One side finished - just the other to do.

MiniArt Egyptian T34/85 tank

I also managed to do a little more to the diorama base. The trunk and leaves of the two palm trees have been toned down with some stone coloured paint which worked better than the grey I had planned to use. I also added a few enhancements around the two palms with some rocks and grasses. The rocks are selected from a clay cat litter (unused!) that my cats were using until we moved onto a wood pellet one. If I run out of rocks the cats may have to get used to the clay type litter again! The long grasses are a piece of sisal string that was from a well used and much clawed cat scratching post. It was cut into suitable lengths and glued into PVA. The cats have certainly helped out with this project! The rest of the shorter grasses are static grass and pre made tufts from PECO. Not much more to do now.

MiniArt Egyptian T34/85 tank

MiniArt Egyptian T34/85 tank

MiniArt Egyptian T34/85 tank