Search this blog

Tuesday, August 24, 2021

The Dirty Seven


This is not a WMD cheapskate rip off of The Dirty Dozen film! Mrs Woody holds the purse strings and me entering the World of making films is not something that would pass the funding analysis. Anyway this evening I left Mrs. W pursuing a handbag website and had a few minutes to do a bit more on the K5350 truck. Before finally assembling the wheels I need to do a bit more weathering. Trying to give the wheels that dirty look was done with the aid of a very dilute coating or two of Vallejo Earth colour. The idea is that being dilute it will be drawn into the nooks and crannies as well as toning the overall look of the tyres a bit further. They will need to dry overnight and you can see in the phot above they are still damp.

I also had time to put the seats, steering wheel and dashboard in the cab so that is almost complete. Not entirely happy with the weathering inside yet. I did use a Humbrol Dust Wash which took about 3 days to dry and still is shiny. I have splashed a bit of the dilute earth mix (almost sounds like the old advert for Brute aftershave with Henry Cooper and Barry Sheen - Splash it all over! - See the advert on YouTube by clicking here) that the tyres had in the cab to see if it will tone it all down. I will wait to see what tomorrow brings - possibly Mrs W's new handbag! Antway off to see if there is a Blood Moon again tonight as there was a great one last night.


Monday, August 23, 2021

Getting dirty!

No, not adult humour but time to start weathering the chassis of the K5350 truck. Over the last couple of days I have given the chassis a few washes of a MIG dust wash and added a few oil stains from a substance made by MIG that I have had so long that it is like tar! A bit of white spirit thinned it to a useable consistency and it was applied to things such as the universal joints and sump plugs. The exhaust which looked pristine in its aluminum paint will in real life have been made in steel and therefore will have rust as the heat of the gases burns off the protective paint. I replicated this with some suitable weathering powders. I still need to blacken the end where the diesel exhust would leave a sooty deposit.


As i need to finish off the inside of the cab so I can assemble it to paint the outside I spent a few minutes painting various things on the dashboard to make it look like a photo I had. Disappointingly the kit does not have a decal for this but hopefully given the small size, its location inside the cab and the steering wheel hiding it, my jerky painting may not be noticed! Finally to give the impression of a glass dial face I added a few drops of Tamiya gloss varnish inside the dial rims. Hopefully this will add a little variety to an otherwise large expanse of matt black. I also painted the two jerry cans that fit to the back of the body. Whilst the carrying case is painted in Russian Green the jerry cans themselves are in a Vallejo Reflective Green to add just a bit of variety. They will need a bit of weathering as well - you don't see that many pristine jerry cans in the military - they are usually a bit battered as they weigh so much, just like those paving slabs I reset today! Oh well I will just have to pretend they are jerry cans to make the job a bit more interesting when I do the rest of them!


Saturday, August 21, 2021

Silver lining?


Way back when I started this build of the Zvezda K5350 Mustang it started with the engine block and gearbox. I was going to paint these before they were installed in the chassis but as the build went on that wasn't a realistic possibility - I just would not be able to paint the chassis whilst not overpainting the engine/gearbox to some degree. Hence I am now at the stage with the chassis painted where I need to paint the engine block, gearbox and transfer box for the 6 wheel drive in a silver or in this case an aluminum colour. Given the basecoat is black on the components, the aluminum Vallejo paint covered well. I used a mix of the ready thinned Vallejo Air and the ordinary paint that gave a first coat that in effect 'floated' itself into most of the nooks and crannies. A slightly thicker second coat went on once that thin coat had dried out. After that had dried a little black paint was brushed onto areas where the aluminium paint had strayed and it almost looks as though I know what I am doing! The disappointing part is that much of that detailed engine will be covered for ever and amore once the cab is installed. The kit offers the option of the cab in normal position or with the cab tilted to make the engine viable. No doubt with some though a way to make the cab 'tiltable' could be found but I am happy enough just to have a truck with the cab in driving position. If the guys at Zvezda had meant it to tilt then that's how they would have made it so I am not going to try to do what they did not! Fitting the cab and body back on the chassis you can see how much of the engine and transmission is hidden. Once I get some weathering on that will tone everything down and hide some of my dodgy painting - every cloud has a silver lining!


Thursday, August 19, 2021

6 Wheels on my wagon - or is that 7 if you include the spare?

For those of a certain age the title is a play on that old hit Three Wheels on my Wagon by the New Christy Minstrels - see it on YouTube here . However for the K5350 six wheels on the ground is what it has and having test fitted them I am glad to find all six do touch the ground so no twisted chassis! Phew! I could not resist putting the body and cab temporarily in place and standing one of the MiniArt Russian tank crew figures that are being assembled at the moment next to it. For 1/35 scale its a big model. It is really coming together. Hopefully soon to be finished but I need to finish re-setting some large and heavy slabs over the next few days just so Mrs Woody knows I am not enjoying myself too much!


Wednesday, August 18, 2021

Its never as finished as you think.

A busy day at WMD HQ with a major session of gardening and some model making slipped in just to ease the pain of the gardening. I feel as though its more like Autumn with the number of leaves down on the ground and if I hadn't of been working so hard and getting warm (hope Mrs Woody reads that part) I would have been exchanging the T shirt for a fleece!

Model wise the tyres for the Zvezda K 5350 Mustand truck were painted yesterday and the wheel rims were painted today. When painting small components I try to afix them to something so that they can be
airbrushed without getting finger prints on them.


In this case a spare piece of plywood with small lengths of masking tape attached so that the sticky side is facing up acted as the base. I keep the lengths of masking tape short as if you try to do one long length the air from the airbrush will get underneath ala Marilyn Monroe and the masking tape and whatever is attached to it will start flying about. A coat of black primer which will also act as the top coat was applied and the wheels along with a few other bits were left to dry before being given a coat of matt varnish.


I have tried many matt varnishes over the years, some successfully some not so leaving what is more like a sheen to the item sprayed. At the moment I am using a product from MIG called Lucky Matt Varnish and it is great. It is so matt you almost expect a black hole to appear when you apply it to something!


I saw it at a model railway exhibition if anyone remembers those. I almost didnt but it as it was about £7 but you do get a lot and it works. I will be using it again.

The K5350 chassis has aslos been primed. There are a couple of bits that I missed but given the complexities of all the nooks and crannies that is not surprising.


I primed the chassis because I thought I had finished the construction work on it. However as the title of the post suggests it wasn't! Looking through the sprues for a couple of parts yet to be fitted to the cab I noticed on Sprue G two parts left. I knew this sprue was mainly engine components so looked through the plans. After a short while the two parts were located on the plan and then attached to the model.


I think the above photo shows the two parts in question very well! It does make sense to check back on sprues and I never throw them away until the kit is fully complete just in case. If you are wondering, yes there is a sprue with the bell on the bridge of a model ship out there somewhere just not here!

On the T-85 tank the tracks are just about there!!!!! Yey! I will however delay any further celebrations until that model is finished as it is bound to throw up some more issues!


Tuesday, August 17, 2021

Tyred of the tracks of my year!

 A bit of a play on words but as I revealed a few posts ago I have recommenced the MiniArt T-80 Light Tank with trying to get the tracks together. Slowly they are coming together but I am getting tyred, sorry tired of them and it seems like it's been going on a year! Hopefully another one or two swear jar contributing sessions should see both sides finished. As you can see from the picture below one side is done and the other side two thirds or so finished. They are not the best of my modelling but so long as they stay together that is all I need. A good dose of heavy mud weathering should hide my incompetencies! I have found the best way to put these together is to get short runs of about six links together and then run some liquid cement along the top. Not a lot but just enough to go into the joints. Where the tracks have to bend around the drive wheel or rear road wheel I then join several shorter glued lengths whilst the joints between the tracks are still soft and bend the length around the wheel and use some tape to hold it in place. Left over night the tracks should hold their shape as can be seen from the photo below.


 Hopefully, what this means is that I can paint the tank body, wheels and tracks separately which will make that process a lot simpler - I hope! You will also see that three Russian tank crew have arrived to see how their DIY tank build is going. When I bought this kit the main selling points were the price and the inclusion of five figures. Two remain to be assembled but I have to admit to being quiet taken by these figures which are posed well, have good detail and go together easily - unlike the tracks. Whether my painting skills will do justice to them remains to be seen but I have undercoated one with some paint left over from painting the tyres (see there was a connection in the title to this post) of the Zvezda K5350 Mustang truck.


The tyres are molded in a shiny black vinyl which makes the tyres look as though they have undergone a full on valet and detailing. So far as I am aware, apart from the Red Square parade in Moscow, most Russian military vehicles are usually out in the field getting dirty and the tyres take on that grey look as the rubber weathers and oxidises. To recreate this effect I used Vallejo Air light grey with a few drops of German Grey from the same company and a few drops of thinner to enable it to be sprayed using my airbrush. Once dry a coat of matt varnish was sprayed on to seal the paint and give a base for weathering. 

I placed one of the yet to be painted wheels in the tyre center just to see how it looked and it looked good so I took a photograph. It was only when I came to edit that photo that I noticed two things.


Firstly is that despite cleaning up the wheels from where they were joined to the sprue I need to do a better job - you can see two spots on the wheel rim towards the bottom of the picture. Secondly there is a rotation arrow on the tyre pointing the direction in which it should face when placed on the vehicle. I would no doubt end up with tyres facing the wrong way had I not spotted that so always useful to look at what you are building through a picture. You will spot things that you never notice when you just look at the actual model with the naked eye.


Sunday, August 15, 2021

RIP Sammy cat.


There are some days which are not so good. Saturday was one of those days. Sammy cat, who has featured in previous posts, was diagnosed back in October 2020 with a mass growth in his mouth. He was given a few weeks to live. He defied all odds and without pain or suffering as far as we can tell survived for nearly 10 months. On Friday he was fine in the morning and demolished his breakfast. By lunchtime he had hidden himself away and by the evening Mrs. Woody and myself knew we had to make a decision and that was to be kind before he really began to suffer.

We don't know much about Sammy's early life as like most of our fleet of cats he was a rescue cat. He had a fantastic personality and a call which sounded like he was saying Hello. He used to do that a lot when he carried a catnip sock in his mouth. We buried him, with all our other departed cats, under our apple tree with that sock. He also had a habit of jumping in the empty bath tub when I was cleaning my teeth. I had to turn the cold tap on and he would go to the other end of the bath and start digging! 

In his latter years he became very friendly and despite what some people may find horrifying, it was not unusual for him to go to sleep in the middle of the bed. He did take up some room and had a rumbling purr that resounded through the mattress but was that comforting throb that sent you to sleep. He often beat the alarm clock and had a persuasive way of getting you up to get his breakfast. 
When I say he had 'clicky' ears other cat owners will know what I mean. Cats love their ears being stroked and generally rubbed. Sammy's ears 'clicked' when you did that.

He will be sadly missed by both Mrs Woody and me. Unfortunately we have lost a cat a year for the past three years so I am hoping that for at least a few years we may stay lucky with our remaining fleet. However, as with all such matters, the sun went down yesterday and rose this morning and the World continues but just a little bit differently for Mrs. Woody, me and Sammy's cat friends.


Friday, August 13, 2021

Building big and little kits.


The WMD on the road tour continued today with a trip to Wollaton Hall near Nottingham. Mrs Woody wanted to see the T Rex exhibition where the first full T Rex skeleton (named Titus) to be shown in the UK since the early 1900s is on show. I told her I was not going to be compared to a dinosaur as she might not actually see any differences and they might not let me out thinking I am an exhibit! However we still went and it was very good and I was not detained. Had a long chat with one of the attending experts who had various facts at her fingertips that answered all my non-sensical questions. A look round the rest of the Hall saw us in The Salon, a room which was used as a set in the 2012 Bat Man film The Dark Knight Rises. 


Now this would make a classy modelling work area and you could hide away your kit and pretend things were tidy by pulling down the roller top.


We then had a look round the formal gardens with views across the very large park and lake where many families were enjoying a day out just like before the pandemic. There is even an archeological dig going on in the grounds (click here for details) where a gentleman explained to us all that was going on and we then drifted off onto the subject of the USA and their history at which point he revealed he had been a Sherriff's Deputy for some time in one state!   


Now to the building big kit part of this post. Without wishing to offend paleontologists (which means I am probably now on their most wanted list after another T Rex ) the World over, their craft has similarities to model making, just on a big scale! They in effect find a big kit of bones and then put them together to make their kit come alive. I have to admire them though as there are no plans, no painting guide and if a part is missing you can't just write off to the manufacturer asking for a replacement! Getting a replacement part is one thing I have been considering with my little kit build of the MiniArt T-80 Russian Light Tank. As you may recall the kit stalled back in April and part of the reason were the tracks. They fell apart in my hands and were a nightmare to assemble and I am still not sure if I have enough intact parts left to finish the necessary track lengths hence possibly writing to MiniArt. For some reason that I really have no idea of I pulled the box with the parts out last night and started again with the tracks. They are still a nightmare but I have made some progress. I think a little at a time is how I will proceed but this could all still end up in the never to be touched again pile of kits!


Wednesday, August 11, 2021

WMD out and about!

Mrs Woody is off this week which gives me the opportunity to leave WMD HQ and go and visit a few places. Following the various restrictions and general desire to stay safe going out is still very much a novelty. It is strange to be in places where there are other people in large numbers and it is almost a case of reacclimatising yourself to those types of situations that we just did up until 18 months ago.

Monday was a trip to the coast not that the weather was inviting but never the less we saw the sea! Tuesday Mrs Woody went off to a spa day with a friend of hers whilst I took the opportunity to have a 27 mile bike ride with good friend, fellow modeler and artist Mr Beecham. Always a good ride with plenty of chat on a variety of topics and we even found this on our travels.


Many of the old K6 Classic Phone Boxes have been bought by Parish Councils and whilst many have become libraries or a place to house a defibrillator some have become used for some very novel purposes such as this with its flower display. Hmmm. Wonder if that would fit in the garden??? Certainly make an interesting model on a modern day model railway layout.

Near to home we stopped for a refreshment stop which was the £3.50 lunch at a local CoOp, other lunch deals are available! I thought I had done well with a BLT, Pepsi and a Wispa duo chocolate bar. Having made our purchases and no doubt swelled the days takings for the CoOp, we sat outside on the bench kindly provided by said purveyor of lunch deal. The bench was actually made out of plastic molded to look like wooden slats and sitting down you could tell the sun had warmed it well - lovely! As I tucked into my BLT from the comfort of my heated seating area, I placed my Wispa Duo beside me on the bench looking forward to that moment of chocolate indulgence. The BLT was great and reaching down for the Wispa I found this.


Yes! I should have really thought the storage arrangements for the Wispa through a bit more! Far from being the chocolate delight I had hoped for it had turned, in the heat of the sun and the radiant warmth of the bench slats, into a liquid flat pack! I did take it home and refrigerated it for several hours but to be honest it was not the same when I ate it and it had lost its duo status to become as one! For some reason Mr Beecham found it all very amusing!

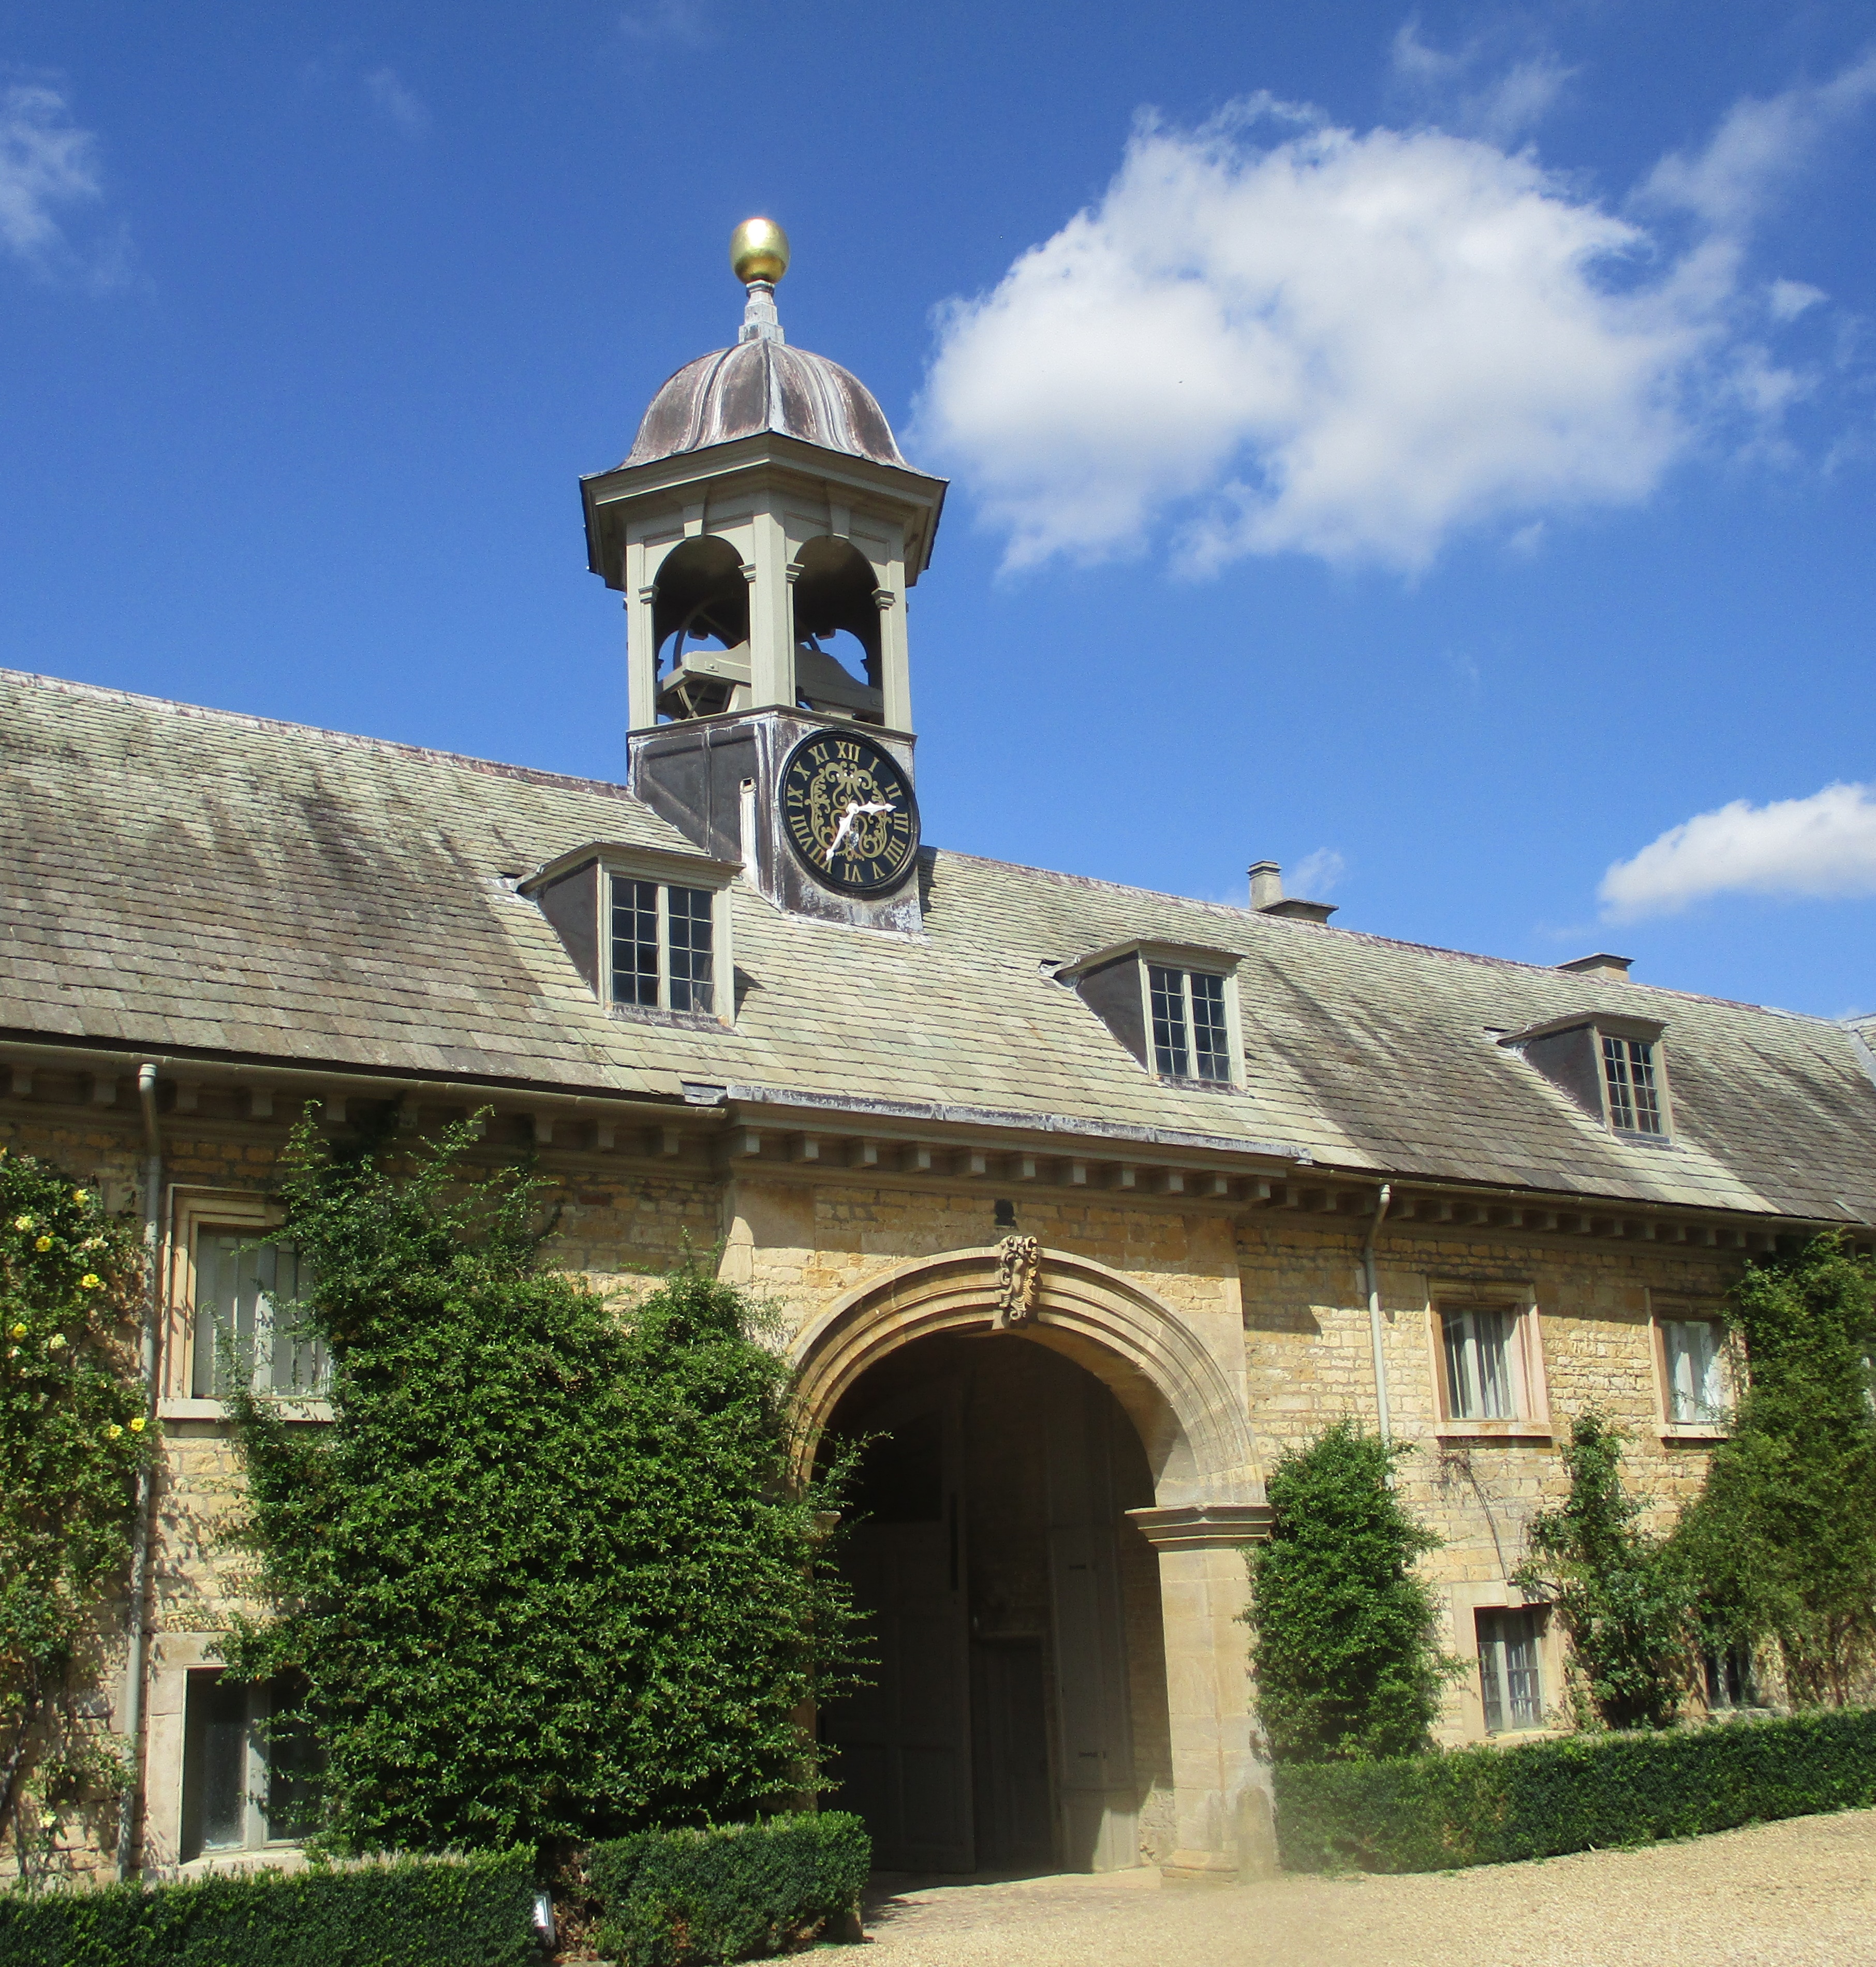
Todays jaunt out was to the National Trust property Belton House in Lincolnshire. One of the flag ship properties (never sure how a house can be a flag ship but there you are) of the Natuonal Trust and very popular today. The house and surrounding properties are fantastic and the gardens and grounds wonderful. 


There is even something a little cheeky in the grounds!


A sandwich and hot sausage roll from the cafe took care of lunch and near to there were the gift shop and second hand book shop. There is something about a second hand book shop that I find difficult to resist so whilst Mrs Woody searches through the crime/mystery murder section (I still ask myself if I should be worried!) I take a look at the more technical sections especially on transport. Todays finds were these two for the princely sum of £6 for the two. 


I lived on Malta for several years at a time when the buses were painted multi colours (some photos in a YouTube video here) and were basically locally coach built bodies on lorry chassis which resulted in a fascinatingly unique transport system. From what I can gather when Malta joined the EU they had to upgrade the buses in 2011 and at one point had ex London Transport bendy buses. Many of the old buses were scrapped but there are a number still kept and now serve with a vintage bus tour company. I am always fascinated by the railways of Ireland so the book on the Londonderry and Lough Swilly Railway should be a good read.

In amongst all the above I have done some model making with the Zvezda K5350 Mustang truck. Not a great deal but it has the start of wheels which I guess is important for a truck to have! No doubt the 1/35th scale troops will think that getting their truck mobile will be 'wheely' great! Sorry! Couldn't resist that awful joke. However I had to have some laughter as at one stage I did have brake cylinders on the wrong way round but after a lot of head scratching, in-depth consultation with the plans, a further contribution to the swear jar and the consumption of a refrigerated former liquid flat pack Wispa Duo it all came right! This is what things are looking like now.


 Its getting there!

On the 009 gauge model railway layout front, I think I may have come up with a cunning way to realign the track without having to buy a new point but more on that another time.

Sunday, August 8, 2021

Small steps towards the finish.


Its at this stage in the build of a relatively complex kit such as this Zvezda K5350 Mustang truck (there are 474 parts) that things slow down a bit. You need to start painting parts of the kit which will be difficult to do so if the kit were fully assembled and then bring sub-assemblies together giving time for both paint and glue to dry properly and only then can the next stage of the build take place. It can be frustrating but patience is the key word. Try to rush or take a short cut and the chances are it will go wrong. How do I know? Because I write from bitter experience. I have tried in the past to rush and nine times out of ten regretted it and made large scale deposits to the swear jar as well as causing damage to the model being built. 

The current example of being patient is that before I can go much further with the cab I need to add the steps either side. I have not added these before as they are fragile and I wanted to lessen the chance of damaging them by fixing them in position as late in the build as I can. There are only three parts to each step but they are small and need time for the glue to harden properly in order that they stand the best chance of surviving intact during the rest of the build. 

As I spent most of what was a wet Sunday sorting out an ever increasing pile of household paperwork I only had time to construct the steps this evening. However to bring this post towards a conclusion, they are indeed small steps towards the finish! I don't just throw this blog together you know, it took me at least two minutes to think up the title of this post!  

On the musical front, for the past few days working on the model I have been listening to compilation tapes in the 'Now that's what I call music' series. Started in the mid 1980's here in the UK, the format has lasted well. I started with the original album which was just called 'Now that's what I call music' and then started collecting them as they appeared up to about 'Now that's what I call music 42' so I have plenty more listening pleasure in stock. Looking at Google I see the series is still going and is now at 'Now that's what I call music 109' but the music just isn't like it used to be! Oh hum! I do sound old!