Recording my progress, or usually the lack of it, in building kits, creating model railways and other related and sometimes unrelated matters!
Search this blog
Monday, July 3, 2023
A bike ride to the closed cafe!
Sunday, July 2, 2023
Shattered but feeling good!
I am shattered but feeling good! Sunday, the day of rest, was far from restful for me and the other volunteers at the Rocks By Rail Museum today as we hosted and entertained a continuous stream of visitors. In fact I had to go out late morning and get more supplies for the cafe as we were selling out such were the numbers of visitors wanting refreshments!
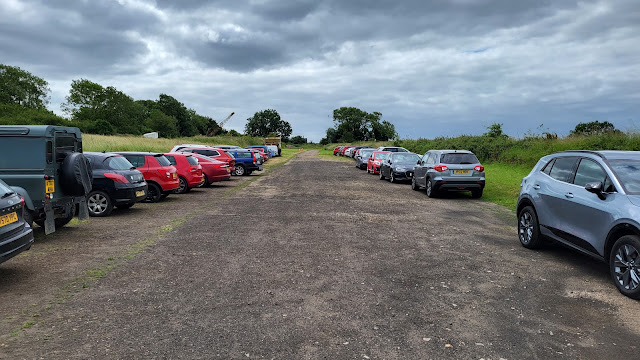
As I went out I took this picture of the car park and to see so many cars is a great sight!
It might be tiring but it is what all volunteers love to see and makes us all feel good. Visitors, lots of them, enjoying what we work to display and having a great time. What is even more fulfilling are the number of families who are coming to visit.
Being so busy I did not get a chance to do my usual tour and get many photographs although I did manage to catch a ride on the last train of the day.
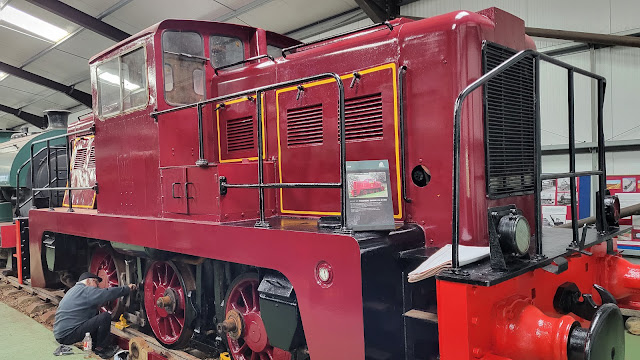
Even when the Museum is open there is still work going on as Mick carries on his amazing job of repainting this Janus diesel.
Once the painting is finished the coupling rods need to be reattached to the wheels and the loco will be good to go back into service which will be a great feeling!
I may not be feeling quite so good tomorrow as I am going out on a bike ride with Mr. Beecham, he of model making skills and cycling prowess who has featured in this blog before. I am hoping he has had a weekend of intense gardening or DIY which may slow him down!
Friday, June 30, 2023
Success?
On Wednesday I finished my post regarding the Hornby Swallow Livery HST with the question as to whether it would run with the DCC chips in it. Well it did! The success of this project was something I wondered about given my track record of unsuccessful projects! However it was reassuring to see the train run with the headlights on at the right end of the train.
I was extra pleased with the success as I had a further plan for this train. DCC sound!
I managed to find a pair of the Hornby TTS DCC sound chips for the HST train - one for each power car. Theoretically this should, given my work already on installing the 8 pin sockets in each car, be a simple plug and play job. Hmmmmm! As Mrs. Woody can vouch, the jobs which I think are going to be quick and simple have a habit of turning into something a bit bigger! Without giving too much away Mrs. W can add another example to her evidence list for jobs that grow bigger after my assurances of a speedy finish! More of that in a day or two! Stay tuned!
Thursday, June 29, 2023
More vegetational butchery at the Museum!
A rocks By Rail Museum day for me with, more mowing and hedge trimming! Or, as I like to refer to my work - vegetational butchery! With all the recent hot weather you would think that the grass would not be growing much but no! In addition the mole population of the County appear to have moved into the area leaving trip hazards and creating dust storms as the mower passes over their excavations. Not nice when you get a mouthful blown up at you!
It is only when you take the mower from one end of the grass in the car park to the other and look back that you realise just how far you have to walk. Certainly gives me an apatite for lunch!
We did have quite a few visitors today including some motorcyclists out for the day and happened to drop in. They had some nice and interesting bikes.
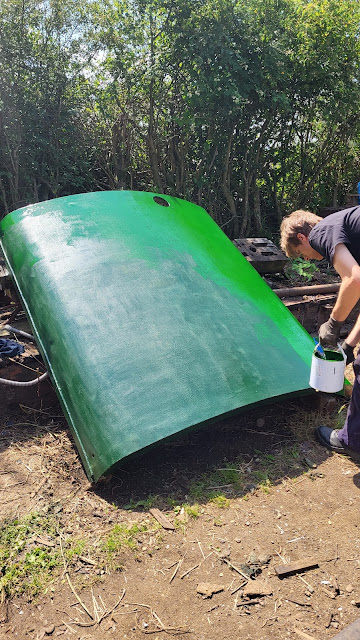
Meanwhile in the restoration shed Thomas and Alex have finished the welding on the front of Ketton No1 and it is now in undercoat awaiting its Racing Green top coat!
Wednesday, June 28, 2023
Relaxing?
It has been a busy few weeks at WMD HQ and it is catching up with me. I need to relax a bit I said To Mrs. Woody as she inspected the latest work I have done on finishing off the conservatory rebuild. Marty the cat certainly knows how to relax - maybe I should take some lessons from him?
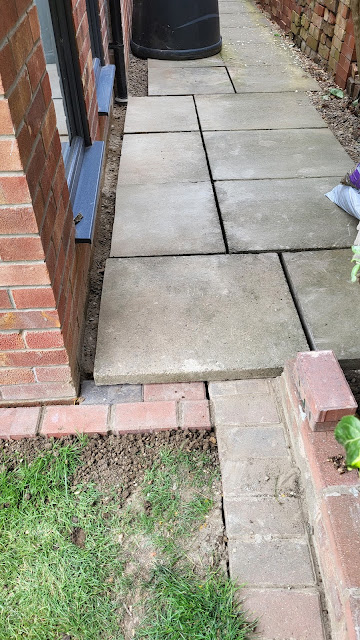
Anyway I think Mrs. W didn't hear me but is pleased with progress! Todays work was supposed to see the slabs at the side of the conservatory cleaned up and re-bedded in fresh cement. However they were that coated in mortar the builders let drop on them whilst bricklaying they took several hours of working with a hammer and chisel to clean them up. However they are much neater and lighter in weight and the bits of mortar that remain will weather off over winter.
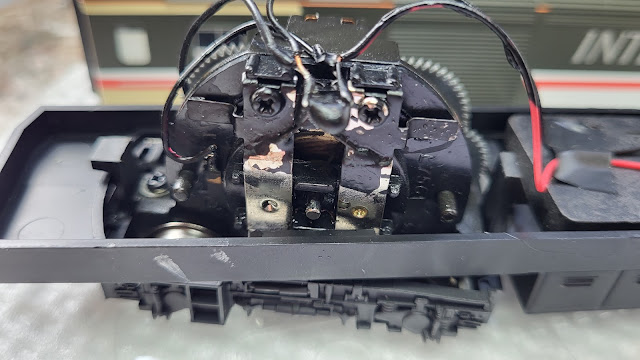
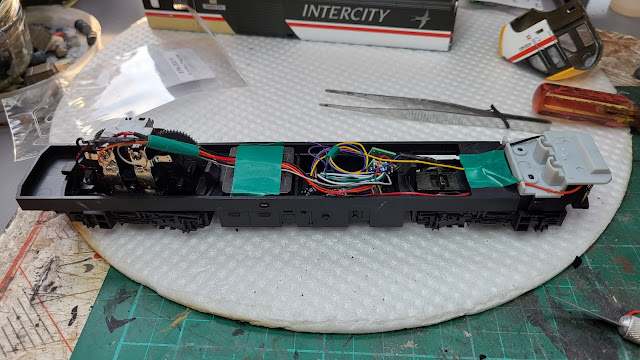
Back with the Hornby Swallow Livery HST I dealt with the spaghetti wiring. Getting the body off the driven power car revealed this. There are wires to the motor and the headlight from the pickups on both bogies..
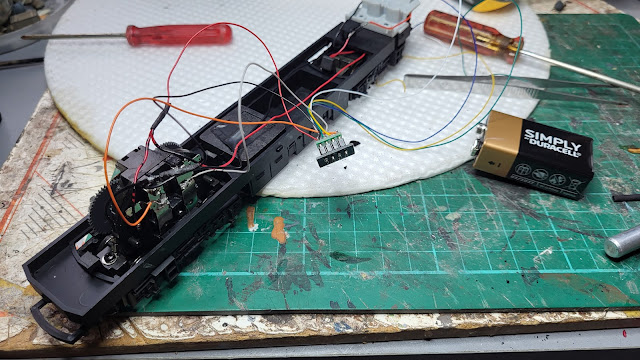
The 8 pin socket is wired in to the motor and headlight. The 9 volt battery is a handy way of testing things. There is enough power in it to run the motor. In this case I plugged a blanking plate into the socket which allows the motor to run on DC power and used the battery to test that the motor still ran. It did!
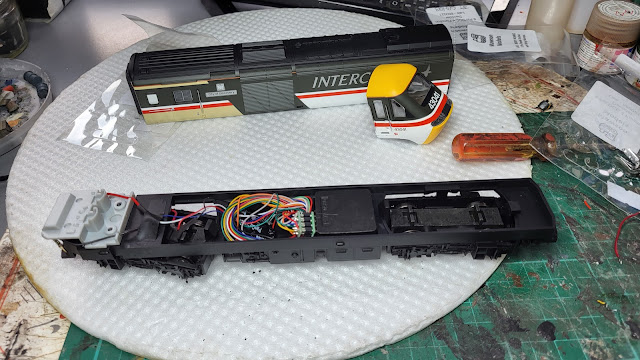
The wiring was tidied up and with that done it was time to plug a DCC chip in.
There is certainly enough room for the wiring.
Tuesday, June 27, 2023
Dealing with Spaghetti!
Much as I enjoy spaghetti, especially when the meal is spaghetti bolognaise (which Mrs. Woody does so well!), I do sometimes get that nervous twitch when looking at it as to me most wiring is like spaghetti especially in most model trains these days. I recall my old Traing locomotives which had a live chassis directly feeding one part of the motor and just one wire leading from the isolated wheels to the other side of the motor. Easy to work out and easy to work on - just like me! Well that is what I tell Mrs. Woody!
Modern day locos are slightly more complex in the wiring department and opening up the latest models will reveal wires, circuit boards and possibly DCC chips which looks more like the internals of a computer. However if you want DCC that is what you need, Luckily you buy the loco ready wired and in many cases chipped. In the case of my Hornby Swallow Livery HST whilst not being an old model it is however not a modern model so does not have a circuit board to plug a DCC chip in. Wanting to convert it to DCC meant that I had to get involved in some wiring work. Basically I needed to install a harness for the DCC chip and wire that to the models pickups on the wheels and then to the motor. I also needed to wire in the headlights on the model in such a way that they only came on whilst the model travelled forward.
First stage was to assemble what I needed and luckily, as ever, WMD stores had the necessary parts in stock - almost like I planned it!
There are two power cars for the train and whilst only one has a motor the other one does have headlights and therefore I need to install a chip in both cars. How will it go? Will I get spaghetti bolognaise for dinner? Will it all blow up? I will let you know in a day or so!
In the meantime I have been enjoying the slightly cooler weather to finish my block work as started yesterday.
Monday, June 26, 2023
Small jobs and bigger jobs!
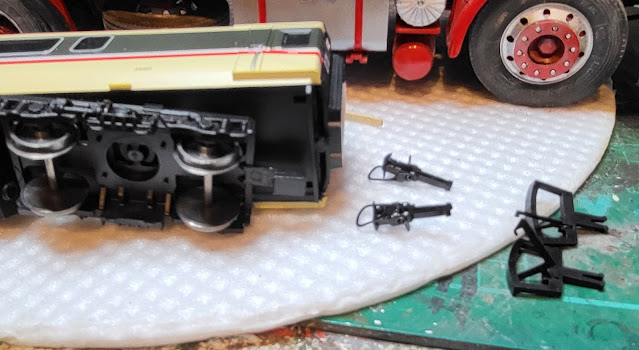
A nice small model railway job today, changing the coupling on one of the coaches for the HST set. The coach for some reason had couplings that look more like 009 couplings. The problem was that it did not couple up with the other coaches. The solution was to change the couplings for conventional Hornby type ones. Luckily the coach is a modern one fitted with NEM coupling pockets that mean standard compatible couplings can just be slid into the NEM slot. Equally luckily was that within WMD stores suitable spare couplings were in stock!
The old couplings on the left easily came out.
With the replacement couplings in place the coach could be put into the train and coupled to the ther coaches. I just need to convert the power car to DCC but more about that another time.
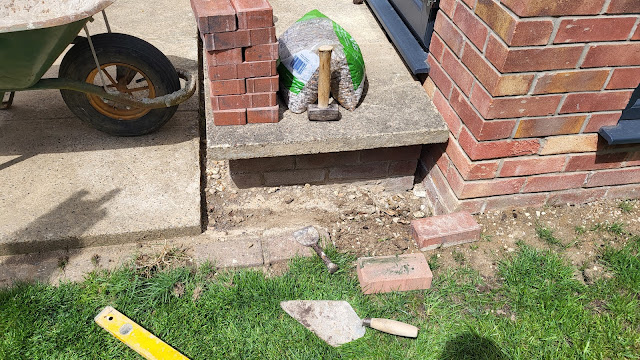
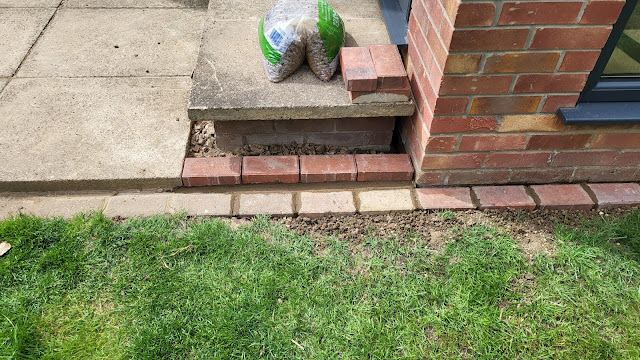
Bigger jobs see me returning to the conservatory rebuild that happened at the end of last year. The garden was devastated by the building work and I am only just getting grass to grow back where mud was spread by the digger. Having at last got a surface where I can walk without sliding or sinking I now need to reinstate the edging blocks that got dug up when the foundations were dug. They disappeared with the spoil dug out so I have bought replacements and today started the job of replacing them.
I also need to finish the step and reset some slabs on the far side of the conservatory so still much to do! As long as Mrs. Woody doesn't make this job any bigger I should be OK though!
Sunday, June 25, 2023
HST and that is not short for Hot and Sunny Today!
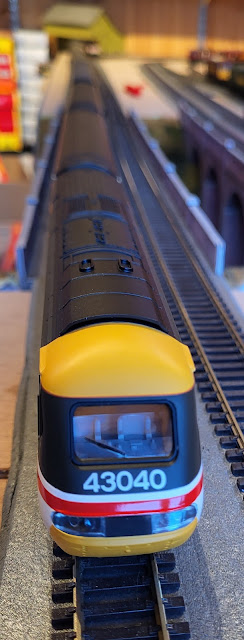
Although it is hot and sunny today the HST I am talking about is the train type. Introduced way back in 1976 and only just being withdrawn the High Speed Trains or Class 43 to use their official designation were so advanced when they came into service back in the 70's and still, in my view, look modern today. Having ridden on so many other the years I am not quite sure why I did not have an 00 gauge model of one before now but last year I started to look about for a second hand example as I was not paying out the £300 to £400 just for the two power cars that the new Hornby models are selling for. Instead I managed to find a Hornby Train Pack from about 2007 with the revised body modelling which is much better then the ones from before the Millennium. It still has the old Ringfield and non DCC ready motor in it and only one of the power cars has the motor but I was happy!
I do like the Intercity Swallow livery that these trains wore - I think it just looked so right even now.
I need to change the couplings on one coach and put a DCC chip into the power cars so that I can run it but for an outlay of roughly half the price of two new Hornby HST power cars I have an eight car formation that looks the business.
Mrs. Woody would be proud of my budgetary skills and savings but probably not pleased that I bought it in thye first place - I cannot win!
