Its been a busy, but non model making, day here at WMD! Probably best with my frustration with the tracks of the Trumpeter L/15 Mörser "Bär" that I highlighted in yesterdays post. I was reminded of my frustration as I looked at a present (in the picture below) given to me by Mrs. Woody some years ago when she bought it off a second hand stall (or as they are now seemingly known as pre-loved stalls!) when we visited a show somewhere years ago. Those of you who recall the Fawlty Towers series on TV with John Cleese starring as Basil Fawlty may recall in one episode he had car troubles. His mechanical abilities limited, he threatens to give it a Damm good thrashing! Having finally lost it with the car breaking down for the umpteenth time, he rips off a branch from a tree and then proceeds to use it to thrash the car. The model issued by Corgi records that moment and I think it captures it well. Needless to say it didn't fix the car but probably made him feel better which I am wondering if I would feel if I gave the L/15 Mörser "Bär" a thrashing! Probably not but Mrs. W would find it amusing!
Recording my progress, or usually the lack of it, in building kits, creating model railways and other related and sometimes unrelated matters!
Search this blog
Wednesday, January 31, 2024
Tuesday, January 30, 2024
I knew I would have problems!
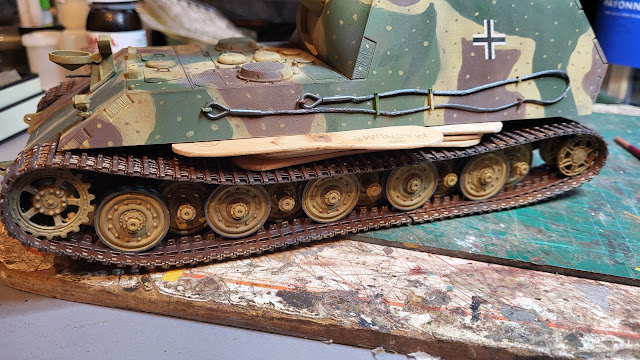
I hinted yesterday that I thought that the tracks for the Trumpeter L/15 Mörser "Bär" would cause me problems when fitting them. I was right! The first part of permeantly fitting the wheels went well enough.
Fitting the tracks was not to good! I had to stretch them but they are warped.
Monday, January 29, 2024
On track to complete!
The Trumpeter L/15 Mörser "Bär" is nearly complete with the main components left to finish it being the tracks. I was aware that the kit supplied tracks are the 'rubber band' type but I must admit having got them out of the box I was a bit disappointed in the quality. They are not the best tracks I have had in a kit and probably rate as the worse! The rubber is not particularly pliable and the jointing of the ends is not the best. Superglue appears to be the only adhesive that will bond the ends so that is what I have used.
Sunday, January 28, 2024
Cabled up!
After a relatively speedy build of the main components of the Trumpeter L/15 Mörser "Bär" progess has now slowed with the weathering and fitting of the last few components. the latest of these being the towing cables fitted to the sides of the hull.
The cables themselves are lengths of copper multi strand wire that were supplied with the kit and two cut to length were superglued into four plastic towing eyes. Being copper makes them easy to bend but a pain to paint which was eventually achieved after being treated to an airbrushing of various paints.
Once painted there were a number of plastic clips that needed to be fitted to clasp the cable to the hull. Given that the hull was already painted, normal plastic cement was not going to work, so I used some superglue on the clips.
Saturday, January 27, 2024
Is Spring about to arrive?
As I continue to weather the Trumpeter L/15 Mörser "Bär" it has taken on a bit of a winter look with the addition of dirt and greyness to it. Some airbrushing with browns and greys as well as the addition of weathering powders have turned this previously pristinely clean and just out of 'Soapy Joe's Carwash' looking vehicle into something that looks more as though it has been through a harsh and dirty winter. Still a few things to do like fixing the wheels permeantly in place as well as adding the tracks and towing cable - oh, and that internal part of the barrel looks as though it needs some metal looking paint applied!
Talking about the tank looking like it has gone through Winter, taking Mrs. Woody out on a non-shopping related trip ( that is most unusual - the non shopping bit!) we came across these snow drops en mass at the side of the road. Despite being called snow drops their appearance always means to me that the better weather is coming! Nice!
Friday, January 26, 2024
Time to get dirty and spotted!
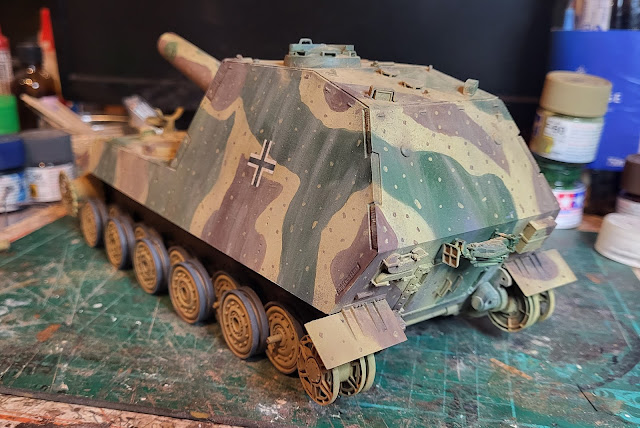
I did get rather dirty yesterday at the Rocks By Rail Museum with all the dust and debris from the angle grinding rust and paint removal from Harriot the JCB. Mrs. Woody almost refused me entry back into WMD HQ until I had cleaned up! Having satisfied Mrs. W that I had at least dusted myself down and was no longer a dirt threat, I eventually managed t get some time in the Man Cave. Continuing on the theme of getting dirty I added some weathering/dirt to the L/15 Mörser "Bär". In addition, as the practice was with German three tone camouflage schemes, I added spots and dabs of contrasting colours to the already applied paint. It looks a bit like an attack of measles with all those spots but with some more weathering it will all blend in together.
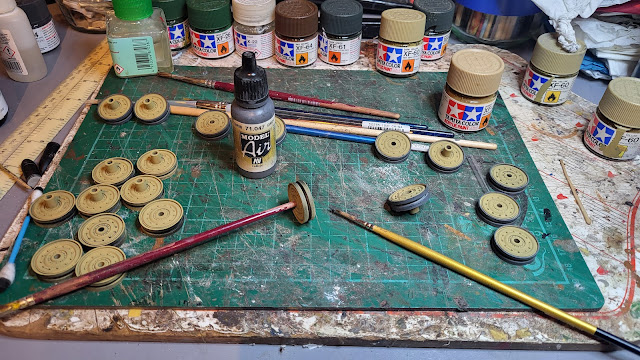
The wheels have had an initial weathering with a wash of dilute brown paint. As the picture below shows there are a lot of wheels so this weathering took some time as there are obviously two sides to each wheel!
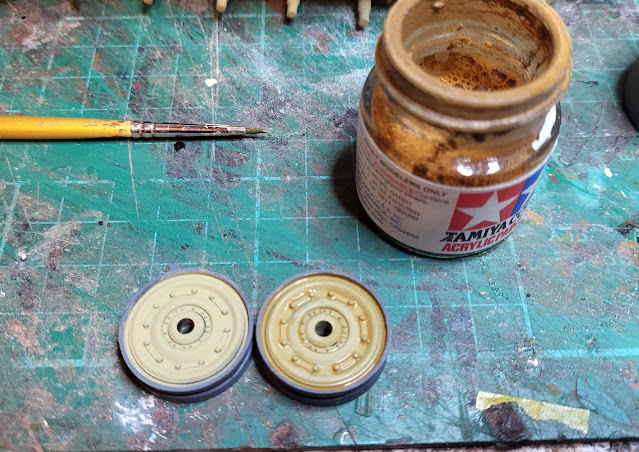
A close up comparison of an none and weathered wheel. That wash certainly 'pops' the details on the wheel such as the bolt detail. It may take some time to get dirty and spotted but it is worth it - for the tank anyway!
Thursday, January 25, 2024
Back to the Museum!
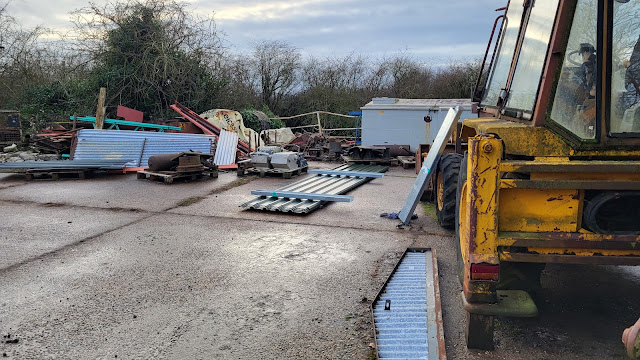
Much as Mrs. Woody has threatened to put me in a museum in the past for my archaic ideas, I do actually venture into a Museum voluntarily on a regular basis. In this case the Rocks By Rail Museum where I am a volunteer and I cannot believe it is now only a few weeks before it is open for the 2024 season. During the closed winter months there are still many things going on and work on various projects proceeds such as the repainting of Harriot the JCB. Although the last painting she saw was just before Christmas I did manage to get some more rust ground off and some more primer painted on meaning this project is coming closer to completion. This is no complete strip down restoration - more of a tidy up and make presentable from a distance of probably 50 meters! Today I was still working on the back actor. Starting off with a lot of rust...
Wednesday, January 24, 2024
Lets add some colour!
Having taken Mrs. Woody out for lunch earnt me some Man Cave Time points so with sirbrush in hand I took on the large size Trumpeter L/15 Mörser and spent a few hours putting the brown and green camouflage colours on to the upper hull of the vehicle. Not one of my greatest successes though as the airbrush created a great deal of splatter that I just could not cure so the Dark Yellow areas looked a little as though they had been been subject to a poor restoration at a back street body shop. The edges of the green and brown areas were also a little 'fuzzy'. I decided I needed to try masking tape to get a sharper edge so I applied some, marking where the boundary was that I could see through the tape and removed it to cut to shape on the cutting mat. Unfortunately removal not only removed the masking tape but a fair chunk of the already applied paint and undercoat leaving large expanses of bare plastic! At the time I was that surprised that I forgot to take a photo or of the rectification work of sanding the edges smooth and applying fresh paint. However, repairs were achieved and the use of paintbrushes has tidied up the edges and splatter areas!
So what does it now look like? Well here it is: -
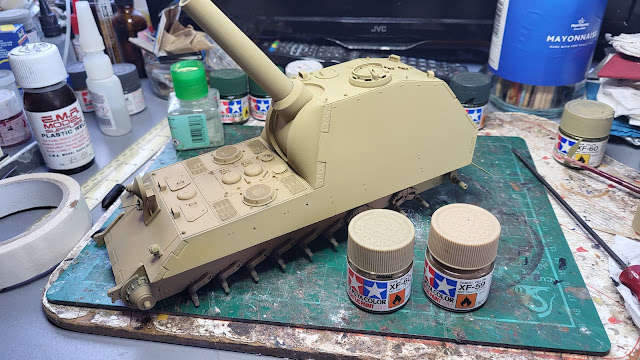
It looks too 'fresh from the paintshop' at the moment, but some toning down and weathering will assist in making it look a bit less colourful!
Tuesday, January 23, 2024
Going light!
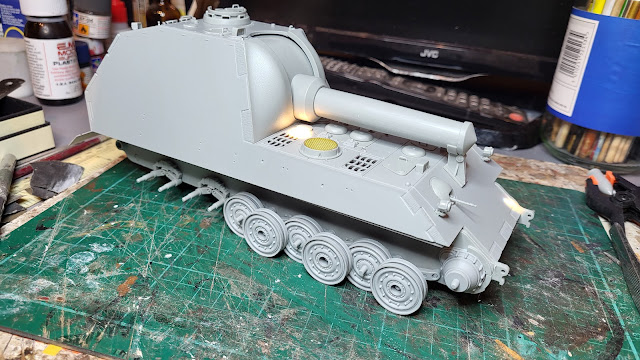
After yesterdays going dark session in which the Trumpeter Grille30 30.5cm(Grw) L/15 Mörser "Bär" was undercoated in black today, despite the weather going dark with the arrival of Storm Jocelyn (If they ever get to use the letter M it will have to be storm Mrs. Woody, but then again I have experienced many of those when I have done something wrong so I know what will be arriving!), the vehicle has gone light with ironically enough a coat of Dark Yellow! However what I had not known when selecting the paints from the WMD Store was that the Dark Yellow bottle was nearly empty as was the supposed full spare! Luckily I had a bottle of Desert Yellow which I used as a base to the Dark Yellow. It might all sound a bit strange (like me!) but it worked.
With the wheels painted I took the opportunity to paint the tyres which I believe are a steel tyre rather then a rubber tyre. Whatever they are they got painted with Vallejo Grey and look like the kit box art!
Monday, January 22, 2024
Going dark!
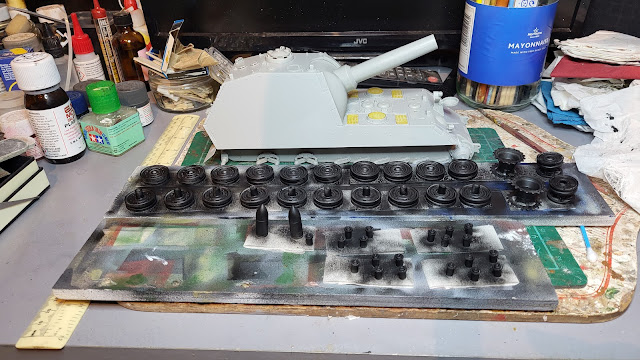
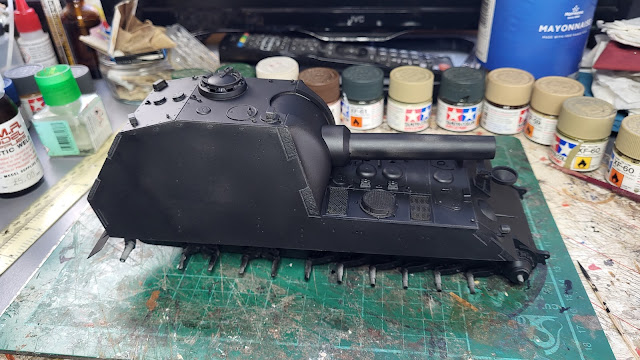
Well I have actually got to the painting stage of the Trumpeter Grille30 30.5cm(Grw) L/15 Mörser "Bär" to give its full kit box title! As is usual, I used a Vallejo black primer to give the model a base coat of paint so that any parts missed during the top coats is left in shadow rather then seeing the bright light grey plastic. What I had not appreciated is just how long the paint work would take. With all those wheels needing painting both sides, plus the hubs and then the hull itself it has taken about four hours so far which does include thinning the paint and cleaning the airbrush but I can see this model taking as long to paint as it has to build!
Now with the primer drying I can think about the top coats. The painting guide is for the traditional three colour camouflage scheme which is catered for in my collection of Tamiya paints - I have a large stock of paints!.
Once these go on the model should take on a completely different and less dark look!
Sunday, January 21, 2024
Do you want to see my brass etchings????
Saturday, January 20, 2024
The small parts!
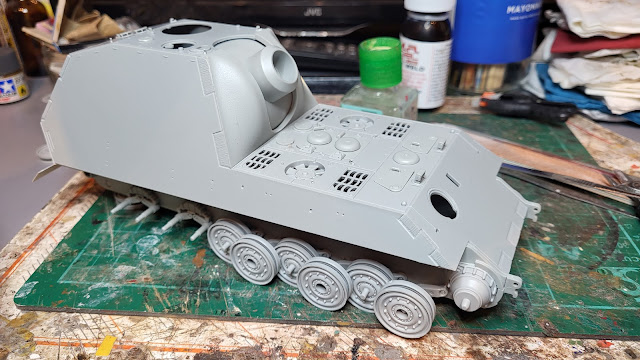
Still many small parts to fit including the hatches and cupulas on top of the mortar compartment and the bow gun in that hole at the front. Then I will need to deal with my arch nemesis - etched brass parts for the grills above the engine. Hopefully they should be relatively easy to fit with no bending required. You can hardly see those lifting hooks but there are thirteen that I remember and several of which had to be located on the floor before fitting!
Friday, January 19, 2024
Repetative wheels - how many parts?


Thursday, January 18, 2024
Checking the facts!
I thought that it was a bit of an odd gun to use as an anti-tank gun but that is what I read somewhere on the internet when I first bought the kit. Having got into the build yesterday I was left wondering what on earth the hydraulic plate under the hull was all about so I went Googling! I found what appears to be a much more realistic explanation of the vehicle on the Tank Encyclopedia website which you can see by clicking here . Basically the gun is a mortar that was to be used to destroy heavily fortified emplacements or buildings. The reason for the plate in the bottom of the hull was that with the mortar at its highest protectory it would hit the floor of the hull. Therefore to give it clearance as well as allowing for its one meter recoil the plate lowered the floor and acted as a stabiliser/recoil absorber. That all makes sense now and well worth checking the facts!
I have linked into on of the drawings on that site which shows the internal details much better than I can describe them!
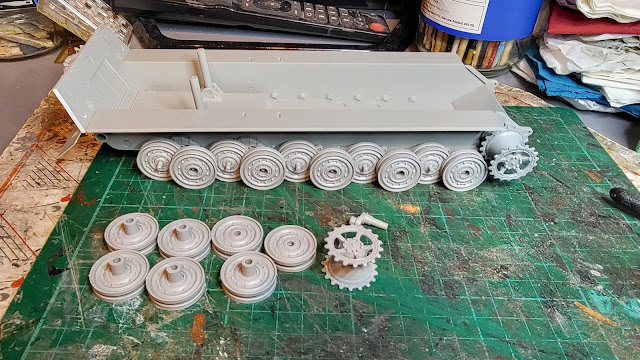
Anyway, back to the kit build! Today was focused on the rear panel to the hull and the photo below shows what appears to be limited progress but there are 26 parts in that small area with many being small and easily lost onto the floor where searching for them takes a long time! Guess how I know! The jack itself is made of 10 parts and the supplied plans are not the clearest on the placement of parts so trial fitting without glue at first is the order of the day. I also managed to fit the four suspension springs that you can see on the right of the hull. Whilst the rest of the wheels were subject to torsion spring suspension that required a rod to go through the hull, where the hydraulic plate was there could be no rods going through it so conventional springs were used. I can begin to understand why this thing never progressed from the drawing board with all these complexities.
Next stage is the torsion suspension and axles followed by the wheels. I have a feeling there are about 30 wheels to make which will be a bit of a repetitive task, repetitive task, repetitive task!
Wednesday, January 17, 2024
The big build starts!
As I eluded to yesterday this is a big kit for a 1/35th scale military vehicle and one which I have started. It is the, to give it the full title from the Trumpeter kit box, a Grille30 30.5cm(Grw) L/15 Mörser "Bär", Basically a prototype that never went into production of an anti- tank gun firing a 30.5cm shell or a one foot diameter shell for those like me who are old school! Basically a shell of that size hitting a tank even without exploding is going to do some serious damage.
Anyway the finished model won't be firing any shells but is never the less an interesting build even at these early stages. I have started with the lower hull, as per the instructions, and constructed what I presume is some sort of stabilising/recoil absorbing device that was fitted to the hull.
It will be interesting to see how this develops. Only 300 plus parts to build of which I have so far done 27 so a fair way to go yet!
I am still working away on finishing weathering the Italeri Kangaroo APC and the three figures. I did find two rifles on the sprue from which the figures came so two of the figures will gain these and look as though their postures are a little more meaningful. Their uniforms have certainly toned down with a couple of washes of dilute black paint and with the helments now attached to their heads they do look a bit less SiFi Horror. My figure painting skills are such that these are models best looked at from a distance but I am pleased with how they are coming out.


