A wet day at the Rocks by Rail Museum today found me looking for an inside job. That seemed to follow a theme for me with several painting jobs over the past few days and I found myself in the dry of the cafe with the job of freshening the paint. Almost a ground hog day in that the cafe is painted white - just like my rebuilt conservatory! So out came the paint and brushes and following the removal of the Winter cobwebs painting started. I also cleaned up the various sockets and splash backs that had suffered from previous paint jobs where the painters were perhaps a little less concerned about keeping the paint just to the walls!
Recording my progress, or usually the lack of it, in building kits, creating model railways and other related and sometimes unrelated matters!
Search this blog
Tuesday, February 28, 2023
Looking brighter!
Monday, February 27, 2023
It gets dark before it gets light!
Very philosophical that it gets dark before getting light but in this case I am talking about the Airfix Dodge 1 1/2 Ton Personnel Carrier! I can not believe I built this at the end of December last year! It was a bit of a half built glue bomb bought for £5 at the Sleaford Model Makers Show. It had a host of issues with the chassis but I did manage to make something of it. How good that something will be is going to be subject to the painting. Today I dragged the built kit out of hibernation and started the painting process. Being an American WW2 vehicle it will be olive green but before that is applied I primed the parts with my usual Vallejo black primer. This gives a great base upon which to start painting. Being black, any difficult to get to parts missed with top coat will, or rather should not stand out. And boy is this kit difficult to get the airbrush around! It took me about two hours in total to prime it. It is not going to be an easy paint that is for sure!
The main body of the kit. Luckily I had the foresight not to glue the wheels and several other parts in place to make painting easy - well easier then it would be if they were all in place.
Sunday, February 26, 2023
A bit of gardening.
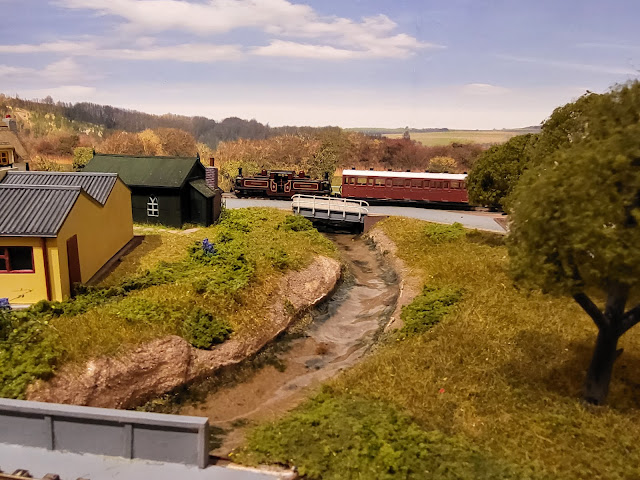
Despite my garden still looking like a mud swamp as an aftermath of the recent building work I did do some gardening if you can call planting some seeds gardening. Tomatoes, lettuce and spring onions are planted in a hope that we can have some salad items this year following the shortages in the supermarkets! With the excitement that caused I thought I would continue work on a smaller scale with my 009 Narrow gauge layout.
The bridge built yesterday was sprayed in a base coat of light grey and awaits weathering but the grassed areas either side of the stream are now looking a bit greener and probably unkept with undergrowth!
I have applied some of the Peco glue for static grass which are the whitish looking areas.
Saturday, February 25, 2023
Crossing tha gap!
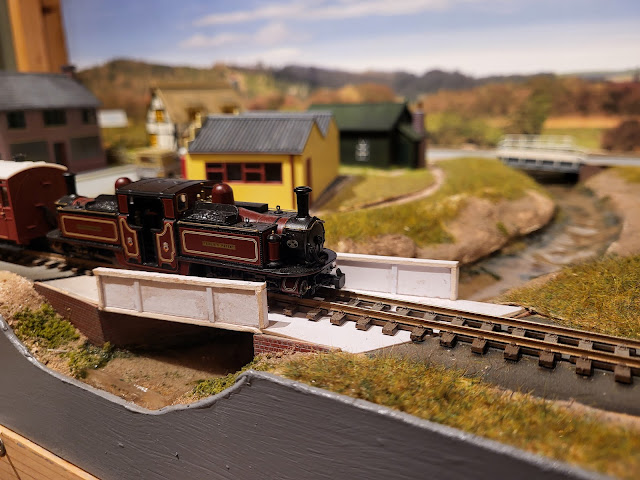
In my usual butterfly way of wandering from one project to another I did some work on the 009 narrow gauge layout today. The bridge taking the track across the stream needed building to cross that gap. The track had been held in mid air for some time which probably frightened the 4mm passengers and train crew every time they went over it!
However their days of dare devil travel are now a thing of the past - almost! Originally when I constructed the bridge abutments before I poured the stream in resin, the idea was that that piece of grey card on the left would go over the abutments and stream forming the track bed for the bridge. Unfortunately and not noticed until now, the resin moved the abutments. The movement was such that I needed to alter my ideas and I eventually came up with this.
It needs painting but I think it does the job! It certainly takes a train....
Unlike the Fourth Bridge painting this should take a matter of a few minutes - a job for tomorrow if Mrs. Woody does not decide we need to get some pots going in the green house with tomato and lettuce plants to do our bit to survive the salad shortage!
Friday, February 24, 2023
Whether I will like the weathering? 2.
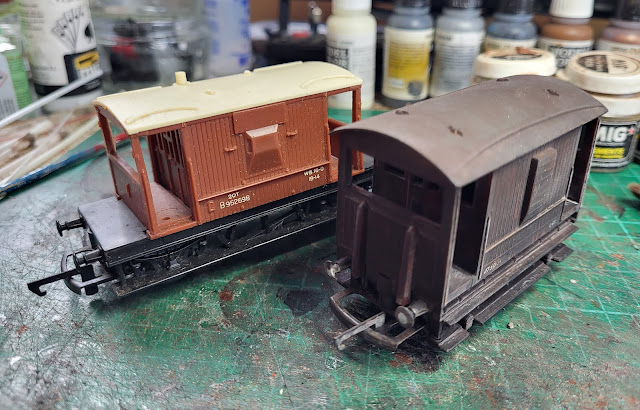
Well it is finished with a dusting of weathering powders and matt varnish added. The photos are a cruel close up. It does look slightly lighter in real light and from normal viewing distance.
Thursday, February 23, 2023
Whether I will like the weathering?
One of those days where things I planned didn't happen and things I had not thought of did! Model making wise for some reason I decided to weather a wagon. I don't know why I just did! Not that I have ever weathered one before. Tanks, trucks and buildings yes but never a wagon. My chosen victim was a Triang brake van from the rolling stock that Mr. Smith gave me last year. Probably 50 to 60 years old it was in reasonable overall condition but looked....well like a model.
First job was to clean it down with some IPA.
Wednesday, February 22, 2023
Well that's the tracks done!
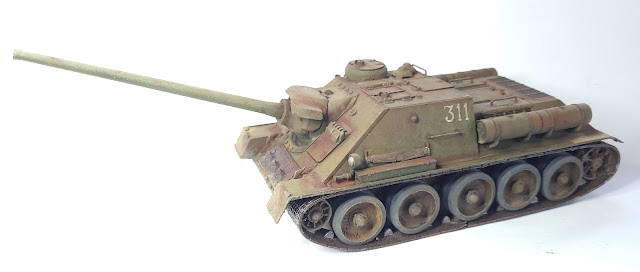
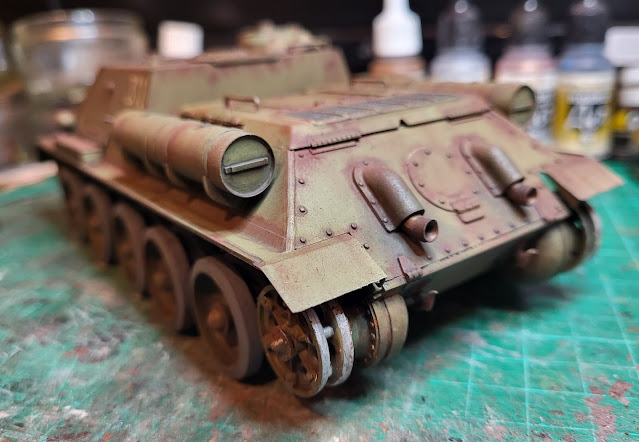
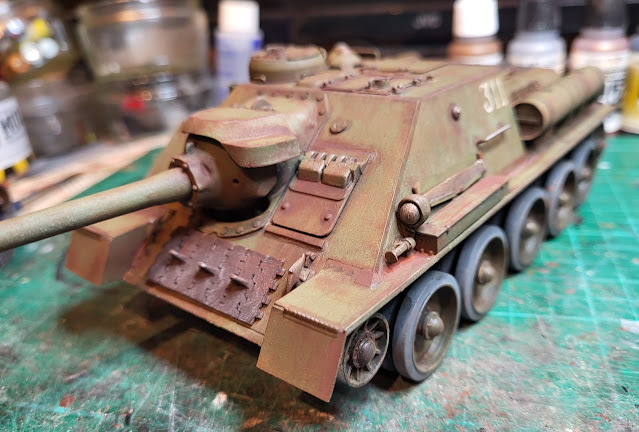
Today saw the Italeri SU-100 assault gun just about finished with the tracks fixed in place. As I highlighted before the tracks are not the best as they are the 'rubber band' type which in effect do not allow the sag on the upper part that you see in real tracks. However you cannot have everything as Mrs. Woody tells me when I venture with her my need for a new bike/locomotive/kit!
Just about finished? Well I might add a few additions that the crew might have put on the tank. There is still a wooden box and some tools on the sprues of the kit. However for the moment here is the finished tank. I like it and I am really pleased with the way that it has turned out and I guess that is what counts! One final thing - thanks Mr. Beecham who gave me the kit as a Christmas gift. It doesn't match his skills at producing models but I am sure he is happy that I built it and it is not a glue bomb!
Tuesday, February 21, 2023
Venturing into a land time forgot!
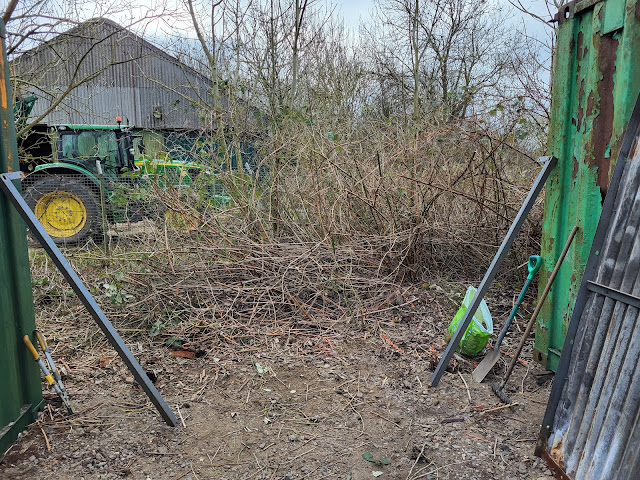
One thing about the Rocks By Rail Museum is that being a large site in a rural location, nature does have a habit of taking over areas if not kept at bay. Nothing wrong with some vegetation but when it gets to the point that you can not get to things then it is time for a bit of exploration and clearance. Last week I was involved in clearing down the side of one of the containers which revealed an assortment of long forgotten items. Today I ventured round the back where brambles had created an impassable area - a land time forgot. Sheers and cutters in hand it went from this where I had already started...
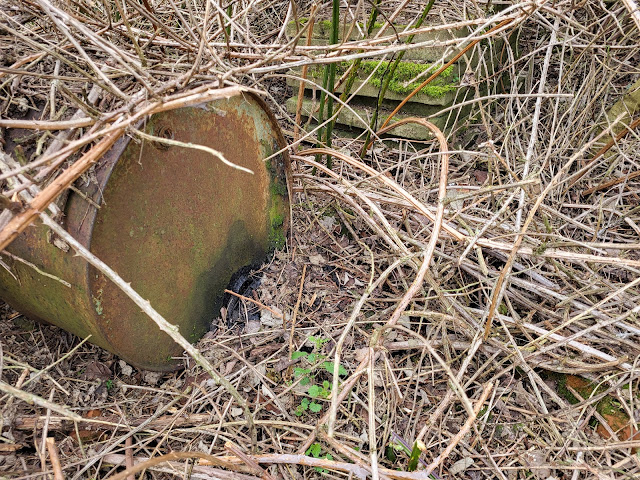
There are five concrete sleepers by the tree and further in I found an oil drum and several concrete slabs.
Monday, February 20, 2023
Time to get to the bottom!
Time to get to the bottom of the Italeri SU-100 assault gun! Yesterday the upper surfaces of the tank were dirtied with dust and rust so today attention went to the bottom. I used some acrylic mud mix which comes in a large tub and applied it with a broad brush to the under surfaces and wheels. It is like a think filler with granular material in it to give that representation of thick accumulated mud - just like my garden after the builders finished! Maybe I should just have used the real stuff!
Once dry after a few hours I dusted it with some of the European Dust weathering powder.
Sunday, February 19, 2023
Getting dirty!
The Italeri SU-100 assault gun moves on although without its tracks it won't be going far! First job today was to dust the tracks with some Track Brown weathering powder. You can see the difference this powder makes in this photo.
Leaving the varnish to harden for a few hours during which Mrs. Woody's desire for her car to be fully valeted was satisfied by me doing it, I returned to add some rust effect weathering powder. Adding rust is one of those forms of model making that is difficult to break down into an easy step approach. The application of the powder is simple enough, the difficult part is knowing where to add it to the model to achieve that realistic look. I don't profess to be an expert but I guess having lived in an era when cars rusted quicker then Mrs. W can place an Amazon order and having to try to repair them as well as an interest in machines of all types, usually rusty wreaks, gives me an awareness of where rust rears its head. Joints, edges and bolts in steel are the usual places but anywhere were paint is worn away will in damp conditions start rusting. You just have to look at the model and find those places. For a battle field tank there was no tank wash to clean it down after action or body shop to give a respray if it got scratched - they just got more worn and dirty by the day.
Having done my artistic bit it was time for some more varnish to seal the powders in and tone them down.


