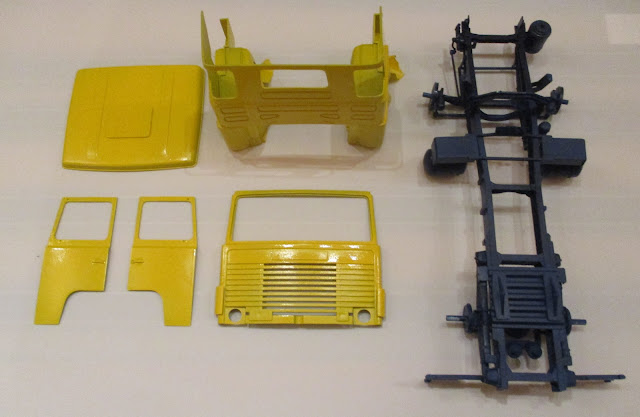
Step one forward. As it was a bright sunny dry day with increased temperatures it was almost ideal to try to spray the Heller Scania 141LB cab in gloss yellow. Following Mondays disaster which I was pleased that the paint went on well and dried to a gloss finish as you can see with the reflected light in the photo below.
It just needs to harden off for a few days before I started get my hands on it otherwise I risk putting finger marks in softish paint. Guess how I know that!
Step two forward. Flush with the success of painting I thought I would have an hour on the other Scania model. Having started the engine yesterday I decided I would get the chassis started just to see what it would be like. I have actually built this chassis before for another model Scania back in 2008. This is the bonneted Scania that is popular in Scandinavia and this model represents a wrecker.
It is a beast of a model and the chassis is exactly the same as the one I am building apart from the fact that the truck I am now building is a flat fronted cab over engine rather than a bonneted truck. To cut costs I guess, Italeri use the same chassis kit for both kits. However the one I am building now needs to be cut down in length by taking a 44mm section out of the middle to suit the rest of the truck. It says so in the instructions. Guess who thought he knew it all and missed that part? I was reminded that back in July I wrote about the importance of sticking to the instructions when I was building the Kamaz Russian truck and if you want to see the problems I stepped into then click here.
I only thought about the fact that the chassis did look very long once I leaned back to admire the basic chassis on my workbench having put the cross members in and joined the chassis rails thinking that looks just like the one I built back in 2008 for the bonneted Scania. DOH!
One step back! Luckily the glued joints were not set so I had the opportunity to pull it all apart.


No comments:
Post a Comment